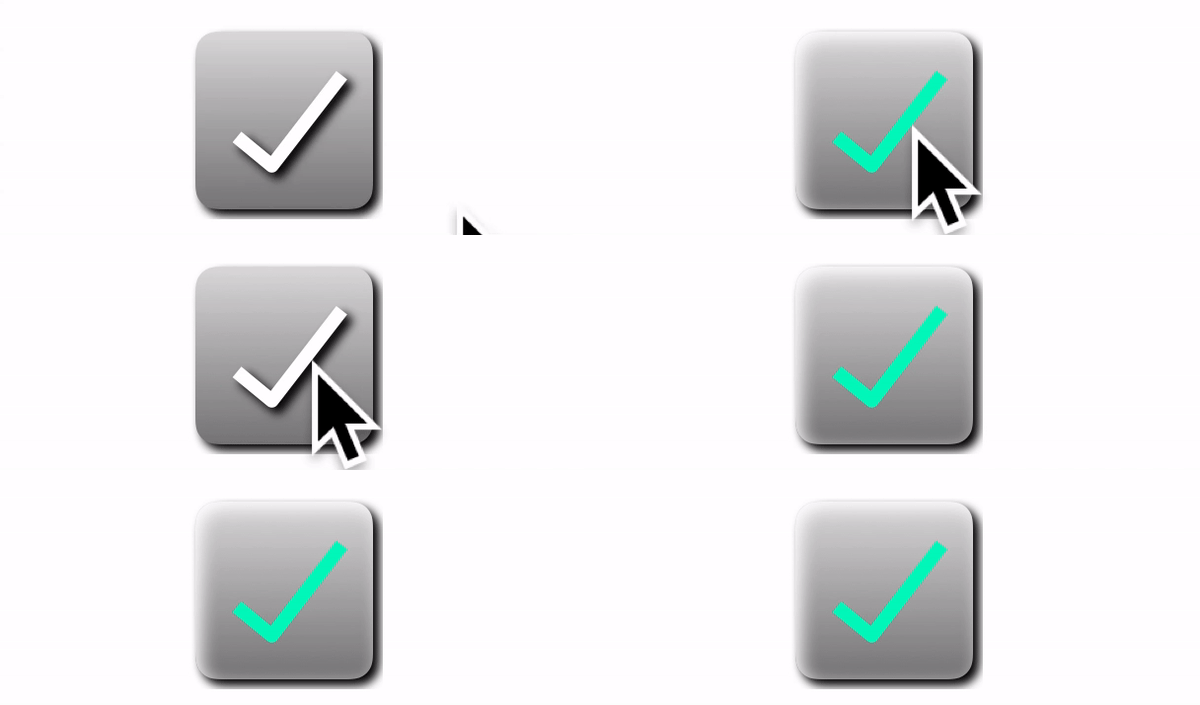
This article demonstrates how to use the multi line drawing function of Core Graphics to draw the UI of the control through an example of a custom checkbox button.
CheckButton
First create the CheckButton class:
// 1
class CheckButton: ShadowButton {
    override init(frame: CGRect) {
        super.init(frame: frame)
        commonInit()
    }
    required init?(coder aDecoder: NSCoder) {
        super.init(coder: aDecoder)
        commonInit()
    }
    // 2
    fileprivate func commonInit() {
        text = nil
    }
    // 3
    override public func selectDraw(_ frame: CGRect) {

        // 4
        super.selectDraw(frame)
        // 5
        let selectedColor = UIColor(red: 0, green: 249/255, blue: 192/255, alpha: 1)
        LinePainter.drawCheckMark(selectedColor, targetFrame: frame, shadow: outerShadow)
    }
	// 6
    override public func unselectDraw(_ frame: CGRect) {

        super.unselectDraw(frame)

        LinePainter.drawCheckMark(.white, targetFrame: frame, shadow: outerShadow)
    }
}
extension CheckButton {

    // 7
    override func touchesEnded(_ touches: Set<UITouch>, with event: UIEvent?) {
        isSelected = !isSelected
        setNeedsDisplay()
    }
    // 8
    override func touchesBegan(_ touches: Set<UITouch>, with event: UIEvent?) {}
}
- CheckButton inherits ShadowButton because it also wants to have the attributes of ShadowButton, such as internal and external shadows, gradient for filling the background, fillet radius, etc.
- In the commonInit method, we leave the text attribute blank because it does not need to display text.
- drawSelect method, the drawing function when selected.
- First, call the inherited drawSelect method.
- Then we call LinePainter to draw a green check mark for us.
- Override unselectDraw method. Drawing the unselected state is similar to the selectDraw method. The only difference is that the color of the tick is changed to white.
- The touchBegan method handles the touch of buttons. For a checkbox control, just switch between select/unselect.
- The touchEnded method is null because we don't want to release the effect of state restoration after touch.
LinePainter
LinePainter is the third Painter we encountered. It provides the drawing method of multi line segments and the method of drawing tick for us.
class LinePainter {
    private let context: CGContext?

    init() {
        self.context =  UIGraphicsGetCurrentContext()
    }
    // 1.
    func polyLines(_ points: [CGPoint]) -> UIBezierPath {
        let path = UIBezierPath()

        for i in 0..<points.count {
            if i == 0 {
                path.move(to: points[0])
            }else{
                path.addLine(to: points[i])
            }
        }
        return path
    }

    // 2
    func drawCheckMark(_ color: UIColor, targetFrame: CGRect, shadow: NSShadow?) {
        if let context = context {

            // 3

            let originFrame = CGRect(x: 75, y: 22, width: 96, height: 96)
            let vertex1 = convert(CGPoint(x: 100, y: 78),originFrame: originFrame, newFrame: targetFrame)
            let vertex2 = convert(CGPoint(x: 117, y: 92), originFrame: originFrame,newFrame: targetFrame)
            let vertex3 = convert(CGPoint(x: 151, y: 48), originFrame: originFrame, newFrame: targetFrame)

            // 4
            let path = polyLines([vertex1, vertex2, vertex3])

            context.saveGState()
            // 5
            if let shadow = shadow {
                context.setShadow(offset: shadow.shadowOffset, blur: shadow.shadowBlurRadius, color: (shadow.shadowColor as! UIColor).cgColor)
            }
            // 6
            color.setStroke()
            // 7
            path.lineWidth = 7
            // 8
            path.lineJoinStyle = .round
            // 9
            path.stroke()
            context.restoreGState()

        }
    }

    // 10
    private func convert(_ point: CGPoint, originFrame: CGRect, newFrame: CGRect) -> CGPoint {
        let x:CGFloat = (point.x - originFrame.minX)/originFrame.width*newFrame.width + newFrame.minX
        let y:CGFloat = (point.y - originFrame.minY)/originFrame.height*newFrame.height + newFrame.minY
        return CGPoint(x:x, y: y)
    }
}
- polyLines draws multiple line segments. The parameter is a CGPoint array. The so-called multi line segment is actually a broken line connected by multiple points. Therefore, the drawing of multi line segments is essentially the drawing of vertices (endpoints). The polyLines function returns a CGPath.
- Draw a tick by drawing multiple segments.
- A tick consists of three vertices, which we calculate respectively. The calculation of each vertex is obtained by calling the convert function.
- Three vertices are passed into the polyLines function to calculate a two-dimensional figure (tick).
- If there are shadows, add shadows as you paint.
- Sets the color of the drawing path.
- Sets the lineweight.
- Set vertex fillets.
- Draw graphics.
- The convert function calculates the vertex coordinates. The coordinates on the design drawing need to be transformed to get the coordinates of the control itself. For example, The coordinates 75 and 22 of the first point are the coordinates taken from the canvas on the design drawing (you can use sketch). It first needs to subtract the coordinates of the upper left corner of the control in the canvas, and then multiply it by the scale after the button is scaled (that is, the size of the control in the original drawing divided by the actual size added to the view), plus the origin coordinates of the frame after the control is placed in the view, it can finally be converted to the correct coordinates.
test
In viewDidLoad:
		 let button = CheckButton(frame: CGRect(x: 100, y: 200, width: 100, height: 100))
        button.gradient = gradient()
        button.outerShadow = outerShadow()
        button.innerShadow = innerShadow()
        button.buttonRadius = 11

        button.backgroundColor = .white
        button.layer.cornerRadius = 20

        addSubview(button)
