Course design - progress of the second week
- Tasks planned for this week
- Actual completion of this week (code, documents, screenshots of program operation...), Reasons for not completing the plan? How to improve?
- Problems encountered this week and solutions (to be detailed)
Tasks planned for this week
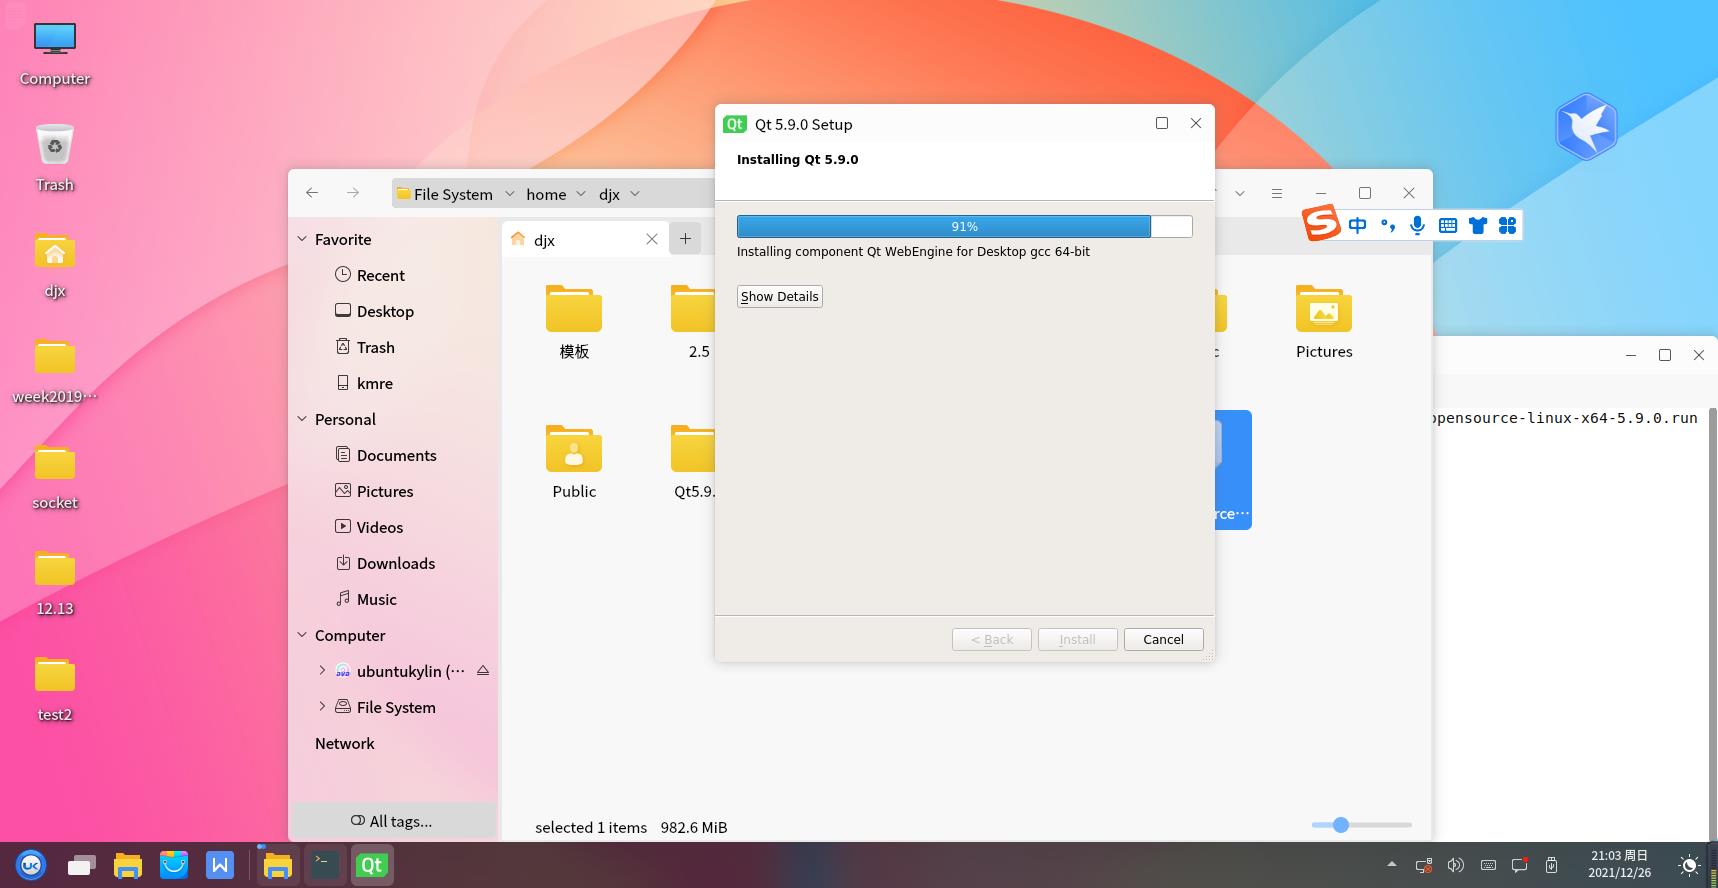
- Qt installation
- Qt learning
- Preliminary design of Qt interface
Actual completion of this week
Qt installation and use
Introduction to Qt
Qt is a cross platform development framework based on C + +. It not only provides a convenient and easy-to-use graphics library, but also provides a better framework than C + + (personal feeling).
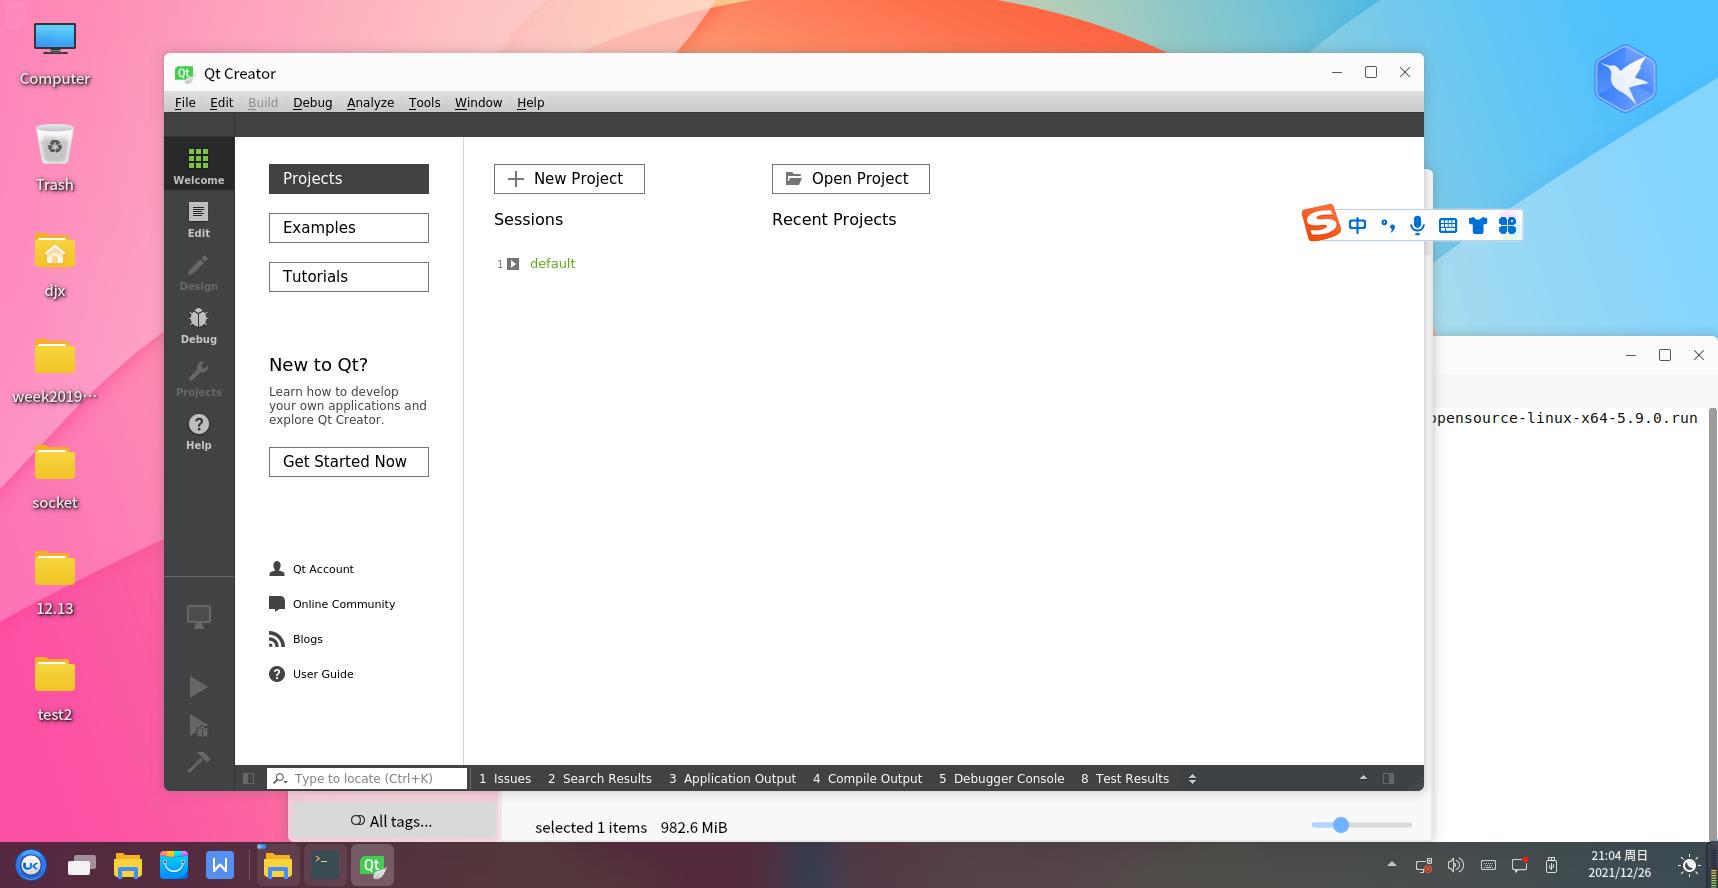
Qt and QtCreator
Some people may confuse Qt and QtCreator, but these two concepts are different.
- Qt: cross platform development framework, including graphics library, other function libraries (multimedia, network, etc.) and extensions to C + +.
- QtCreator: an integrated development environment (IDE) developed specifically for using Qt framework. QtCreator itself is developed based on Qt framework.
QtCreator is not Qt. It only needs some Qt libraries to run, so QtCreator can run, which does not mean that all Qt modules have been completely installed.
Qt version
Qt version is often involved in development, because the latest version may provide more functions, but some previous code is written with the old version, so pay special attention to your own version.
- How to view Qt version:
Menu bar - > Tools - > options
Qt installation
Refer to this tutorial to complete the installation and configuration http://c.biancheng.net/view/3858.html
Qt module
Qt framework is composed of multiple modules. The core is QtCore, which is also necessary. If you don't use this core module, you are actually programming in pure C + +, which has nothing to do with Qt. Other modules include:
- GUI Graphical Interface
- Multimedia multimedia
- Network functions
- SQL database
Qt learning
Signal and slot function
- Signal and slot are Qt's unique message transmission mechanism, which can associate independent controls.
- In Qt, each interaction between the user and the control is called an event. For example, "user clicks a button" is an event, and "user closes a window" is also an event. Each event will send a signal. For example, when the user clicks a button, it will send a signal of "button is clicked", and when the user closes the window, it will send a signal of "window is closed".
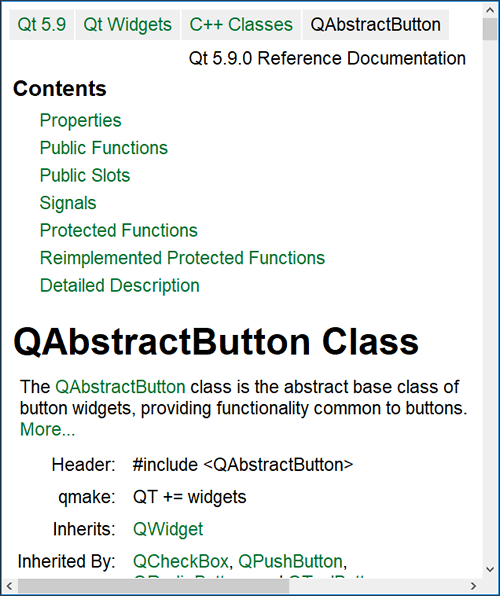
All controls in Qt have the ability to receive signals, and a control can also receive multiple different signals. For each signal received, the control will respond accordingly. For example, the window where the button is located will make a response action of "close yourself" after receiving the signal of "button is clicked"; For another example, after the input box receives the signal "the input box is clicked", it will make a response action of "display the flashing cursor and wait for the user to input data". In Qt, the response action to the signal is called slot. - Qt Creator provides a powerful Qt GUI development manual. It is easy to find out which signal functions and slot functions are contained in a control class. For example, the process of viewing the signal function and slot function in QPushButton class is as follows:
- Introduce the header file into the program, double-click to select "QPushButton" and press the shortcut key "Fn+F1", and the user manual of QPushButton class will pop up, as shown in the following figure.

- In the Contents section, you can see that the QPushButton class only provides some slot functions of the Public Slots attribute, not signal functions. For QPushButton buttons, you can use not only the slot function provided by your own class, but also the signal function and slot function inherited from the parent class. The parent class of QPushButton is QAbstractButton. Click QAbstractButton to directly jump to the user manual of this class, as shown in the following figure:
The connect() function implements signals and slots
connect() is a static member function in the QObject class, which is specially used to associate the specified signal function and slot function.
To correlate a signal function with a slot function, we need to find out the following four questions: who is the signal sender? Which is the signal function? Who is the receiver of the signal? Which is the slot function for receiving signals?
Still taking the "window closes after pressing the button" as an example, first create a window and a button, as shown below:
QWidget widget;
//Define a button that is located in the widget window
QPushButton But("Button control",&widget);
//The signal sender is the button object, and the signal to be sent is "button clicked", which can be represented by the clicked() signal function provided by QPush But ton class; The receiver of the signal is the widget main window object, and "window close" is the slot corresponding to the signal, which can be represented by the close() function provided by the QWidget class.
Before Qt5, the most common syntax format of the connect() function was:
QObject::connect(const QObject *sender, const char *signal, const QObject *receiver, const char *method, Qt::ConnectionType type = Qt::AutoConnection)
The meanings of each parameter are:
-
- Sender: Specifies the sender of the signal;
- Signal: Specifies the signal function, which must be enclosed by the SIGNAL() macro;
- Receiver: Specifies the receiver of the signal;
- method: Specifies the slot function of the received signal. The slot function must be enclosed by the SLOT() macro;
- type is used to specify the association method. The default association method is Qt::AutoConnection, which usually does not need to be set manually.
Use the connect() function to associate the clicked() signal function of the But button with the close() slot function of the widget window. The implementation code is as follows:
connect(&But, SIGNAL(clicked()), &widget, SLOT(close()));
In this way, the function of "pressing the button will close the window" is realized.
In Qt5, the connect() function introduces a new usage. The common syntax format is:
QObject::connect(const QObject *sender, PointerToMemberFunction signal, const QObject *receiver, PointerToMemberFunction method, Qt::ConnectionType type = Qt::AutoConnection)
Compared with the old version, the new connect() function improves the way of specifying the signal function and slot function, and no longer uses the SIGNAL() and SLOT() macros.
For example, the new connect() function is used to associate the clicked() signal function of the But button and the close() slot function of the widget window. The implementation code is:
connect(&But, &QPushButton::clicked, &widget, &QWidget::close);
As you can see, the syntax format of the new connect() function specifying the signal function and slot function is & + class of the function + function name.
A connect() function can only be associated with a signal function and a slot function. The program can contain multiple connect() functions, which can achieve the following effects:
-
- Associating a plurality of signal functions and a plurality of slot functions;
- A signal function can be associated with multiple slot functions. When a signal is sent, the associated slot functions will be executed one by one, but their execution order is random. No legal person specifies which to execute first and which to execute later;
- Multiple signal functions can be associated with the same slot function. No matter which signal is sent, the slot function will execute.
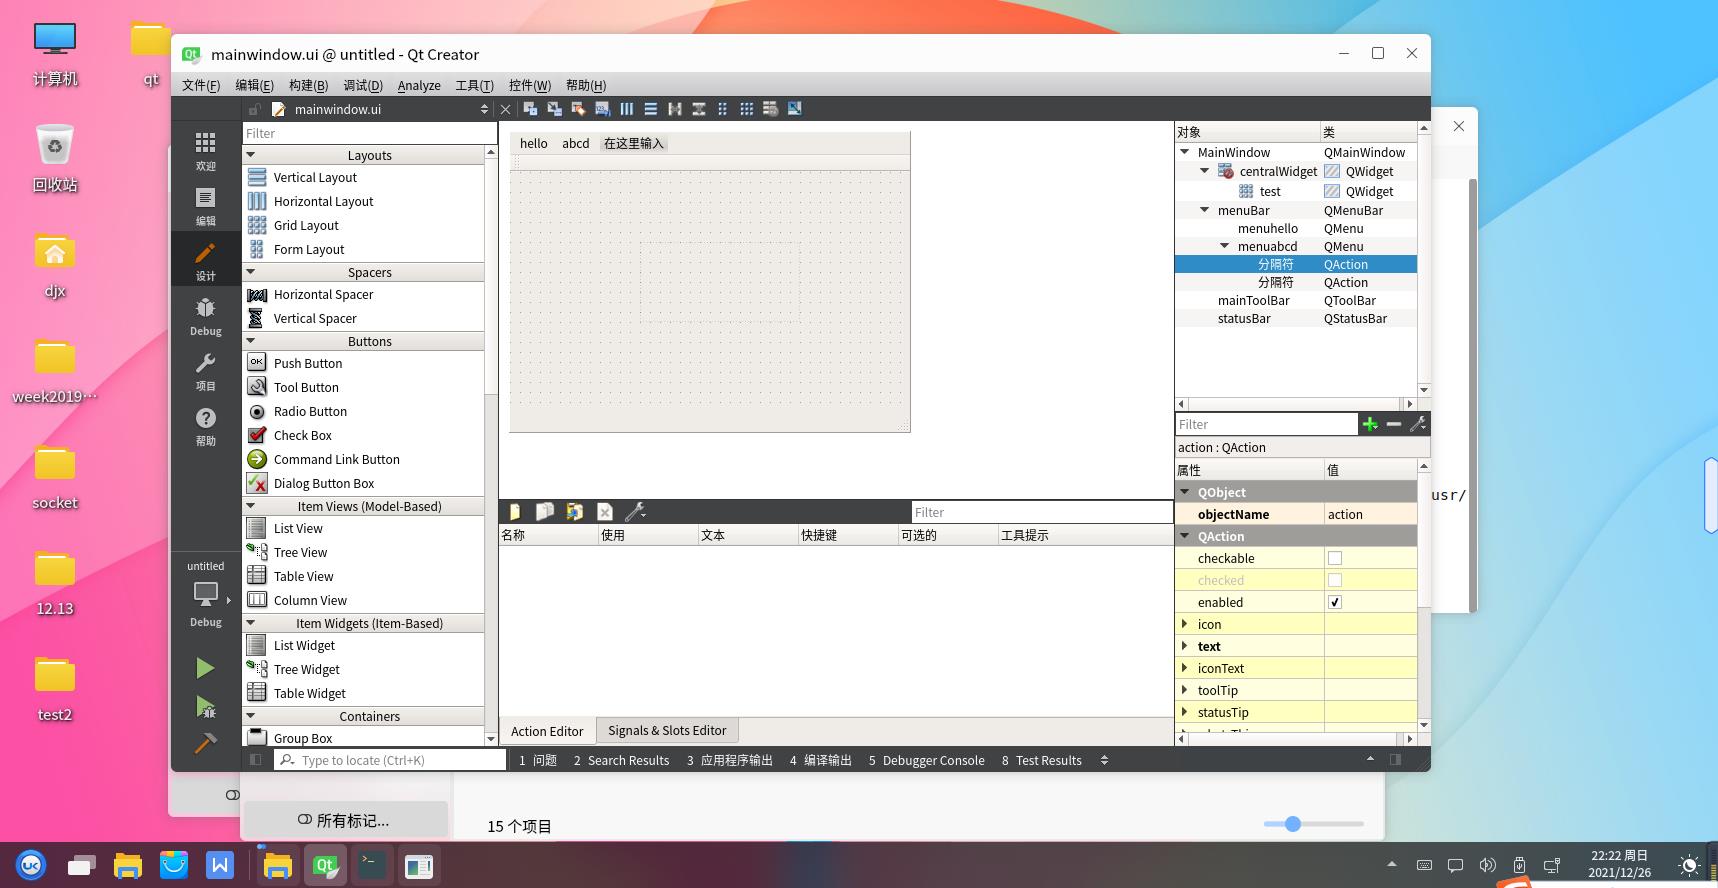
ui design
preliminary design

Final code
Click to view the code<?xml version="1.0" encoding="UTF-8"?>
<ui version="4.0">
<class>MainWindow</class>
<widget class="QMainWindow" name="MainWindow">
<property name="geometry">
<rect>
<x>0</x>
<y>0</y>
<width>665</width>
<height>718</height>
</rect>
</property>
<property name="windowTitle">
<string>MainWindow</string>
</property>
<widget class="QWidget" name="centralWidget">
<widget class="QTextBrowser" name="textBrowser">
<property name="geometry">
<rect>
<x>40</x>
<y>440</y>
<width>256</width>
<height>192</height>
</rect>
</property>
</widget>
<widget class="QTextBrowser" name="textBrowser_2">
<property name="geometry">
<rect>
<x>360</x>
<y>440</y>
<width>256</width>
<height>192</height>
</rect>
</property>
</widget>
<widget class="QLabel" name="label">
<property name="geometry">
<rect>
<x>460</x>
<y>400</y>
<width>54</width>
<height>18</height>
</rect>
</property>
<property name="text">
<string>ciphertext</string>
</property>
</widget>
<widget class="QLabel" name="label_2">
<property name="geometry">
<rect>
<x>140</x>
<y>400</y>
<width>54</width>
<height>18</height>
</rect>
</property>
<property name="text">
<string>Plaintext</string>
</property>
</widget>
<widget class="QPushButton" name="pushButton">
<property name="geometry">
<rect>
<x>280</x>
<y>360</y>
<width>80</width>
<height>26</height>
</rect>
</property>
<property name="text">
<string>encryption</string>
</property>
</widget>
<widget class="QLineEdit" name="lineEdit">
<property name="geometry">
<rect>
<x>220</x>
<y>40</y>
<width>221</width>
<height>26</height>
</rect>
</property>
</widget>
<widget class="QLineEdit" name="lineEdit_2">
<property name="geometry">
<rect>
<x>220</x>
<y>100</y>
<width>221</width>
<height>26</height>
</rect>
</property>
</widget>
<widget class="QToolButton" name="toolButton_2">
<property name="geometry">
<rect>
<x>470</x>
<y>40</y>
<width>24</width>
<height>25</height>
</rect>
</property>
<property name="text">
<string>...</string>
</property>
</widget>
<widget class="QToolButton" name="toolButton_3">
<property name="geometry">
<rect>
<x>470</x>
<y>100</y>
<width>24</width>
<height>25</height>
</rect>
</property>
<property name="text">
<string>...</string>
</property>
</widget>
<widget class="QLabel" name="label_3">
<property name="geometry">
<rect>
<x>140</x>
<y>50</y>
<width>54</width>
<height>18</height>
</rect>
</property>
<property name="text">
<string/>
</property>
</widget>
<widget class="QLabel" name="label_4">
<property name="geometry">
<rect>
<x>110</x>
<y>40</y>
<width>81</width>
<height>18</height>
</rect>
</property>
<property name="text">
<string>Sender's certificate</string>
</property>
</widget>
<widget class="QLabel" name="label_5">
<property name="geometry">
<rect>
<x>110</x>
<y>100</y>
<width>71</width>
<height>18</height>
</rect>
</property>
<property name="text">
<string>Recipient's certificate</string>
</property>
</widget>
<widget class="QToolButton" name="toolButton_4">
<property name="geometry">
<rect>
<x>470</x>
<y>150</y>
<width>24</width>
<height>25</height>
</rect>
</property>
<property name="text">
<string>...</string>
</property>
</widget>
<widget class="QLabel" name="label_6">
<property name="geometry">
<rect>
<x>110</x>
<y>160</y>
<width>81</width>
<height>18</height>
</rect>
</property>
<property name="text">
<string>Select plaintext file</string>
</property>
</widget>
<widget class="QLineEdit" name="lineEdit_3">
<property name="geometry">
<rect>
<x>220</x>
<y>150</y>
<width>221</width>
<height>26</height>
</rect>
</property>
</widget>
<widget class="QLabel" name="label_7">
<property name="geometry">
<rect>
<x>120</x>
<y>210</y>
<width>81</width>
<height>18</height>
</rect>
</property>
<property name="text">
<string>Input password</string>
</property>
</widget>
<widget class="QLineEdit" name="lineEdit_4">
<property name="geometry">
<rect>
<x>220</x>
<y>200</y>
<width>221</width>
<height>26</height>
</rect>
</property>
</widget>
<widget class="QPushButton" name="pushButton_2">
<property name="geometry">
<rect>
<x>460</x>
<y>200</y>
<width>41</width>
<height>26</height>
</rect>
</property>
<property name="text">
<string>confirm</string>
</property>
</widget>
<widget class="QLabel" name="label_8">
<property name="geometry">
<rect>
<x>120</x>
<y>270</y>
<width>81</width>
<height>18</height>
</rect>
</property>
<property name="text">
<string>IP address </string>
</property>
</widget>
<widget class="QLabel" name="label_9">
<property name="geometry">
<rect>
<x>130</x>
<y>320</y>
<width>81</width>
<height>18</height>
</rect>
</property>
<property name="text">
<string>port</string>
</property>
</widget>
<widget class="QLineEdit" name="lineEdit_5">
<property name="geometry">
<rect>
<x>220</x>
<y>260</y>
<width>221</width>
<height>26</height>
</rect>
</property>
</widget>
<widget class="QLineEdit" name="lineEdit_6">
<property name="geometry">
<rect>
<x>220</x>
<y>310</y>
<width>221</width>
<height>26</height>
</rect>
</property>
</widget>
<widget class="QPushButton" name="pushButton_3">
<property name="geometry">
<rect>
<x>460</x>
<y>260</y>
<width>41</width>
<height>26</height>
</rect>
</property>
<property name="text">
<string>confirm</string>
</property>
</widget>
<widget class="QPushButton" name="pushButton_4">
<property name="geometry">
<rect>
<x>460</x>
<y>310</y>
<width>41</width>
<height>26</height>
</rect>
</property>
<property name="text">
<string>confirm</string>
</property>
</widget>
</widget>
<widget class="QMenuBar" name="menuBar">
<property name="geometry">
<rect>
<x>0</x>
<y>0</y>
<width>665</width>
<height>23</height>
</rect>
</property>
</widget>
<widget class="QToolBar" name="mainToolBar">
<attribute name="toolBarArea">
<enum>TopToolBarArea</enum>
</attribute>
<attribute name="toolBarBreak">
<bool>false</bool>
</attribute>
</widget>
<widget class="QStatusBar" name="statusBar"/>
</widget>
<layoutdefault spacing="6" margin="11"/>
<resources/>
<connections/>
</ui>
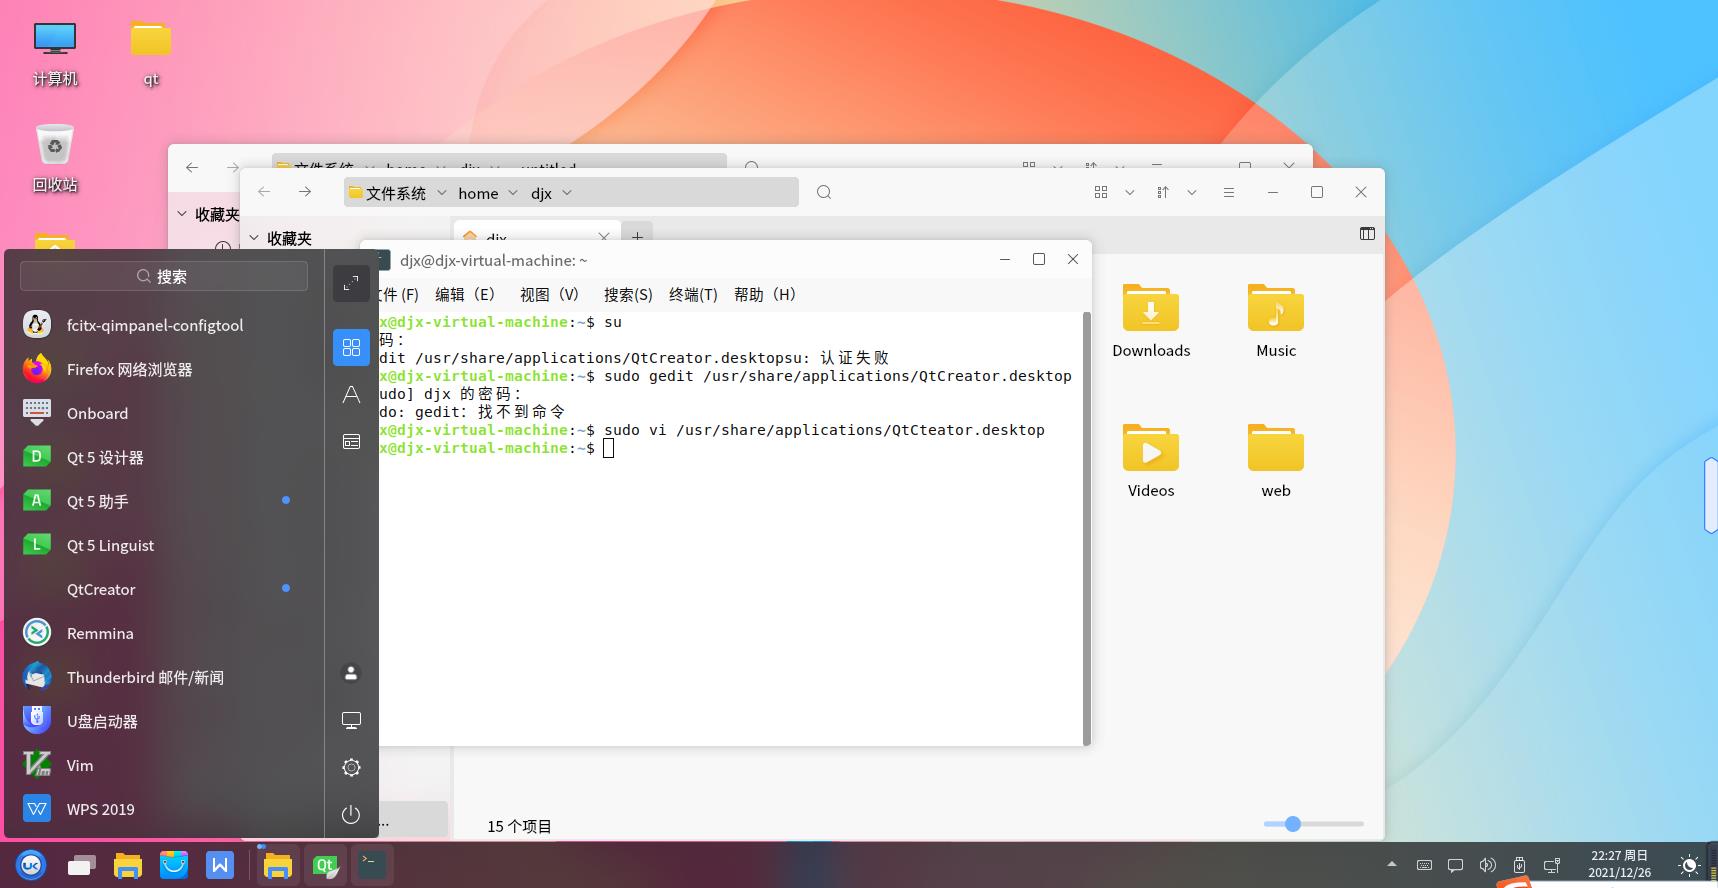
Problems encountered and Solutions
Question 1
There is no startup icon for Qt application software under Linux?
solve
After the Ubuntu source code compilation and installation of Qt, the icon is not automatically created. Each time you start, you need to enter the directory to run the script, which is more troublesome. You can start quickly by creating a shortcut similar to windows system.
Shortcuts are generally in It is named after the desktop suffix and saved to the / usr/share/applications directory. It has a fixed syntax, but the following commands can be used for common application shortcuts:
[Desktop Entry]
Encoding=UTF-8
Name=Name of the software
Comment=Software notes
Exec=Startup script path
Icon=Software icon
Terminal=Open terminal
StartupNotify=true
Type=Software category
Categories=classification
Create Qt5 9 shortcut:
[Desktop Entry]
Encoding=UTF-8
Name=QtCreator
Comment=QtCreator
Exec=/home/jianwang16/Qt5.9.0/Tools/QtCreator/bin/qtcreator  //According to the installation path of your computer
Icon=/home/jianwang16/Qt5.9.0/5.9/Src/qtdoc/doc/src/images/qt-logo.png
Terminal=false
StartupNotify=true
Type=Application
Categories=Application;
View icon:
Find the icon in / usr/share/applications directory and manually drag it to the startup bar.

Question 2
cannot find -lGL error
solve
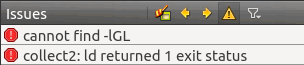
This is because Qt cannot find the OpenGL dynamic link library (libGL.so). OpenGL is installed by default in most Linux distributions, including Ubuntu, CentOS, etc. if the link library cannot be found, the path is generally wrong.
Qt finds the dynamic link library in / usr/lib / directory by default, but many Linux distributions put the OpenGL link library in other directories. For example, I use CentOS 7, and the OpenGL link library is located in / usr/lib64 / directory, while for Ubuntu, the OpenGL link library is located in / usr/lib / i386 Linux GNU / Mesa / directory. As long as we put LIBGL Copy so to the / usr/lib / directory, or LIBGL in the / usr/lib / directory So create a link to solve the problem. Obviously, the second method is better.
In addition, the OpenGL link library that comes with the Linux distribution adds a version number to the suffix, such as LIBGL so. 1,libGL.so.1.2.0,libGL.so.1.3.1, etc., but the OpenGL link library found by Qt in the link phase does not have a version number.
In general, we need to create a link for the OpenGL link library in the / usr/lib / directory and remove the version number.
If you don't know LIBGL in the current Linux system The specific path of so can be found by using the locate libGL command or the find /usr -name libGL * command, and then use ln -s to create a link.
#Find the location of libGL
[root@localhost ~]# locate libGL
/usr/lib64/libGL.so
/usr/lib64/libGL.so.1
/usr/lib64/libGL.so.1.2.0
/usr/share/doc/mesa-libGL-9.2.5
/usr/share/doc/mesa-libGL-9.2.5/COPYING

#create link
[root@localhost ~]# ln -s /usr/lib64/libGL.so.1 /usr/lib/libGL.so
There may be multiple versions of LIBGL in Linux systems So, just create a link for any version. Ordinary users don't have permission to create links, so I use root.
After completing the above operations, start Qt again, and then compile or run, there will be no "cannot find -lGL" error.