Environmental preparation
| number | host name | type | user | IP |
|---|---|---|---|---|
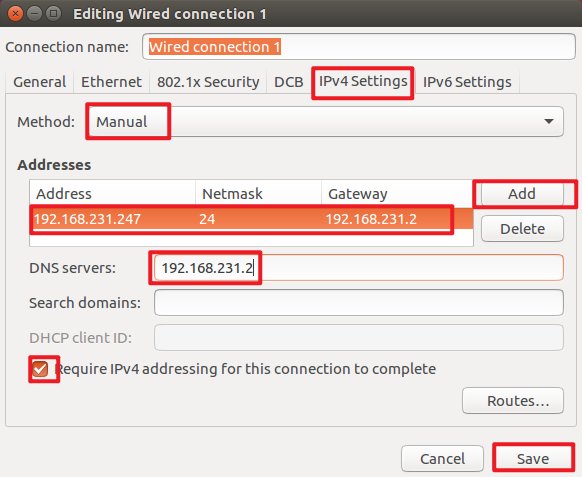
| 1 | master | Master node | root | 192.168.231.247 |
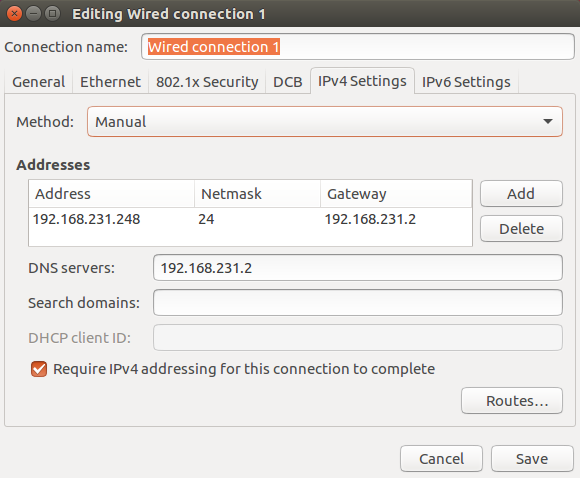
| 2 | slave1 | Slave node | root | 192.168.231.248 |
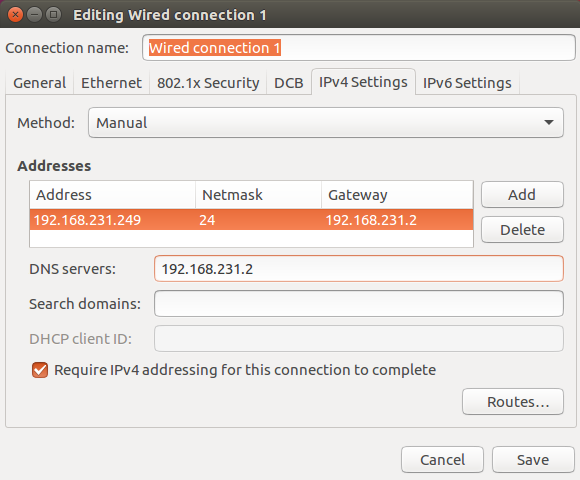
| 3 | slave2 | Slave node | root | 192.168.231.249 |
Environment construction
1, Basic configuration
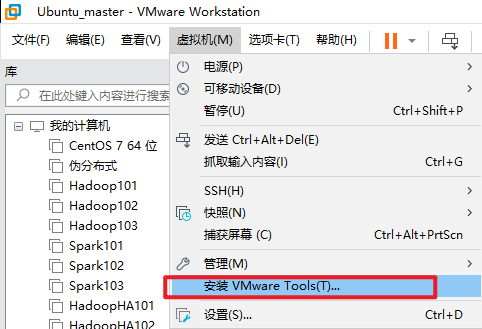
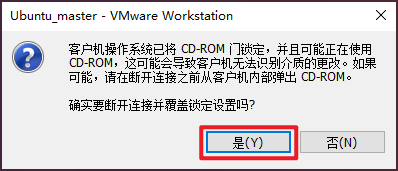
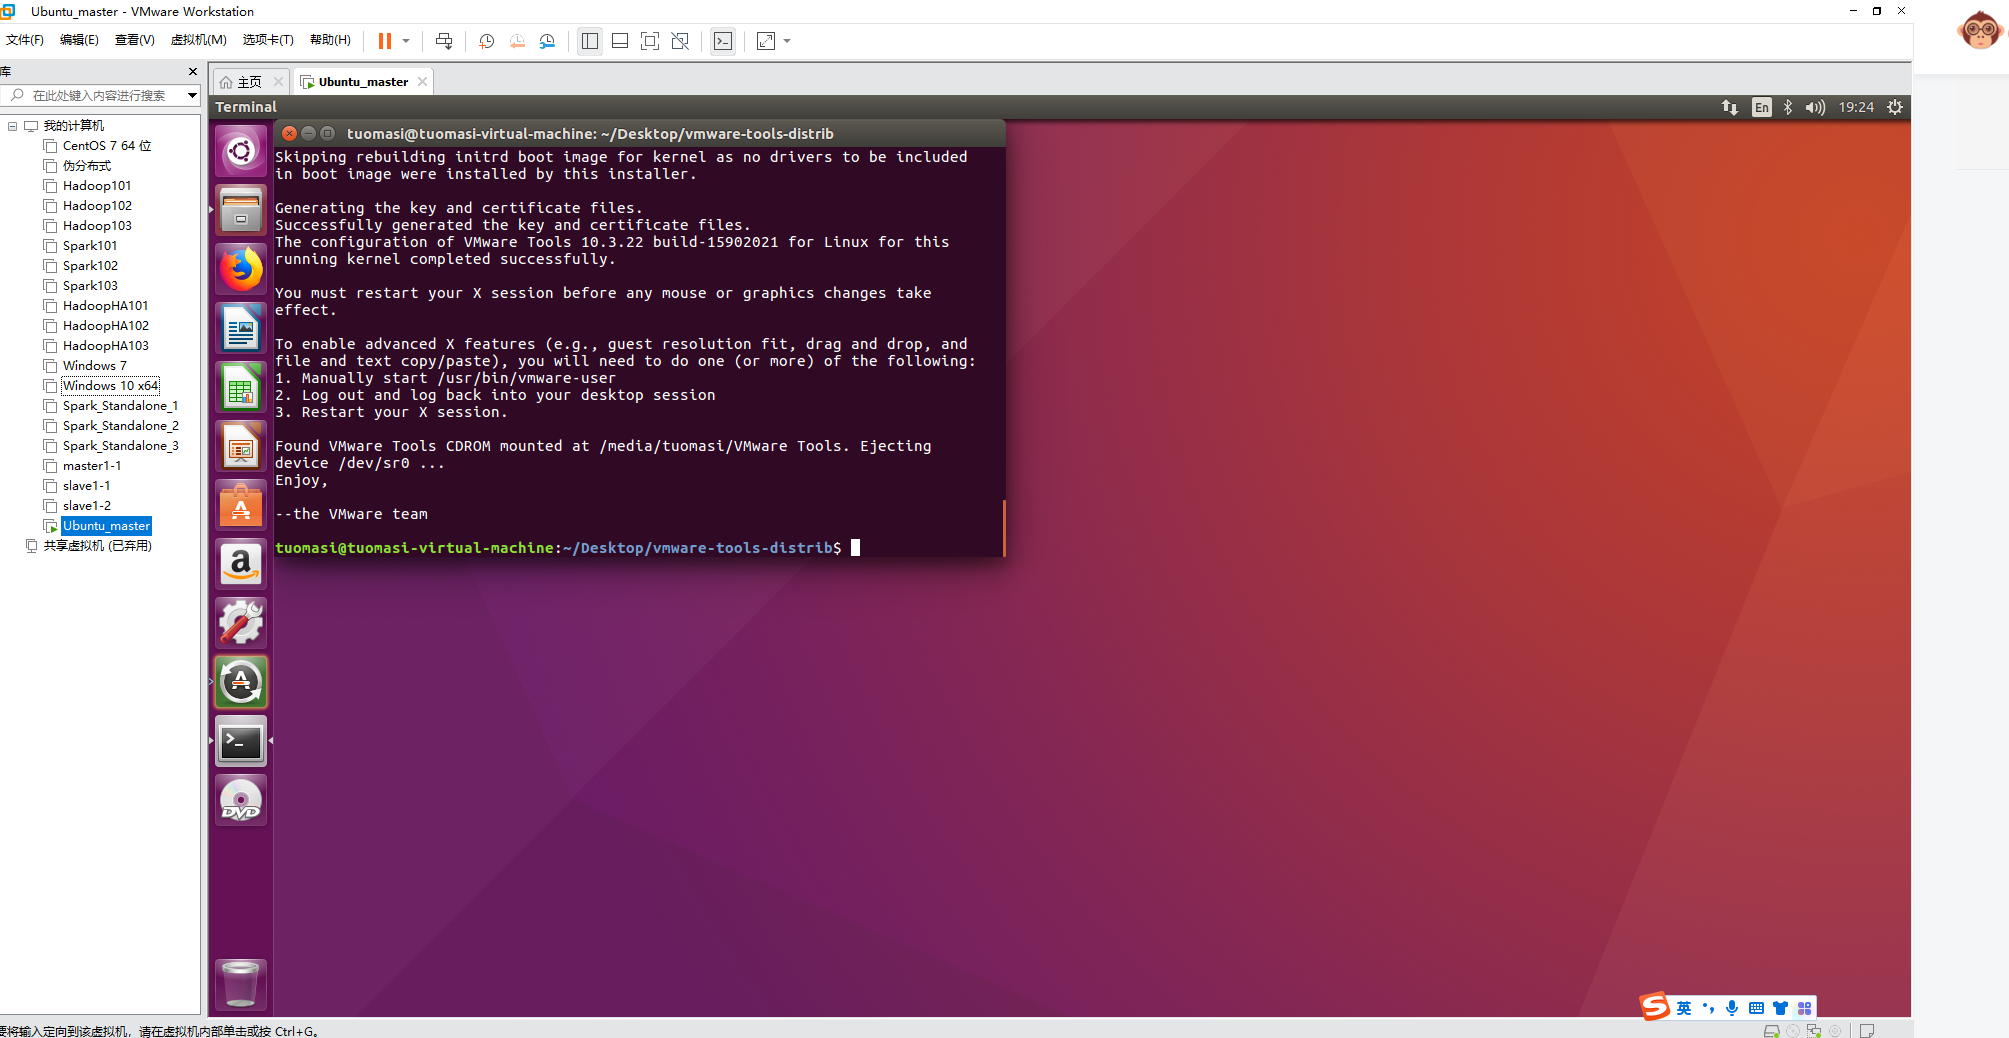
1. Install VMware tools
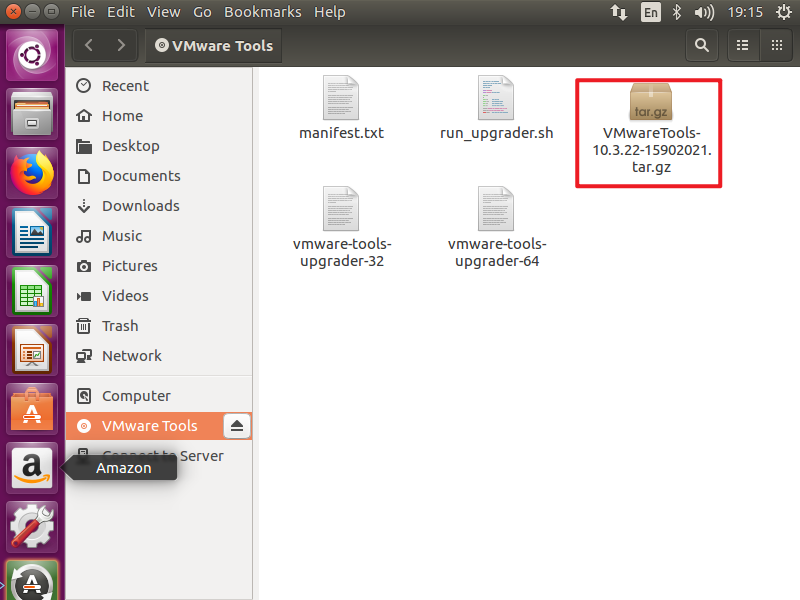
Copy it to the desktop

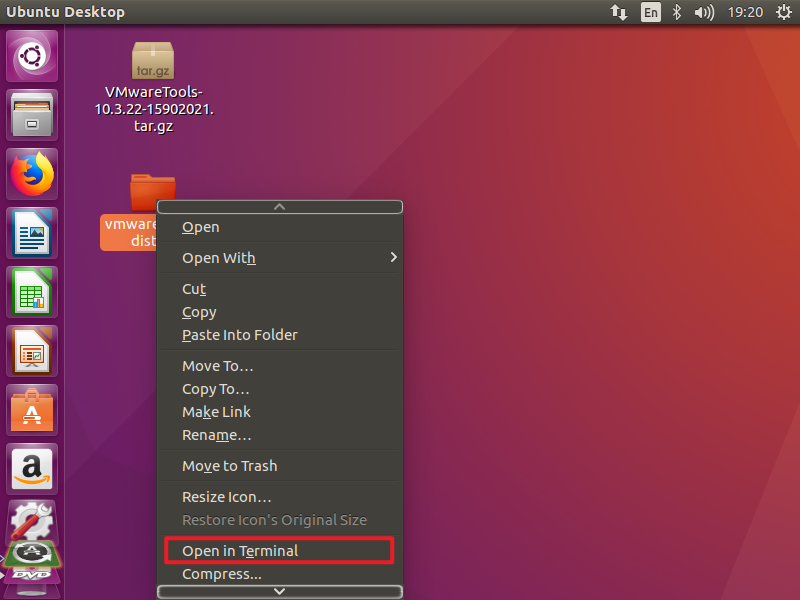
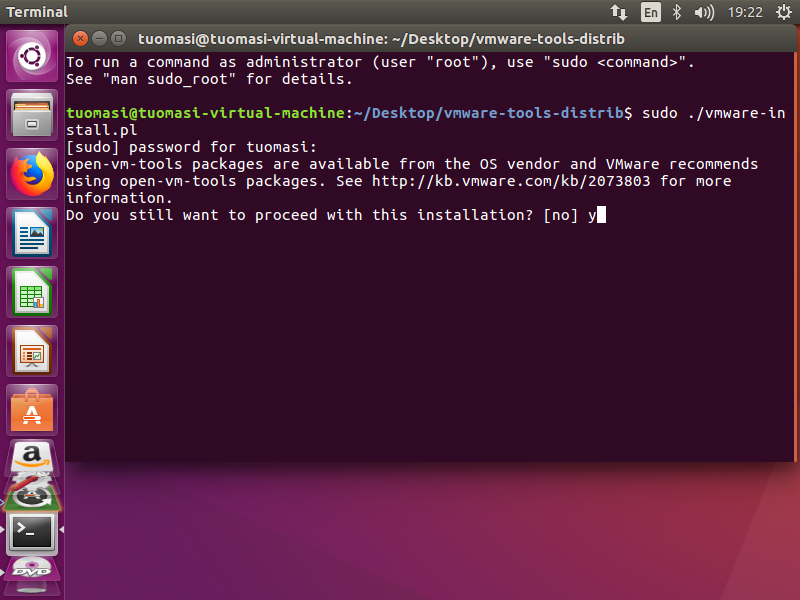
Note: Press' Enter 'when prompted, and enter yes when' yes/no 'is encountered
The effect after installing Tools is shown in the figure
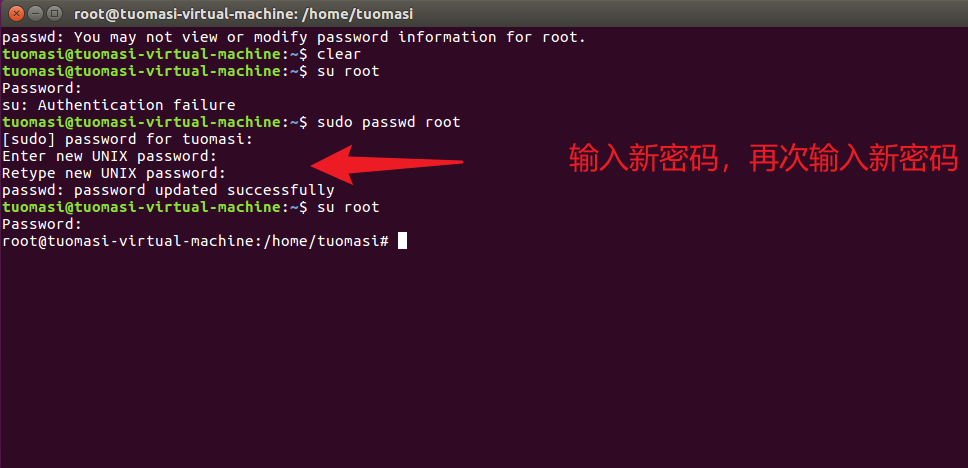
2. Modify the root password
3. Update apt and install vim compiler
apt-get update
apt-get install vim

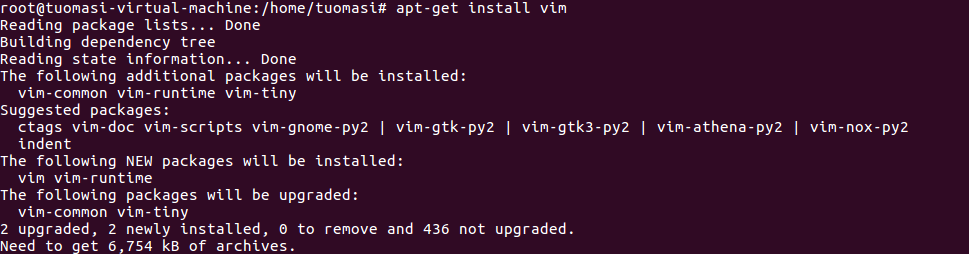
Note: vim compiler is more user-friendly and convenient than vi compiler}, and has the function of highlighting keywords
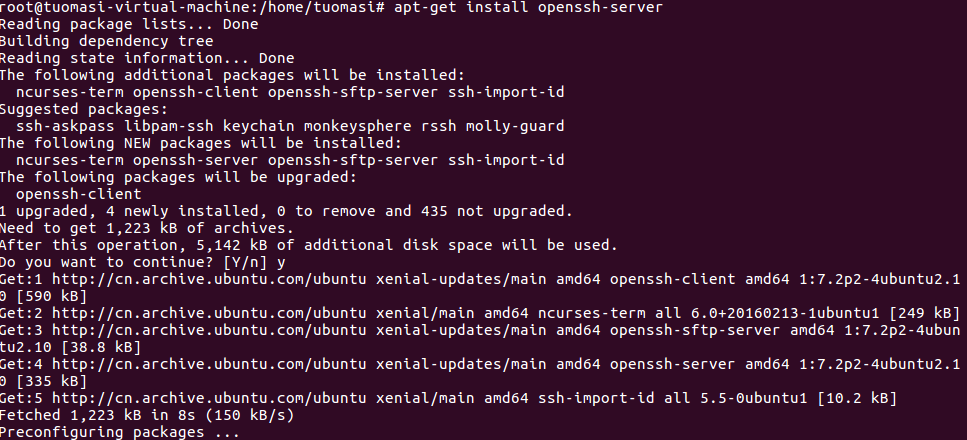
4. Install ssh service
apt-get install openssh-server
5. Modify the ssh configuration file to allow root to log in remotely
vim /etc/ssh/sshd_config
Before change:

After change:

Note: change the proxy password , to , yes
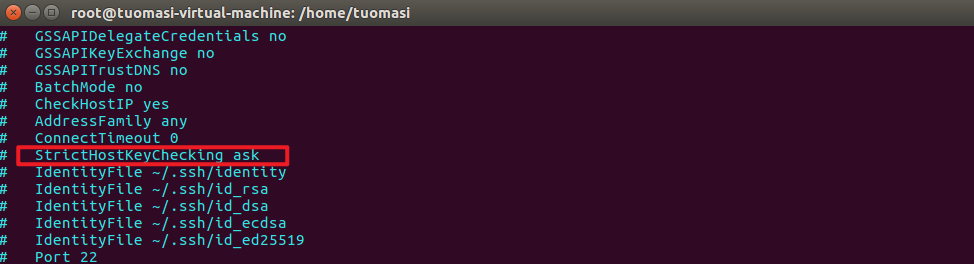
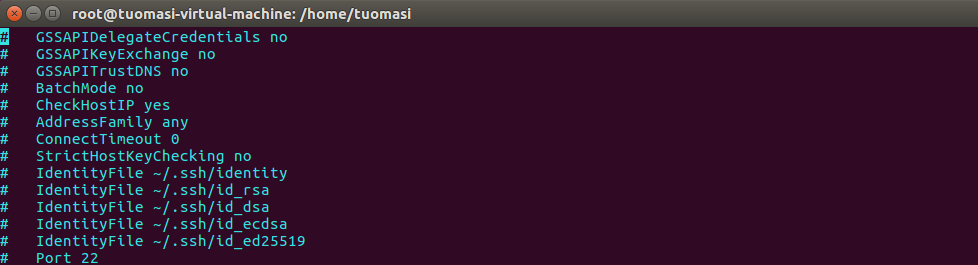
6. Remove the initial inquiry
vi /etc/ssh/ssh_config
Before change:
After change:
7. Close the firewall
ufw disable
ufw status

8. Environment configuration
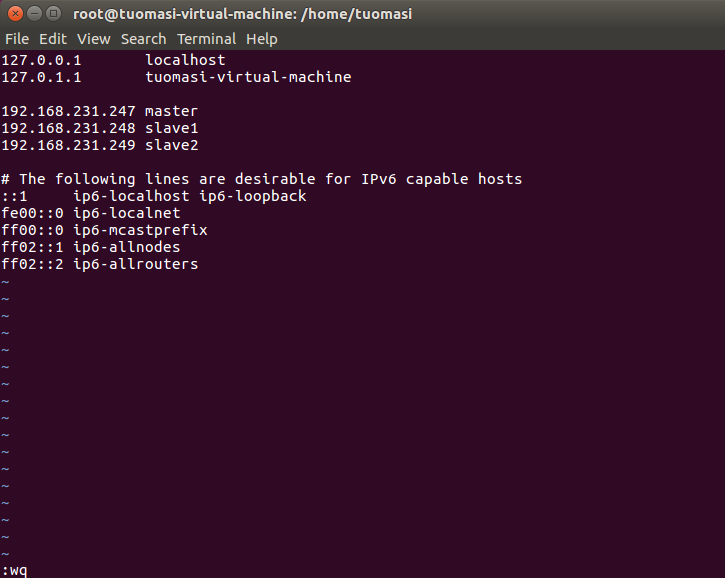
(1) Modify hosts file
vim /etc/hosts
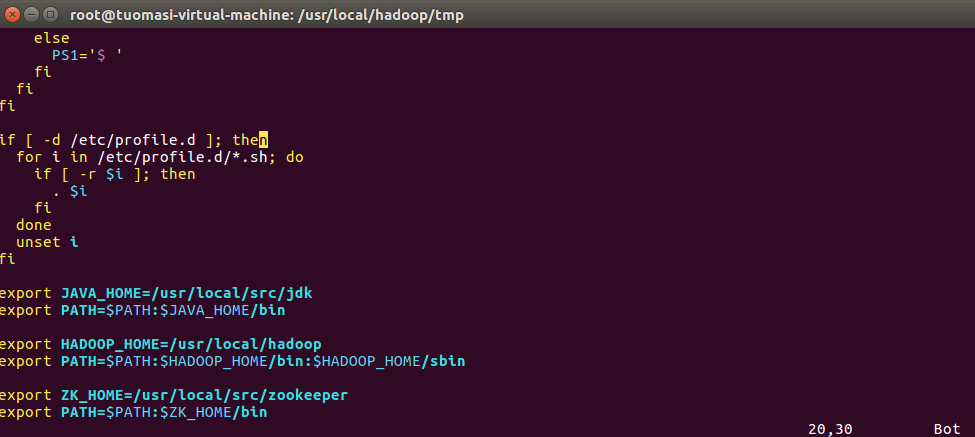
(2) Add environment variable
vim /etc/profile
(3) Unzip jdk
tar -zxvf jdk1.8.0_221.tar.gz -C /usr/local/src/
Rename it jdk
mv jdk1.8.0_221 jdk

(4) hadoop configuration
tar -zxvf hadoop-2.7.1.tar.gz -C /usr/local/
Rename it hadoop
mv hadoop-2.7.1 hadoop

Create the tmp and logs directories under the hadoop installation directory
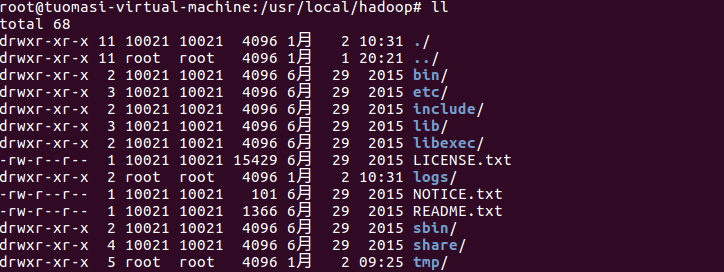
Create the data and name and journal directories in the tmp directory

Enter the hadoop configuration file directory to modify the configuration file
hadoop-env.sh core-site.xml hdfs-site.xml mapred-site.xml yarn-site.xml yarn-env.sh slaves
Hadoop env SH and yen env SH only needs to modify the jdk path
hadoop-env.sh

yarn-env.sh
Note: yarn env The jdk path in the SH file needs to be uncommented, otherwise it will not take effect
core-site.xml
<configuration>
<property>
	<name>fs.defaultFS</name>
	<value>hdfs://mycluster</value>
 </property>
 <property>
	<name>hadoop.tmp.dir</name>
	<value>/usr/local/hadoop/tmp</value>
 </property>
 <property>
	<name>ha.zookeeper.quorum</name>
	<value>master:2181,slave1:2181,slave2:2181</value>
 </property>
 <property>
	<name>ha.zookeeper.session-timeout.ms</name>
	<value>30000</value>
 <description>ms</description>
 </property>
 <property>
	<name>fs.trash.interval</name>
	 <value>1440</value>
 </property>
</configuration>
hdfs-site.xml
<configuration>
 <property>
 <name>dfs.qjournal.start-segment.timeout.ms</name>
 <value>60000</value>
 </property>
 <property>
 <name>dfs.nameservices</name>
 <value>mycluster</value>
 </property>
 <property>
 <name>dfs.ha.namenodes.mycluster</name>
 <value>master,slave1</value>
 </property>
 <property>
 <name>dfs.namenode.rpc-address.mycluster.master</name>
 <value>master:9000</value>
 </property>
 <property>
 <name>dfs.namenode.rpc-address.mycluster.slave1</name>
 <value>slave1:9000</value>
 </property>
 <property>
 <name>dfs.namenode.http-address.mycluster.master</name>
 <value>master:50070</value>
 </property>
 <property>
 <name>dfs.namenode.http-address.mycluster.slave1</name>
 <value>slave1:50070</value>
 </property>
 <property>
 <name>dfs.namenode.shared.edits.dir</name>
 <value>qjournal://master:8485;slave1:8485;slave2:8485/mycluster</value>
 </property>
 <property>
 <name>dfs.client.failover.proxy.provider.mycluster</name>

<value>org.apache.hadoop.hdfs.server.namenode.ha.ConfiguredFailoverProxyProvider</value>
 </property>
 <property>
 <name>dfs.ha.fencing.methods</name>
 <value>
 sshfence
 shell(/bin/true)
 </value>
 </property>
 <property>
 <name>dfs.permissions.enabled</name>
 <value>false</value>
 </property>
 <property>
 <name>dfs.support.append</name>
 <value>true</value>
 </property>
 <property>
 <name>dfs.ha.fencing.ssh.private-key-files</name>
 <value>/root/.ssh/id_rsa</value>
 </property>
 <property>
 <name>dfs.replication</name>
 <value>2</value>
 </property>
 <property>
 <name>dfs.namenode.name.dir</name>
 <value>/usr/local/hadoop/tmp/name</value>
 </property>
 <property>
 <name>dfs.datanode.data.dir</name>
 <value>/usr/local/hadoop/tmp/data</value>
 </property>
 <property>
 <name>dfs.journalnode.edits.dir</name>
 <value>/usr/local/hadoop/tmp/journal</value>
 </property>
 <property>
 <name>dfs.ha.automatic-failover.enabled</name>
 <value>true</value>
 </property>
 <property>
 <name>dfs.webhdfs.enabled</name>
 <value>true</value>
 </property>
 <property>
 <name>dfs.ha.fencing.ssh.connect-timeout</name>
 <value>30000</value>
 </property>
 <property>
 <name>ha.failover-controller.cli-check.rpc-timeout.ms</name>
 <value>60000</value>
 </property>
</configuration>
mapred-site.xml
<configuration>
 <property>
	<name>mapreduce.framework.name</name>
	<value>yarn</value>
</property>
 <property>
	<name>mapreduce.jobhistory.address</name>
	<value>master:10020</value>
 </property>
 <property>
	<name>mapreduce.jobhistory.webapp.address</name>
	<value>master:19888</value>
 </property>
</configuration>
yarn-site.xml
<configuration>
<property>
	<name>yarn.resourcemanager.ha.enabled</name>
	<value>true</value>
 </property>
 <property>
	<name>yarn.resourcemanager.cluster-id</name>
	<value>yrc</value>
 </property>
 <property>
	<name>yarn.resourcemanager.ha.rm-ids</name>
	<value>rm1,rm2</value>
 </property>
 <property>
	<name>yarn.resourcemanager.hostname.rm1</name>
	<value>master</value>
 </property>
 <property>
	<name>yarn.resourcemanager.hostname.rm2</name>
	<value>slave1</value>
 </property>
 <property>
	<name>yarn.resourcemanager.zk-address</name>
	<value>master:2181,slave1:2181,slave2:2181</value>
 </property>
 <property>
	<name>yarn.nodemanager.aux-services</name>
	<value>mapreduce_shuffle</value>
 </property>
 <property>
	<name>yarn.log-aggregation-enable</name>
	<value>true</value>
</property>
 <property>
	<name>yarn.log-aggregation.retain-seconds</name>
	<value>86400</value>
 </property>
 <property>
	<name>yarn.resourcemanager.recovery.enabled</name>
	<value>true</value>
 </property>
 <property>
	<name>yarn.resourcemanager.store.class</name>
	<value>org.apache.hadoop.yarn.server.resourcemanager.recovery.ZKRMStateStore</value>
 </property>
</configuration>
slaves
master
slave1
slave2
(5) zookeeper configuration
Unzip zookeeper
tar -zxvf zookeeper-3.4.8.tar.gz -C /usr/local/src/
Rename it zookeeper
mv zookeeper-3.4.8 zookeeper
Create logs directory and data directory under the zookeeper installation directory

Create a myid file in the data directory and write the content "1"

Enter the zookeeper/conf directory and rename {zoo_sample.cfg = zoo cfg

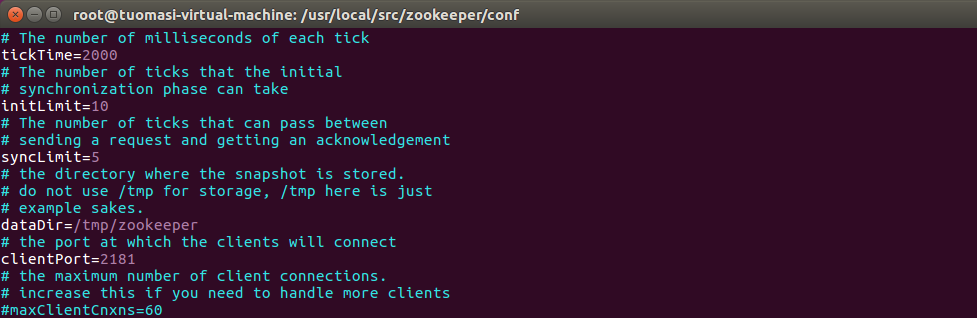
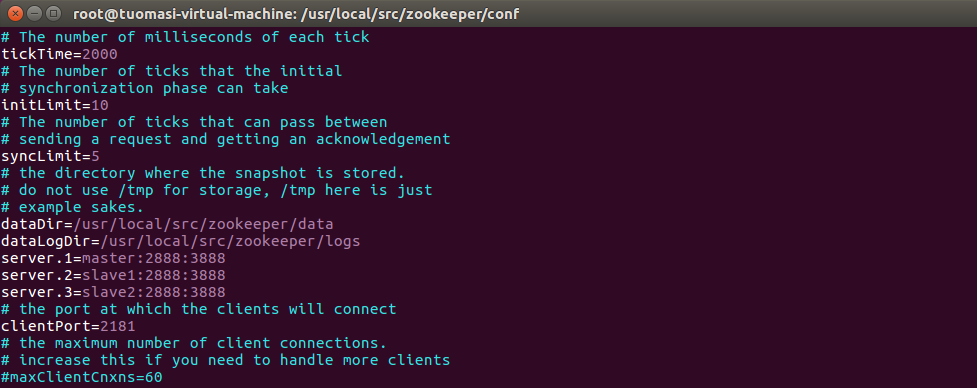
Edit zoo Cfg file
Before modification:
After modification:
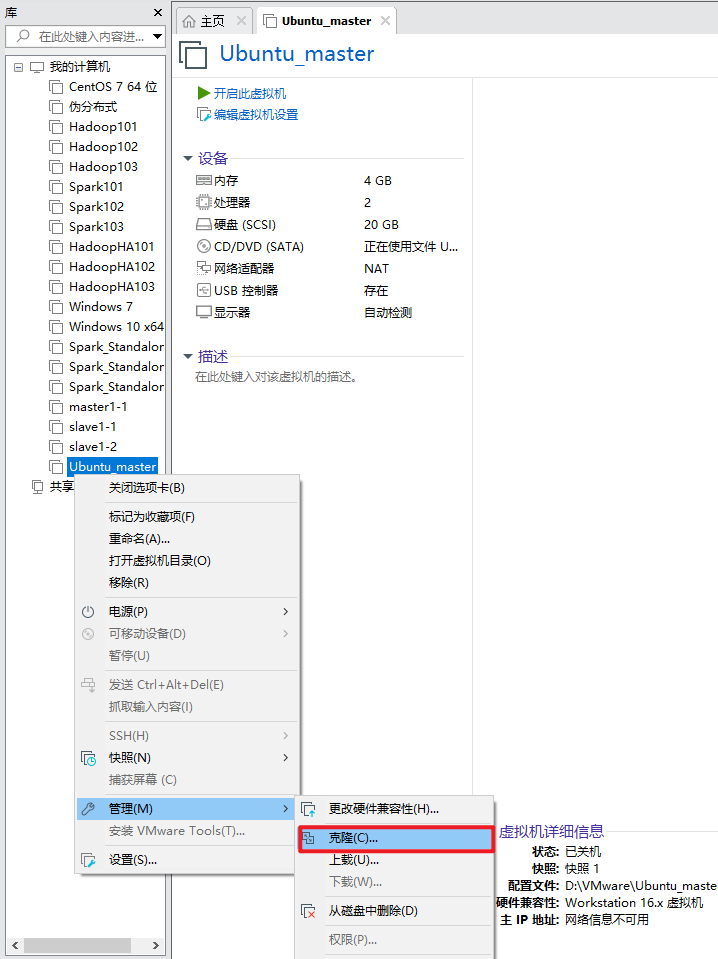
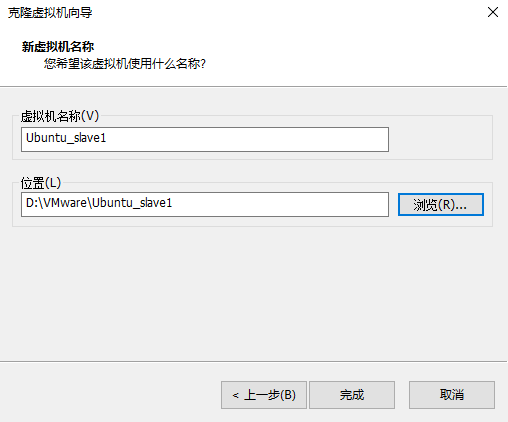
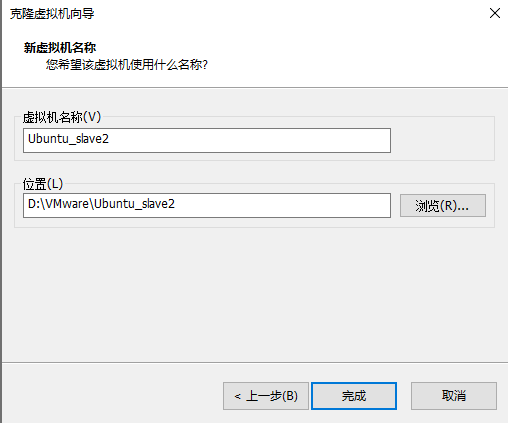
2, Cluster construction of three machines
1. Clone another two virtual machines in the shutdown state
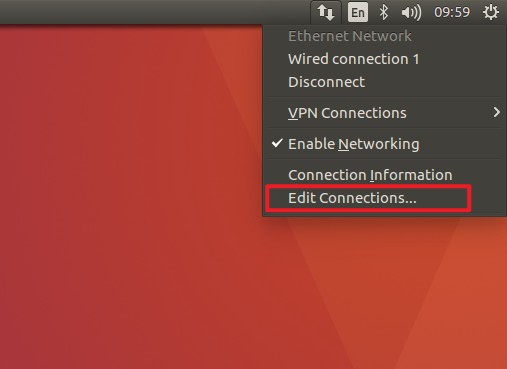
2. Modify the static IP address of the three machines respectively
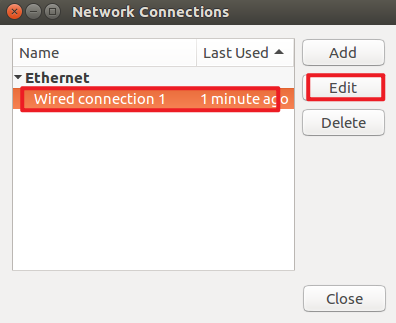
3. Restart the network service of the three machines
service networking restart
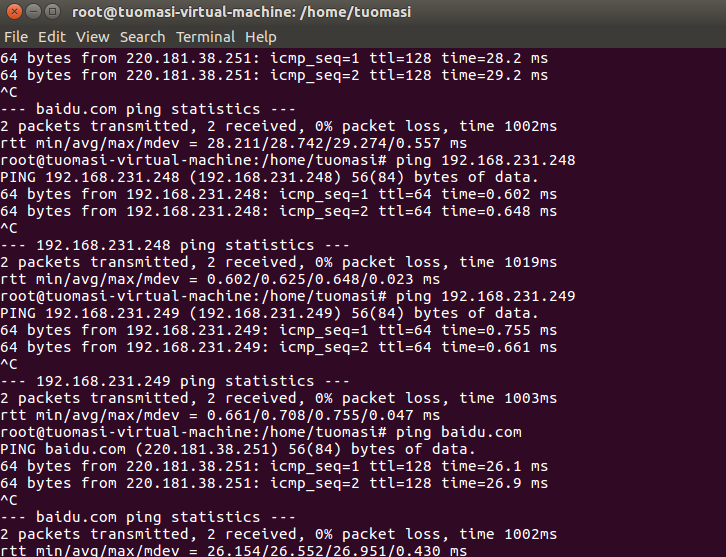
4. Inspection of Intranet and Extranet
5. Modify the host names of the three machines respectively
hostnamectl set-hostname master
hostnamectl set-hostname slave1
hostnamectl set-hostname slave2
6. Modify the zookeeper/data/myid files of the other two machines to 2 and 3 respectively


7. Restart the three machines
reboot
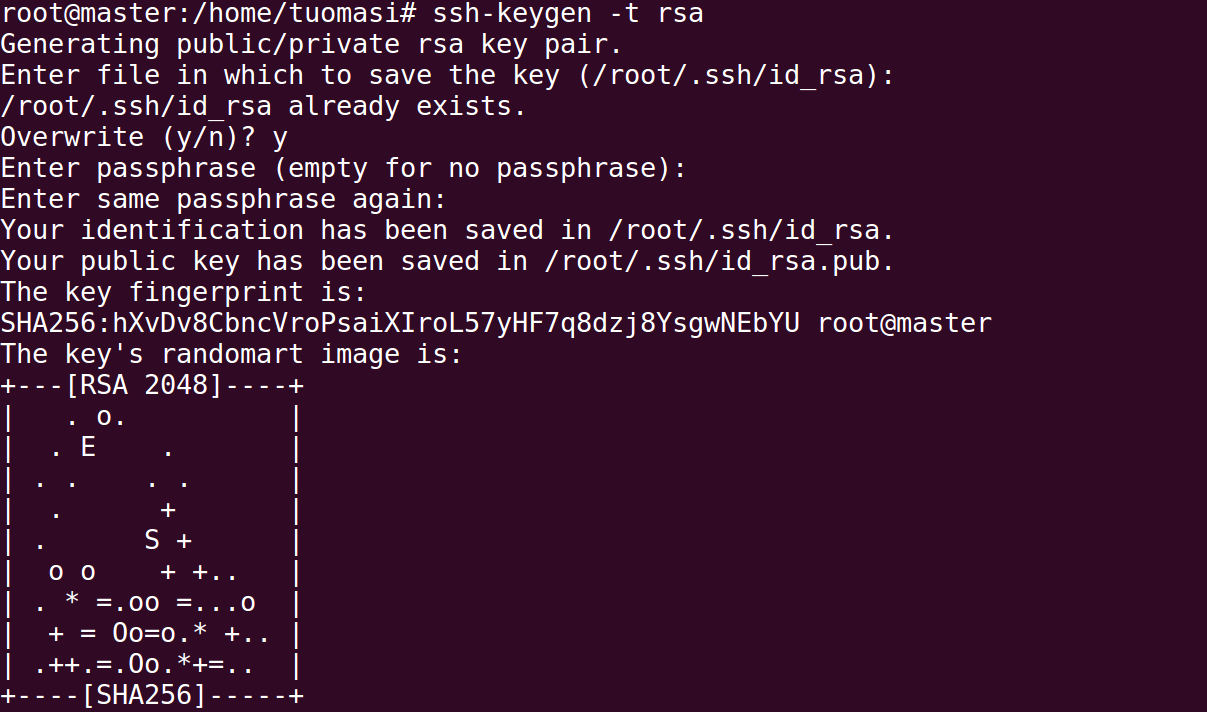
8. Set ssh password free
Generate key
ssh-keygen -t rsa
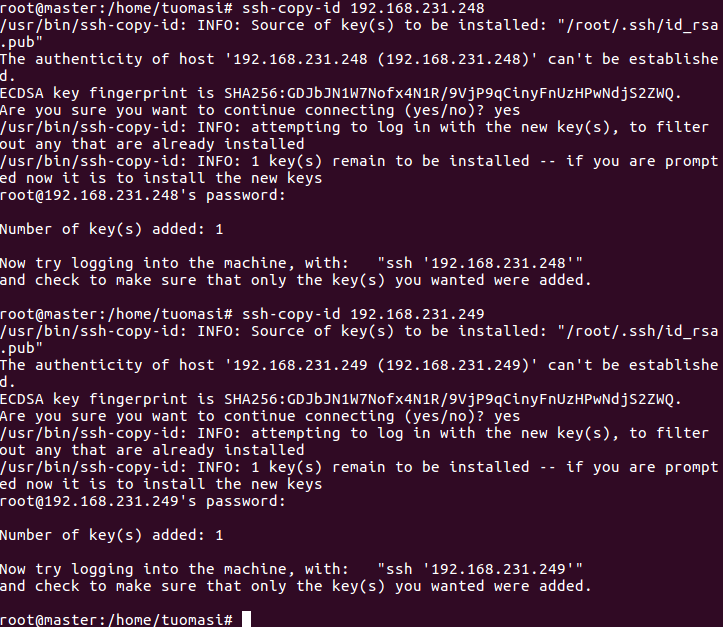
Distribution key
ssh-copy-id 192.168.231.248
ssh-copy-id 192.168.231.249
9. Make the environment variables of the three machines effective
source /etc/profile
10. Start the zookeeper cluster of three machines
bin/zkServer.sh start
bin/zkServer.sh status


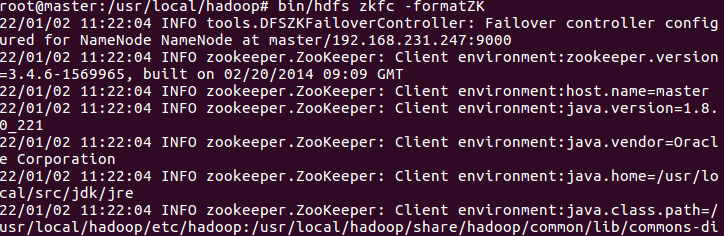
11. Format the status of zookeeper in HA
bin/hdfs zkfc -formatZK
12. Start the journalnode process of the three machines
sbin/hadoop-daemon.sh start journalnode


13. Format namenode
bin/hdfs namenode -format
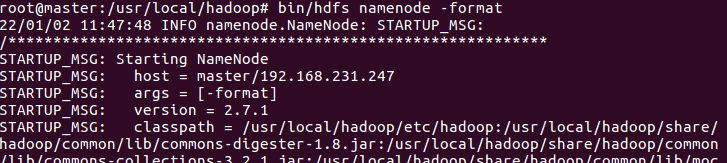
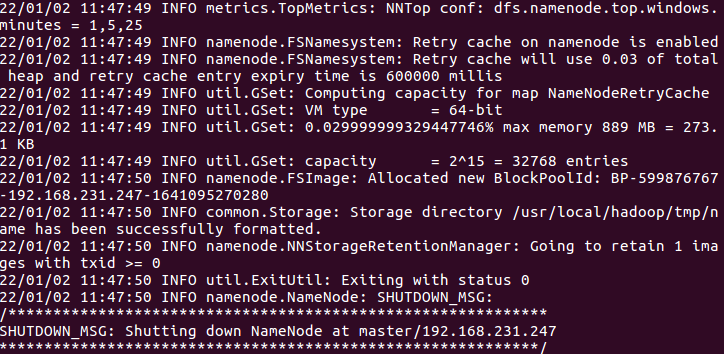
Note: observe whether there is any error message, whether the status is 0, 0 means successful initialization, 1 means error, and check whether there is an error in the configuration file
14. Start all hadoop processes
sbin/start-all.sh


15. Format master-slave nodes
Copy the namenode metadata to the slave node
scp -r /usr/local/hadoop/tmp/* slave1:/usr/local/hadoop/tmp/
scp -r /usr/local/hadoop/tmp/* slave2:/usr/local/hadoop/tmp/

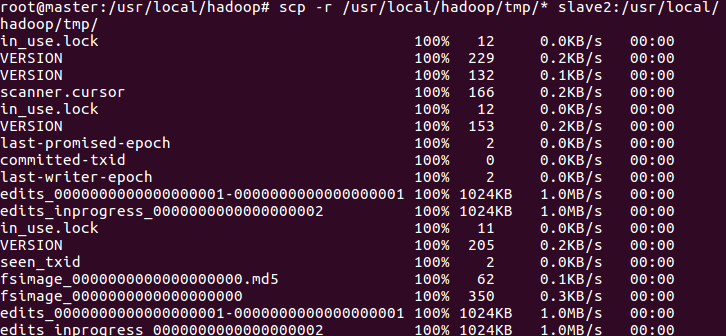
Note: since all the data of namenode, datanode and journalnode are stored in hadoop/tmp directory, the TMP directory is directly copied to the slave node
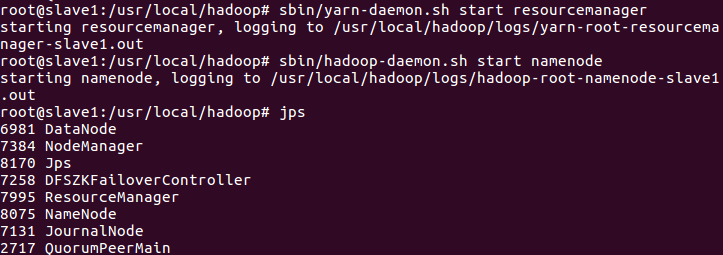
16. Start the resourcemanager and namenode processes of slave1
sbin/yarn-daemon.sh start resourcemanager
sbin/hadoop-daemon.sh start namenode
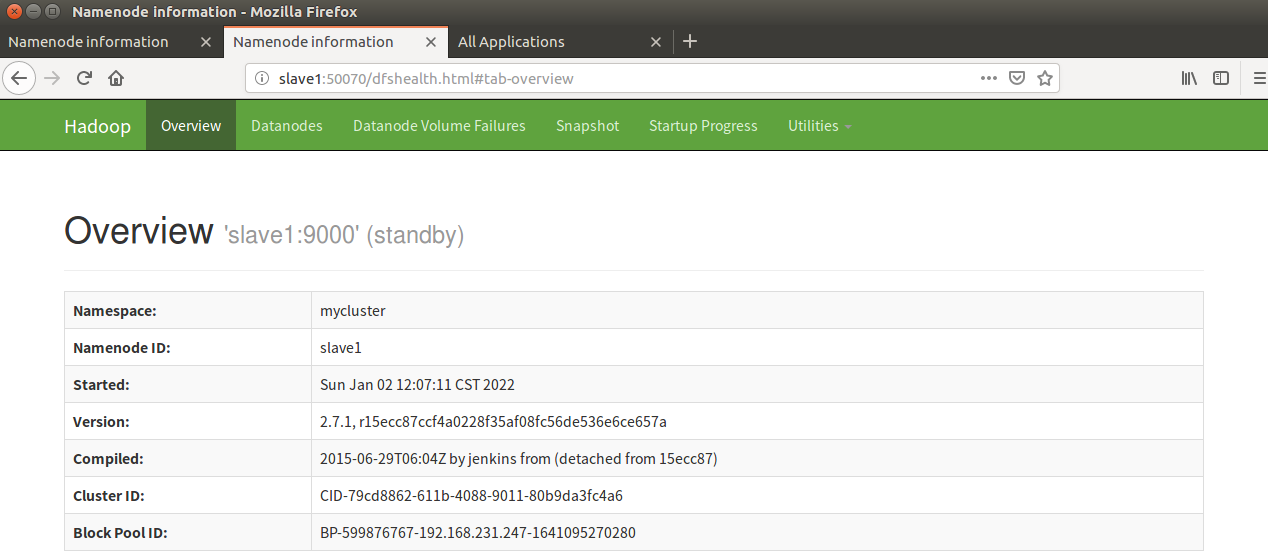
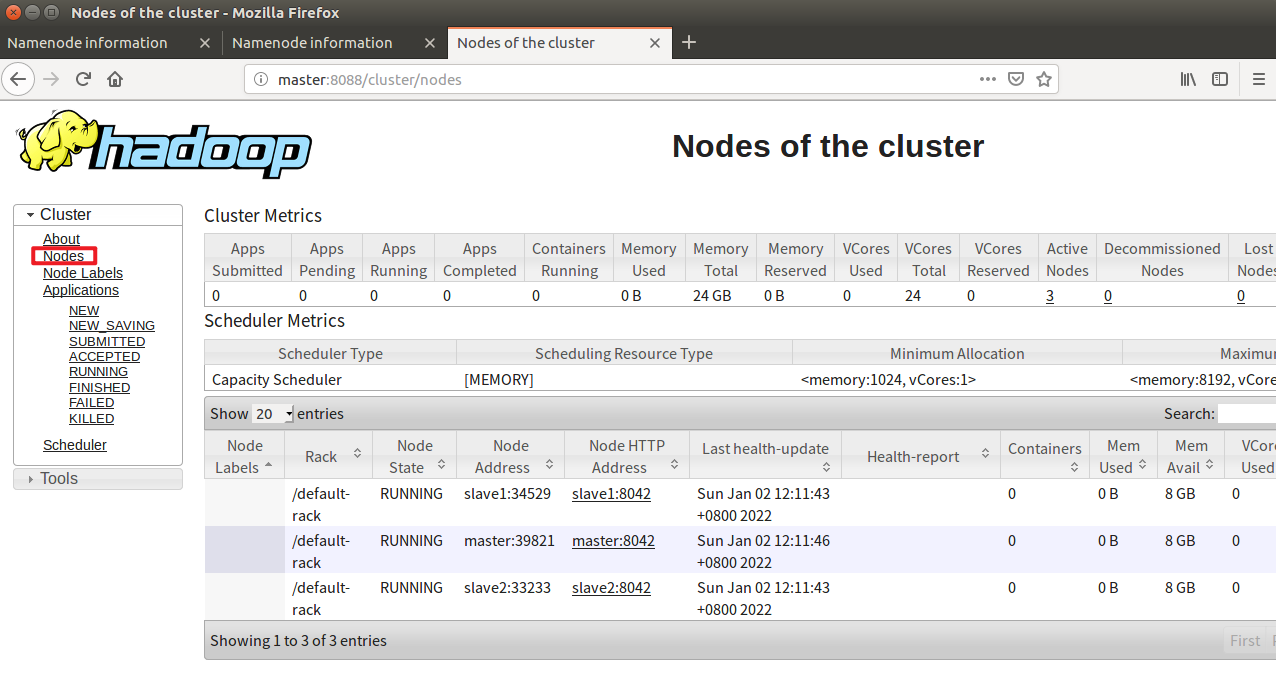
17. Visit the web pages of resource manager and namenode
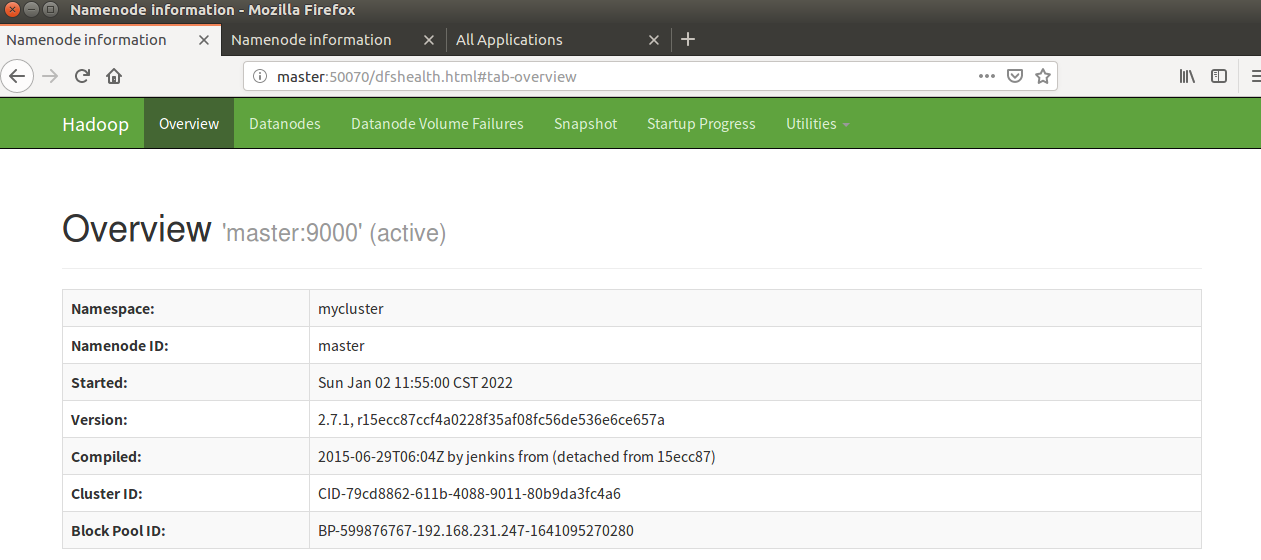
18. Kill the namenode on the master side (simulate the HA failover after the Master goes down)
kill -9 (namenode Process number)
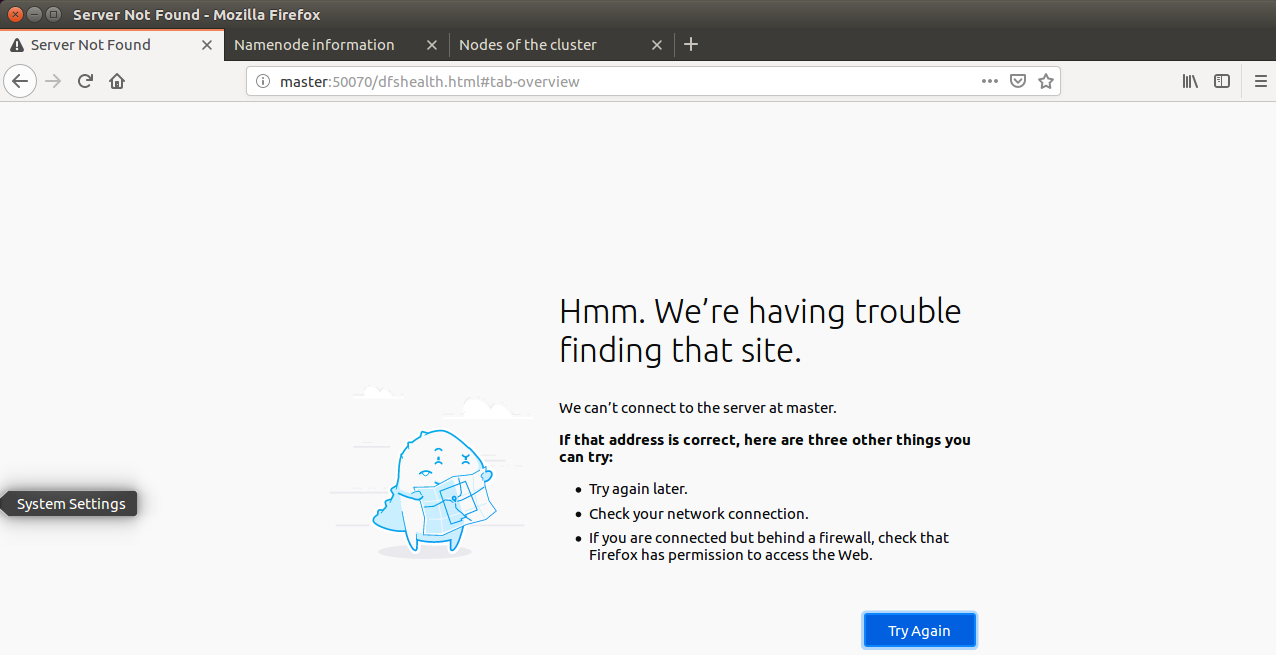
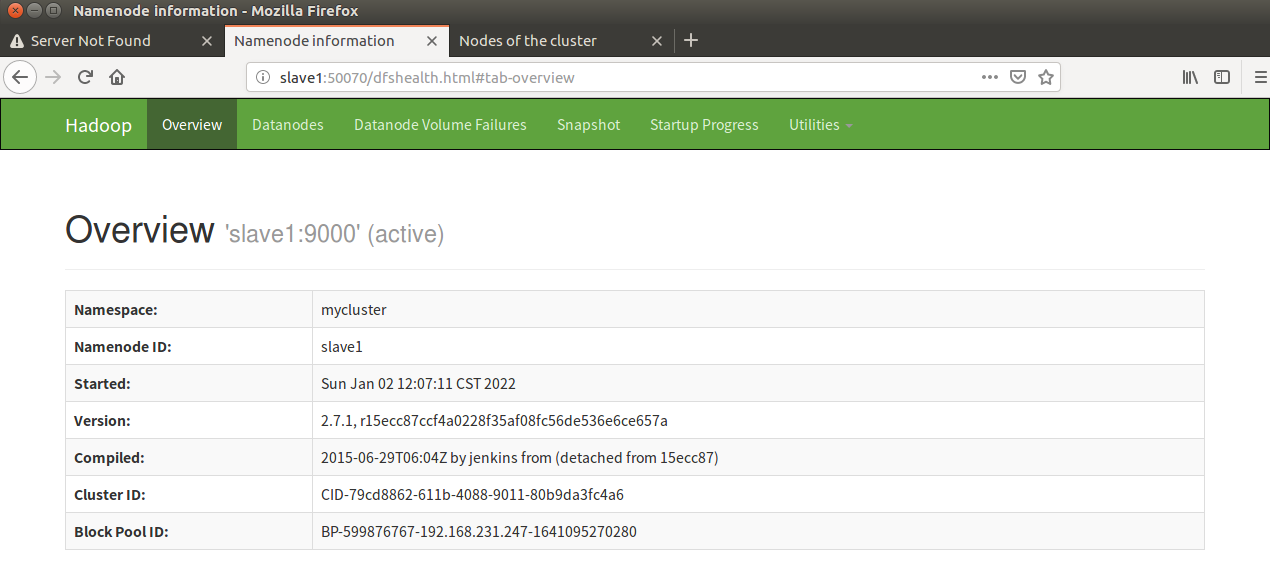
Note: it can be seen that after naster goes down, slave automatically takes over the work of the master and becomes active. This is the HA failover mechanism
19. Restart the namenode process on the master side and observe the working status
sbin/hadoop-daemon.sh start namenode
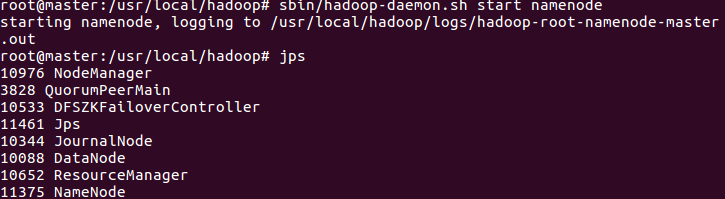
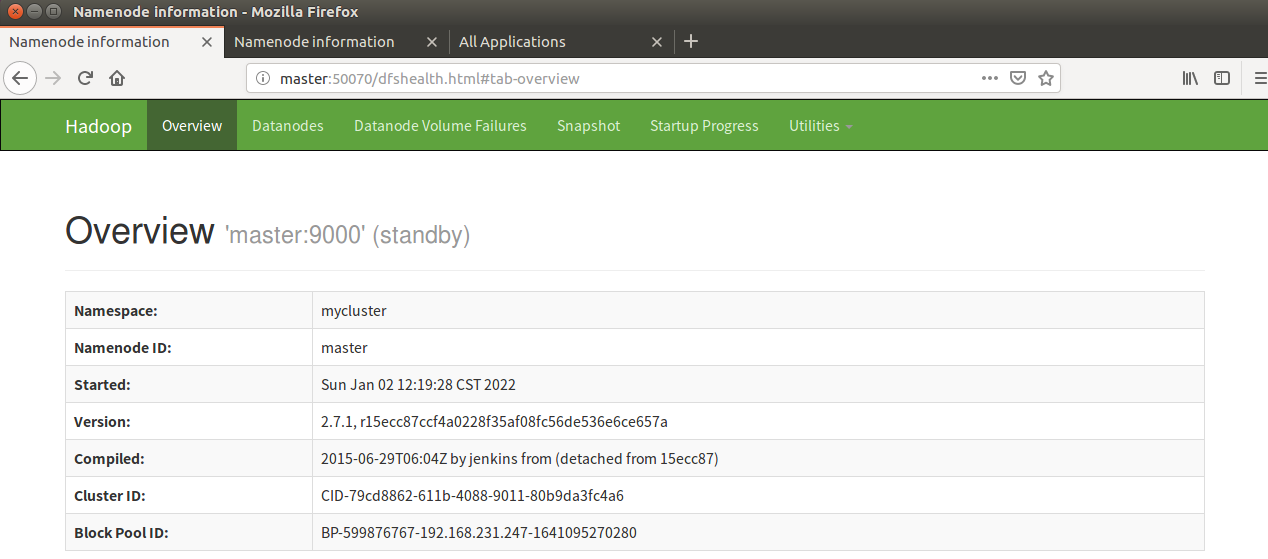
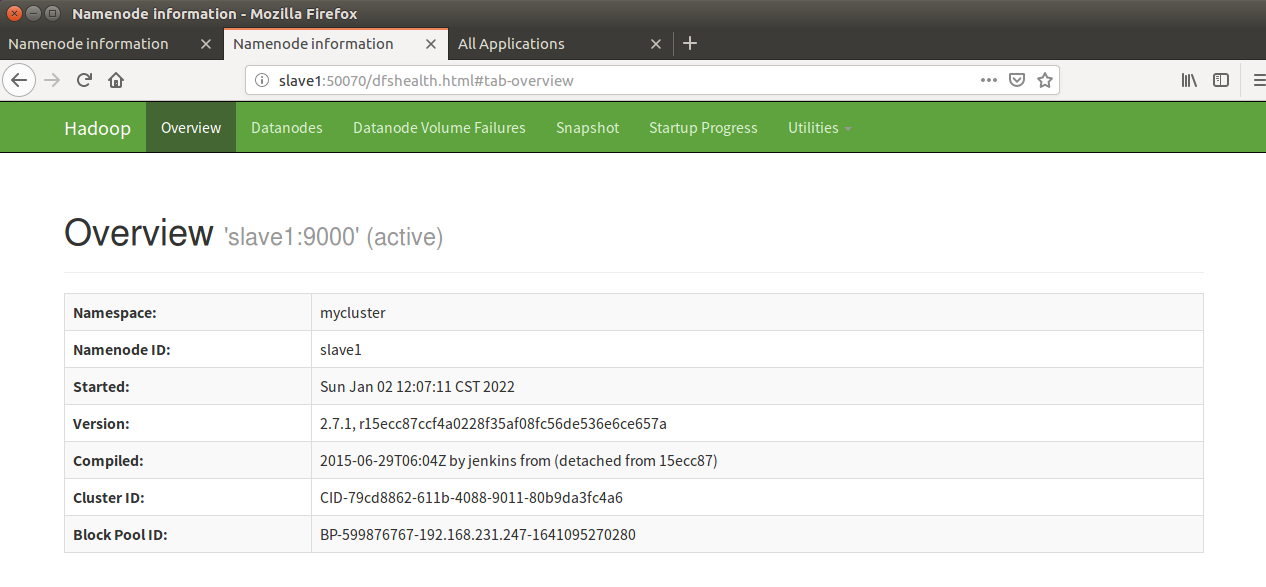
Note: it can be seen that after the master is restored, the slave is still in the active state and the master is in the standby state
Link reference
Centos builds Hadoop ha high availability https://blog.csdn.net/m0_54925305/article/details/121566611?spm=1001.2014.3001.5502Hadoop ha working mechanism and high availability theoryhttps://blog.csdn.net/m0_54925305/article/details/119838341?spm=1001.2014.3001.5502
See the home page for more environment construction
Thomas kutao's blog home pagehttps://blog.csdn.net/m0_54925305?type=blog
Daily insight: investing your time and energy in yourself must be a sure deal
-- Thomas