since Previous At the end, we have completed the communication between the client and the server, i.e. sending requests to the server and returning data from the server to the client.However, we only pass data by url, and the RFC 3986 document specifies that only letters (a-z, A-Z), numbers (0-9), individual special characters, and all reserved characters are allowed in Url.This brings great inconvenience and limitation to our development.So we're taking a different approach.A tool, Json, is used.
Json stores data as key-value pairs.The key name in the key/value pair combination is written in front and wrapped in double quotation marks'', separated by a colon, followed by the value: {'firstName':'Json'}
Next, let's take a registered account as an example to see how Json is used in the development of Android programs.First look at the use of Android clients.
First create a new RegisterActivity, add a Button to the RegisterActivity, and let it click and jump to the RegisterActivity.Then the registration interface fills in the information and clicks the registration button to encapsulate the information into a Json, send it to the server, and then insert the data into the database table by JDBC, so that a registration process can be achieved.
One point to emphasize is that our program is only a simple implementation of functions, there must be many BUG s.For example, when you log on, you need to judge that the input can not be empty, the user name can not be duplicated when you register, and so on. Many places need small partners to improve their logic.
Or code first
The first is the Medium Registration Button Click Event added to onCreate in MainActivity (layout file is not given, it's simple)
     Register = (Button)findViewById(R.id.register);
     Register.setOnClickListener(new View.OnClickListener() {
            @Override
            public void onClick(View v) {
                Intent intent = new Intent(MainActivity.this,RegisterActivity.class);
                startActivity(intent);
            }
        });
Next to this is the register layout file
<?xml version="1.0" encoding="utf-8"?>
<android.support.constraint.ConstraintLayout xmlns:android="http://schemas.android.com/apk/res/android"
    xmlns:app="http://schemas.android.com/apk/res-auto"
    xmlns:tools="http://schemas.android.com/tools"
    android:layout_width="match_parent"
    android:layout_height="match_parent"
    tools:context=".RegisterActivity">
    <RelativeLayout
        android:layout_width="match_parent"
        android:layout_height="match_parent">


        <EditText
            android:id="@+id/username"
            android:layout_width="wrap_content"
            android:layout_height="wrap_content"
            android:layout_alignParentTop="true"
            android:layout_centerHorizontal="true"
            android:layout_marginTop="134dp"
            android:ems="10"
            android:inputType="textPersonName"
            android:hint="enter one user name"
            />

        <EditText
            android:id="@+id/password"
            android:layout_width="wrap_content"
            android:layout_height="wrap_content"
            android:layout_alignParentTop="true"
            android:layout_centerHorizontal="true"
            android:layout_marginTop="207dp"
            android:ems="10"
            android:hint="Please input a password"
            android:inputType="textPassword" />

        <Button
            android:id="@+id/register"
            android:layout_width="215dp"
            android:layout_height="wrap_content"
            android:layout_alignParentBottom="true"
            android:layout_centerHorizontal="true"
            android:layout_marginBottom="171dp"
            android:text="register" />


    </RelativeLayout>
</android.support.constraint.ConstraintLayout>
Next we need a Java Bean on the client side, which we copy directly from the server side
public class User {

    private int id;
    private String username;
    private String password;
    public int getId() {
        return id;
    }
    public void setId(int id) {
        this.id = id;
    }
    public String getUsername() {
        return username;
    }
    public void setUsername(String username) {
        this.username = username;
    }
    public String getPassword() {
        return password;
    }
    public void setPassword(String password) {
        this.password = password;
    }


}
Next comes the Register class
import android.support.v7.app.AppCompatActivity;
import android.os.Bundle;
import android.view.View;
import android.widget.Button;
import android.widget.EditText;
import android.widget.Toast;

import com.google.gson.Gson;
import com.google.gson.reflect.TypeToken;

import java.lang.reflect.Type;

public class RegisterActivity extends AppCompatActivity {
    EditText username;
    EditText password;
    Button Register;
    @Override
    protected void onCreate(Bundle savedInstanceState) {
        super.onCreate(savedInstanceState);
        setContentView(R.layout.activity_register);
        username = (EditText)findViewById(R.id.username);
        password = (EditText)findViewById(R.id.password);
        Register = (Button)findViewById(R.id.register);

        Register.setOnClickListener(new View.OnClickListener() {
            @Override
            public void onClick(View v) {
                String Username = username.getText().toString();
                String Password = password.getText().toString();
                User user = new User();
                user.setUsername(Username);
                user.setPassword(Password);
                Gson gson = new Gson();
                Type type = new TypeToken<User>(){}.getType();
                String jsonstr = gson.toJson(user,type);
                Toast.makeText(RegisterActivity.this,jsonstr+"",Toast.LENGTH_SHORT).show();
            }
        });

    }
}
It's important to note that we also used a tool, Gson, that requires adding imports to build.gradle under your app
implementation 'com.google.code.gson:gson:2.2.4'The results are as follows 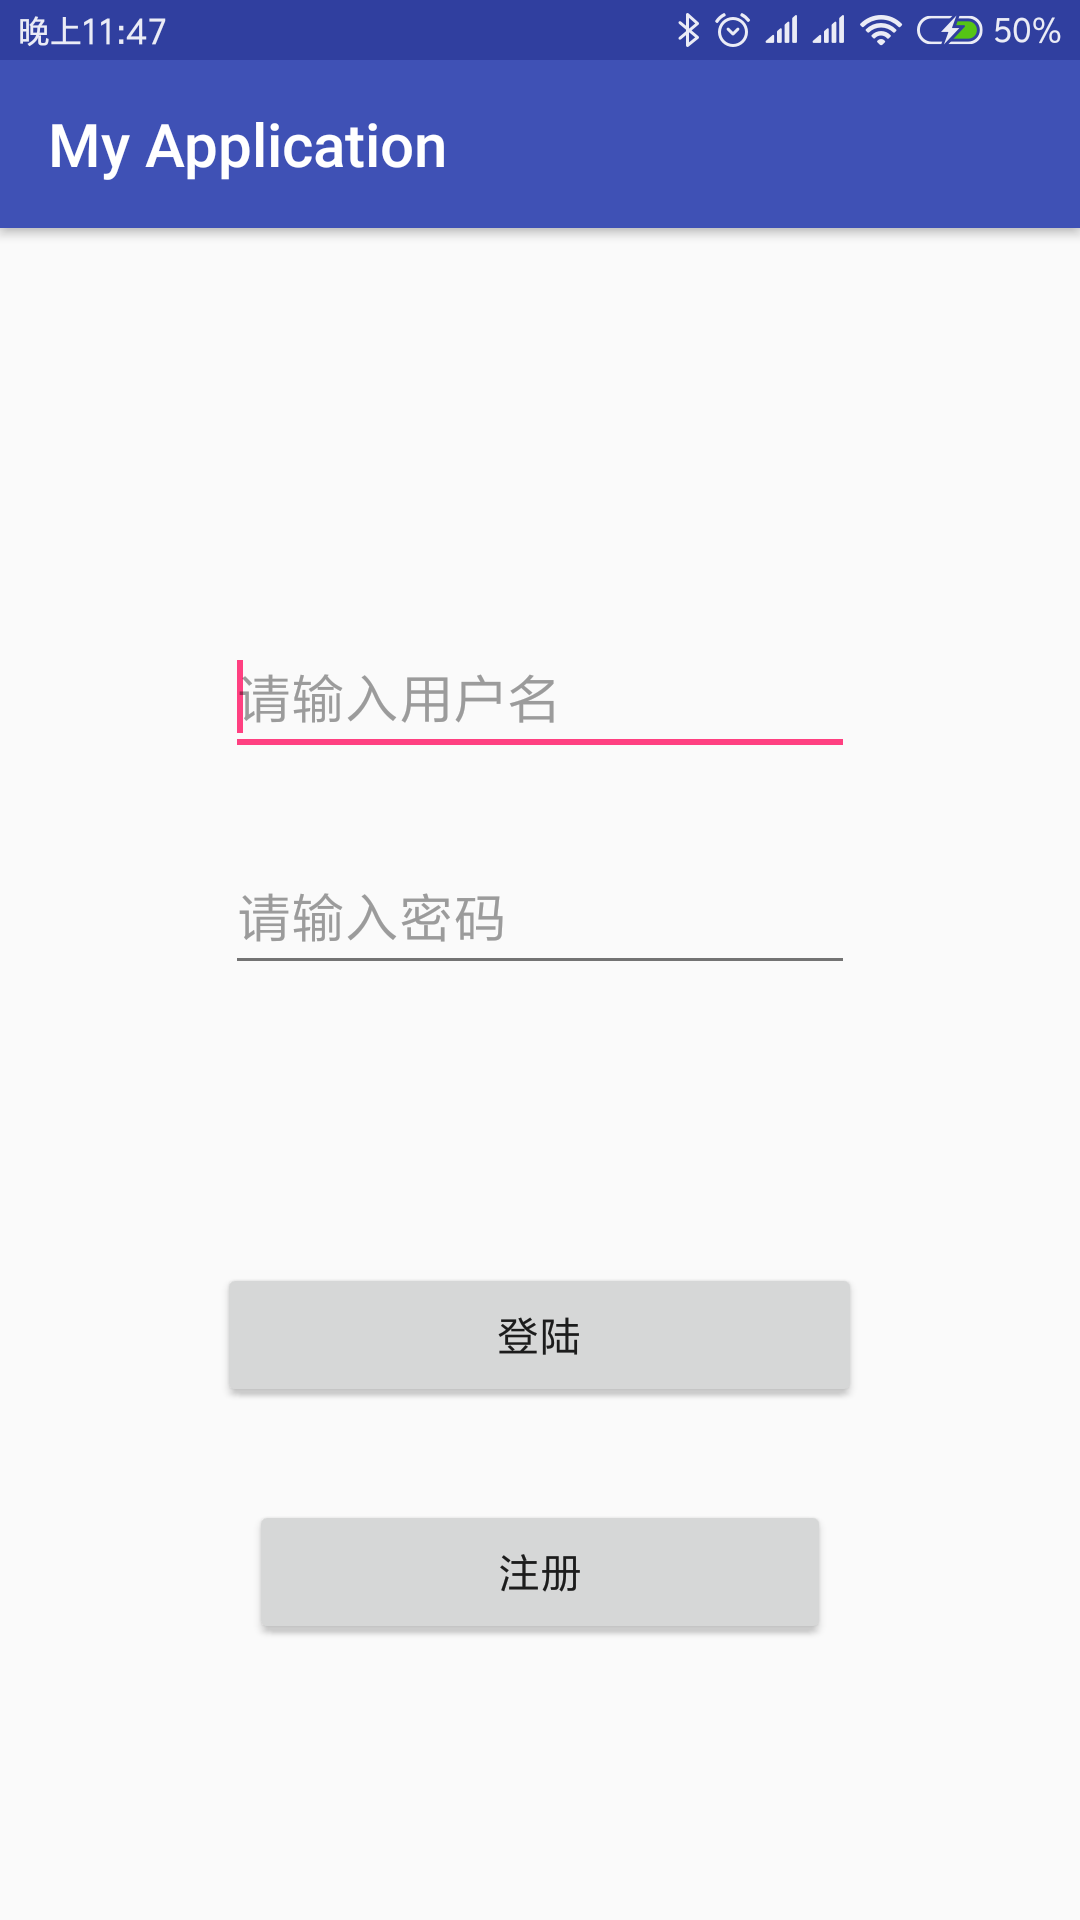
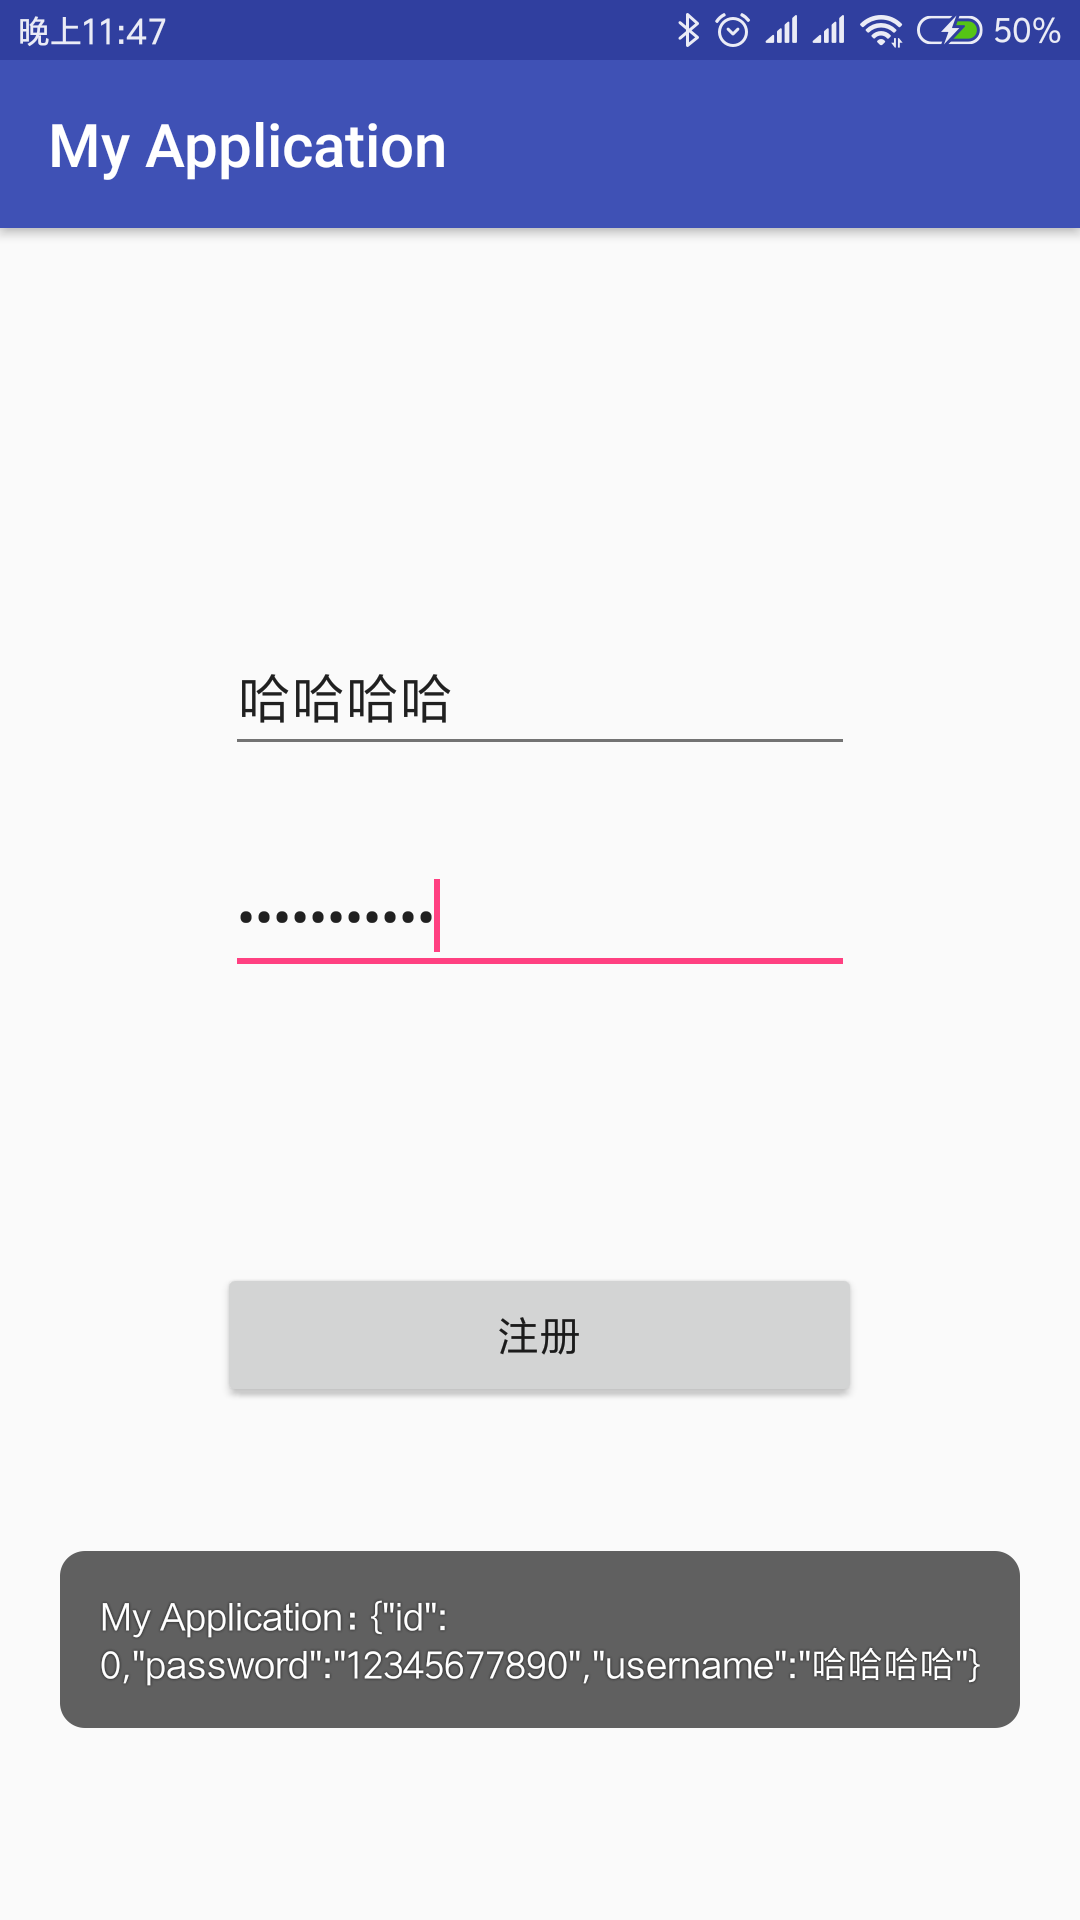
Similar to landing, for a quick explanation, data is still captured in Button's click-through implementation and encapsulated into Json data.It's a little late, show it as Toast.Next time, see how to send to the server.Good night~