Article directory
directory structure
api and views
It is suggested that views should be divided according to the business module, and views and api should be one-to-one corresponding to facilitate maintenance. The following picture: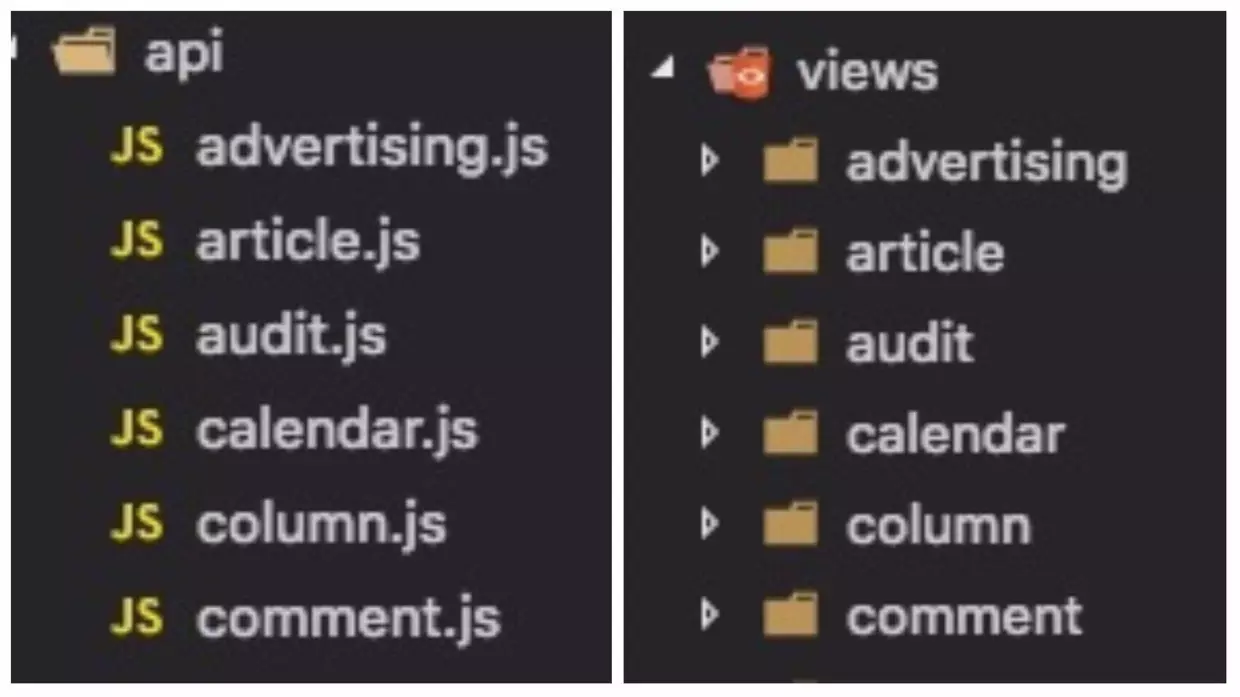
Package axios
axios basic case
const url = 'https://test.youbaobao.xyz:18081/book/home/v2'
axios.get(url, {
  params: { openId: '1234' },
  // Add a token to http header
  headers: { token: 'abcd' }
}).then(response => {
  console.log(response)
}).catch(err => {
  // Catch the exception thrown by the server, that is, return non-200 requests
  console.log(err)
})
There are two problems in this case:
- Every request that needs to pass in token needs to add headers object, which will cause a lot of duplicate code
- Each request needs to define exception handling manually, and the logic of exception handling is mostly consistent. If it is encapsulated as a general exception handling method, then each request needs to be called once
axios.create example
Use axios.create to refactor the whole request:
const url = '/book/home/v2'
const request = axios.create({
  baseURL: 'https://test.youbaobao.xyz:18081',
  timeout: 5000
})
request({
  url,
  method: 'get',
  params: {
    openId: '1234'
  }
})
First, a function is generated through axios.create, which is an Axios instance. The request is completed by executing this method. The difference between this function and the direct call to axios.get is as follows:
- The url parameter needs to be passed in. The first parameter of axios.get method is url
- The method parameter needs to be passed in. The axios.get method already indicates that a get request is initiated
axios request interceptor
The above code completes the function of basic request. The following needs to add token to the headers of http request, and perform white list verification at the same time. For example, / login does not need to add token, and implements asynchronous capture and custom processing:
const whiteUrl = ["/login"];
const url = "/book/home/v2";
const request = axios.create({
  baseURL: "https://test.youbaobao.xyz:18081",
  timeout: 5000
});
// request interceptor
request.interceptors.request.use(
  // Intercepted axios object
  config => {
    // throw new Error('error...')
    // Leave baseURL empty
    const url = config.url.replace(config.baseURL, "");
    // If there is one in the white list, return to axios directly
    if (whiteUrl.some(wl => url === wl)) {
      return config;
    }
    // When there is no token in the white list, the token is added
    config.headers["token"] = "abcd";
    return config;
  },
  error => {
    return Promise.reject(error);
  }
);
request({
  url,
  method: "get",
  params: {
    openId: "1234"
  }
})
  .then(res => {
    console.log(res);
  })
  .catch(err => {
    console.log(err);
  });
The core here is to call the request.interceptors.request.use method of axios, which needs to pass in two parameters. The first parameter is the interceptor method, which contains a config parameter. We can modify the config in this method and return it. The second parameter is the exception handling method. We can use promise.request (error) Return the exception to the user for processing, so we can catch the exception through catch for customized processing after the request
axios response interceptor
Next, we will further enhance the functions of axios. We need to ensure that the http statusCode is 200 and the business code is correct in the actual development. In the above case, I defined that when the error code is 0, it means that the business returns normally. If the return value is not 0, it means that the business processing is wrong. At this time, we use request.interceptors.response.use Method defines the response interceptor, which still requires two parameters, similar to the request interceptor. Note that the second parameter mainly deals with exception requests with statusCode other than 200. The source code is as follows:
const whiteUrl = ["/login"];
const url = "/book/home/v2";
const request = axios.create({
  baseURL: "https://test.youbaobao.xyz:18081",
  timeout: 5000
});
// request interceptor
request.interceptors.request.use(
  // Intercepted axios object
  config => {
    // throw new Error('error...')
    // Leave baseURL empty
    const url = config.url.replace(config.baseURL, "");
    // If there is one in the white list, return to axios directly
    if (whiteUrl.some(wl => url === wl)) {
      return config;
    }
    // When there is no token in the white list, the token is added
    config.headers["token"] = "abcd";
    return config;
  },
  error => {
    return Promise.reject(error);
  }
);

// Response interceptor
request.interceptors.response.use(
  response => {
    const res = response.data;
    if (res.error_code != 0) {
      // Request failed with error message
      alert(res.msg);
      return Promise.reject(new Error(res.msg));
    } else {
      // Request succeeded, return data
      return res;
    }
  },
  error => {
    return Promise.reject(error);
  }
);

request({
  url,
  method: "get",
  params: {
    openId: "1234"
  }
})
  .then(res => {
    console.log(res);
  })
  .catch(err => {
    console.log(err);
  });
Source code analysis of request Library
With the above foundation, it's very easy for us to look at the source code of the request library
const service = axios.create({
  baseURL: process.env.VUE_APP_BASE_API,
  timeout: 5000
})

service.interceptors.request.use(
  config => {
    // If there is a token, it is attached to the http header
    if (store.getters.token) {
      config.headers['X-Token'] = getToken()
    }
    return config
  },
  error => {
    return Promise.reject(error)
  }
)

service.interceptors.response.use(
  response => {
    const res = response.data

    if (res.code !== 20000) {
      Message({
        message: res.message || 'Error',
        type: 'error',
        duration: 5 * 1000
      })
      // Judge the scenario of token failure
      if (res.code === 50008 || res.code === 50012 || res.code === 50014) {
        // If the token fails, a confirmation dialog box will pop up. After the user clicks, clear the token and return to the login page
        MessageBox.confirm('Token Invalid, log in again or not', 'Confirm logout', {
          confirmButtonText: 'Re login',
          cancelButtonText: 'cancel',
          type: 'warning'
        }).then(() => {
          store.dispatch('user/resetToken').then(() => {
            // To re instantiate the Vue router object and avoid bug s
            location.reload()
          })
        })
      }
      return Promise.reject(new Error(res.message || 'Error'))
    } else {
      return res
    }
  },
  error => {
    Message({
      message: error.message,
      type: 'error',
      duration: 5 * 1000
    })
    return Promise.reject(error)
  }
)

export default service
router-view
The created and edited pages use the same component. By default, when the two pages are switched, the created or mounted hooks of vue will not be triggered. The official says that you can do this through the change of watch $route, but it's really troublesome. Later, it was found that you can simply add a unique key to the router view to ensure that the trigger hook will be re rendered when the route is switched. It's so much simpler.
<router-view :key="key" />
computed: {
  key() {
    return this.$route.path
  }
}
Reference link
[Xiaomu reading] management background
Touch your hand, take you to the backstage series I (basic)

