Learn kafka, this article takes you to the beginning.
Article directory
- 1. Build windows integrated environment
- 1.1 java8 installation
- 1.2 zookeeper installation
- 1.2.1 download zookeeper
- 1.2.2 install and modify the zoo.cfg configuration file
- 1.2.3 setting the zookeeper environment variable
- 1.2.4 verify successful installation
- 1.3 kafka installation
- 2. SpringBoot2.x integration kafka
- 2.1 add maven dependency
- 2.2 yml configuration kafka information
- 2.3 write kafka configuration class
- 2.3.1 first write the property reading file KafkaTopicProperties
- 2.3.2 write kafka configuration class KafkaTopicConfiguration
- 2.4 writing producers and consumers
- 2.5 write controller class
- 2.6 browser input test
- 3. Question: is zookeeper not used?
- 4. summary
1. Build windows integrated environment
1.1 java8 installation
I don't need to explain this in detail. Since I'm learning this article, I believe that I've already installed java, but I haven't installed it. Go to find Du Niang.
1.2 zookeeper installation
Since the operation of Kafka depends on Zookeeper, you need to install and run Zookeeper before running Kafka
1.2.1 download zookeeper
Download path of Zookeeper: http://mirror.bit.edu.cn/apache/zookeeper/zookeeper-3.5.7/ as shown above.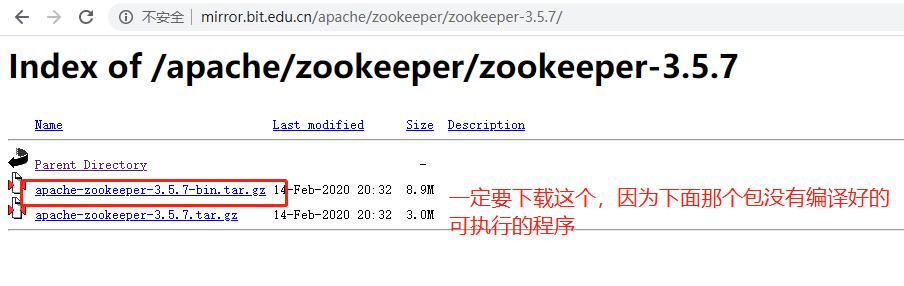
1.2.2 install and modify the zoo.cfg configuration file
1. Unzip it to a file (my directory is D:\webserver\apache-zookeeper-3.5.7-bin). I am used to changing the directory name to apache-zookeeper-3.5.7

2. Open D:\webserver\apache-zookeeper-3.5.7\conf, copy zoo_sample.cfg and rename it to zoo.cfg

3. Edit zoo.cfg and modify dataDir to [dataDir=D:\webserver\apache-zookeeper-3.5.7\data],
 Create the data directory in the directory D:\webserver\apache-zookeeper-3.5.7.
//zookeeper uses port 8080 by default, which conflicts with the default port of tomcat, so it's better to modify this place.
Add a line at the end of the file: admin.serverPort=8888
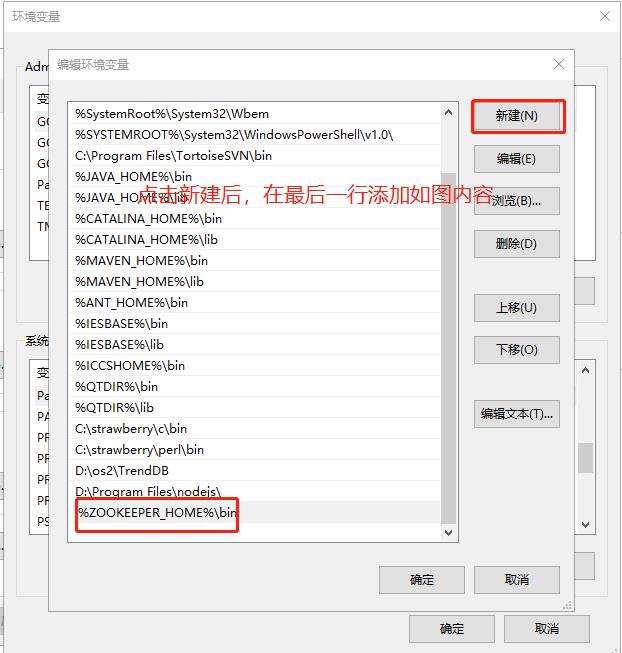
1.2.3 setting the zookeeper environment variable
 ZOOKEEPER_HOME          D:\webserver\apache-zookeeper-3.5.7
 Path Add after existing value     %ZOOKEEPER_HOME%\bin
As shown in the figure: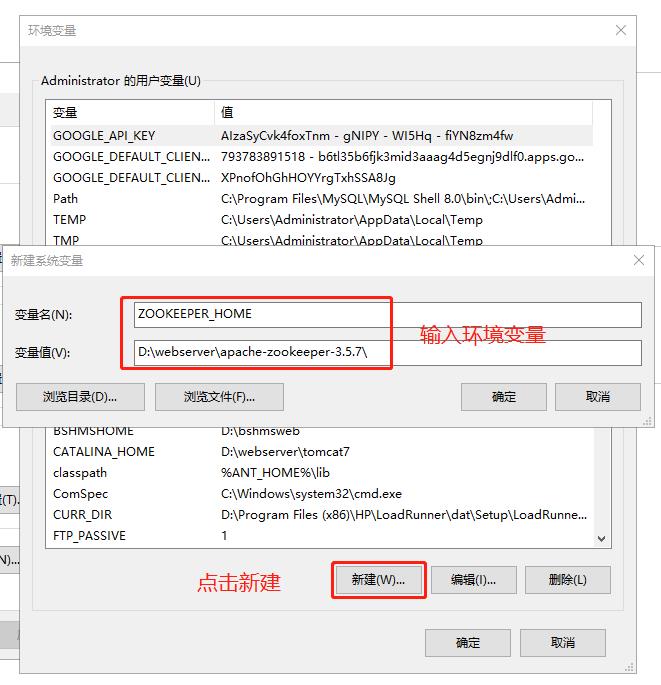
1.2.4 verify successful installation
Open CMD, enter zkServer.cmd, and run as follows: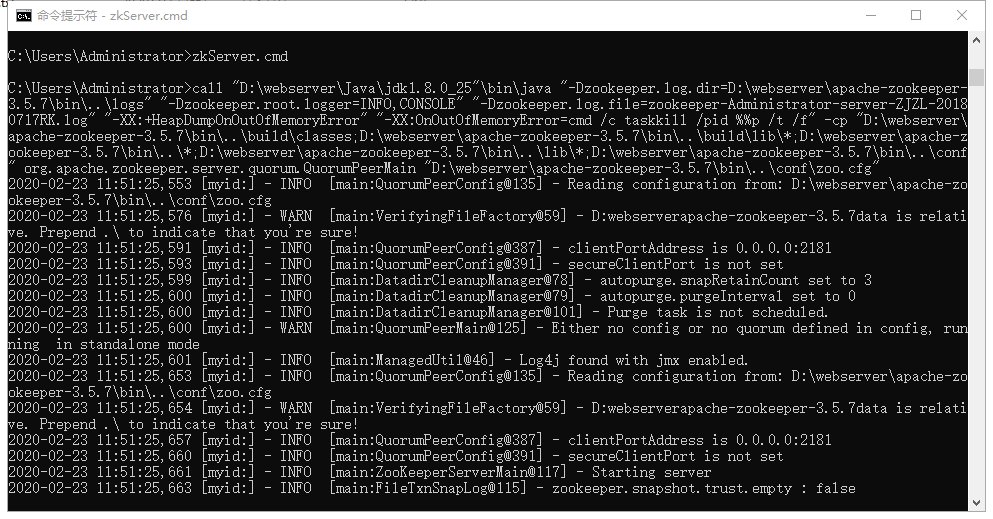
It indicates that the operation is successful.
1.3 kafka installation
1.3.1 download kafka
Kafka download path: http://kafka.apache.org/downloads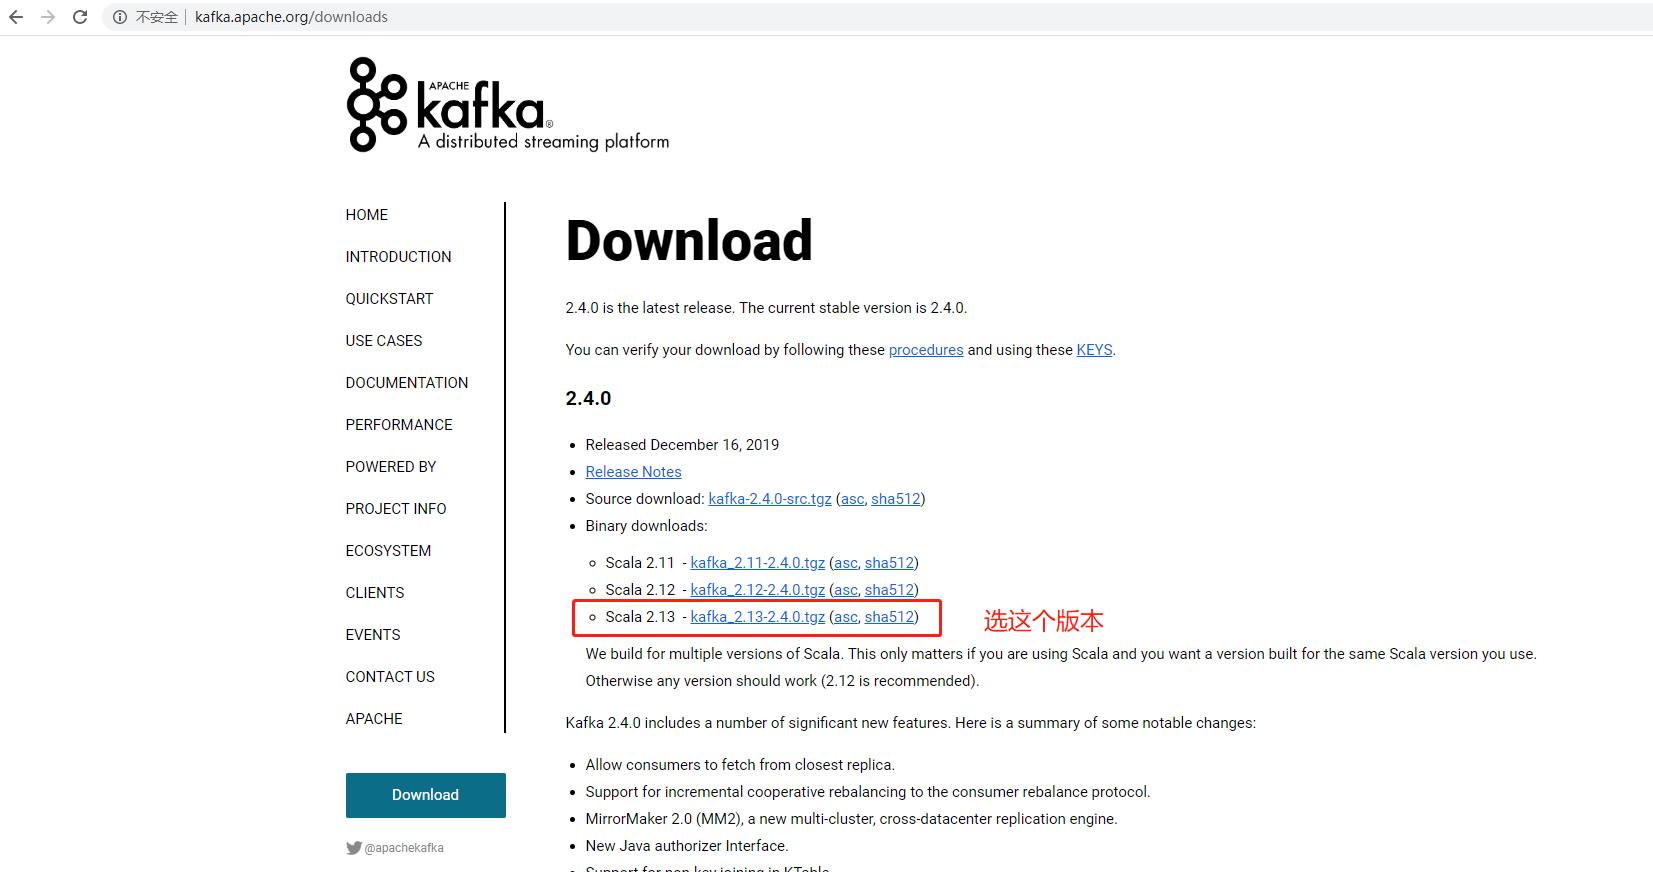

1.3.2 decompression
. unzip the file Kafka ﹣ 2.13-2.4.0.tgz (my directory is D: \ webserver \ Kafka ﹣ 2.13-2.4.0 [do not use the directory with spaces between Program Files and other file names, or the path will not be recognized later])
1.3.3 modify the server.properties configuration file
Open the server.properties file under the directory D:\webserver\kafka_2.13-2.4.0\config, and change the log.dirs to: log.dirs = D: \ webserver \ kafka_2.13-2.4.0 \ Kafka logs
1.3.4 start kafka service
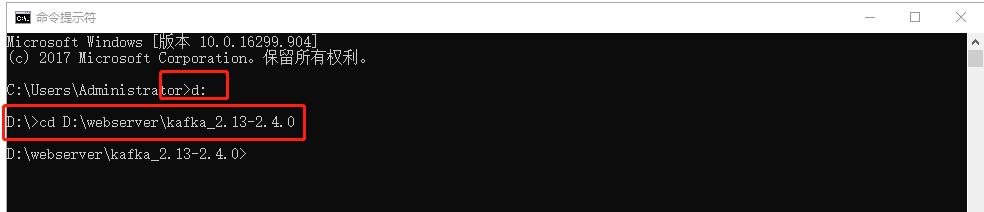
Open the command window cmd and enter the directory D: \ webserver \ Kafka? 2.13-2.4.0
Execute the following command to start the Kafka communication server:. \ bin \ windows \ kafka-server-start.bat. \ config \ server.properties
As shown in the figure above, kafka starts successfully!!! It includes version, startup time and other information.
1.3.5 test
1.3.5.1 creating a theme
Enter the Kafka file directory D:\webserver\kafka_2.13-2.4.0\bin\windows, and create the Kafka message topics
kafka-topics.bat --create --zookeeper localhost:2181 --replication-factor 1 --partitions 1 --topic testDemo
After execution: as shown in the figure, the execution is successful.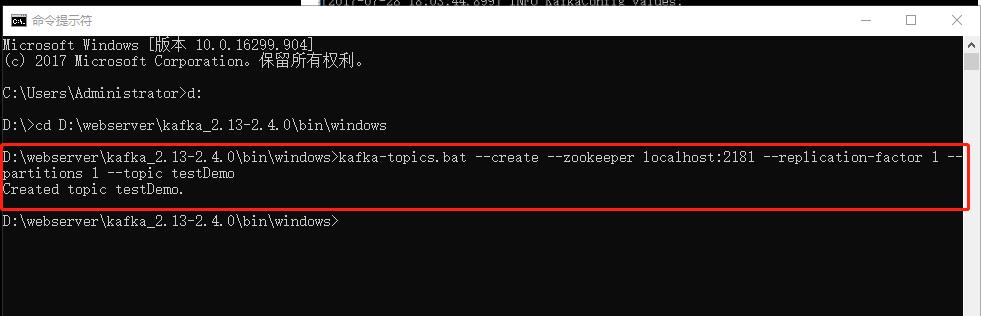
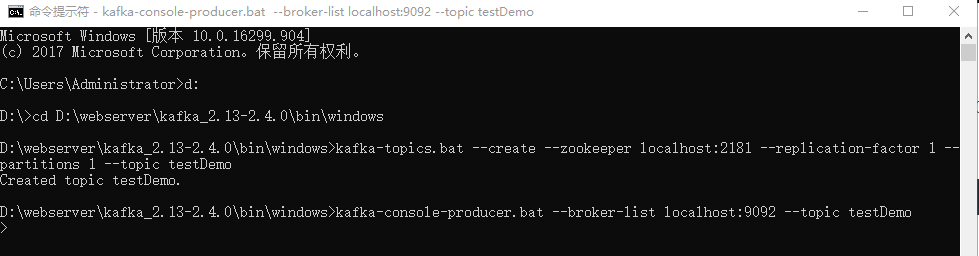
1.3.5.2 create Producer and Consumer
Open two cmd windows respectively, enter the directory D:\webserver\kafka_2.13-2.4.0\bin\windows, and create Producer and Consumer
cmd window 1: Producer:
kafka-console-producer.bat --broker-list localhost:9092 --topic testDemo
cmd window 2: Consumer:
kafka-console-consumer.bat --bootstrap-server localhost:9092 --topic testDemo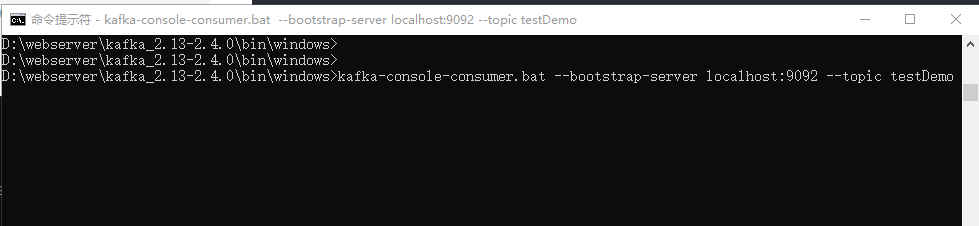
Note: kafka-console-consumer.bat --zookeeper localhost:2181 --topic testDemo is out of date and can no longer be used
1.3.5.3 test with own script
Then you can send information in the Producer and receive information in the Consumer
In the Producer window, enter: hello binge
Then observe whether the Consumer window can receive the message.
The test is completed, indicating that kafka installation is successful.
2. SpringBoot2.x integration kafka
2.1 add maven dependency
pom files need to increase their dependence on kafka, as follows:
<dependency>
      <groupId>org.springframework.kafka</groupId>
      <artifactId>spring-kafka</artifactId>
  </dependency>
  <dependency>
      <groupId>org.apache.kafka</groupId>
      <artifactId>kafka-clients</artifactId>
  </dependency>
Spring boot has configured the version number for us. You don't need to reference it here. If the reference is not correct, it will cause version compatibility problems. I've encountered such a pit.
2.2 yml configuration kafka information
Add the following kafka related information to the configuration file:
  kafka:
    bootstrap-servers: 127.0.0.1:9092
    producer:
      retries: 0
      batch-size: 16384
      buffer-memory: 33554432
      key-serializer: org.apache.kafka.common.serialization.StringSerializer
      value-serializer: org.apache.kafka.common.serialization.StringSerializer
      properties:
        linger.ms: 1
    consumer:
      enable-auto-commit: false
      auto-commit-interval: 100ms
      key-deserializer: org.apache.kafka.common.serialization.StringDeserializer
      value-deserializer: org.apache.kafka.common.serialization.StringDeserializer
      properties:
        session.timeout.ms: 15000

kafka:
  topic:
    group-id: topicGroupId
    topic-name: testDemo
The first part is the Spring Kafka configuration:
The second part is application specific custom configuration. We define the Kafka topic name and group ID
2.3 write kafka configuration class
2.3.1 first write the property reading file KafkaTopicProperties
package com.ieslab.powergrid.demosvr.config;

import org.springframework.boot.context.properties.ConfigurationProperties;
import org.springframework.stereotype.Component;
import java.io.Serializable;

@ConfigurationProperties("kafka.topic")
public class KafkaTopicProperties implements Serializable {

    private String groupId;
    private String topicName;

    public String getGroupId() {
        return groupId;
    }

    public void setGroupId(String groupId) {
        this.groupId = groupId;
    }

    public String getTopicName() {
        return topicName;
    }

    public void setTopicName(String topicName) {
        this.topicName = topicName;
    }
}
This class is responsible for reading the second part of the configuration file, our application specific custom configuration.
2.3.2 write kafka configuration class KafkaTopicConfiguration
Take the properties of the properties file into effect in the configuration class.
package com.ieslab.powergrid.demosvr.config;

import org.springframework.boot.context.properties.EnableConfigurationProperties;
import org.springframework.context.annotation.Bean;
import org.springframework.context.annotation.Configuration;

@Configuration
@EnableConfigurationProperties(KafkaTopicProperties.class)
public class KafkaTopicConfiguration {
    private final KafkaTopicProperties properties;

    public KafkaTopicConfiguration(KafkaTopicProperties properties) {
        this.properties = properties;
    }

    @Bean
    public String kafkaTopicName() {
        return properties.getTopicName();
    }

    @Bean
    public String topicGroupId() {
        return properties.getGroupId();
    }
}
2.4 writing producers and consumers
For convenience, we write producer and consumer classes in the same program. Create KafkaTestService
package com.ieslab.powergrid.demosvr.service;

import lombok.extern.slf4j.Slf4j;
import org.apache.kafka.clients.consumer.ConsumerRecord;
import org.springframework.beans.factory.annotation.Autowired;
import org.springframework.kafka.annotation.KafkaListener;
import org.springframework.kafka.core.KafkaTemplate;
import org.springframework.kafka.support.SendResult;
import org.springframework.stereotype.Service;
import org.springframework.util.concurrent.ListenableFuture;
import org.springframework.util.concurrent.ListenableFutureCallback;

@Service
@Slf4j
public class KafkaTestService {
    private final KafkaTemplate<Integer, String> kafkaTemplate;

    /**
     * Inject KafkaTemplate
     * @param kafkaTemplate kafka Template class
     */
    @Autowired
    public KafkaTestService(KafkaTemplate kafkaTemplate) {
        this.kafkaTemplate = kafkaTemplate;
    }


    @KafkaListener(topics = "#{kafkaTopicName}", groupId = "#{topicGroupId}")
    public void processMessage(ConsumerRecord<Integer, String> record) {
        log.info("kafka processMessage start");
        log.info("processMessage, topic = {}, msg = {}", record.topic(), record.value());
        // do something ...
        log.info("kafka processMessage end");
    }

    public void sendMessage(String topic, String data) {
        log.info("kafka sendMessage start");
        ListenableFuture<SendResult<Integer, String>> future = kafkaTemplate.send(topic, data);
        future.addCallback(new ListenableFutureCallback<SendResult<Integer, String>>() {
            @Override
            public void onFailure(Throwable ex) {
                log.error("kafka sendMessage error, ex = {}, topic = {}, data = {}", ex, topic, data);
            }

            @Override
            public void onSuccess(SendResult<Integer, String> result) {
                log.info("kafka sendMessage success topic = {}, data = {}",topic, data);
            }
        });
        log.info("kafka sendMessage end");
    }
}
This is a service class, where sendMessage(String topic, String data) is responsible for sending messages. The processMessage function adds the @ KafkaListener annotation, indicating that this is a listening method. Specify the topic name in the annotation. When there is a new message in the corresponding topic, the processMessage method will be called, and the parameter is the new message in the topic. This process is asynchronous.
2.5 write controller class
TestController class:
@Controller
@RequestMapping("/api")
@Api(tags="RequestParam Usage test interface class")
public class TestController {
    @Autowired
    KafkaTestService kafkaTestService;
    /**
     * Test custom listener entry method
     * @return Current number of people
     */
    @GetMapping("/testKafka")
    @ResponseBody
    public String testKafka(String name) {
        kafkaTestService.sendMessage("testDemo",name);
        return name;
    }
}
2.6 browser input test
Visit: http://localhost:8080/api/testKafka?name=houpeibin333
To view the console log: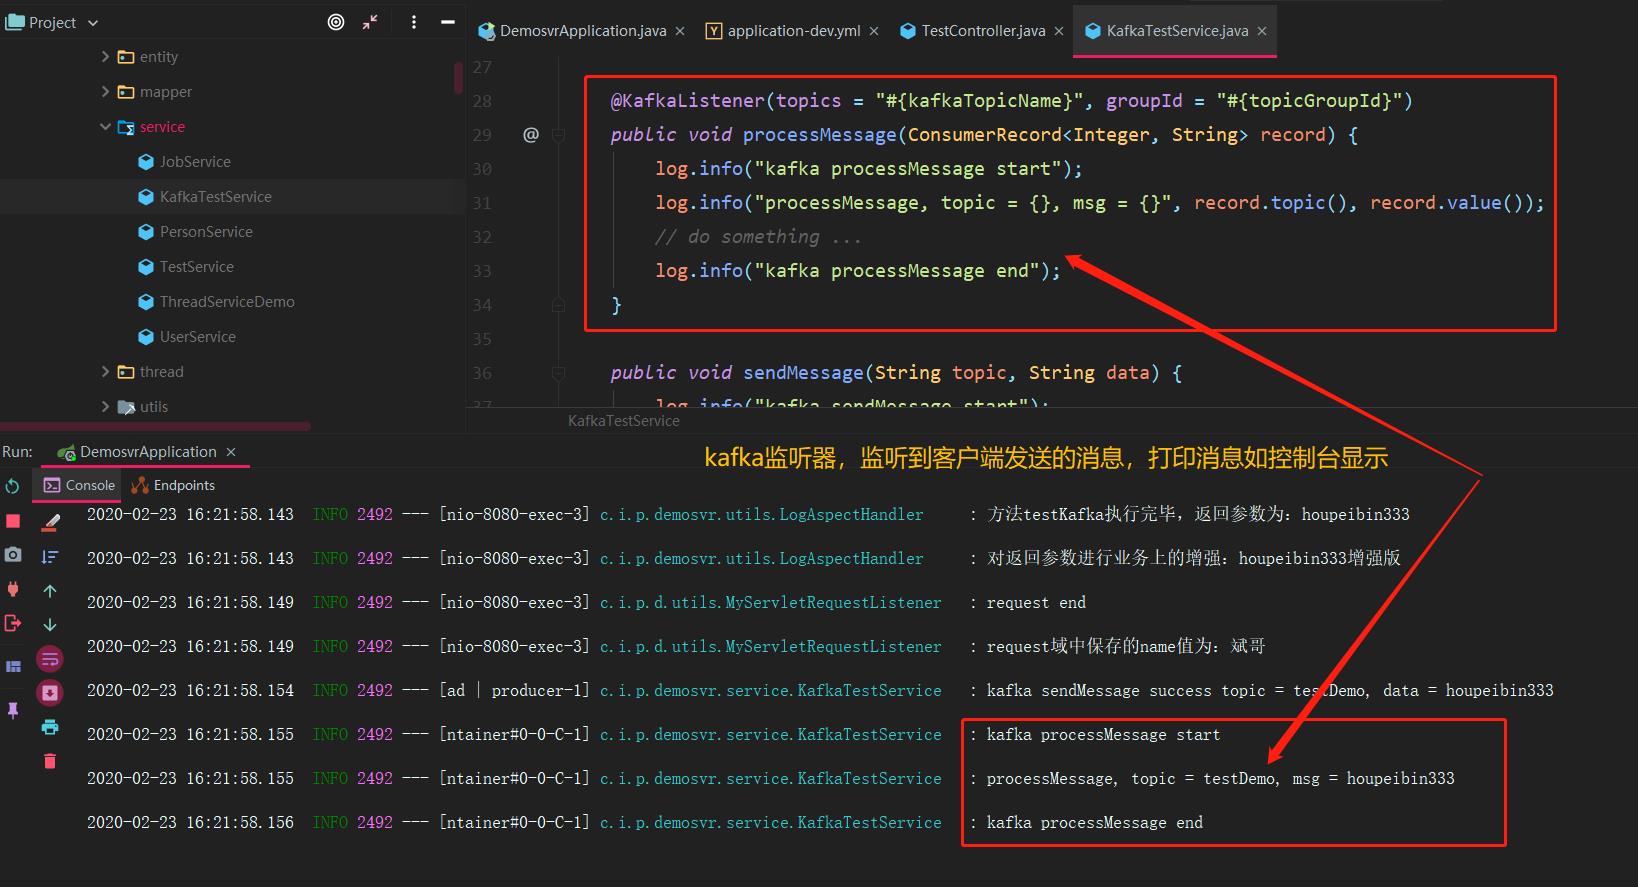
Meanwhile, cmd window 2: Consumer:
In Kafka console consumer.bat -- bootstrap server localhost: 9092 -- topic testdemo, you should also receive information: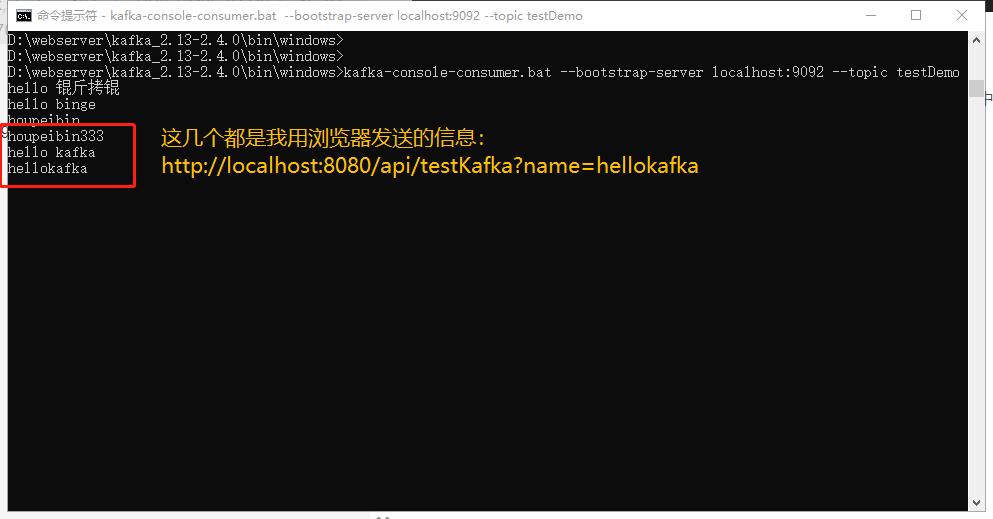
3. Question: is zookeeper not used?
Here, we found a problem. We didn't use zookeeper. Why install it?
In fact, kafka service has been used when starting: in kafka/config/server.properties configuration file, there is a line configuration: zookeeper.connect=localhost:2181, which configures the address to connect zookeeper. If zookeeper is running on another server, this place needs to be modified.
When producers and consumers are running on different machines, they are all registered with zookeeper, so when we subscribe to messages, we only need to register with zookeeper, and we don't need to write the producer's ip address dead.
4. summary
This paper introduces the installation of kafka windows integrated environment, explains the integration method of Springboot with examples, but it's just the introduction knowledge. Later, there will be a special article explaining the practical application of kafka in the project, please pay attention to this blog, thank you!!!

