Mailbox 163
The alarm notification can be sent by mail. Then, in the previous document, we configured the sending email alarm method.
1. Set 163 mailbox
To send mail, you need an smtp mail server. First, you need to set Netease mailbox.
First log in to mailbox 163 and enter the mailbox center settings.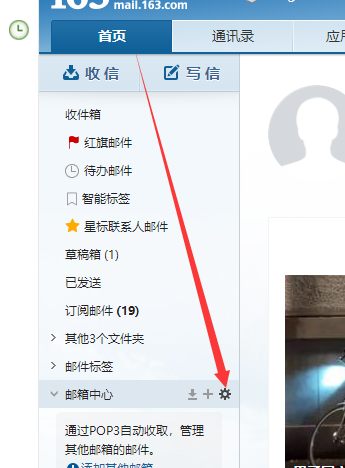
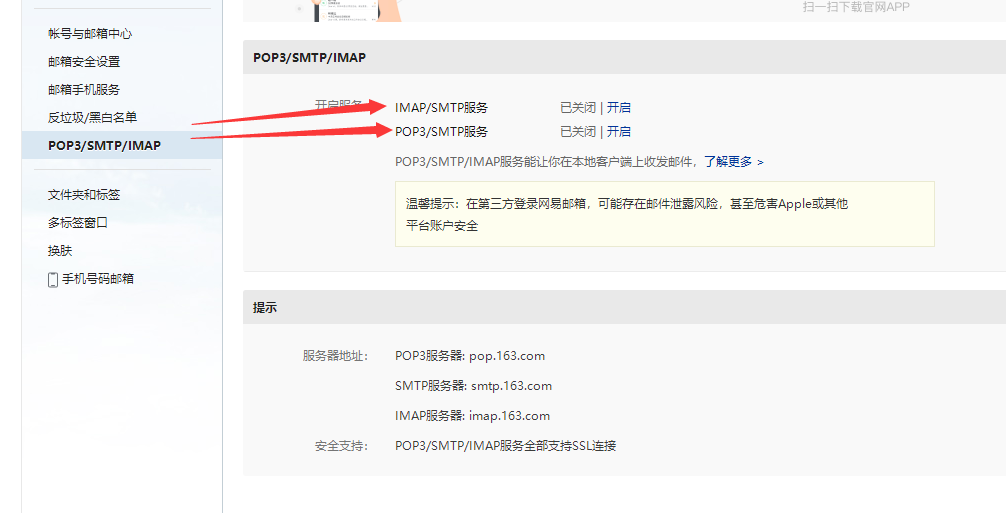
Then start POP3/SMTP service, where you need to scan QR code and send SMS for verification.
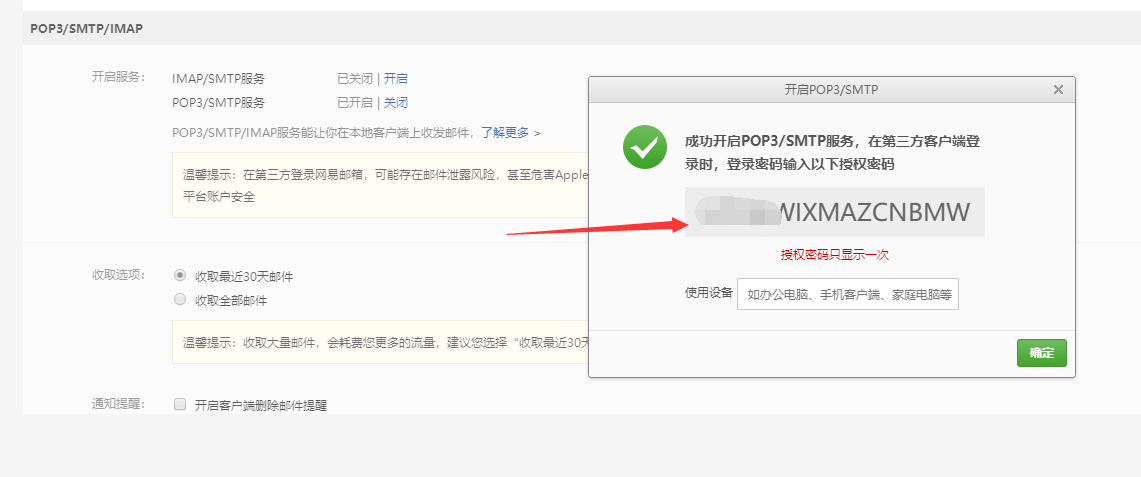
After successful opening, an authorization password will be displayed. When Alertmanager sends an email, it needs to use this password instead of the login password of mailbox 163.
2. Add email notification to alertmanager.yml configuration file
Add smtp related configurations to global.
# Global configuration, including timeout after alarm resolution, SMTP related configuration, API address for notification through various channels, etc.
global:
  # Alarm timeout
  resolve_timeout: 5m
  # Sender email address
  smtp_from: 'xx@163.com'
  # Mailbox smtp server address and port
  smtp_smarthost: 'smtp.163.com:25'
  # Sender email account
  smtp_auth_username: 'xx@163.com'
  # The sender's email password. Fill in the authorization code obtained in step 1 here
  smtp_auth_password: 'wWIXMAZCNBMW'
  # Use tls
  smtp_require_tls: false
  smtp_hello: '163.com'
# Route configuration: set the alarm distribution policy. It is a tree structure and matches from left to right according to depth priority.
route:
  # Label used to group incoming alerts together.
  # Based on the tag contained in the alarm, if the group is satisfied_ If the tag name is defined in by, these alarms will be combined into a notification and sent to the receiver.
  group_by: ['alertname']
  # Initial wait time to send notification
  group_wait: 30s
  # How long do I have to wait before sending a notification about a new alert
  group_interval: 5m
  # If a notification has been sent, how long will it take to wait before sending the notification again, usually about 3 hours or more
  repeat_interval: 30s
  # Recipient name
  receiver: '163.email'
# Configure alarm message recipient information, such as common message notification methods such as email, wechat, slack, webhook, etc
receivers:
- name: '163.email'
  email_configs:
  # Configure accept email address
  - to : 'xxx@163.com'
3. Test
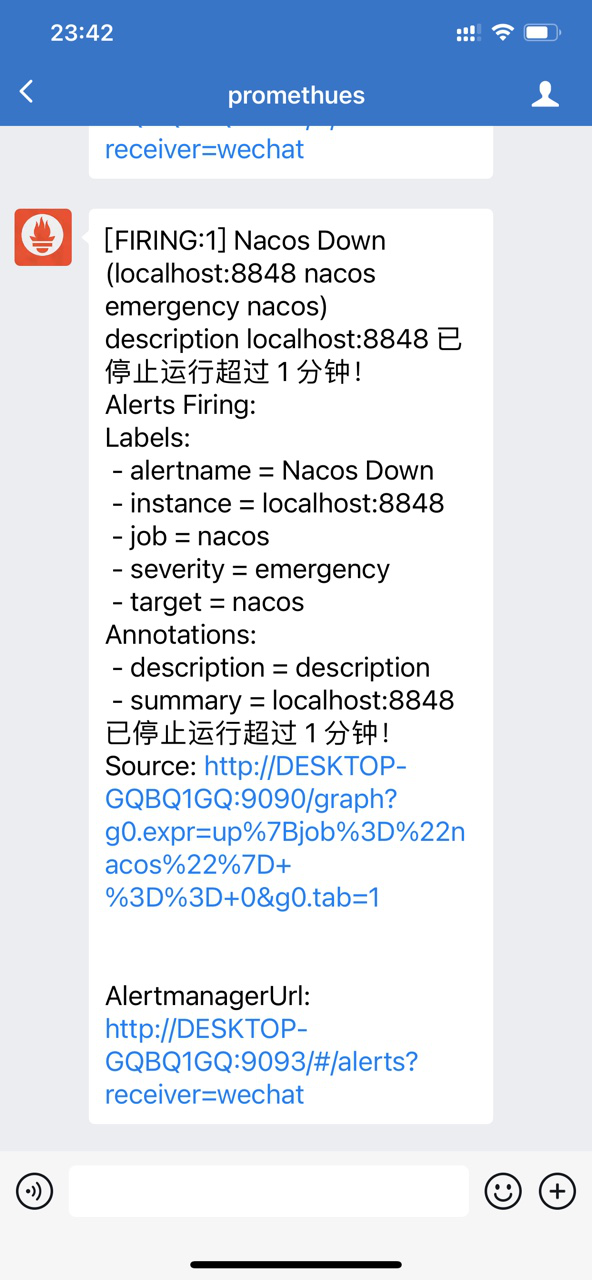
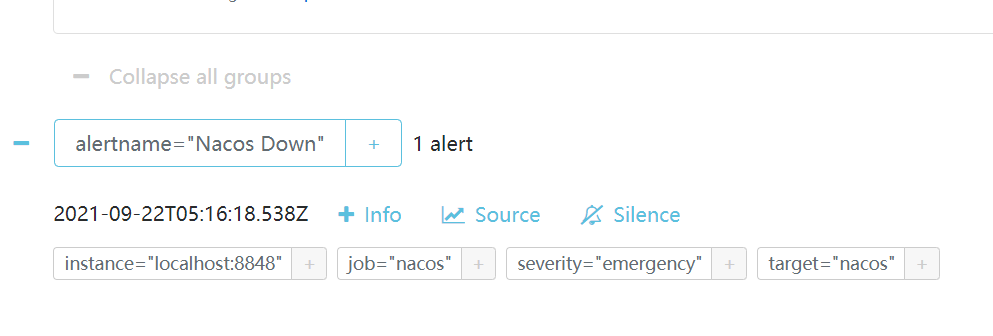
Restart Alertmanager and check the console. The Nacos alarm notification has been received.
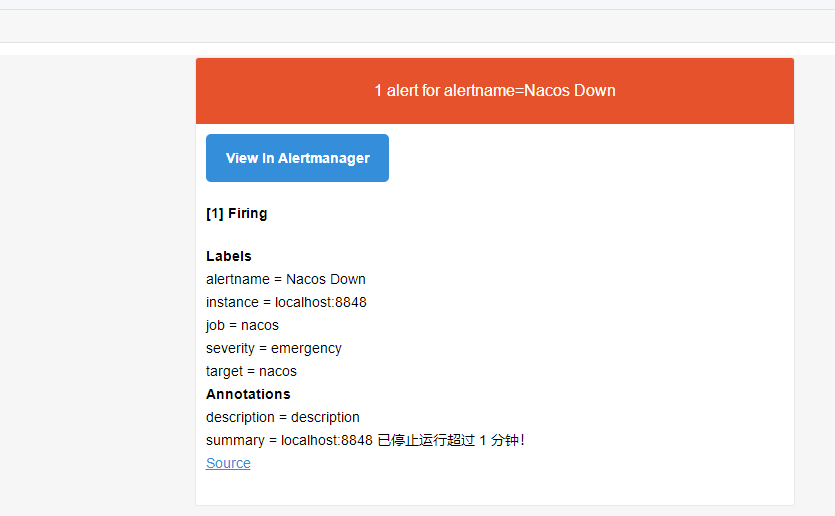
Check mailbox 163 and find that you have received an email.

Click the email to see the details.
4. Configure mail template
In the third step, the mail is successfully received, but the format is messy. You can use the mail template here. Alertmanager has a default template and can be customized. The following nails and wechat templates can be customized. The steps are similar, so I won't repeat them.
Alert manager's notification template is based on the Go template system. Please refer to the specific variables supported Official website description.
First, we create a templates folder in the Alertmanager home directory, where users store template files, and then create an email.tmpl file to write the following contents:
{{ define "email.html" }}
{{ range .Alerts }}
Alarm program: prometheus_alert <br>
Alarm level: {{ .Labels.severity }} level <br>
Alarm Type : {{ .Labels.alertname }} <br>
Fault host: {{ .Labels.instance }} <br>
Alarm subject: {{ .Annotations.summary }} <br>
Alarm details: {{ .Annotations.description }} <br>
Trigger time: {{ .StartsAt.Format "2019-08-04 16:58:15" }} <br>
{{ end }}
{{ end }}
Then add template scanning and mail usage templates in alertmanager.yml.
# Configure custom template location
templates:
  - 'templates/*.tmpl'
# Configure alarm message recipient information, such as common message notification methods such as email, wechat, slack, webhook, etc
receivers:
- name: '163.email'
  email_configs:
  # Configure accept email address
  - to : 'xx@163.com'
    html: '{{ template "email.html" . }}'
    # Message subject information
    headers: {Subject: "[WARN] Alarm mail {{ .CommonLabels.instance }} {{ .CommonAnnotations.summary }}"}
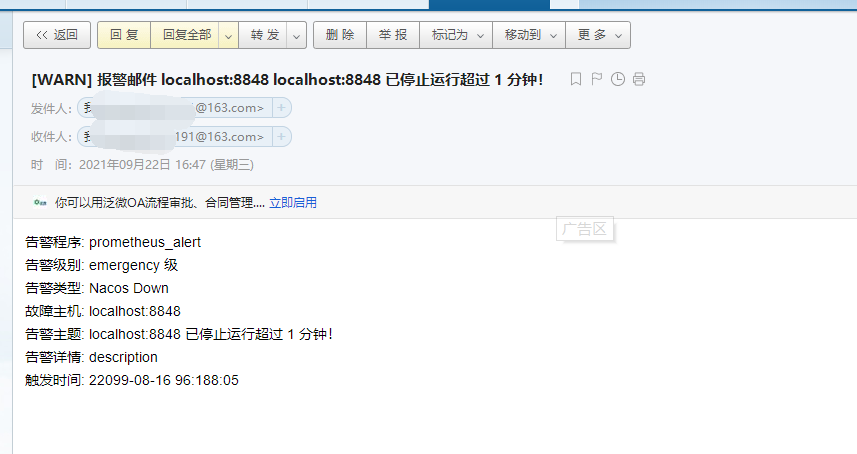
Restart Alertmanager and check the mail later.
Nail alarm
1. Create a nailing robot
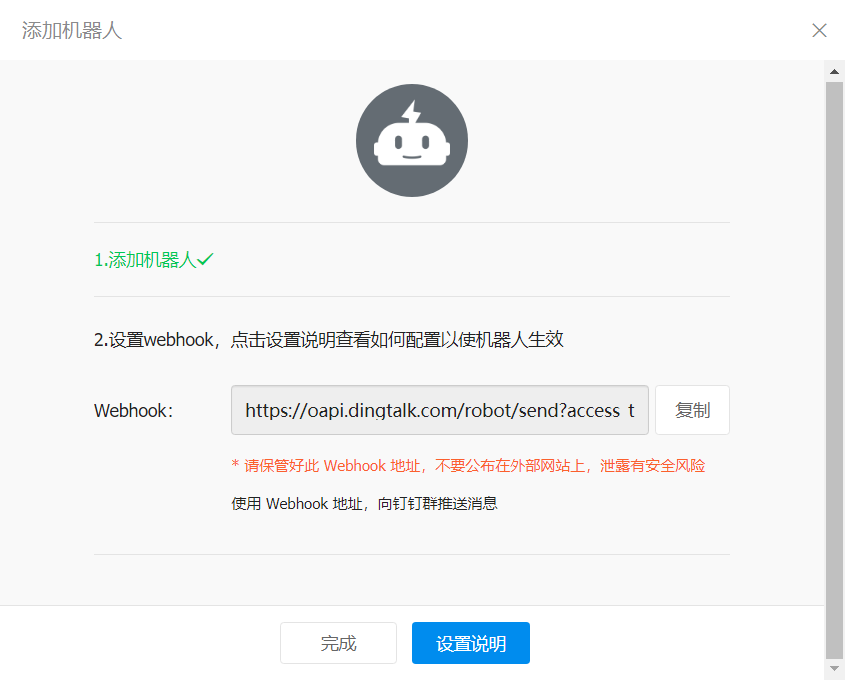
Reference nail development official website Add a nailing robot and record the Webhook address before it is better.
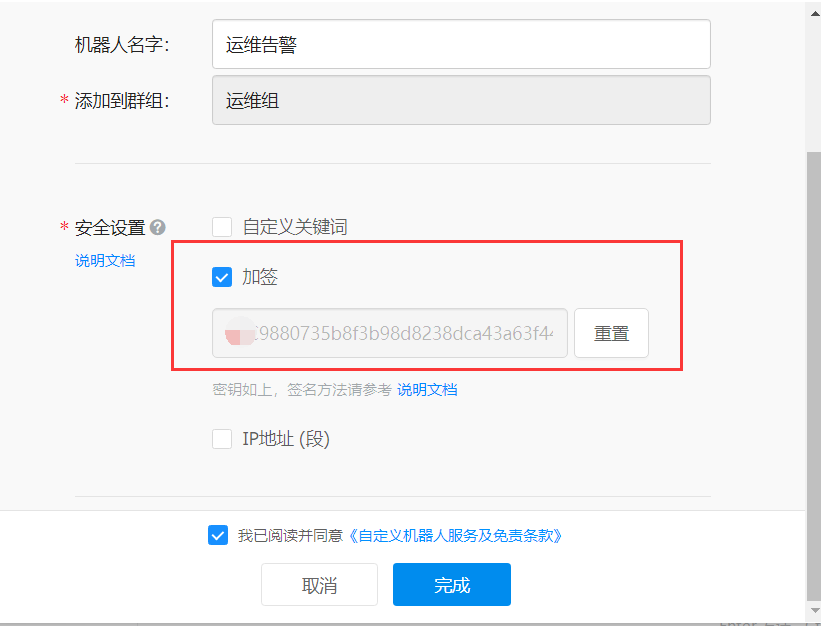
For the security settings when adding a robot, select sign here to copy the generated secret key.
Finally, a Webhook is generated.
2. Install Prometheus webhook dingtalk
alertmanager's webhook integrates nailing alarm, so it already has it. However, nailing has strict format requirements, and you need to use plug-ins for format conversion later.
Prometheus webhook dingtalk is the Prometheus AlertManager WebHooks tool for generating nail notifications.
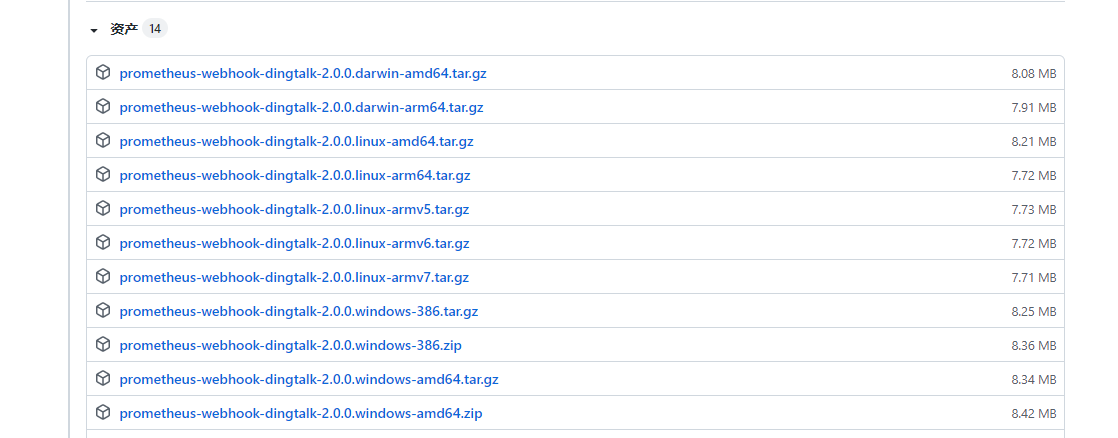
Download the installation package corresponding to the system.
Go to the installation package location, rename config.yml.example to config.yml, delete all default configurations, and add the following:
targets:
  ding_webhook:
    # Nailing webhook address
    url: https://oapi.dingtalk.com/robot/send?access_token=a8a5c0ecea3a027de77812df0bcc0fd0d5c73cfaebebecbd35
    # Signature key obtained in step 1
    secret: SEC8bd856c89e0635798828a0fa8ff1d26403df25fd925657
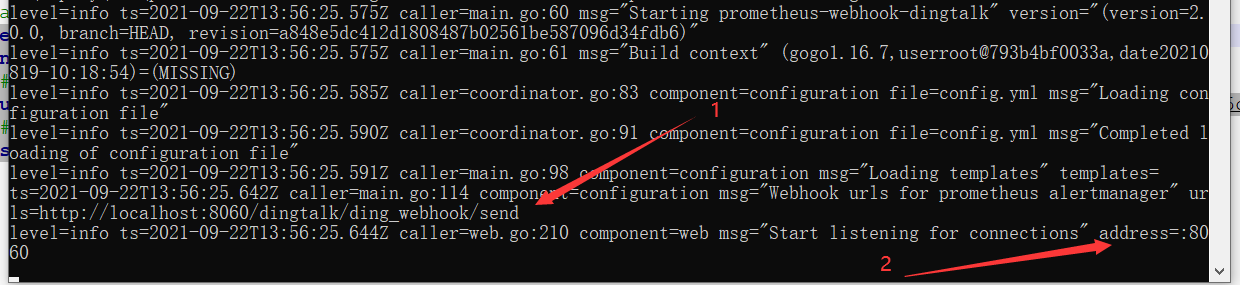
Start the prometheus-webhook-dingtalk.exe program and check the print log. You can see that 1 in the figure provides the Webhook address for the Alertmanager and 2 is the startup port.
3. Configure Alertmanager
Modify the alertmanager.yml configuration file, add routing and receiver configuration, and note that the url should be filled in the webhook address provided by the nailing plug-in, rather than the webhook directly provided by the nailing.
route:
  #Set default recipient
  receiver: 'webhook'
  #Group alarm waiting time. That is, wait for 10s after the alarm is generated. If there are alarms in the same group, they will be sent together
  group_wait: 10s
  #Interval between two groups of alarms
  group_interval: 10s
  #The interval between repeated alarms reduces the sending frequency of the same wechat alarm
  repeat_interval: 30s
  #Which label is used as the basis for grouping
  group_by: [alertname]
  routes:
  - receiver: webhook
    group_wait: 10s
# Configure custom template location
templates:
  - 'templates/*.tmpl'
# Configure alarm message recipient information, such as common message notification methods such as email, wechat, slack, webhook, etc
receivers:
- name: 'webhook'
  webhook_configs:
  # The webhook address provided by the nailing plug-in
  - url: http://localhost:8060/dingtalk/ding_webhook/send
    #Notify when the alert has been resolved
    send_resolved: true
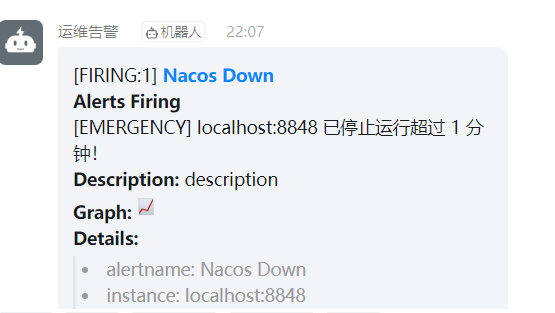
Then start Alertmanager. Close Nacos and find that the nail alarm information is pushed successfully.
Wechat alarm
1. Registered enterprise wechat
Company Registered Address , if you don't have one, you can fill in a company name and register one.
After registration, click Create Application in the application management menu.
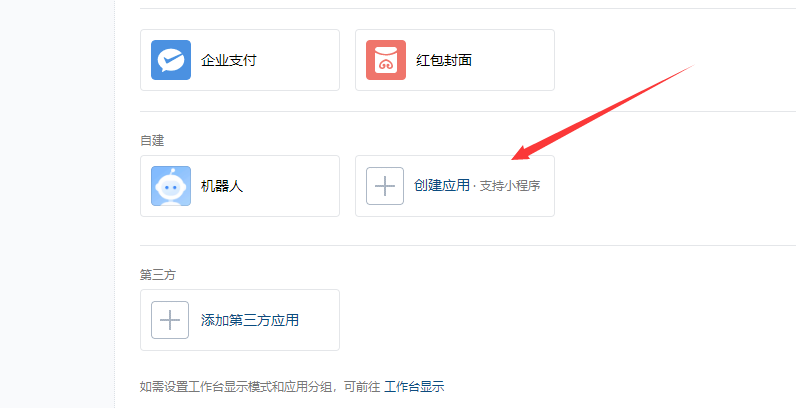
Add application information

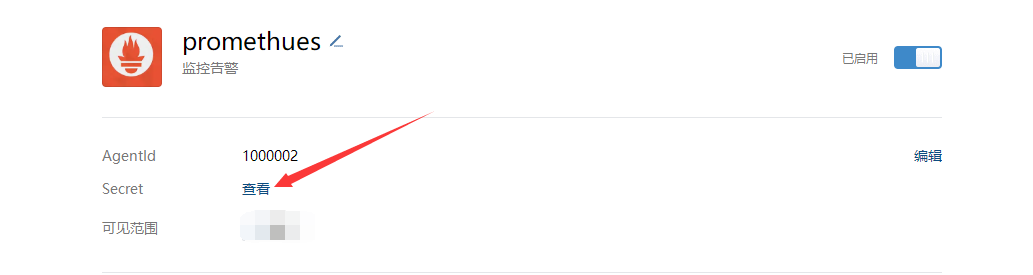
After the creation is successful, check the secret, which will be sent to the enterprise wechat, and then copied to the computer.... Corresponding api_secret configuration item.
2. Alertmanager adds wechat notification
After registering enterprise wechat, you can add wechat notification configuration after adding an application.
The configuration in the official website description is as follows:
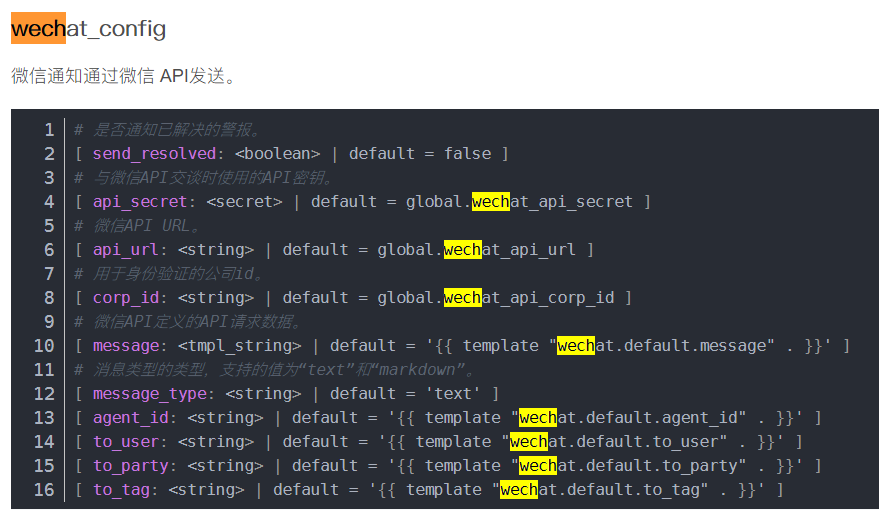
Official API document of enterprise wechat The parameters are described as follows:
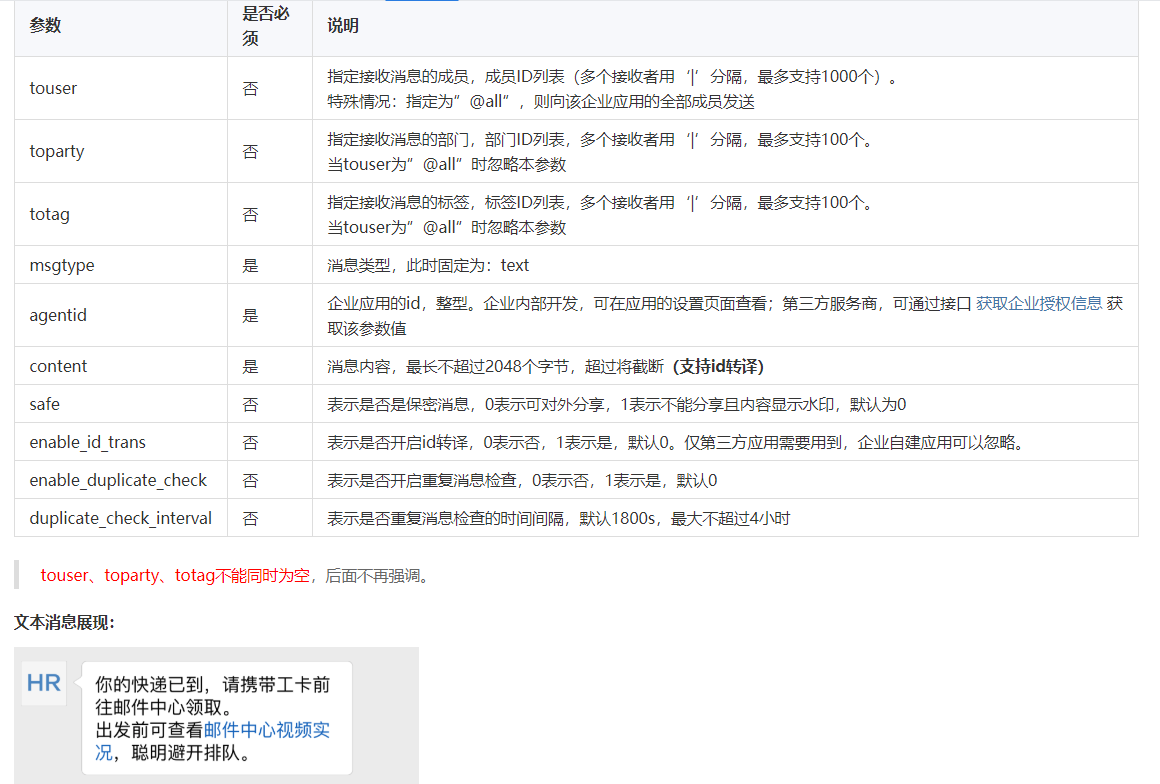
Combined with these instructions, add the following configuration (don't be misled by Baidu's hydrology.)
route:
  #Set default recipient
  receiver: 'wechat'
  #Group alarm waiting time. That is, wait for 10s after the alarm is generated. If there are alarms in the same group, they will be sent together
  group_wait: 10s
  #Interval between two groups of alarms
  group_interval: 10s
  #The interval between repeated alarms reduces the sending frequency of the same wechat alarm
  repeat_interval: 30s
  #Which label is used as the basis for grouping
  group_by: [alertname]
# Configure custom template location
templates:
  - 'templates/*.tmpl'
# Configure alarm message recipient information, such as common message notification methods such as email, wechat, slack, webhook, etc
receivers:
- name: 'wechat'
  wechat_configs:
  - send_resolved: true
    # AgentId to create the app
    agent_id: 100xx
    # Enterprise ID can be viewed in the enterprise wechat management background and my enterprise enterprise ID
    corp_id: 'd1f14ffea0a01a'
    # Applied Secret
    api_secret: 'ncqlL0egmjFTjFlPKKycLOvARwesqB4'
    # Specify the user who needs to receive the alarm, @ all means all
    to_user: '@all'
3. Test
Restart Alertmanager and wait a moment to find that wechat, a mobile enterprise, has received an alarm notification message...