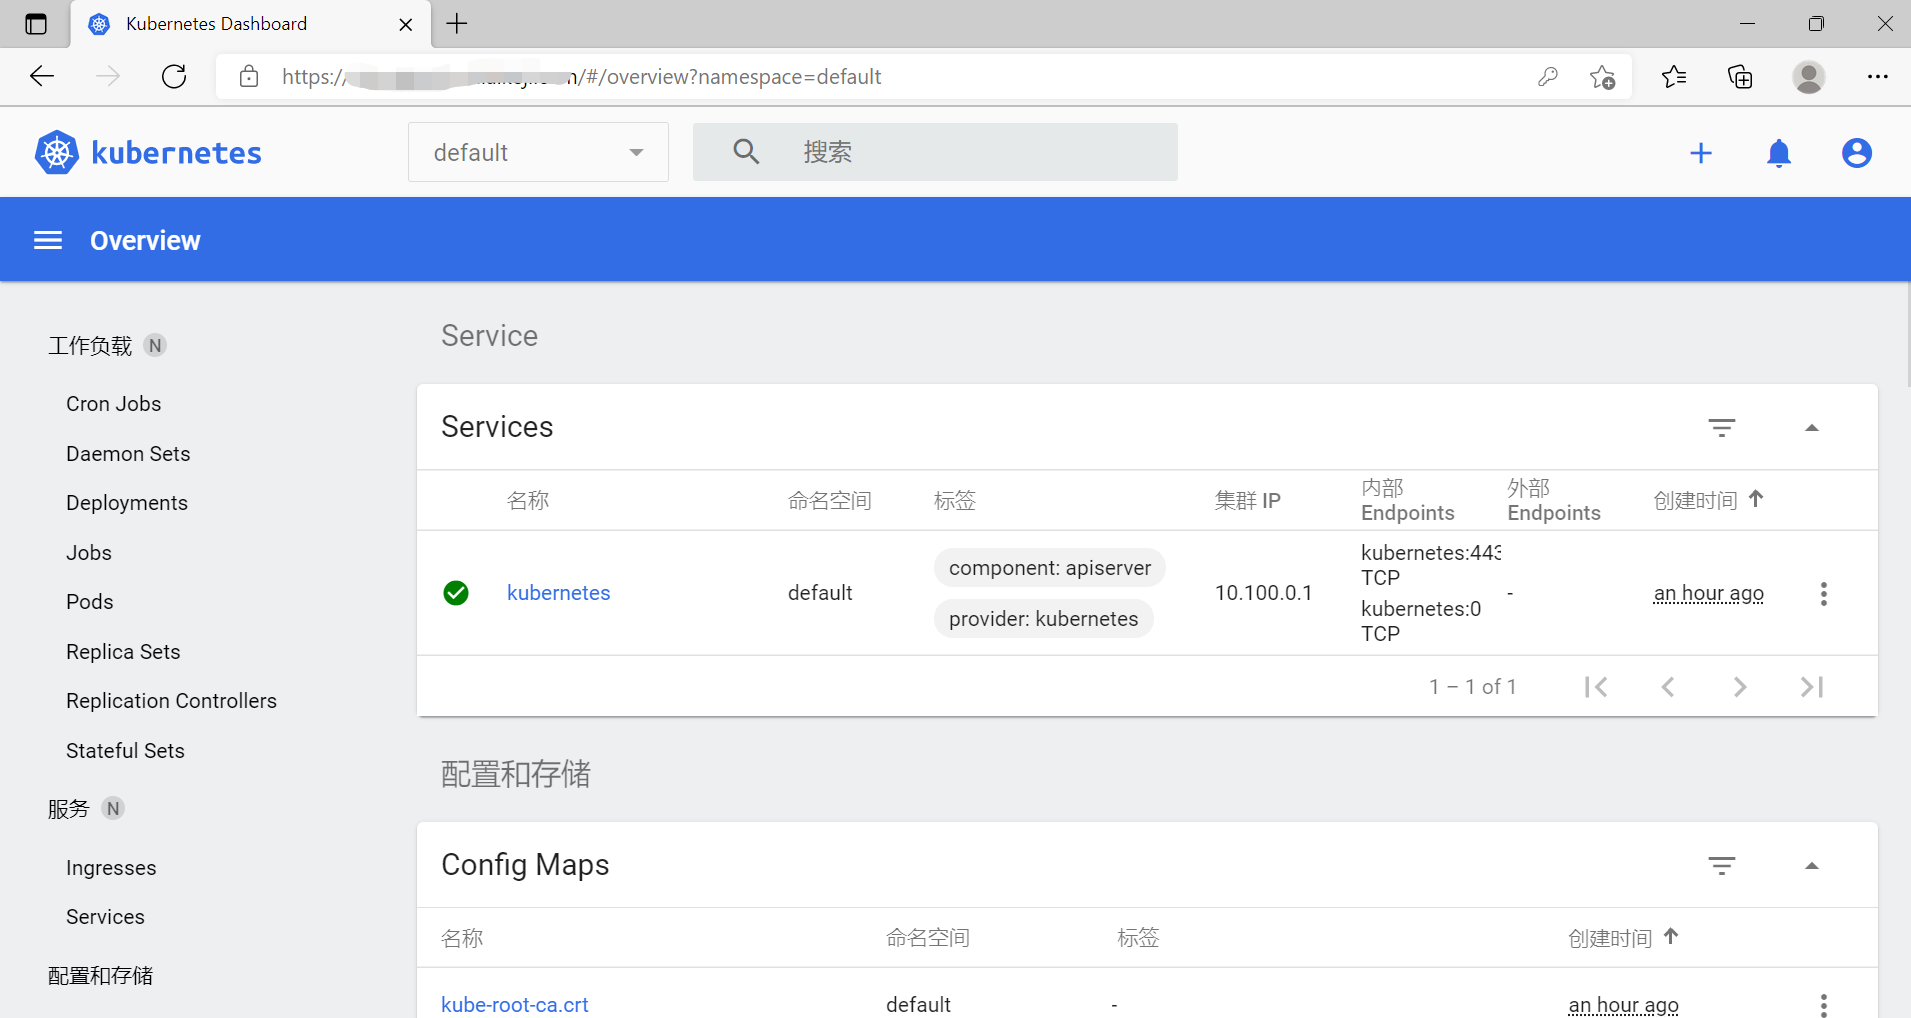
Scope of this tutorial
- Deploy k8s Dashboard using EKS service on AWS and access it through ALB
- The EKS cluster computing node adopts managed EC2 and uses the startup template.
- Use AWS overseas account, us-west-2 area
- Use the account default vpc (172.31.0.0 / 16) and subnet
- Create using awscli instead of eksctl
- Have some knowledge of AWS, not applicable to AWS Xiaobai
- In the code, the Chinese part needs to be modified into its own information
Knowledge points involved
- AWS services: EC2, IAM, EKS, VPC, ACM, ALB, SecurityGroup, awscli, eksctl
- K8s: Service, Pod, Ingress, Node
Prerequisites
- There is a server for operation (ec2: ubuntu 18 is used in this tutorial. EKS gives the maximum permission of the cluster to the user who creates the cluster by default, so it is not recommended to use the console to create the cluster, especially for SSO login users)
- Have AWS administrator privileges (this tutorial gives privileges to the server)
- Have domain name management rights (be able to create and resolve domain names)
- Have a domain name certificate (this tutorial uses an ACM certificate)
Detailed steps
Install kubectl, awscli
# install kubectl
wget https://dl.k8s.io/release/v1.22.0/bin/linux/amd64/kubectl
chmod 755 kubectl
mv kubectl /usr/bin
# install awscli
pip3 install awscli
# install eksctl
wget https://github.com/weaveworks/eksctl/releases/latest/download/eksctl_$(uname -s)_amd64.tar.gz
tar -xvf eksctl_Linux_amd64.tar.gz
chmod 755 eksctl
mv eksctl /usr/bin
Enter the following to indicate that the installation is complete

Start a cluster on EKS
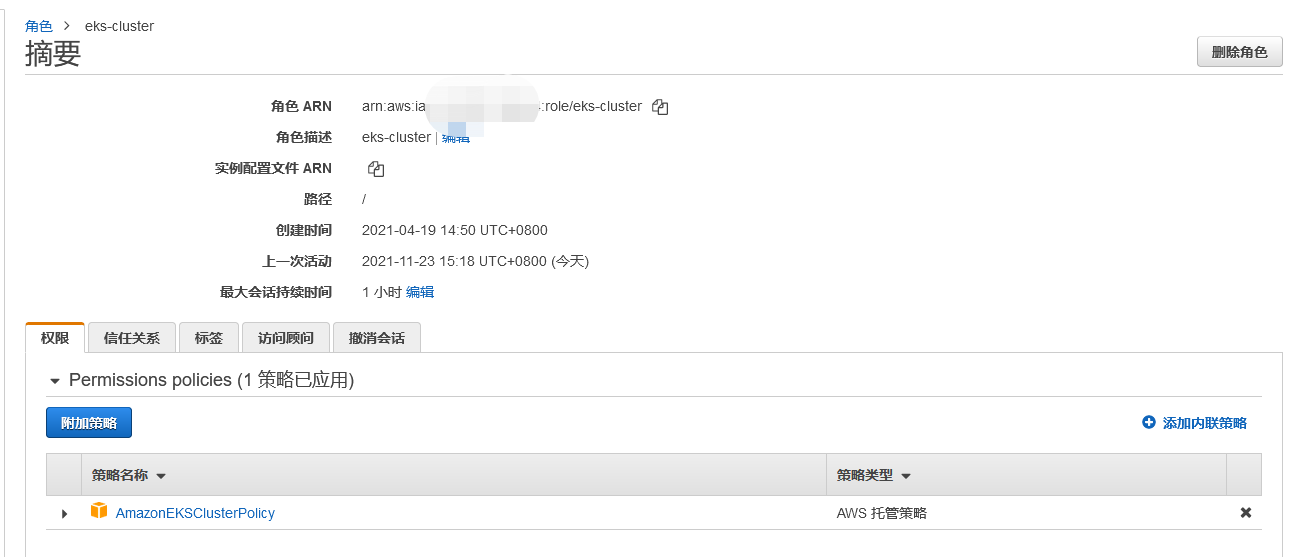
Use the aws console to create the eks cluster role. The strategy is as follows:
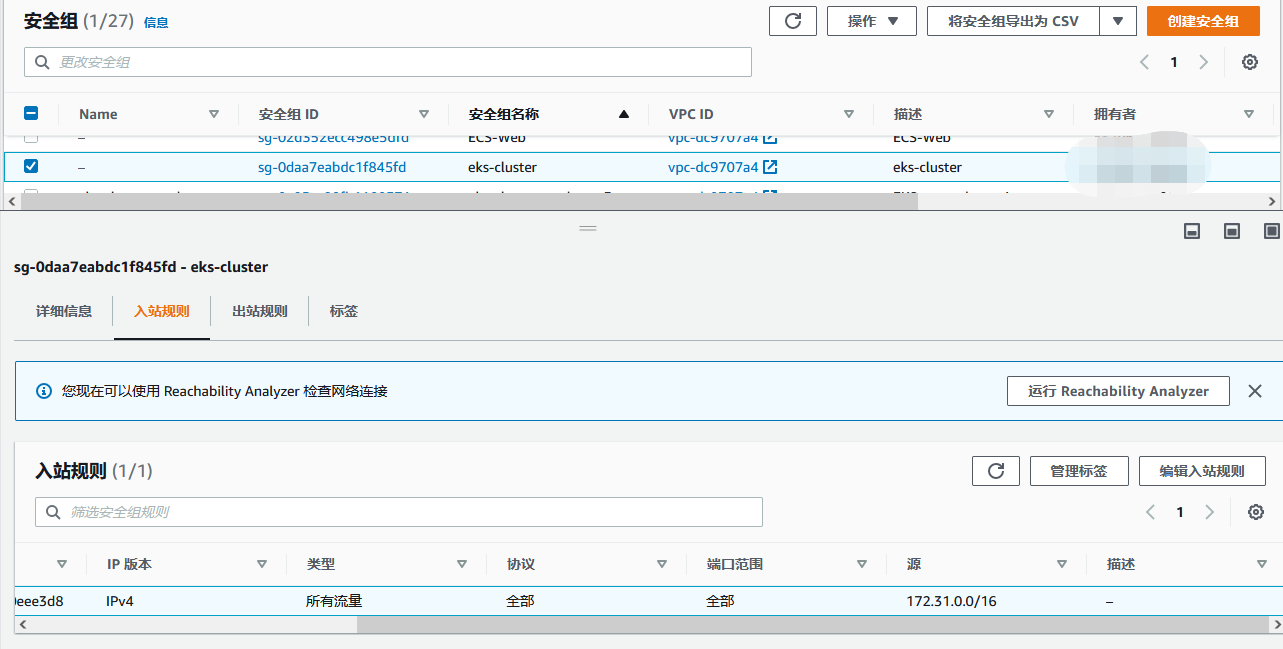
Create eks cluster security group
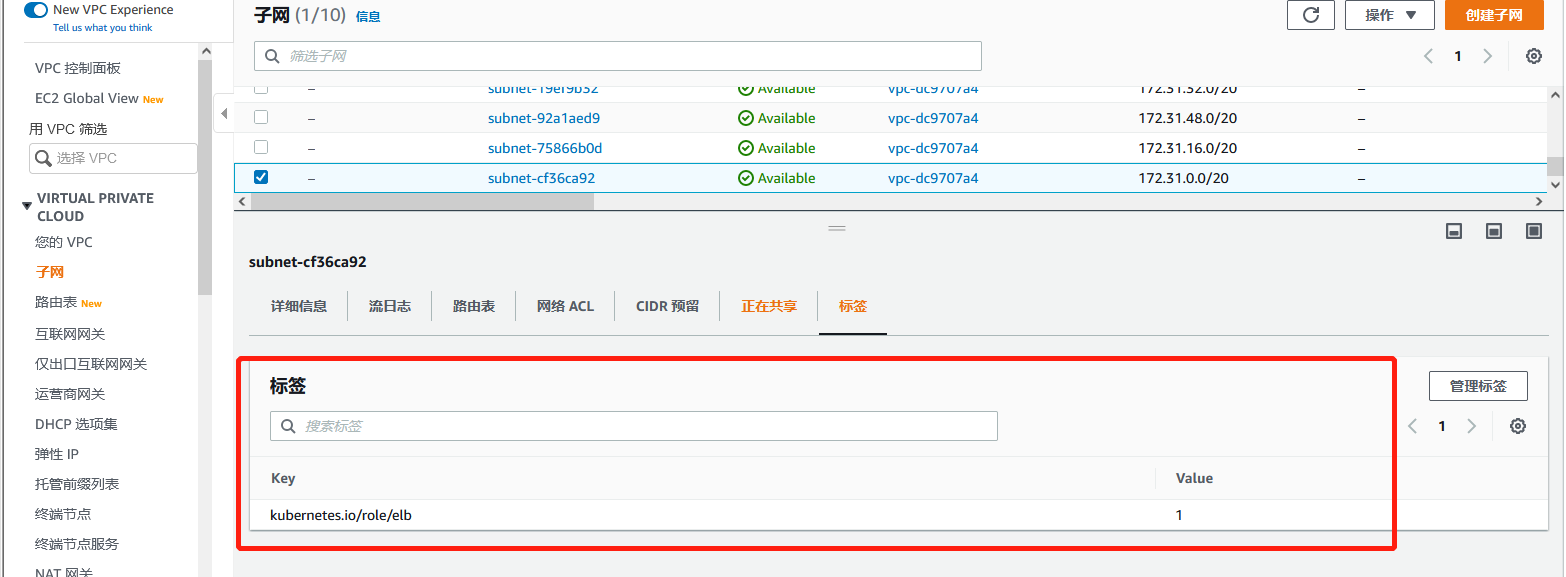
Add the following label to the subnet to be used (alb can be used only with this label)
Create cluster
aws eks create-cluster \
   --region us-west-2 \
   --name zhenglisai \
   --kubernetes-version 1.21 \
   --role-arn arn:aws:iam::Your account number ID:role/eks-cluster \
   --resources-vpc-config subnetIds=subnet-cf36ca92,subnet-75866b0d,subnet-19ef9b32,securityGroupIds=sg-0daa7eabdc1f845fd
From the console, you can see that the cluster is being created

View cluster status

Create cluster compute node instance startup template
Create a startup template in console EC2. Use the image AMI: ami-0cb182e3037115aa0. Select the instance type, security group and server key pair according to your needs. Do not set the network interface and IAM instance configuration file in the startup template. The most important step is to fill in the user data at the end of the startup template:

After the script, the parameter is EKS cluster name
Create cluster compute node instance role
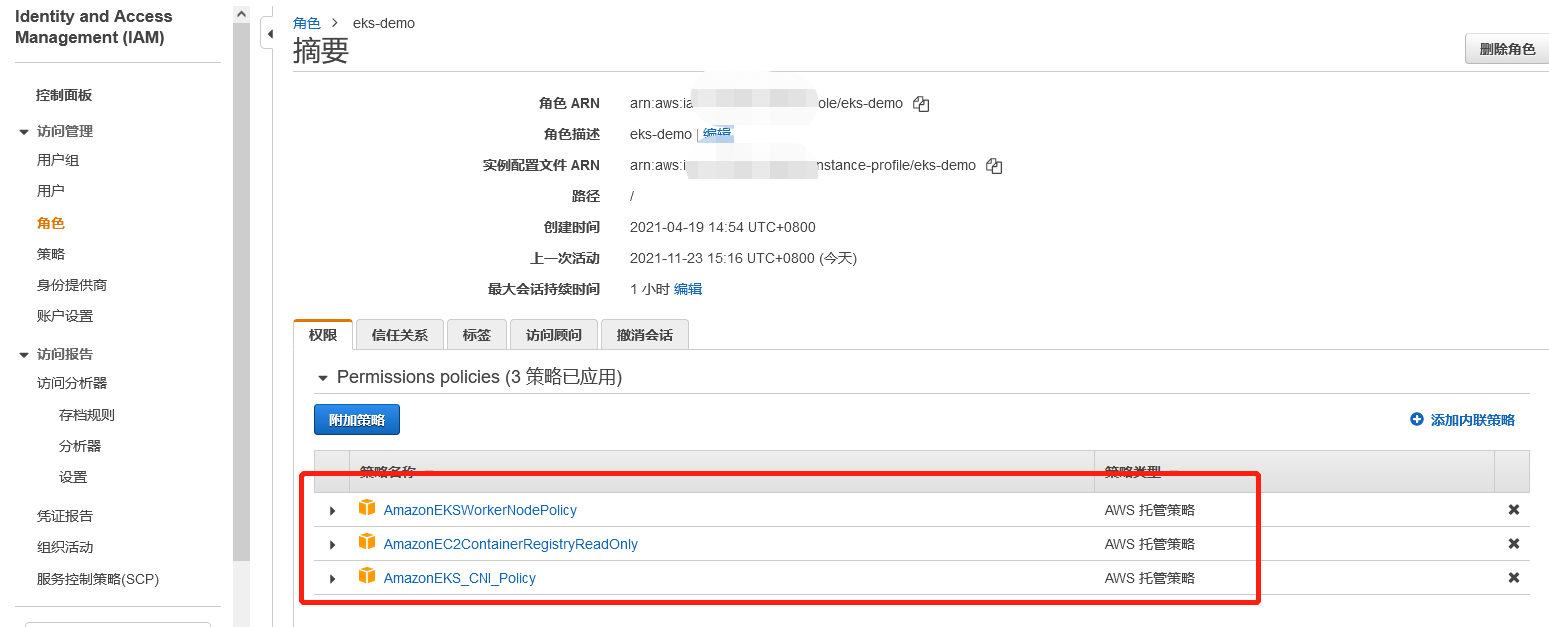
Create cluster compute node group
aws eks create-nodegroup \
  --cluster-name zhenglisai \
  --nodegroup-name zls-node \
  --scaling-config minSize=1,maxSize=3,desiredSize=2 \
  --subnets subnet-cf36ca92 subnet-75866b0d subnet-19ef9b32 \
  --node-role arn:aws:iam::Your account number ID:role/eks-demo \
  --launch-template version=4,id=lt-020949e5e604df89c

Configure kubectl to access EKS
# --Name followed by cluster name
aws eks --region us-west-2 update-kubeconfig --name zhenglisai
After configuration, access the EKS cluster

Indicates that the configuration is complete and the cluster can be accessed.
View all running pod s

We can see that two pod s didn't get up. Let's see why they didn't get up
implement
kubectl get pods coredns-85d5b4454c-rkccb --namespace kube-system --output yaml
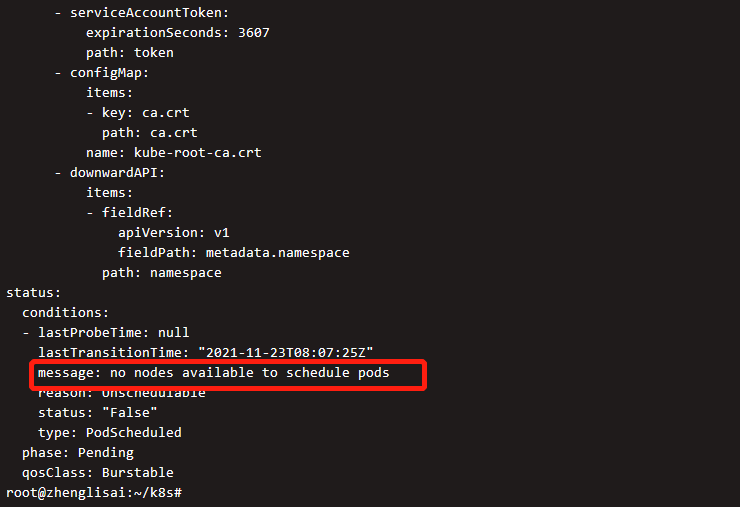
The output shows that there are no available computing nodes, which means that the computing node we created in the previous step has not been run. If you check the available nodes, there are no available nodes

Wait about two minutes and execute again. You can see that the instance has been registered with the cluster

Check the status of the pod again and it is running.

Installing Metric Server
This is mainly used for cluster elastic capacity expansion indicators and dashboard indicators, not for monitoring resources!
Execute deployment
kubectl apply -f https://github.com/kubernetes-sigs/metrics-server/releases/latest/download/components.yaml
output

Verify that the deployment was successful

Deploy Dashboard
implement
kubectl apply -f https://raw.githubusercontent.com/kubernetes/dashboard/v2.0.5/aio/deploy/recommended.yaml

By default, Kubernetes control panel users have limited permissions, and we create a super user
Create a file named eks-admin.yaml with the following contents
apiVersion: v1
kind: ServiceAccount
metadata:
  name: eks-admin
  namespace: kube-system
---
apiVersion: rbac.authorization.k8s.io/v1beta1
kind: ClusterRoleBinding
metadata:
  name: eks-admin
roleRef:
  apiGroup: rbac.authorization.k8s.io
  kind: ClusterRole
  name: cluster-admin
subjects:
- kind: ServiceAccount
  name: eks-admin
  namespace: kube-system
Execute this file
kubectl apply -f eks-admin.yaml

Get the token token of Dashboard and use it to access Dashboard
kubectl -n kube-system describe secret $(kubectl -n kube-system get secret | grep eks-admin | awk '{print $1}')

So far, the setup of the cluster and the deployment of the Dashboard have been completed, but the Dashboard can only be accessed inside the cluster, not through the Internet. Next, expose the Dashboard interface to ALB
Install AWS load balancer controller to EKS cluster
Download IAM policy
wget https://raw.githubusercontent.com/kubernetes-sigs/aws-load-balancer-controller/v2.2.0/docs/install/iam_policy.json
Create policy
aws iam create-policy \
    --policy-name AWSLoadBalancerControllerIAMPolicy \
    --policy-document file://iam_policy.json
Create cluster IAM OIDC identity provider
eksctl utils associate-iam-oidc-provider --cluster zhenglisai --approve

Create k8s accounts and associate policies
eksctl create iamserviceaccount \
  --cluster=zhenglisai \
  --namespace=kube-system \
  --name=aws-load-balancer-controller \
  --attach-policy-arn=arn:aws:iam::Your account number ID:policy/AWSLoadBalancerControllerIAMPolicy \
  --override-existing-serviceaccounts \
  --approve

Installing the load balancer controller
kubectl apply -k "github.com/aws/eks-charts/stable/aws-load-balancer-controller/crds?ref=master"
helm repo add eks https://aws.github.io/eks-charts
helm repo update
helm upgrade -i aws-load-balancer-controller eks/aws-load-balancer-controller \
  --set clusterName=zhenglisai \
  --set serviceAccount.create=false \
  --set serviceAccount.name=aws-load-balancer-controller \
  -n kube-system
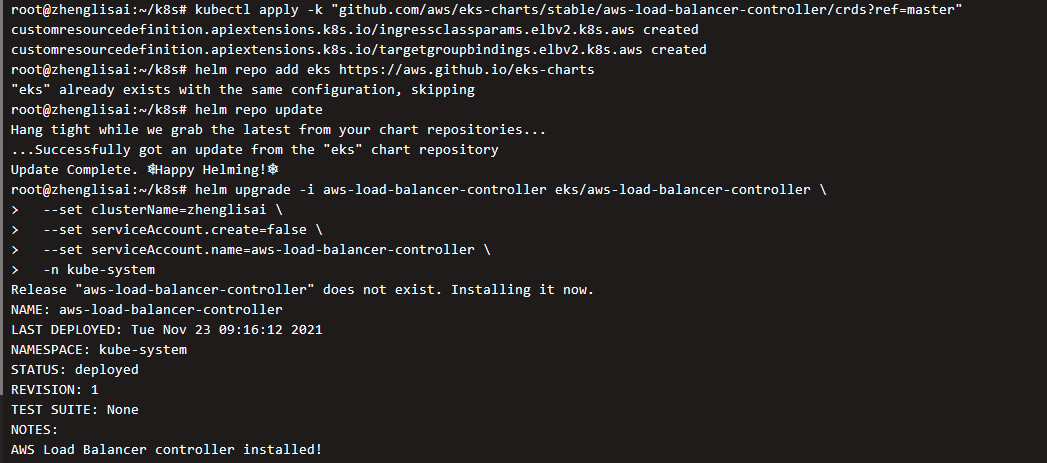
Verify that the installation is complete

Deploy Ingress
Create a deployment file, dashboard-ingress.yaml, with the following contents (some contents need to be modified):
---
apiVersion: networking.k8s.io/v1beta1
kind: Ingress
metadata:
  namespace: kubernetes-dashboard
  name: ingress-dashboard
  annotations:
    alb.ingress.kubernetes.io/load-balancer-name: zhenglisai
    alb.ingress.kubernetes.io/backend-protocol: HTTPS
    kubernetes.io/ingress.class: alb
    alb.ingress.kubernetes.io/scheme: internet-facing
    alb.ingress.kubernetes.io/target-type: ip
    alb.ingress.kubernetes.io/listen-ports: '[{"HTTPS":443}]'
    alb.ingress.kubernetes.io/certificate-arn: Your certificate ARN,stay ACM View in
spec:
  rules:
    - host: Your domain name
      http:
        paths:
        - path: /*
          backend:
            serviceName: kubernetes-dashboard
            servicePort: 443
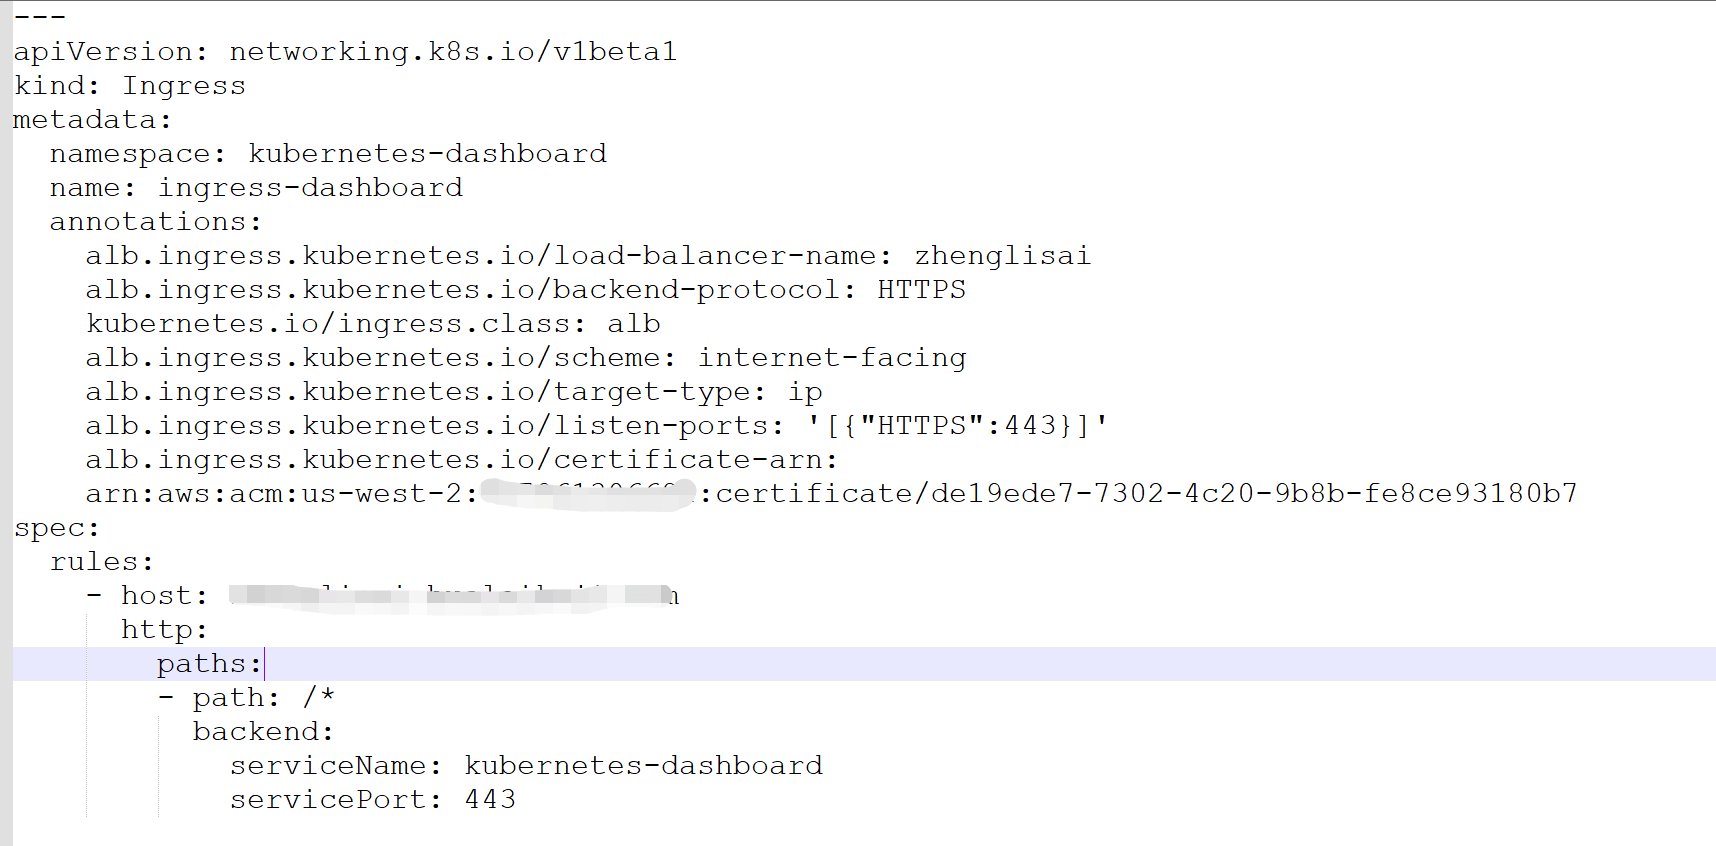
Execute the file to create the ingress
kubectl apply -f dashboard-ingress.yaml

Go to the domain name resolution website, create a domain name, and point to the DNS of ALB
Access domain names using https protocol
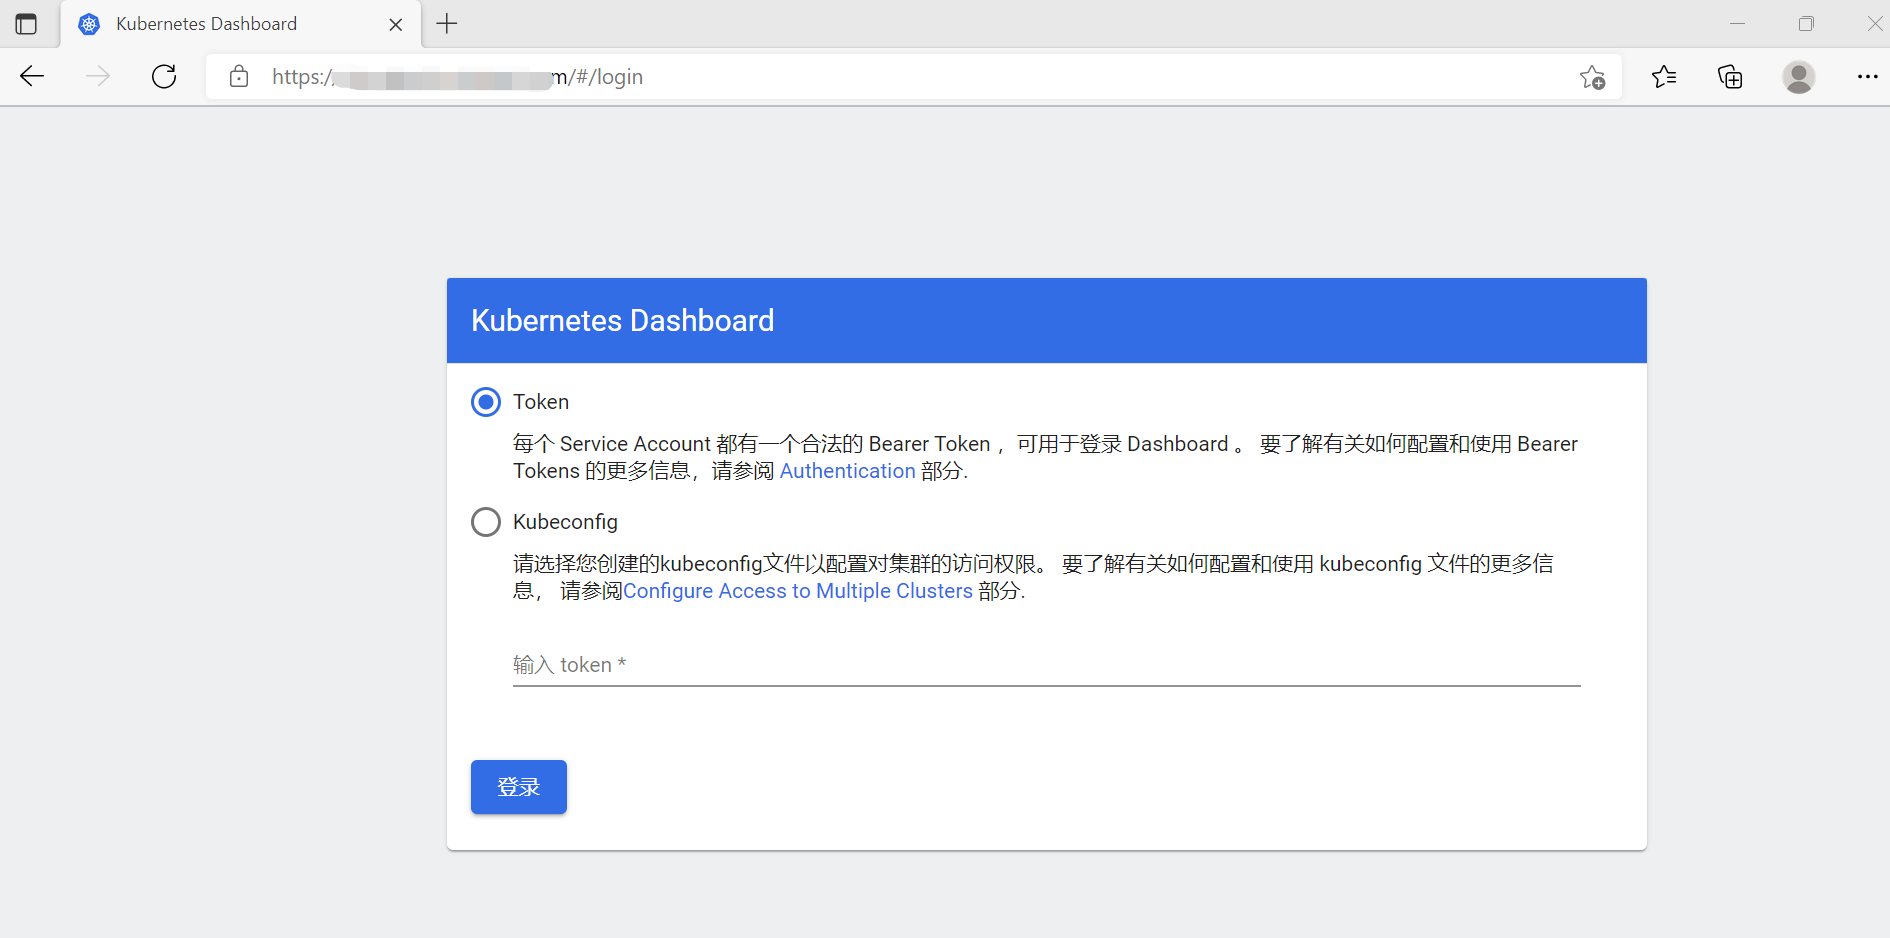
Enter the token token obtained from Dashboard in the previous chapter to log in
