Directory navigation
- 1. Intelligent chat robot demonstration
- 2. Introduction to API of intelligent Q & a platform
- 3. Integrate the third-party JSON open source library
- 4. Framework construction and module division of intelligent robot project
- 5. Encapsulate a robot HTTP tool class
- 6. Implement the interface and definition of robot service layer
- 7. Make your own robot entrance
- 8. Pack your robot for use
- 9. Summary
1. Intelligent chat robot demonstration
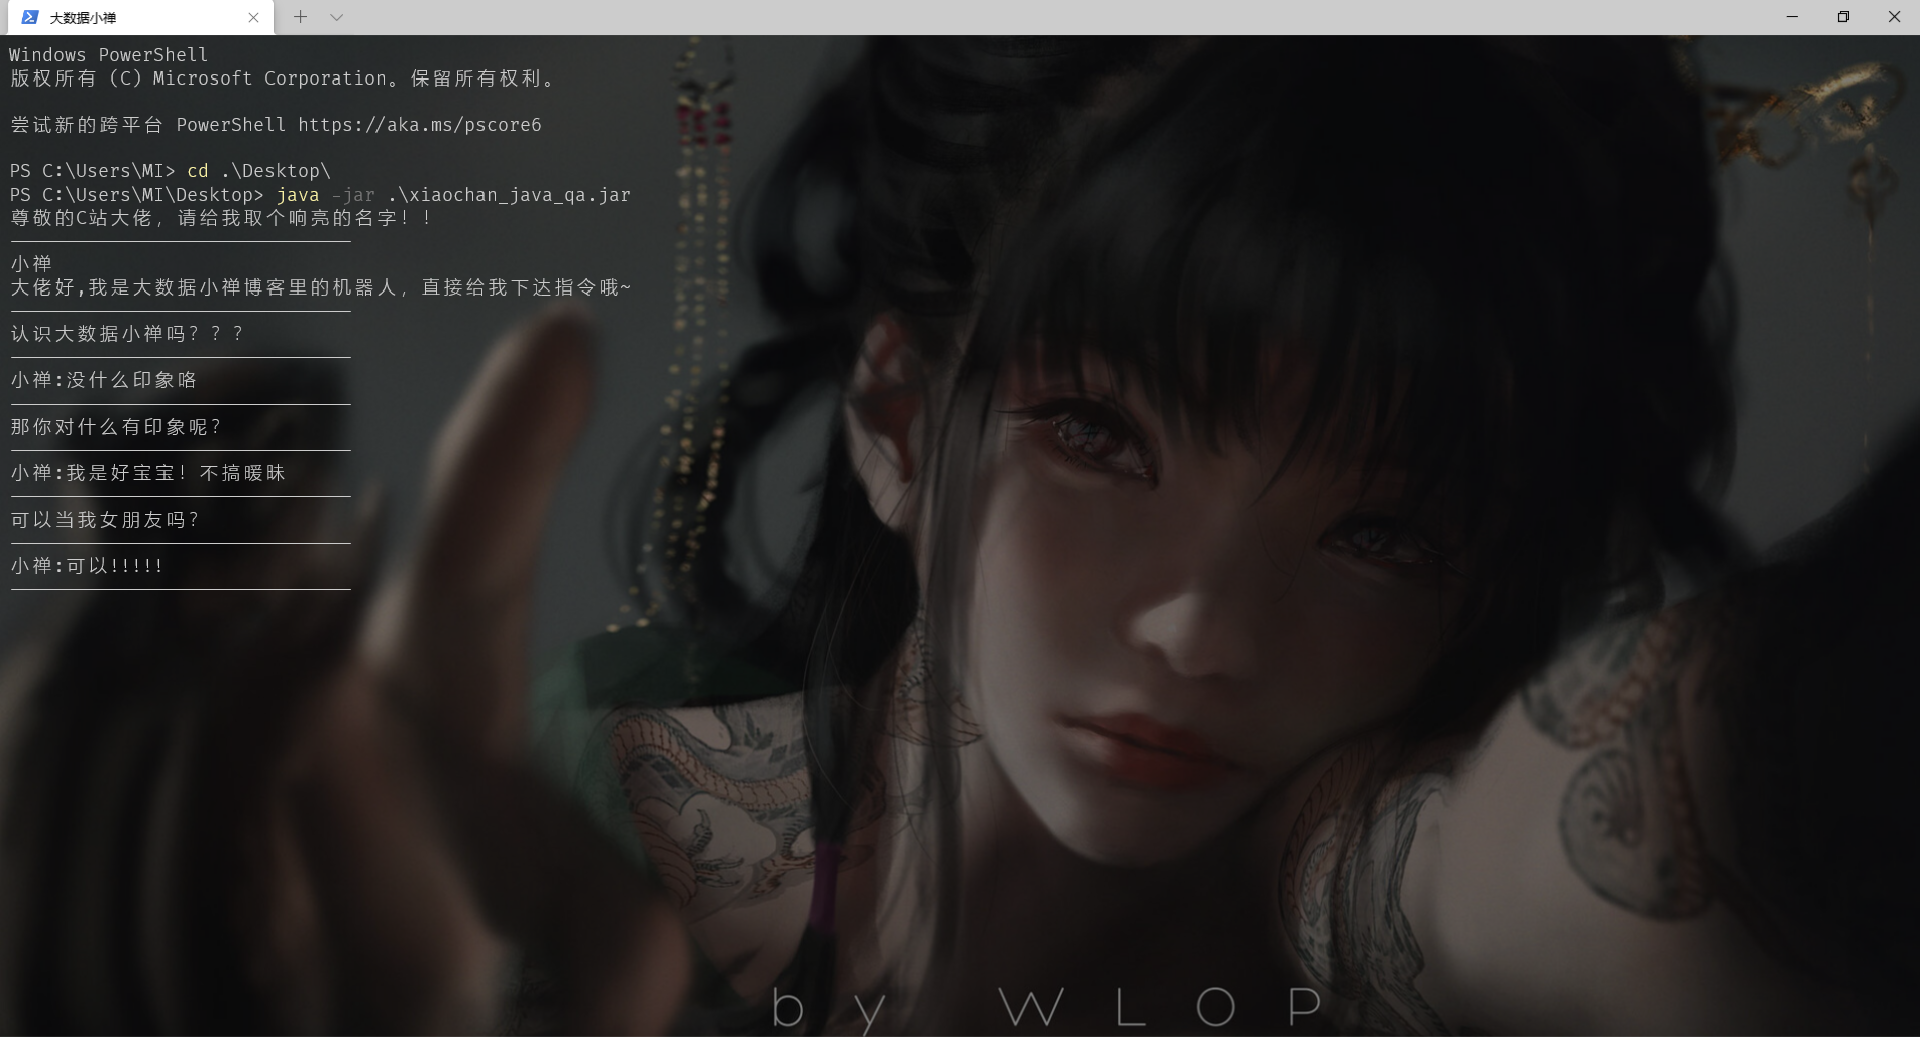
Artificial intelligence has been a hot topic recently, but the application field of automatic artificial intelligence has been expanding. In the future, artificial intelligence will be popularized and applied in people's life. The chat robot in this blog post is written in java. It can respond intelligently according to the information you send. It's an interesting gadget. The final effect is shown in the figure below~
2. Introduction to API of intelligent Q & a platform
This chat robot project uses the intelligent API of Qingyun class to get information feedback by calling the API.
The specific calling format is as follows:
http://api.qingyunke.com/api.php?key=free&appid=0&msg=%s
 Among them%s We can get the content we need to send to the robot API Feedback of call results.
- key fixed parameter free
- appid is set to 0, which is intelligent identification
- msg is the search keyword
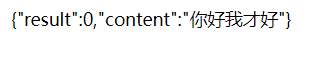
- result indicates the return status, and 0 indicates normal
- Content information returned by API
You can see that the data is returned in JSON.

3. Integrate the third-party JSON open source library
Gson is a class library provided by Google. It can be used to process the mapping between java objects and JSON data, and convert a JSON string into a java object, which is convenient for us to process the JSON format data returned by the API. The following shows how to import the gson class library into our project.
First, you can go to the official website to download the corresponding jar package, or get it directly by private letter. After obtaining the jar package, find an all English path to save it. The editor we use here is IDEA, so we use IDEA for demonstration. If our friends use other editors, the import method is similar. Open the following interface in IDEA, find the jar package and import it.

4. Framework construction and module division of intelligent robot project
Project construction: there are not many requirements for the construction part. You only need to create a new ordinary java project using IDEA
Project module construction:
- The model class is used to store the object returned by the request
- util class is used to store tool classes used in the project, such as HTTP request parsing class
- The app class is used as an entry point for robot projects
- The service class is used to implement the business interface
The two related entity classes are as follows:
public class Request {

    private String key = "free";

    private String appid = "0";

    private String msg = "";


    public Request(){}


    public Request(String msg){
        this.msg = msg;
    }

    public String getKey() {
        return key;
    }

    public void setKey(String key) {
        this.key = key;
    }

    public String getAppid() {
        return appid;
    }

    public void setAppid(String appid) {
        this.appid = appid;
    }

    public String getMsg() {
        return msg;
    }

    public void setMsg(String msg) {
        this.msg = msg;
    }
}

public class Response {


    private int code;

    private String content;

    public int getCode() {
        return code;
    }

    public void setCode(int code) {
        this.code = code;
    }

    public String getContent() {
        return content;
    }

    public void setContent(String content) {
        this.content = content;
    }
}
5. Encapsulate a robot HTTP tool class
The HTTP tool class is mainly used to request the api and obtain the returned content
public class HttpUtils {

    public static String request(String api){

        HttpURLConnection connection = null;
        int responseCode = 0;
        try{
            URL url = new URL(api);
            //Get the corresponding connection object
            connection = (HttpURLConnection) url.openConnection();
            responseCode = connection.getResponseCode();
        }catch (Exception e){
            e.printStackTrace();
        }

        if(200 <= responseCode && responseCode<=299){
            try(InputStream inputStream = connection.getInputStream();
                BufferedReader in =  new BufferedReader(new InputStreamReader(inputStream));
            ){
                StringBuilder response = new StringBuilder();
                String currentLine;
                while ((currentLine = in.readLine())!= null){
                    response.append(currentLine);
                }
                String result = response.toString();
                return result;
            }catch (Exception e){
                e.printStackTrace();
            }
        }
        return null;

    }

}
6. Implement the interface and definition of robot service layer
Implement robot interface layer
public interface RobotService {

    Response qa(String msg) ;

}
Implement the robot interface implementation class, which is used to implement the API request, encapsulate the result into an entity class and return
public class QkyRobotServiceImpl implements RobotService {

    private static final String apiTpl = "http://api.qingyunke.com/api.php?key=free&appid=0&msg=%s";
    private static  final Gson gson = new Gson();
    @Override
    public Response qa(String msg) {


        String api = null;
        try {
            api = String.format(apiTpl, URLEncoder.encode(msg,"UTF-8") );
        } catch (UnsupportedEncodingException e) {
            e.printStackTrace();
        }

        String result =  HttpUtils.request(api);

        //You can make logical judgments, such as null or error

        Response response = gson.fromJson(result,Response.class);

        return response;
    }
}
7. Make your own robot entrance
Write the entry main class and call the encapsulated module to write the robot entry main class
public class Main {

    private static final RobotService robotService = new QkyRobotServiceImpl();


    public static void main(String[] args)throws Exception {

        Scanner scanner = new Scanner(System.in);
        System.out.println("honorific C Station boss, please give me a loud name!!");
        System.out.println("-------------------------------");
        String name = scanner.nextLine();
        System.out.println("Hey, boss,I'm a robot in big data small Zen blog. Give me instructions directly~");
        System.out.println("-------------------------------");
        while (true){

            String input = scanner.nextLine();
            if("88".equalsIgnoreCase(input)){
                System.out.println("Welcome to use next time, bye");
                break;
            }else {
              Response response = robotService.qa(input);
              if(response != null && response.getCode() == 0){
                  System.out.println("-------------------------------");
                  System.out.println(name+":"+ new String(response.getContent().getBytes(),"UTF-8"));
                  System.out.println("-------------------------------");
              }else {
                  System.out.println(name+": Boss, I didn't understand what you just said. Can you state it again~");
              }
            }

        }
        scanner.close();


    }
}
8. Pack your robot for use
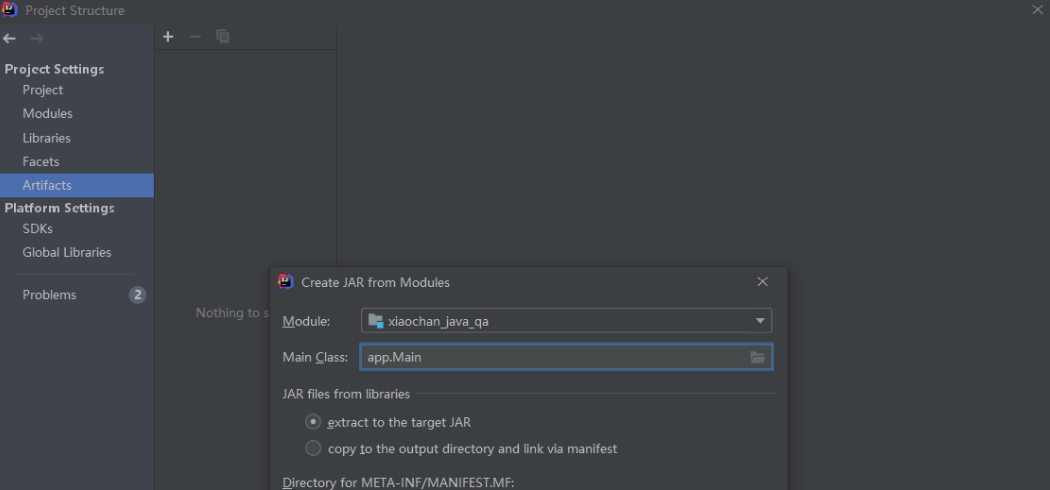
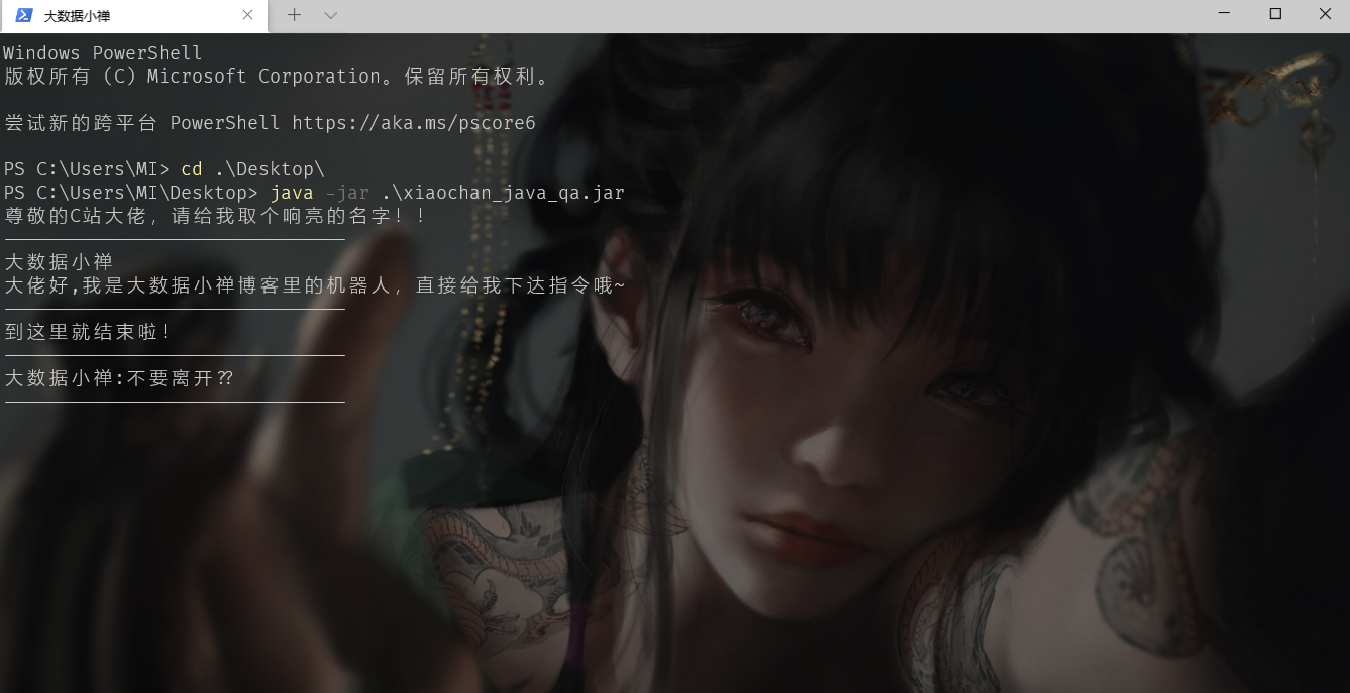
To facilitate our use of the project, we use IDEA to package the project into a jar package. Through the following steps, you can package all modules in our project with the class library. When you need to call, you only need to use the Java - jar name.
First, click Project Structure in IDEA, and then find the Artifacts option
Click Bulid to package the project
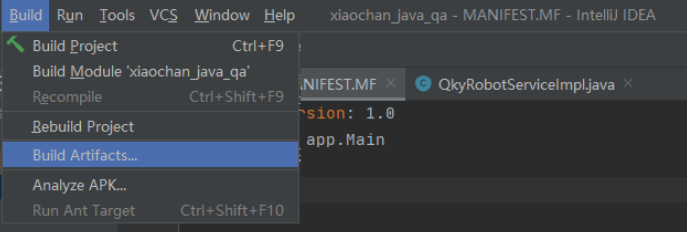
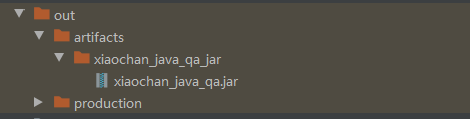
Finally, an out folder is generated, and the jar package in it is the final result of our packaging.
After that, it can be uploaded to the terminal with java environment.
9. Summary
After packing, our robot project will be completed. I hope our friends can gain something from this blog.