Today we explore pandas.
1, Basic knowledge summary
- SQLAlchemy module installation
- Database PostgreSQL download and installation
- Introduction to PostgreSQL
- Pandas+SQLAlchemy import data into PostgreSQL
- Code implementation of interaction between Python and various databases
2, Start thinking
1. SQLAlchemy module installation
Install the SQLAlchemy module (the following operations are in the virtual environment): Method 1: directly pip install (the simplest, the installation is slow, and errors may occur)
pip install SQLAlchemy
Method 2: wheel installation (relatively simple, installation speed is OK, basically no error) Click Download here SQLAlchemy whl file, and then move it to your development environment directory.
pip install xxxxx.whl
Method 3: installation of Douban source (relatively simple, fast and convenient, recommended)
pip install \-i https://pypi.douban.com/simple/ SQLAlchemy

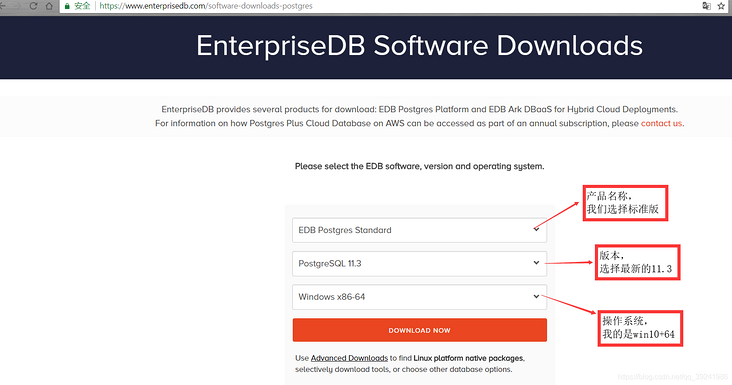
2. Database PostgreSQL download and installation
(1) Download address: https://www.enterprisedb.com/...
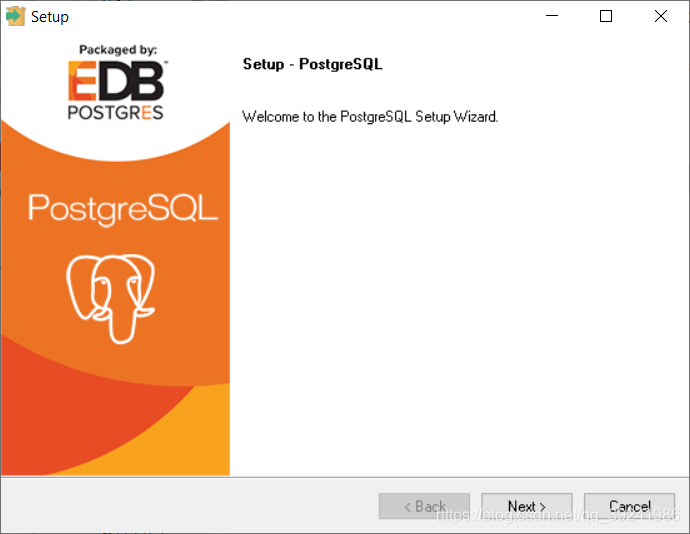
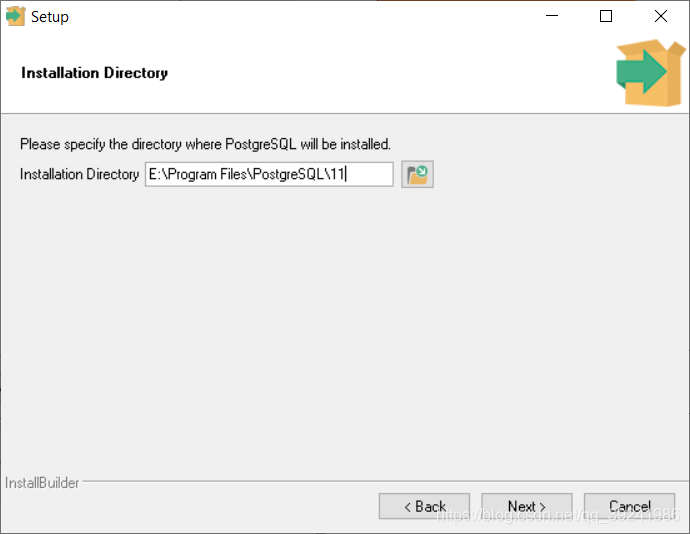
(2) After downloading, click the installation file, which is basically Next.
First, the installation directory. It is recommended to choose by yourself. Do not install it on disk C.
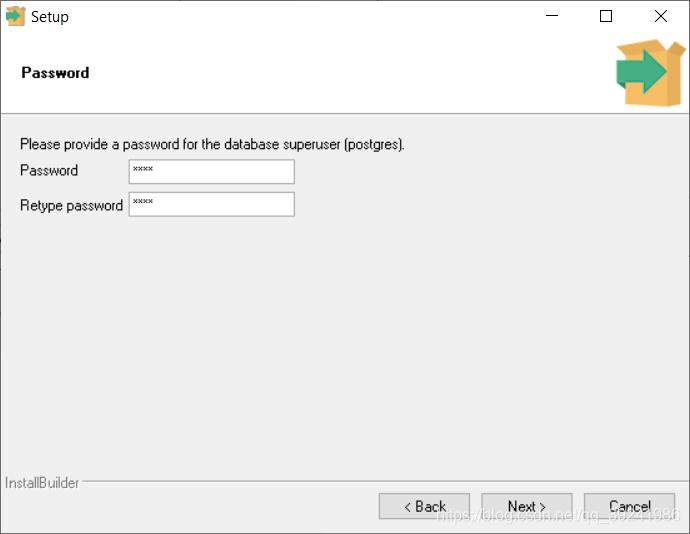
Second and Password can be set to be simpler. After all, they are only used to learn by themselves.
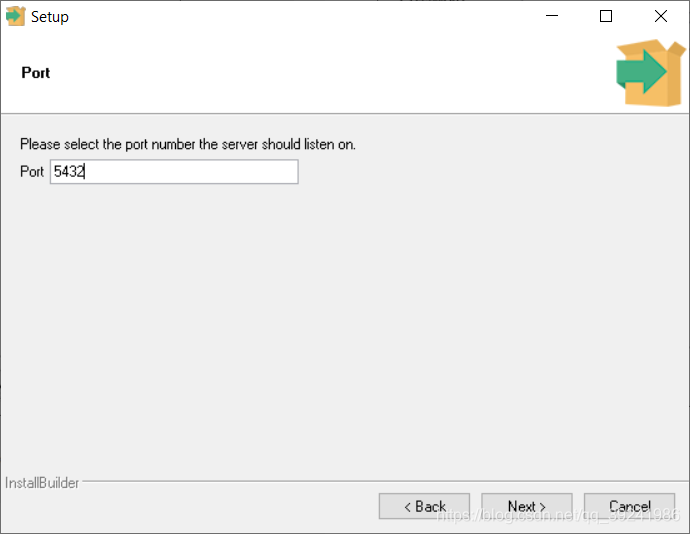
Third, it is recommended not to change the port number. Just use 5432. It is easy to conflict with other ports. At that time, I don't know how to solve it. It's troublesome.
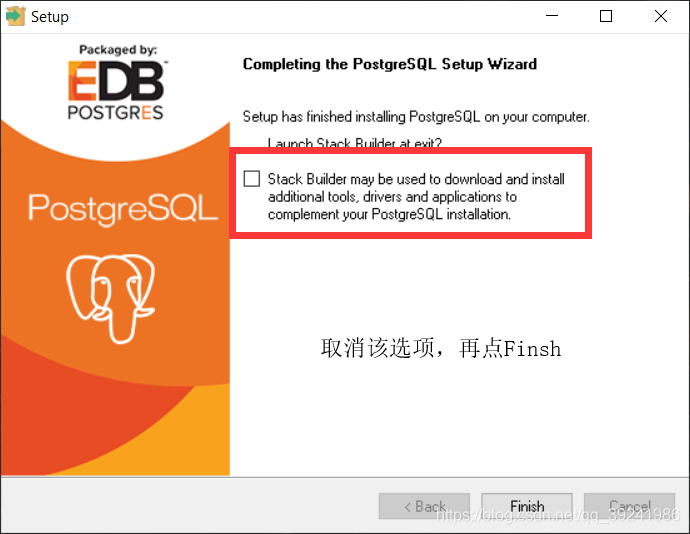
Everything else is set by default. Next, next, next ~ the installation process usually takes about 10 minutes. Don't rush. Finally, after the installation is completed, cancel the option box on the figure, which means that it is not necessary to start Stack Builder in the background.
Finally, we recommend several related learning websites Postgre community: https://www.postgresql.org/co... Official Postgre documentation: https://www.postgresql.org/docs/ Easy Postgre tutorial: https://www.yiibai.com/postgr...
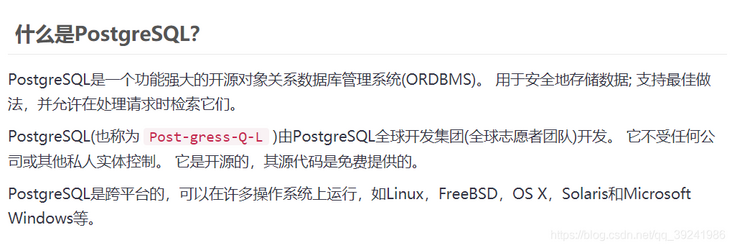
3. Introduction to PostgreSQL
(1) PostgreSQL features
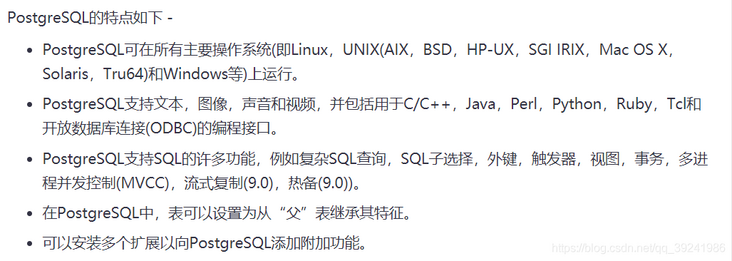
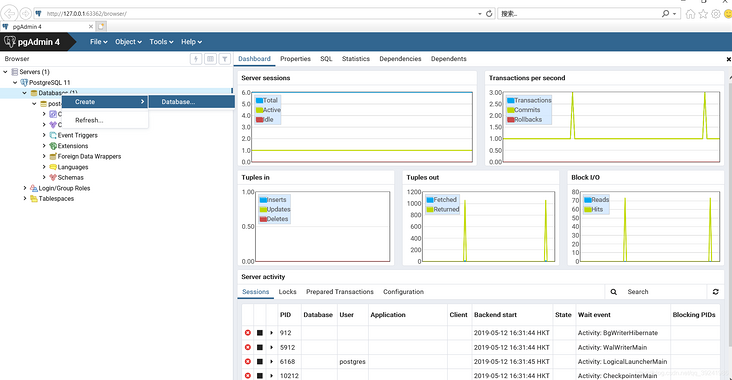
The above content is taken from Yi Bai Postgre learning tutorial. (2) Use PostgreSQL to Create a Database A. open pgaddmin4 and find that the graphical operation interface is a Web side. First, you will be asked to enter the Password, which is the Password set during installation. Click Servers - > PostgreSQL 11 - > Databases - > right click - > Create - > Database.
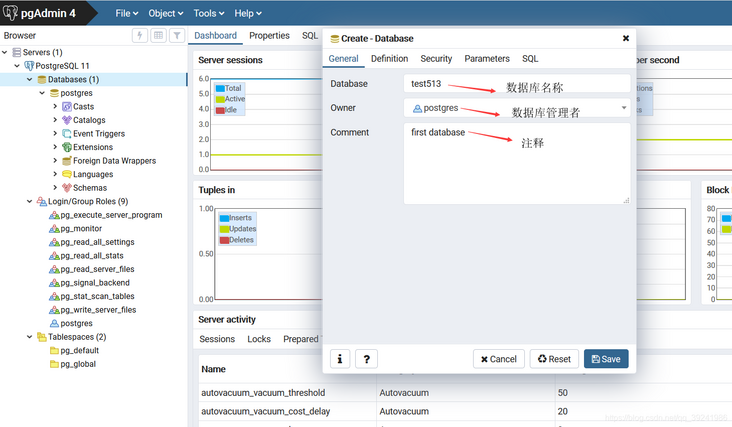
b . Enter the name of the database. Other default comments can be written by myself. The} first database I wrote represents my first database.
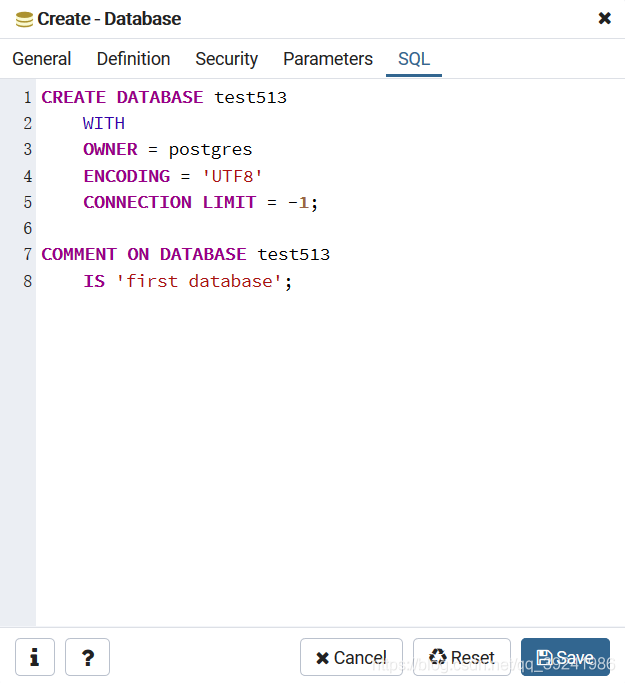
We can also take a look at the statements created by the database and click "SQL" in the pop-up box.
4. Pandas+SQLAlchemy import data into Postgre
(1) Python operation code
import pandas as pd
import sqlalchemy as sa


\# Read CSV file path
r\_filepath \= r"H:\\PyCoding\\Data\_analysis\\day01\\data01\\realEstate\_trans.csv"
\# Database authentication
user \= "postgres"   \# Database user name
password \= "root"   \# Database password
db\_name \= "test513"   \# Database name
\# Connect to database
engine \= sa.create\_engine('postgresql://{0}:{1}@localhost:5432/{2}'.format(user, password, db\_name))
print(engine)
\# Read data
csv\_read \= pd.read\_csv(r\_filepath)
\# Sell\_ Convert date to datetime object
csv\_read\['sale\_date'\] \= pd.to\_datetime(csv\_read\['sale\_date'\])
\# Store data in database
csv\_read.to\_sql('real\_estate', engine, if\_exists\='replace')
print("complete")
\# Possible error: modulenotfounderror: no module named 'psychopg2'
\# Solution: PIP install psychopg2
(2) Code parsing
engine \= sa.create\_engine('postgresql://{0}:{1}@localhost:5432/{2}'.format(user, password, db\_name))Create of sqlalchemy\_ The engine function creates a database connection. The parameter is a string. The format of the string is:
<database_type>://<user_name>:<password>@<server>:<port>/<database_name>
Database type: / / database user name: database password @ server IP (e.g. 127.0.0.1) or server name (e.g. localhost): port number / database name
These can be: postgresql, mysql, etc.
csv\_read.to\_sql('real\_estate', engine, if\_exists\='replace')pandas to\_ The SQL function directly stores the data (in csv\_read) into postgresql. The first parameter specifies the name of the table stored in the database, the second parameter specifies the database engine, and the third parameter indicates that if the table "real_estate" already exists, it will be replaced. (3) operation result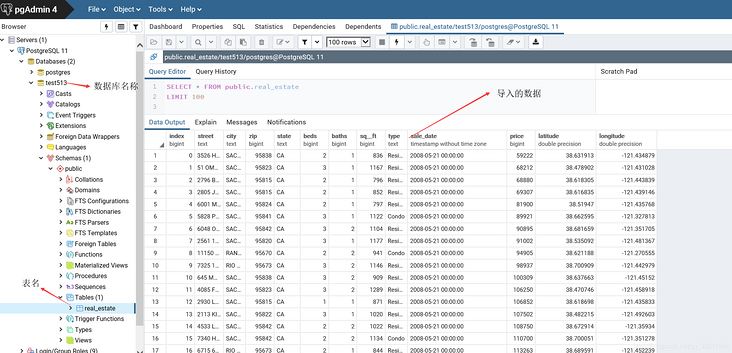
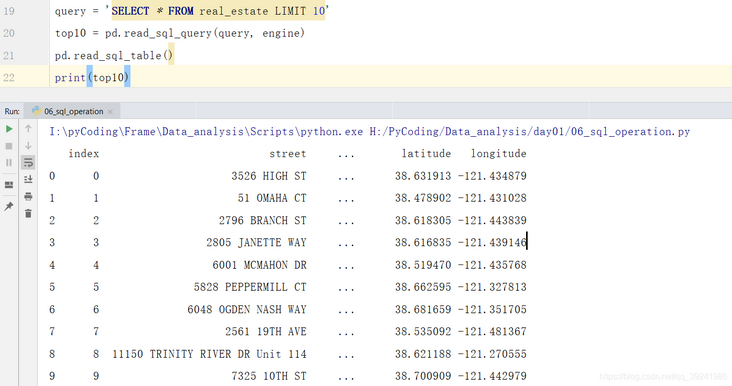
In addition, the pandas {library also provides the database query operation function} read_sql_query, just pass in the query statement and database connection engine. The source code annotation is Read SQL query into a DataFrame , which means that the contents of the database query are turned into a DataFrame object and returned.
query \= 'SELECT \* FROM real\_estate LIMIT 10'
top10 \= pd.read\_sql\_query(query, engine)
print(top10)
5. Interaction code between Python and various databases
a . Python and MySql
\# Install pymysql module before use: pip install pymysql
\# Import pymysql module
import pymysql
#Connect to database, Parameter Description: server, user name, database password, database name
db \= pymysql.connect("localhost","root","root","db\_test")
#Create a cursor object using the cursor() method
cursor \= db.cursor()
#Use the execute() method to execute SQL statements
cursor.execute("SELECT \* FROM test\_table")
#Get all the data using fetall()
data \= cursor.fetchall()
#Close the connection between the cursor and the database
cursor.close()
db.close()
b . Python and MongoDB
\# Install pymongodb module before use: pip install pymongodb
\# Import pymogodb module
import pymongo
\# Connect to the database. Parameter Description: server IP. The default port number is 27017
my\_client \= pymongo.MongoClient(host\="127.0.0.1",port\=27017)
\# Directly through the database name index, a bit like a dictionary
my\_db \= my\_client\["db\_name"\]
\# Connect collection\_name set, the set in Mongodb is equivalent to the table in Mysql
my\_collection \= my\_client\["collection\_name"\]
datas \= my\_collection.find() \# query
for x in datas :
  print(x)
c . Python and Sqlite
\# Install sqlite3 module before use: pip install sqlite3
'''
sqlite The database is different from the previous two databases. It is a local database
That is, the data is directly stored locally and does not depend on the server
'''
\# Import sqlite3 module
import sqlite3
\# Connect to the database. Parameter Description: the parameter here is the address of the data file
conn \= sqlite3.connect('test.db')
#Create a cursor object using the cursor() method
c \= conn.cursor()
#Use the execute() method to execute SQL statements
cursor \= c.execute("SELECT \* from test\_table")
for row in cursor:
  print(row)
#Close the connection between the cursor and the database
c.close()
conn.close()
3, If it's for you
Persistence and hard work: you will get something.
If the article is helpful to you, point a praise before you go