from test import Ui_MainWindow
function `main.py` Can run a QtDesigner Developed PyQt5 The project has:
[]( )QtDesigner Signals and slots used in
====================================================================================
[]( )Method 1: connect signal and slot in designer
---------------------------------------------------------------------------------
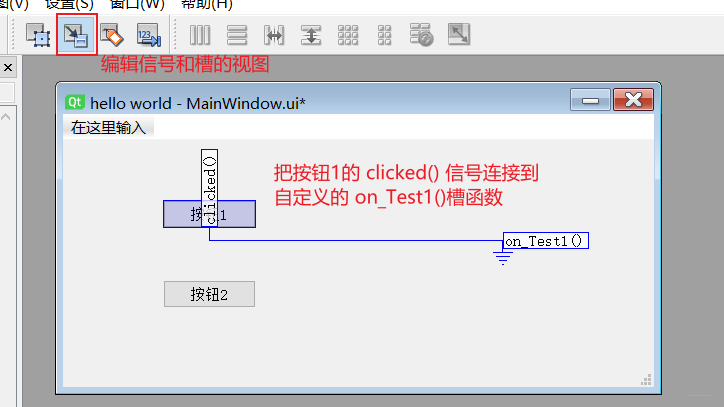
The specific steps are as follows:
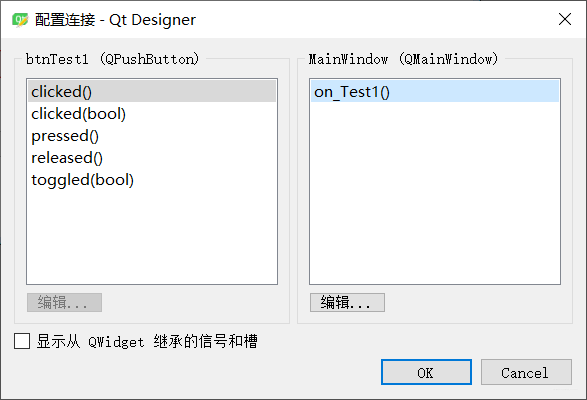
* In the edit view of signal and slot, select button 1 and point to any blank space in the window
* Configure connection interface, select on the left`clicked()`signal
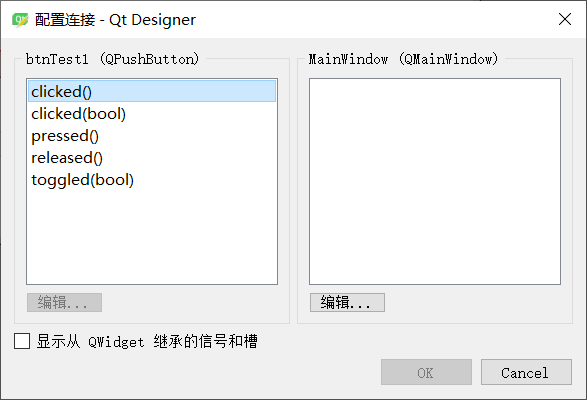
* Click edit on the right to customize a slot function`on_Test1()`
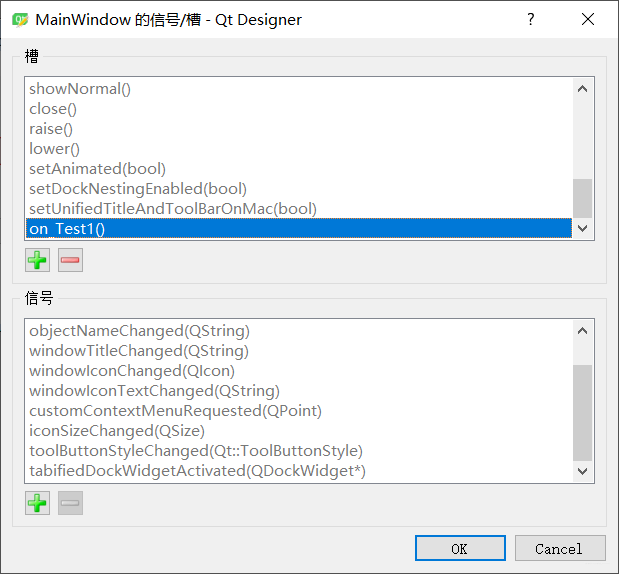
* Connect signal and slot function, click OK
* Reuse Pyuic After the tool generates the interface code, the`main.py`Implement custom slot functions in`on_Test1()`
import sys
from PyQt5.QtWidgets import QApplication, QMainWindow, QMessageBox
from PyQt5.QtCore import pyqtSlot
from mainwindow import Ui_MainWindow
class MainWindow(QMainWindow, Ui_MainWindow): # multiple inheritance QMainWindow and UI_ MainWindow
def __init__(self):
super(MainWindow, self).__init__() # First call the initialization method of the parent class QMainWindow
self.setupUi(self) # Then call the setupUi method
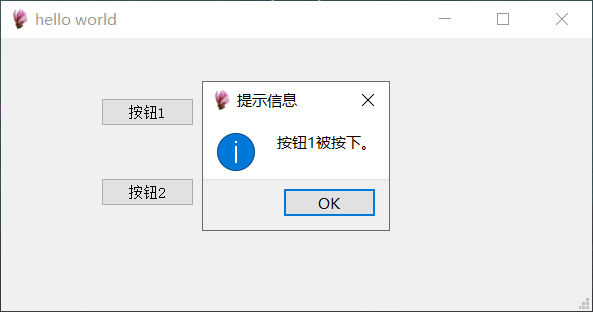
def on_Test1(self):
QMessageBox.information(self, 'Prompt information', 'Button 1 is pressed.')
if name == 'main':
app = QApplication(sys.argv)

ui = MainWindow()

ui.show()

sys.exit(app.exec_())
 []( )Method 2: realize the connection between signal and slot by programming ---------------------------------------------------------------------------------- After the interface design is completed, it is not necessary to QtDesigner To modify directly`main.py` The core is to use`@pyqtSlot()`Decorator to realize the connection between signal and slot: * Import`pyqtSlot`: `from PyQt5.QtCore import pyqtSlot` * `@pyqtSlot()` Indicates that the following method is a PyQt5 Slot function * Method naming needs to conform to PyQt5 Rules for slot functions:`on_Control name_Signal name()`
import sys
from PyQt5.QtWidgets import QApplication, QMainWindow, QMessageBox
from PyQt5.QtCore import pyqtSlot
from mainwindow import Ui_MainWindow
class MainWindow(QMainWindow, Ui_MainWindow): # multiple inheritance QMainWindow and UI_ MainWindow
def __init__(self):

    super(MainWindow, self).__init__()  # First call the initialization method of the parent class QMainWindow

    self.setupUi(self)  # Then call the setupUi method


def on_Test1(self):

    QMessageBox.information(self, 'Prompt information', 'Button 1 is pressed.')


@pyqtSlot()  # Decorator, indicating that the following method is a PyQt5 slot function, and the naming shall comply with the rules of PyQt5 slot function: on_ Control name_ Signal name

def on_btnTest2_clicked(self):

    QMessageBox.information(self, 'Prompt information', 'Button 2 is pressed.')
if name == 'main':
app = QApplication(sys.argv)

ui = MainWindow()

ui.show()

sys.exit(app.exec_())
 []( )add menu ======================================================================= 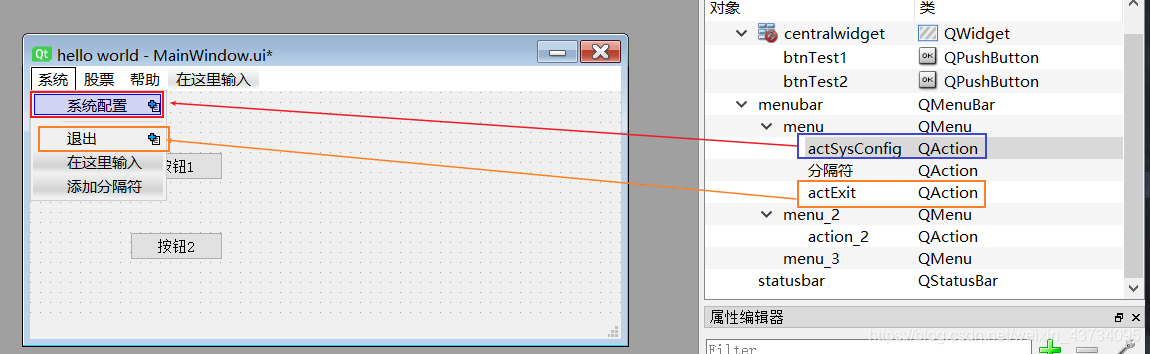 Add a [system setting] menu and change the name to: actSysConfig; Add a [exit] menu and change the name to: actExit; Two slot functions are added by programming to realize the connection between signal and slot: * `on_actSysConfig_triggered(self)`: [[system configuration] a prompt dialog box pops up * `on_actExit_triggered(slef)`: [Exit] the system that implements the exit function
@pyqtSlot()
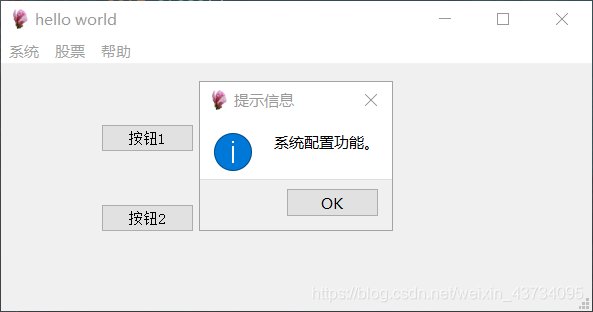
def on_actSysConfig_triggered(self):
QMessageBox.information(self, 'Prompt information', 'System configuration function.')
@pyqtSlot()
def on_actExit_triggered(self):
self.close()

[]( )use Tab Widget Design software interface
=====================================================================================
The effects to be achieved are as follows:
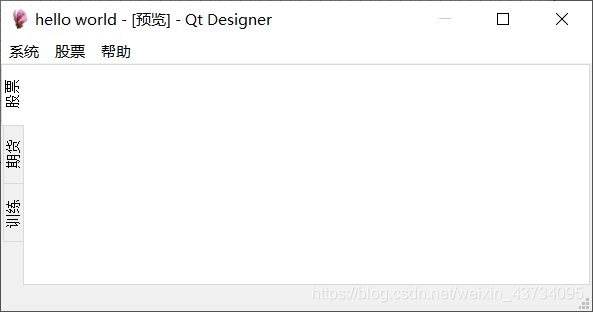
Steps:
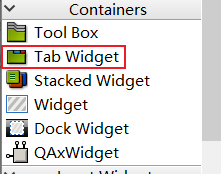
* drag Tab Widget Control to the main interface
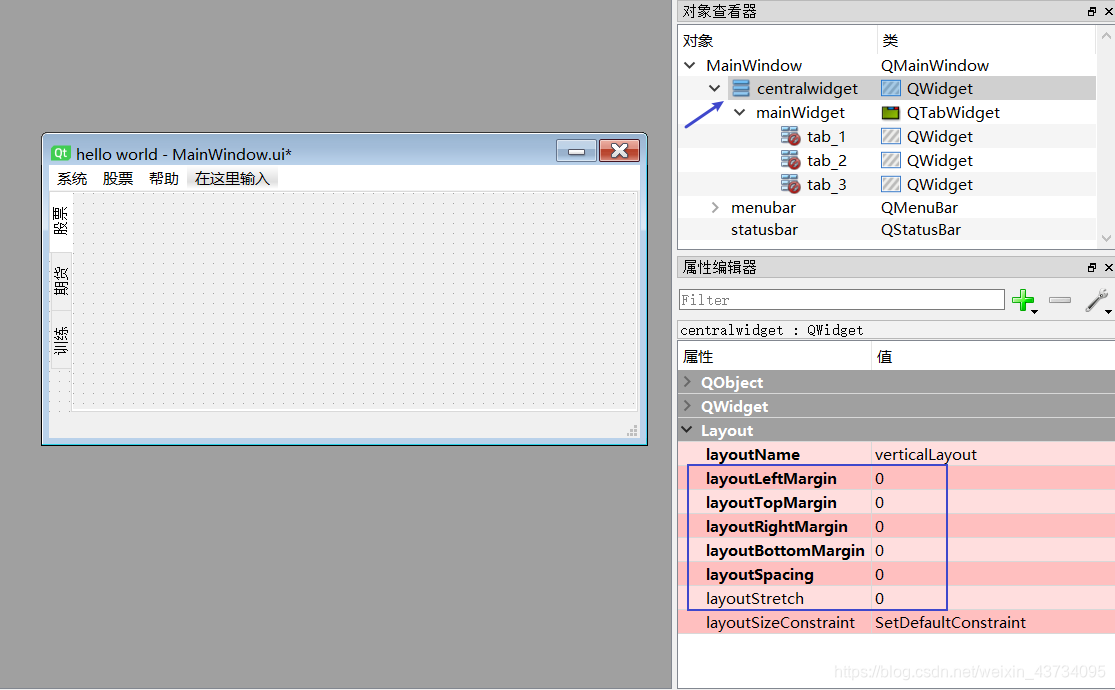
* **Object Inspector ** and **Attribute editor ** Set the corresponding properties in:
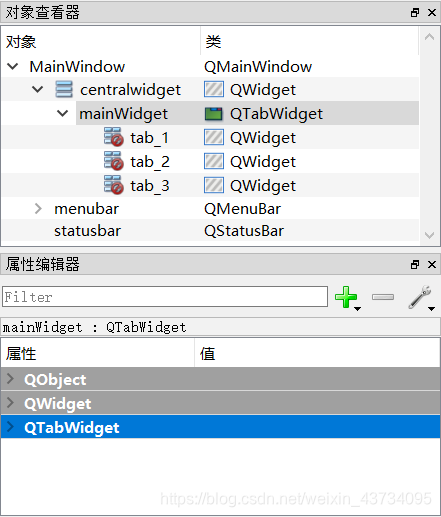
* use **Vertical layout**
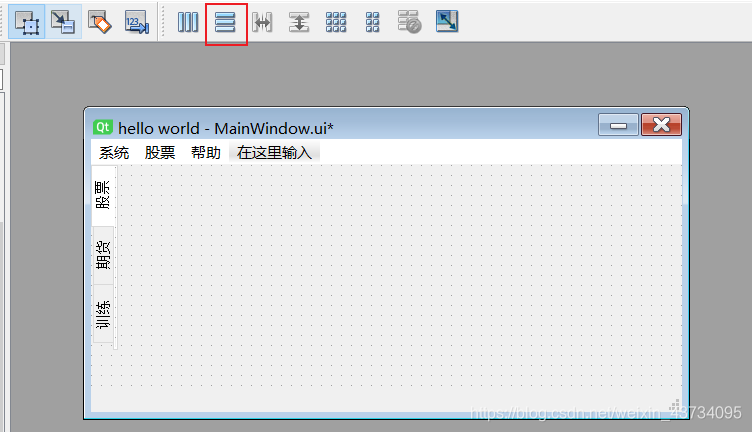
* After using the layout, mainWidget Parent class of centralwidget There will be one more in the Attribute Editor Layout:
Set the margin property value of the layout to 0 to make the interface look more compact
> **Build a stock software interface**:
> 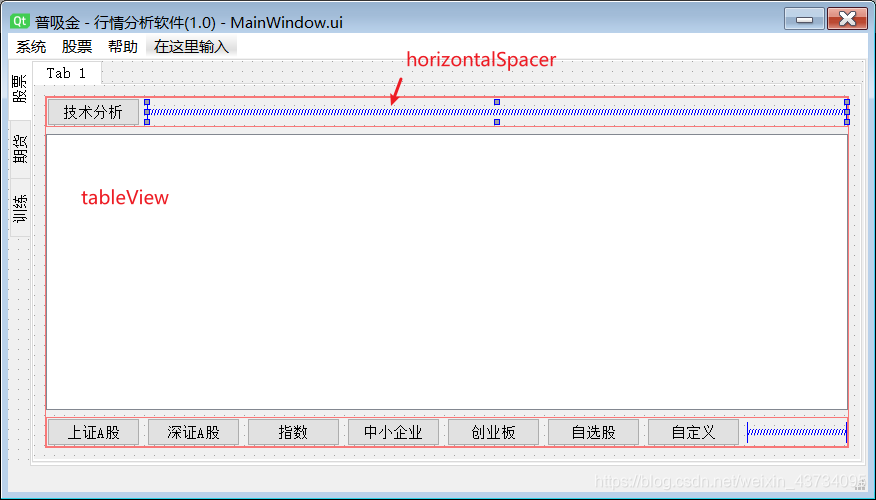
> Rational utilization **Horizontal layout**,**Vertical layout** And other functions, you can build a neat and beautiful page
[]( )Design a sub window and open it in the main window
=================================================================================
Open a new Qt Designer,choice Widget Start designing child windows:
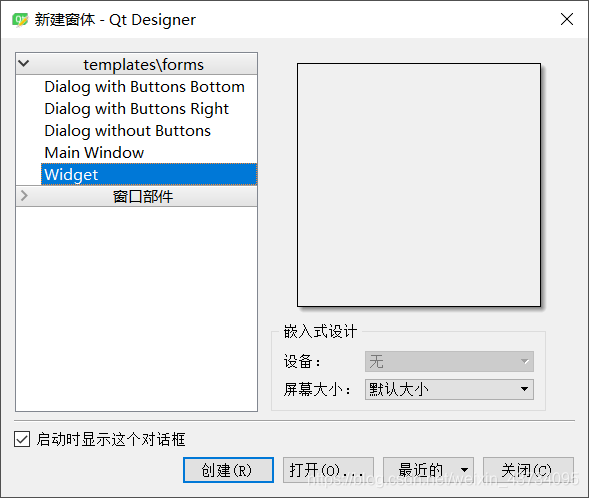
Design a sub window and add an exit button named`btnExit`,Save as:`Ui_sys_config.ui`
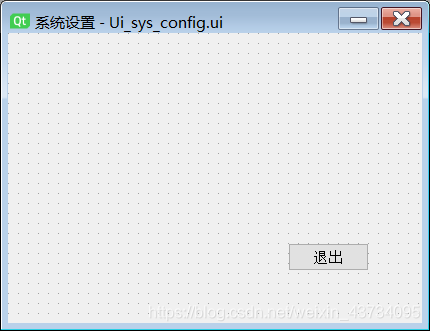
use Pyuic Tools will`Ui_sys_config.ui`Turn into`Ui_sys_config.py`Interface code
to write `sys_config.py`,Among them, perfect `Ui_sys_config` Functions of the interface:
import sys
from PyQt5.QtWidgets import QApplication, QDialog
from Ui_sys_config import Ui_SysConfig
class SysConfig(QDialog, Ui_SysConfig):
def __init__(self):

    super(SysConfig, self).__init__()

    self.setupUi(self)

    # Connect the clicked signal of btnExit to on_btnExit slot function

    self.btnExit.clicked.connect(self.on_btnExit)


def on_btnExit(self):

    self.close()
Test code
if name == 'main':
app = QApplication(sys.argv)

ui = SysConfig()

ui.show()

sys.exit(app.exec_())
stay `main.py` In the main interface, the sub interface designed above is introduced:


*   use Qt Designer The created window can also be used connect Method connects the signal to the slot function

*   Let's use`@pyqtSlot()`Main interface and sub interface of interpreter:


Core code:
@pyqtSlot()
def on_actSysConfig_triggered(self):
w = SysConfig()

w.exec_()
Full code:
import sys
from PyQt5.QtWidgets import QApplication, QMainWindow, QMessageBox
from PyQt5.QtCore import pyqtSlot
from Ui_mainWindow import Ui_MainWindow
from sys_config import SysConfig
Outcome: summary + sharing
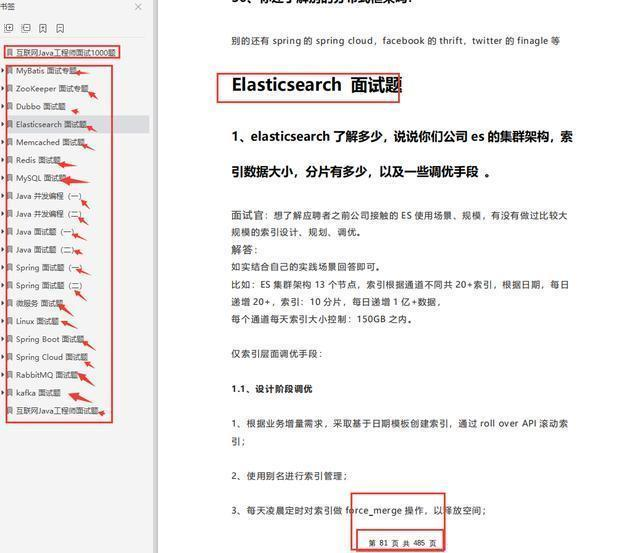
Looking at the first, second and third interview questions of perfect group, byte and Tencent, do you feel that you ask a lot of questions? Maybe we really have to start the mode of making rockets in the interview and screwing in the work to prepare for the next interview.
It was mentioned at the beginning that I memorized 1000 questions for the interview of Java Internet engineers. It's still a little useful. Change the soup without changing the dressing. No matter how the interviewer asks you, just grasp the essence! All you can read here is true love
- 1000 interview questions for Java Internet engineers
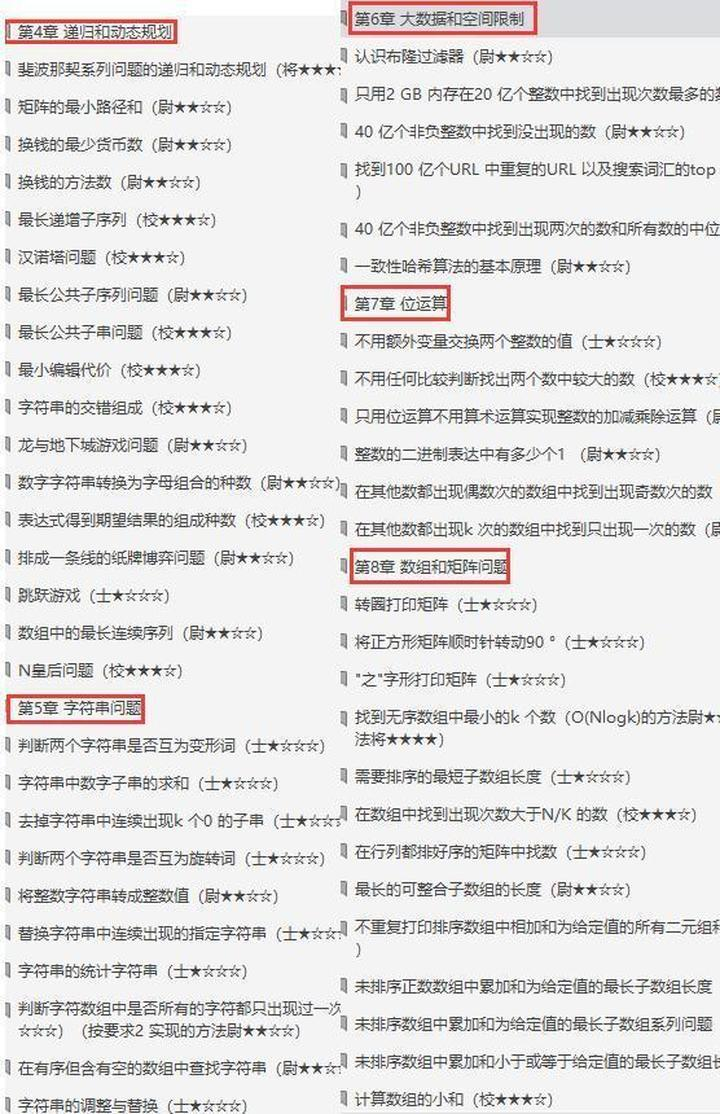
Moreover, from the above three companies, algorithms and data structures are indispensable. Therefore, I suggest that you can brush the best solution of IT famous enterprise algorithms and data structures in the programmer code interview guide written by Zuo Chengyun, which contains nearly 200 classic code interview questions that have actually appeared.
- Programmer code interview guide - optimal solution of IT famous enterprise algorithm and data structure problems
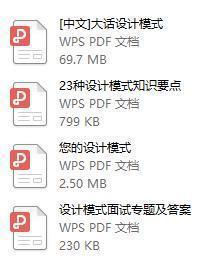
- Others are like design patterns. It is recommended to see the following four PDF s (sorted out)
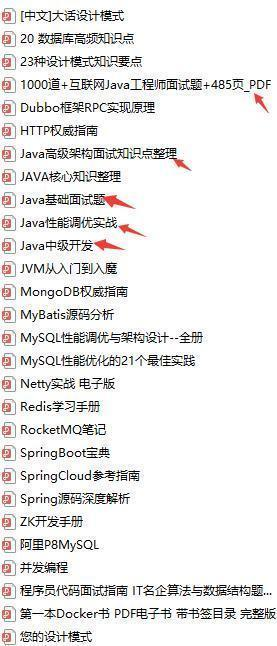
- More Java interview learning notes are as follows. About the interview, I subdivide the interview + parsing of java basic - intermediate - advanced development, tuning notes and so on...
eY8my-1630480239655)]
Moreover, from the above three companies, algorithms and data structures are indispensable. Therefore, I suggest that you can brush the best solution of IT famous enterprise algorithms and data structures in the programmer code interview guide written by Zuo Chengyun, which contains nearly 200 classic code interview questions that have actually appeared.
- Programmer code interview guide - optimal solution of IT famous enterprise algorithm and data structure
[external chain picture transferring... (IMG ojodnkvg-1630480239657)]
- Others are like design patterns. It is recommended to see the following four PDF s (sorted out)
[external chain picture transferring... (img-h1cOajyI-1630480239658)]
- More Java interview learning notes are as follows. About the interview, I subdivide the interview + parsing of java basic - intermediate - advanced development, tuning notes and so on...
[external chain picture transferring... (img-nALb4aWO-1630480239660)]
All the PDF and notes of Java interview learning mentioned above can be sent to you if they are all you need!