1, Installing Anaconda3
1.Anaconda3 Download
Download link on the official website: https://www.anaconda.com/products/individual
If the download speed of the official website is too slow, you can download the baidu cloud Anaconda file I uploaded
Baidu cloud link: https://pan.baidu.com/s/1SK_Hc9tZ5iIXgq_tshbu_Q
Extraction code: 8856
2.Anaconda3 installation
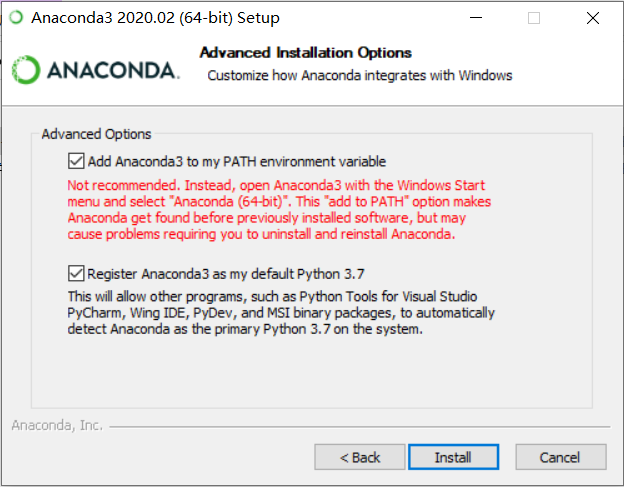
Find Anaconda3 in your download directory and click Install
Other installation processes are optional, but the first option in this step must be checked
2, Create and configure a yolov5 environment
1. Create a yolov5 environment
(1.) create in CMD
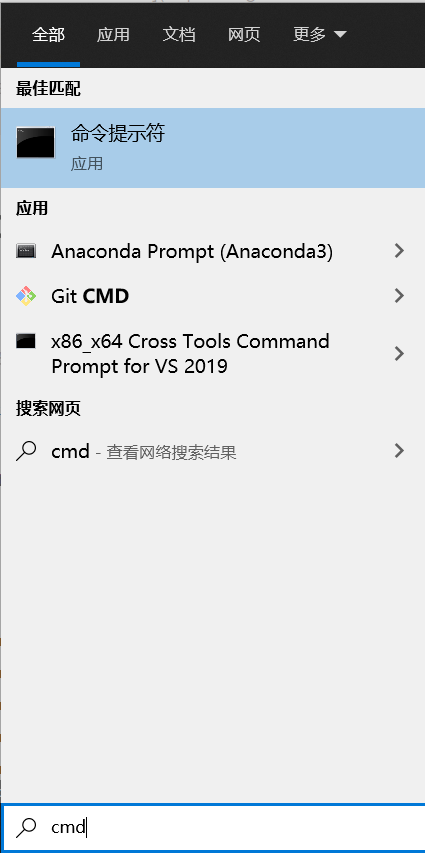
–1. Open cmd (command prompt) or Anaconda Prompt (Anaconda3)
–2. Enter in CMD
conda create -n the name of the environment you want to set python=X.X (the python version you want to install in this environment). Let's take Python 3.8 as an example
The code is as follows (example):
conda create -n csdn_yolo python=3.8

Hitting enter will let you choose y/n, naturally enter y
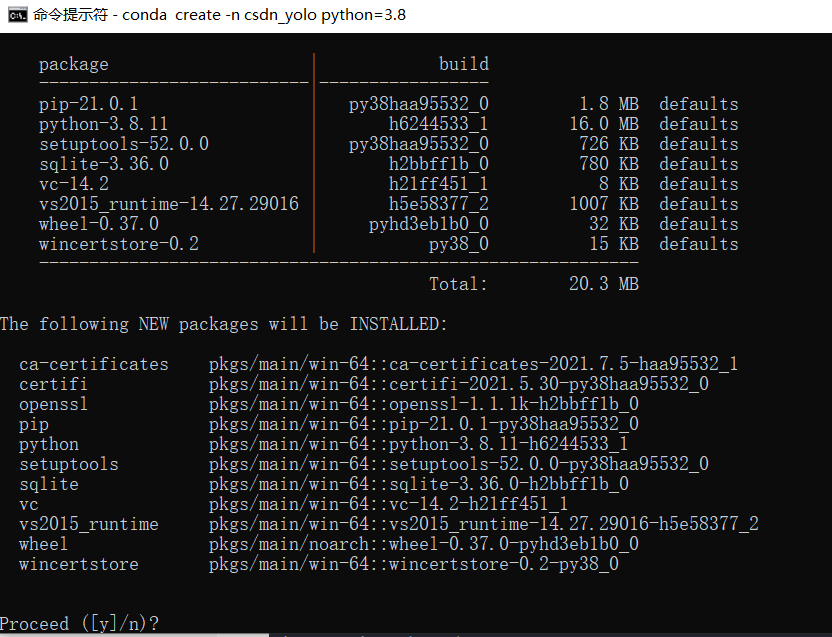
Start downloading

After completion, it is shown as follows

–3. We can enter the environment to see what we have configured
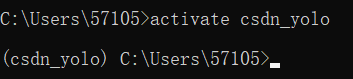
Enter activate the name of the environment you want to enter
The code is as follows (example):
activate csdn_yolo
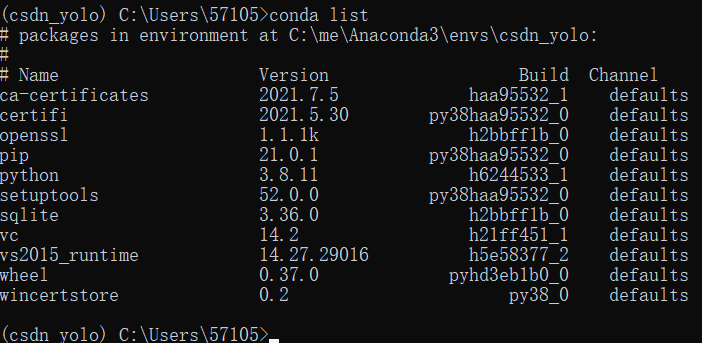
Enter conda list to view the environment configuration
The code is as follows (example):
conda list
(2.) created in Anaconda3
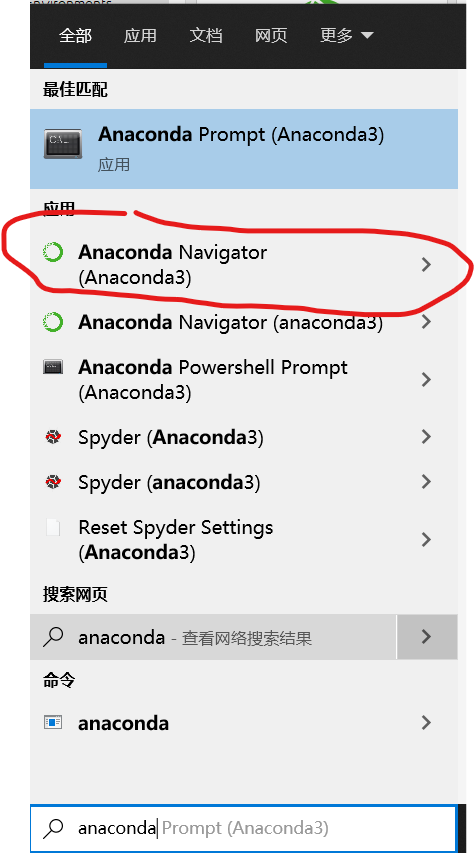
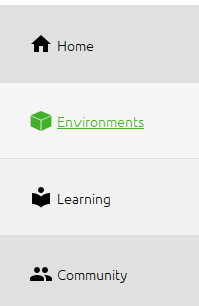
–1. Open Anaconda3 Navigator
Click Environments on the left to see our existing environment
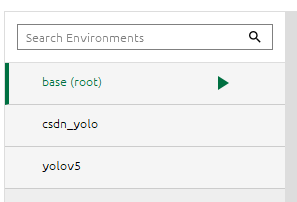
–2. Create an environment
Click to enter the environment. There is an option bar below

Click Cteate to create an environment
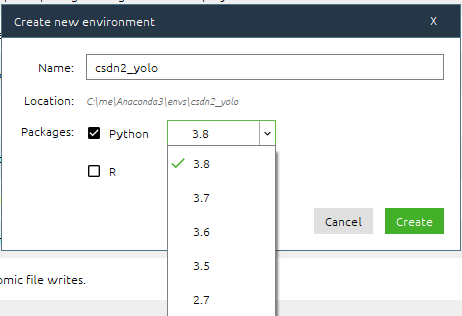
Enter the environment name and the Python version used and Create
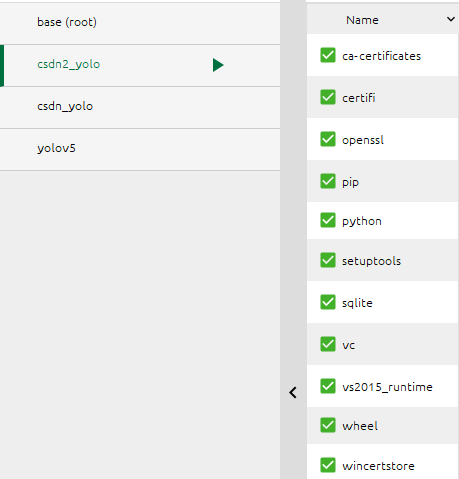
–3. Also look at what we have configured
3, Check the cuda and cudnn versions suitable for your graphics card
1. Check the cuda suitable for your graphics card
Open NVIDIA control panel
Enter the system information in the lower left corner
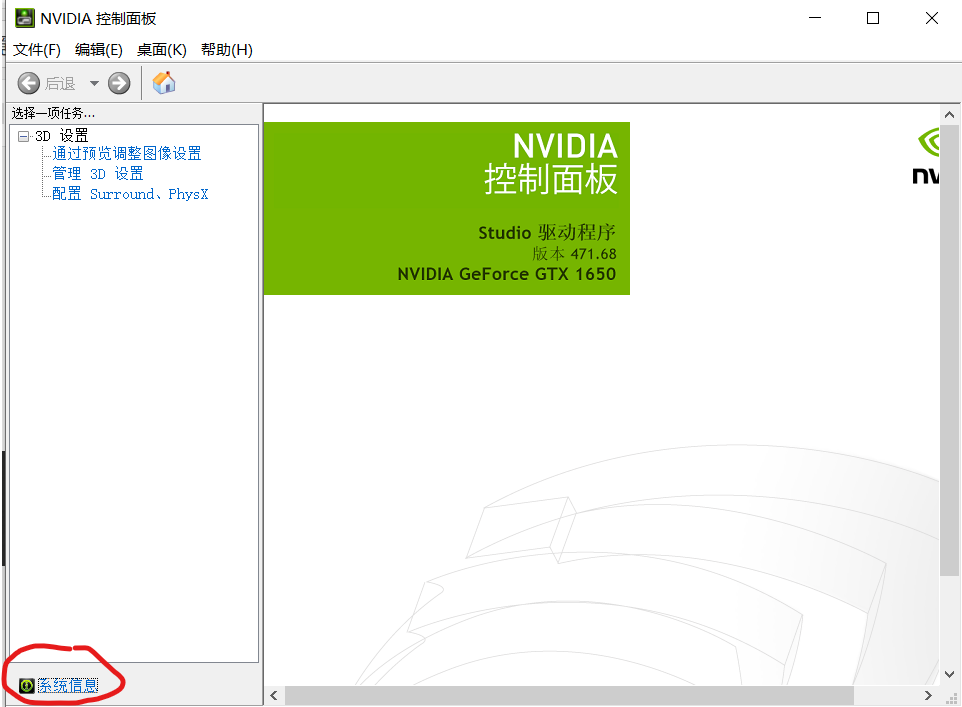
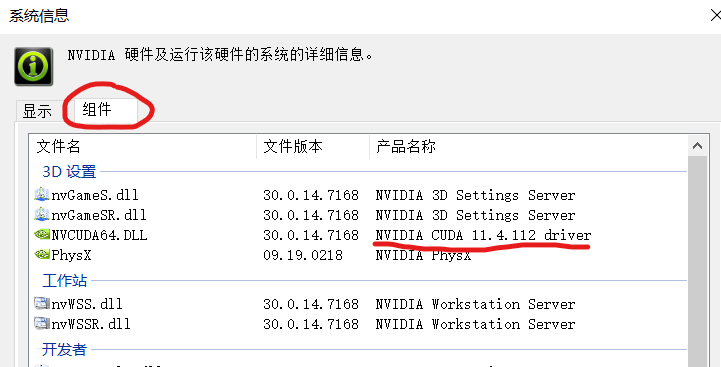
Click the component to see the cuda version suitable for your NVIDIA graphics card
2. View the cudnn corresponding to your cuda version
As shown in the figure:
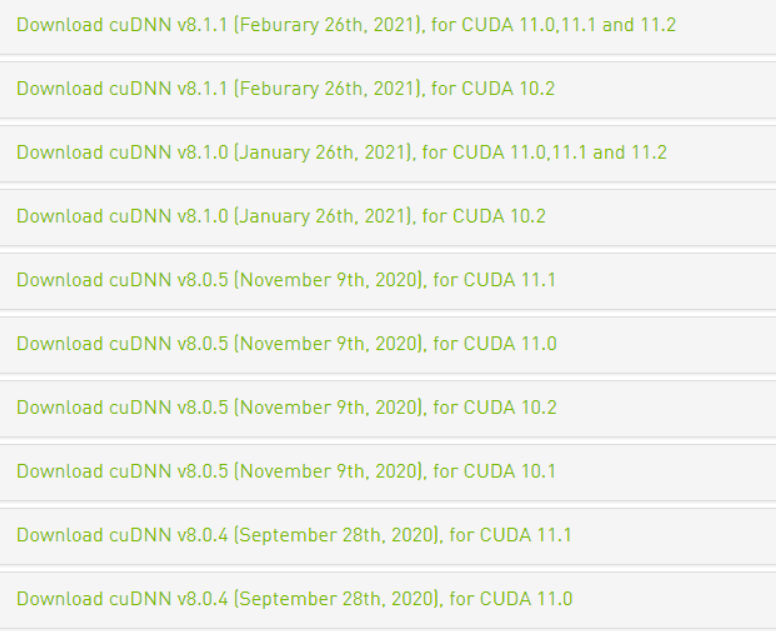
If you don't have the version you need in the figure, you can query it on Nvidia's official website
4, Download the corresponding versions of pytorch, cuda and cudnn
1. Change the channel (for faster download)
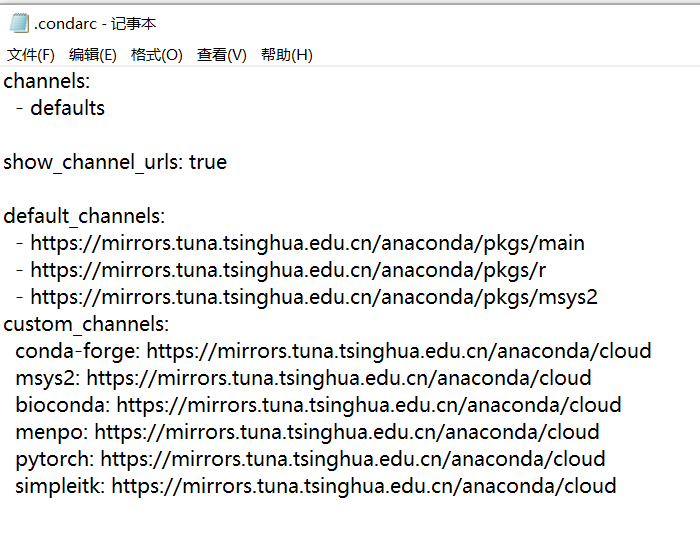
1. Open the directory C:\Users105 in txt format condarc file
2. Copy all the following codes into the txt
channels:
  - defaults

show_channel_urls: true

default_channels:
  - https://mirrors.tuna.tsinghua.edu.cn/anaconda/pkgs/main
  - https://mirrors.tuna.tsinghua.edu.cn/anaconda/pkgs/r
  - https://mirrors.tuna.tsinghua.edu.cn/anaconda/pkgs/msys2
custom_channels:
  conda-forge: https://mirrors.tuna.tsinghua.edu.cn/anaconda/cloud
  msys2: https://mirrors.tuna.tsinghua.edu.cn/anaconda/cloud
  bioconda: https://mirrors.tuna.tsinghua.edu.cn/anaconda/cloud
  menpo: https://mirrors.tuna.tsinghua.edu.cn/anaconda/cloud
  pytorch: https://mirrors.tuna.tsinghua.edu.cn/anaconda/cloud
  simpleitk: https://mirrors.tuna.tsinghua.edu.cn/anaconda/cloud
2. Download the corresponding pytorch, cuda and cudnn
-1. Go to the official website to find the corresponding pytorch version
Official website link: https://pytorch.org/get-started/locally/
Choose according to your needs, as shown in the figure, we use cuda11 1 as an example
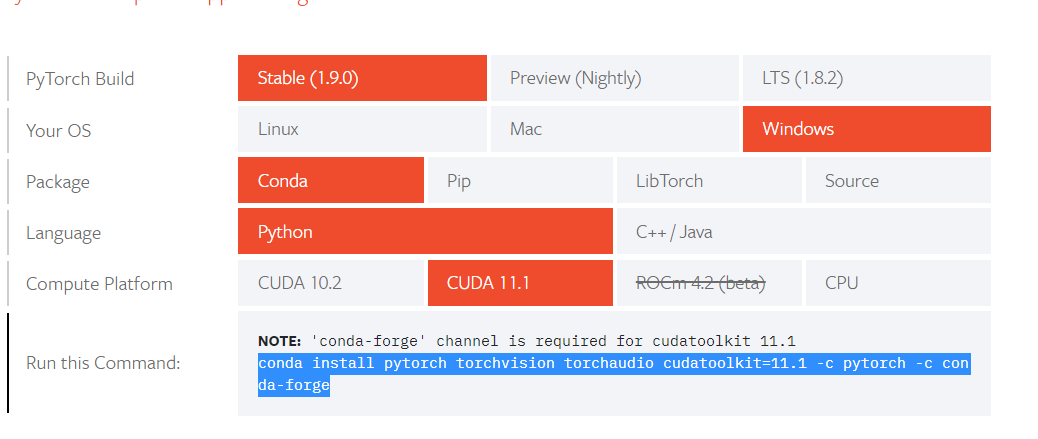
Copy the code I marked in the figure
conda install pytorch torchvision torchaudio cudatoolkit=11.1 -c pytorch -c conda-forge
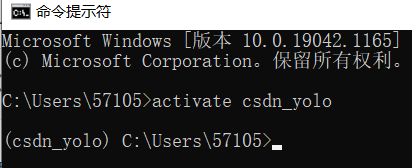
-2. Open cmd to activate the environment you configured for yolov5
activate Your environment name
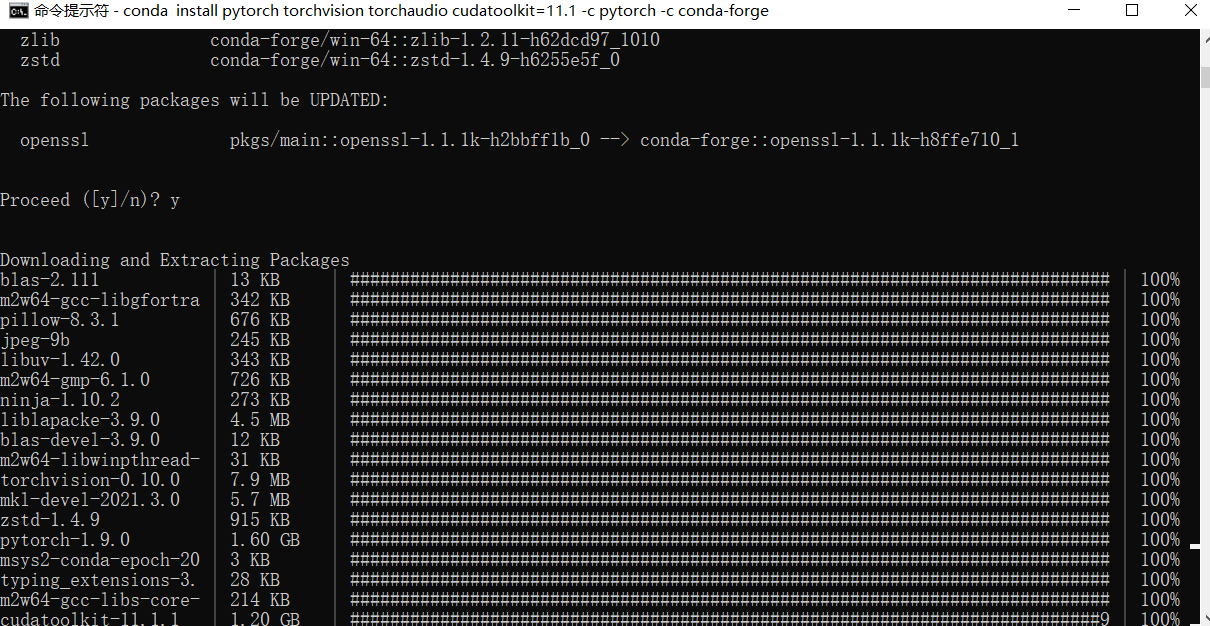
-3. Download pytorch
Enter the code copied in the previous step


Downloading
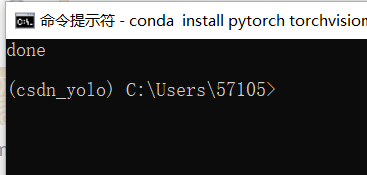
Download complete
3. View the configuration in the environment
Enter the following code to view the configuration in the environment
conda list
The following are the required configurations in the location environment at this step, mainly focusing on these two aspects
cudatoolkit               11.1.1               heb2d755_7    conda-forge

pytorch                   1.9.0           py3.8_cuda11.1_cudnn8_0    pytorch
—
	(this cudatoolkit Is included in the download from the official website pytorch In my bag
		So you don't have to download another one CUDA)
—
	(csdn_yolo) C:\Users\57105>conda list
packages in environment at C:\me\Anaconda3\envs\csdn_yolo:
Name                    Version                   Build  Channel
blas                      2.111                       mkl    conda-forge
blas-devel                3.9.0              11_win64_mkl    conda-forge
ca-certificates           2021.7.5             haa95532_1    https://repo.anaconda.com/pkgs/main
certifi                   2021.5.30        py38haa95532_0    https://repo.anaconda.com/pkgs/main
cudatoolkit               11.1.1               heb2d755_7    conda-forge
freetype                  2.10.4               h546665d_1    conda-forge
intel-openmp              2021.3.0          h57928b3_3372    conda-forge
jpeg                      9b                   hb83a4c4_2    defaults
libblas                   3.9.0              11_win64_mkl    conda-forge
libcblas                  3.9.0              11_win64_mkl    conda-forge
liblapack                 3.9.0              11_win64_mkl    conda-forge
liblapacke                3.9.0              11_win64_mkl    conda-forge
libpng                    1.6.37               h1d00b33_2    conda-forge
libtiff                   4.2.0                hd0e1b90_0    defaults
libuv                     1.42.0               h8ffe710_0    conda-forge
lz4-c                     1.9.3                h8ffe710_1    conda-forge
m2w64-gcc-libgfortran     5.3.0                         6    conda-forge
m2w64-gcc-libs            5.3.0                         7    conda-forge
m2w64-gcc-libs-core       5.3.0                         7    conda-forge
m2w64-gmp                 6.1.0                         2    conda-forge
m2w64-libwinpthread-git   5.0.0.4634.697f757               2    conda-forge
mkl                       2021.3.0           hb70f87d_564    conda-forge
mkl-devel                 2021.3.0           h57928b3_565    conda-forge
mkl-include               2021.3.0           hb70f87d_564    conda-forge
msys2-conda-epoch         20160418                      1    conda-forge
ninja                     1.10.2               h5362a0b_0    conda-forge
numpy                     1.21.2           py38h089cfbf_0    conda-forge
olefile                   0.46               pyh9f0ad1d_1    conda-forge
openssl                   1.1.1k               h8ffe710_1    conda-forge
pillow                    8.3.1            py38h4fa10fc_0    defaults
pip                       21.0.1           py38haa95532_0    https://repo.anaconda.com/pkgs/main
python                    3.8.11               h6244533_1    https://repo.anaconda.com/pkgs/main
python_abi                3.8                      2_cp38    conda-forge
pytorch                   1.9.0           py3.8_cuda11.1_cudnn8_0    pytorch
setuptools                52.0.0           py38haa95532_0    https://repo.anaconda.com/pkgs/main
sqlite                    3.36.0               h2bbff1b_0    https://repo.anaconda.com/pkgs/main
tbb                       2021.3.0             h2d74725_0    conda-forge
tk                        8.6.11               h8ffe710_0    conda-forge
torchaudio                0.9.0                      py38    pytorch
torchvision               0.10.0               py38_cu111    pytorch
typing_extensions         3.10.0.0           pyha770c72_0    conda-forge
vc                        14.2                 h21ff451_1    https://repo.anaconda.com/pkgs/main
vs2015_runtime            14.27.29016          h5e58377_2    https://repo.anaconda.com/pkgs/main
wheel                     0.37.0             pyhd3eb1b0_0    https://repo.anaconda.com/pkgs/main
wincertstore              0.2                      py38_0    https://repo.anaconda.com/pkgs/main
xz                        5.2.5                h62dcd97_1    conda-forge
zlib                      1.2.11            h62dcd97_1010    conda-forge
zstd                      1.4.9                h6255e5f_0    conda-forge
We can see that there are cuda and pytorch in the environment, but there is no cudnn, so we have to download a corresponding version of cudnn
input
		conda install cudnn==8.1.0
		(Should cudnn The version should be the same as yours cuda Corresponding, see the tutorial above for details)
4. Problems and Solutions
An error occurred while installing cudnn
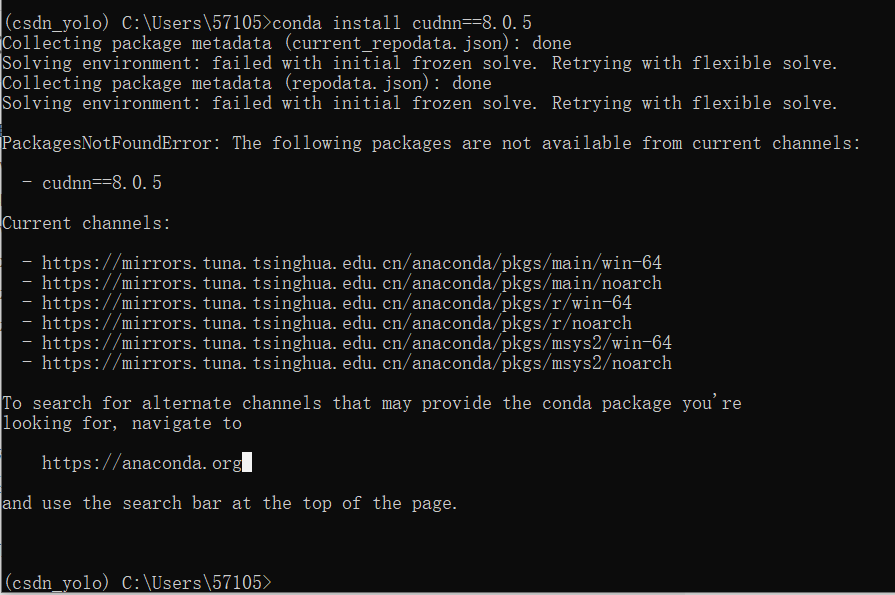
You can see that we made a mistake when installing cudnn. This error can be solved by changing the source.
However, cudnn we want to install has no domestic source, so we use the following methods to solve it
Error reporting during cudnn installation solution
-1. Find cudnn version
Enter the following code
anaconda search -t conda xxxx((name of the software you want to download)

Find the version we need in the pile of versions it gives
(the required version can be seen from the above cudnn and cuda correspondence table)
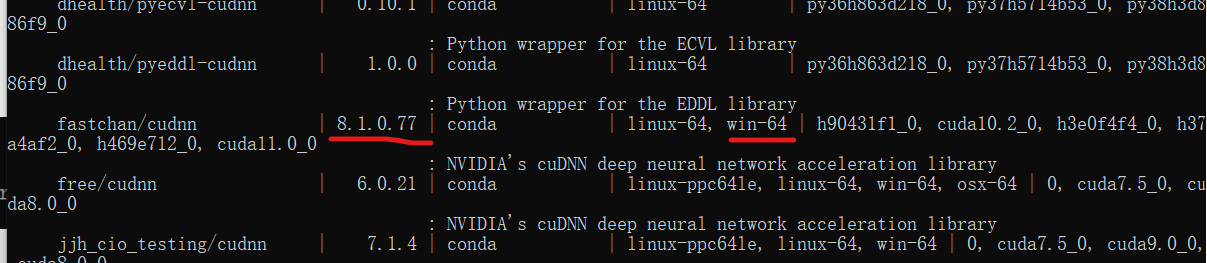
Record the version name

-2. Download the version you need
Enter the following code
conda install -c https://conda.anaconda.org/X (your version name)
conda install -c https://api.anaconda.org/fastchan cudnn
								 		  (In version name/(replace with space)
Download it
-3. See if the download is successful
Enter the following code
conda list
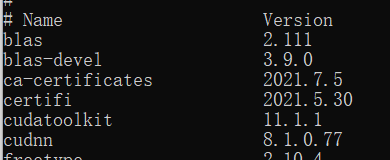
You can see that there is an extra cudnn in our environment
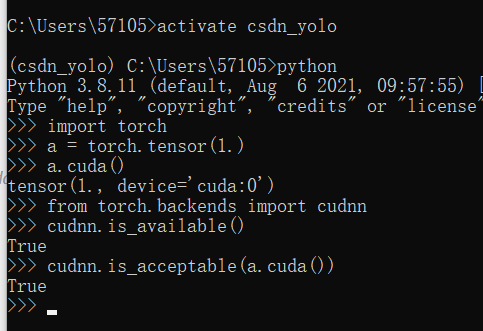
5. Verify whether CUDA and duDNN can be used normally
as follows
python
import torch
a = torch.tensor(1.)
a.cuda()
from torch.backends import cudnn
cudnn.is_available()
cudnn.is_acceptable(a.cuda())
5, Configure Yolov5 related environment
1. Download Yolov5
It can be downloaded through this link
https://codechina.csdn.net/mirrors/ultralytics/yolov5?utm_source=csdn_github_accelerator
You can also download the version of yolov5 I am using through my baidu cloud
Link: https://pan.baidu.com/s/1kbpvsZiTBtZjYB5LndOXNQ
Extraction code: V5V5
2. Configure the environment required by Yolov5
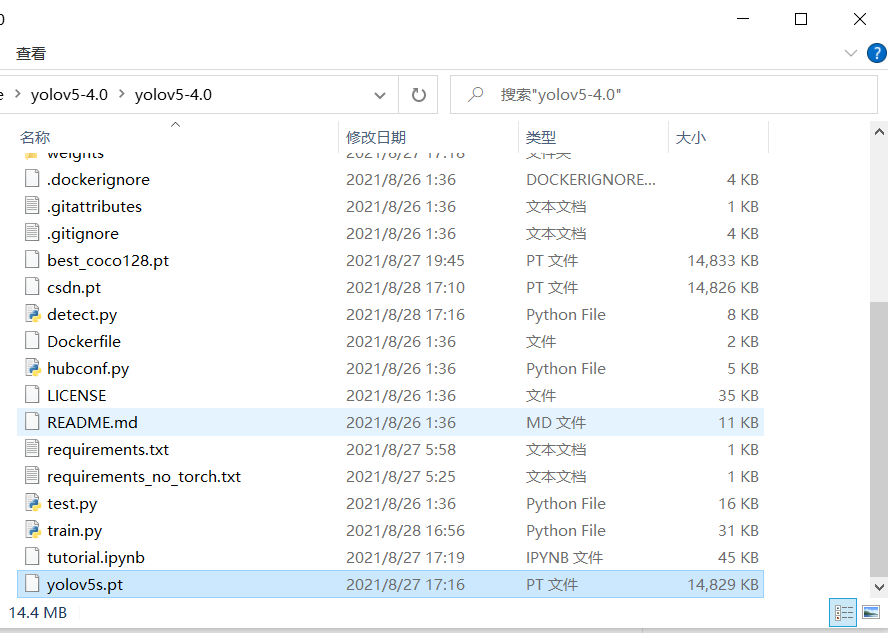
We unzip the downloaded yolov5 package and open it
Found a file named requirements txt file
Copy this paragraph as follows
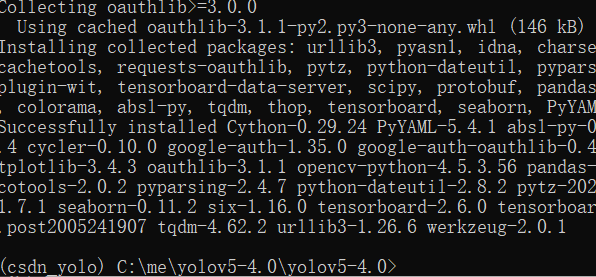
pip install -r requirements.txt

Open CMD and activate your configured environment
Enter your extracted yolov5 file path
activate csdn_yolo
cd C:\me\yolov5-4.0\yolov5-4.0(cd Install it yourself yolov5 File path for)
input pip install -r requirements.txt

Then we yolov5 need to configure the environment
3. Download Yolov5 weight file
Link: https://pan.baidu.com/s/19ug7l4BTFAmEAaSAYxhz0w
Extraction code: yolo
Place the weight file in the yolov5 file
6, Test whether Yolov5 can be used normally
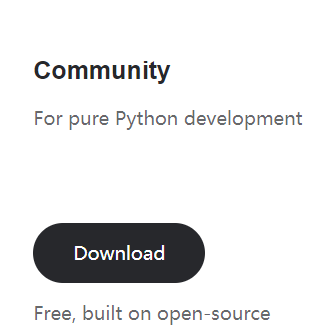
1. Download pycharm
Download from the official website
https://www.jetbrains.com/pycharm/download/#section=windows
Baidu cloud Download
Link: https://pan.baidu.com/s/1BsZQ9mhaLD8Xru-5UQ9d3g
Extraction code: pypy
2. Configure pycharm
Open pycharm
New project
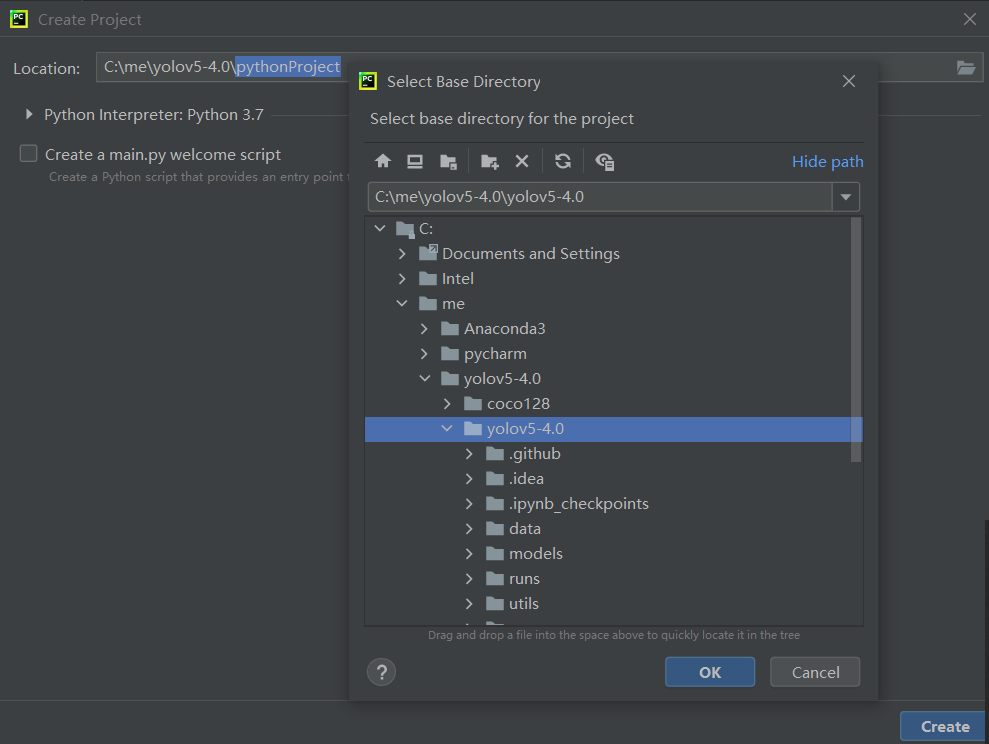
Select yolov5 file path
(this coco128 is the official training model test set I downloaded. Don't care)
Select environment
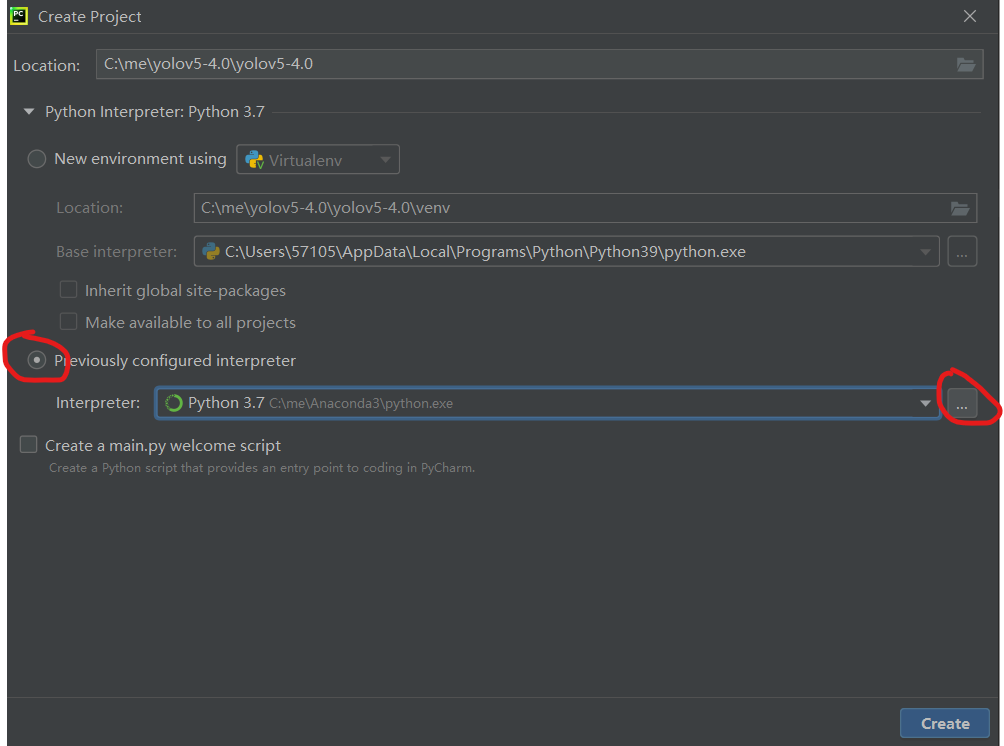


Click OK all the way
3. Test yolov5 whether it can be used normally
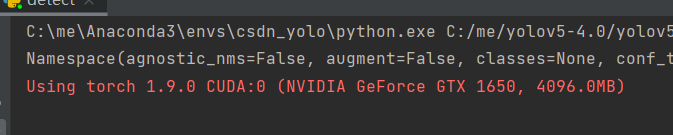
Right click to run the program
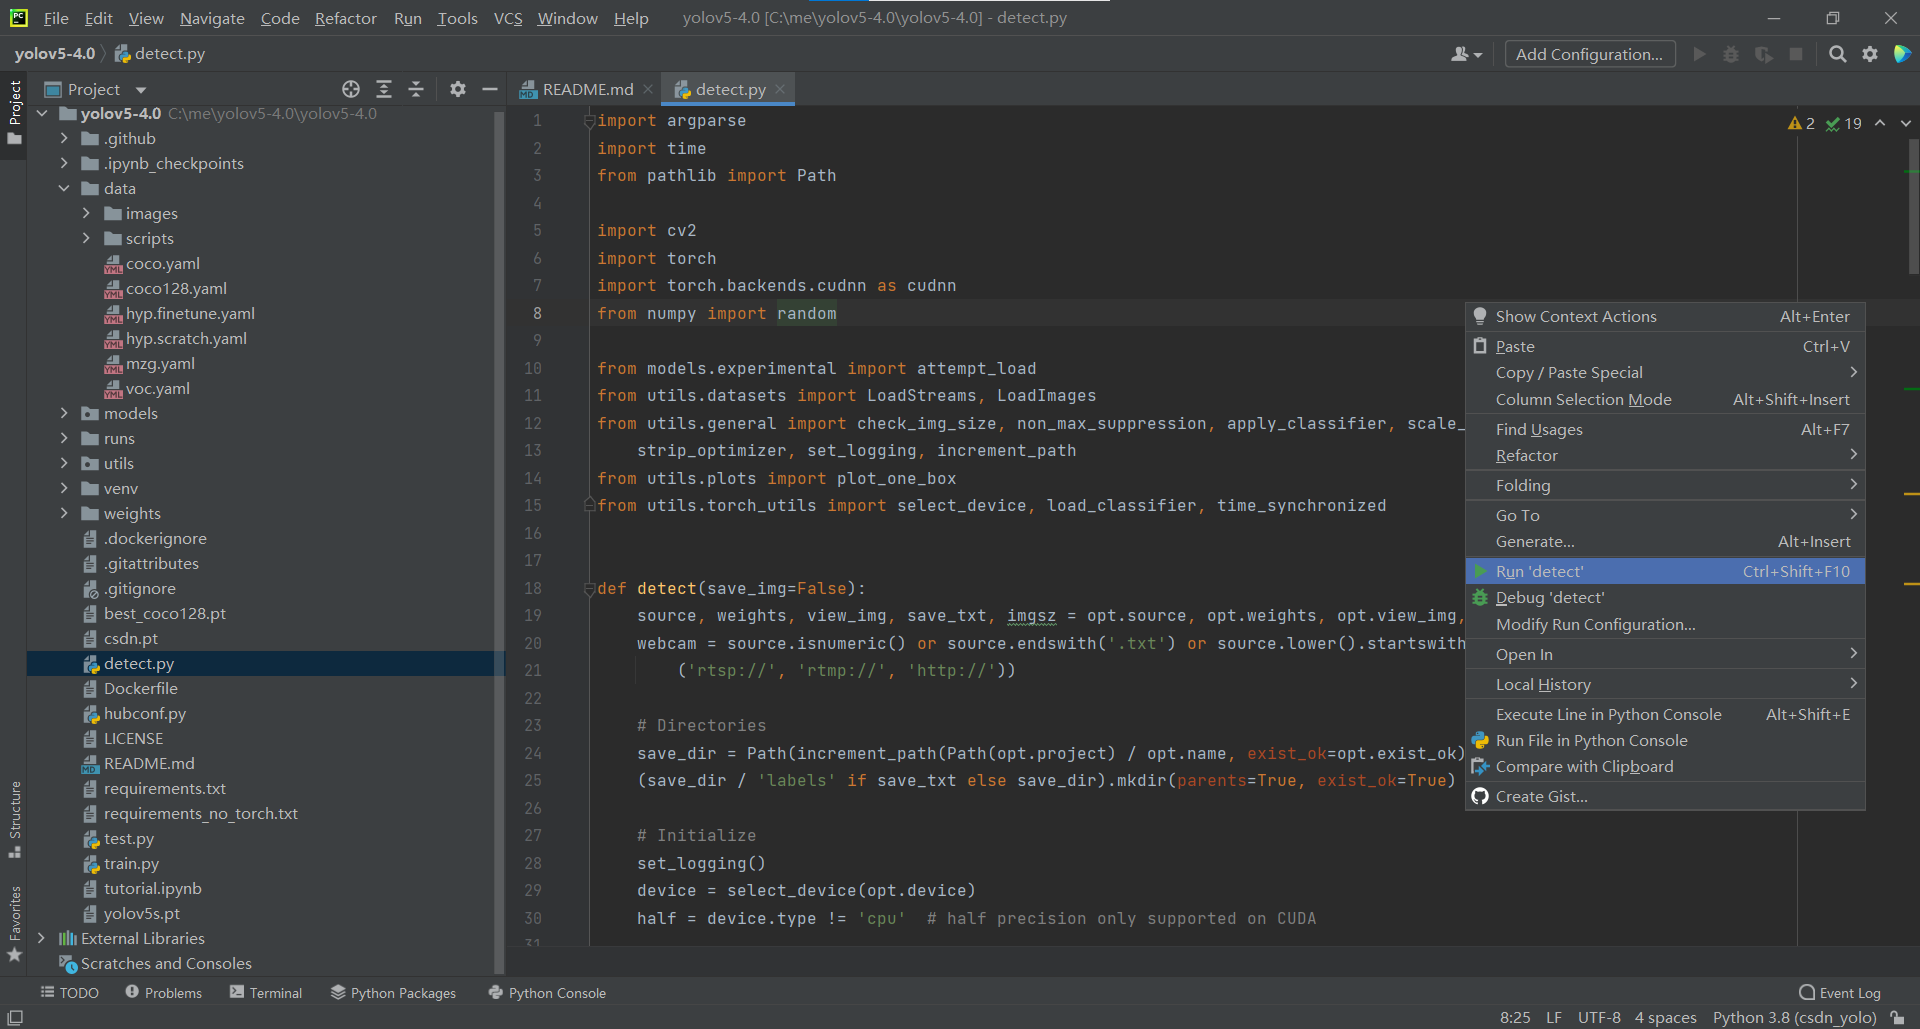
We can see that our CUDA is in normal use
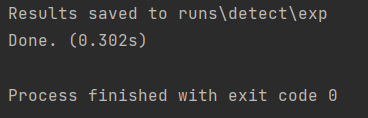
After running, it tells us that the results are put in exp. let's click to have a look
4. Errors in testing yolov5 and Solutions
(1.) test yolov5 errors
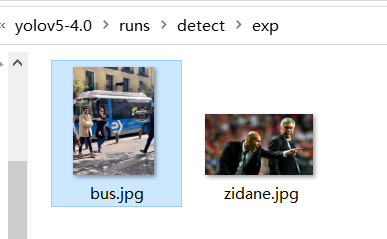
Go to our \ yolov5-4.0\runs\detect\exp folder
You can see that although there are result pictures, the recognition results are not framed
(2.) solutions
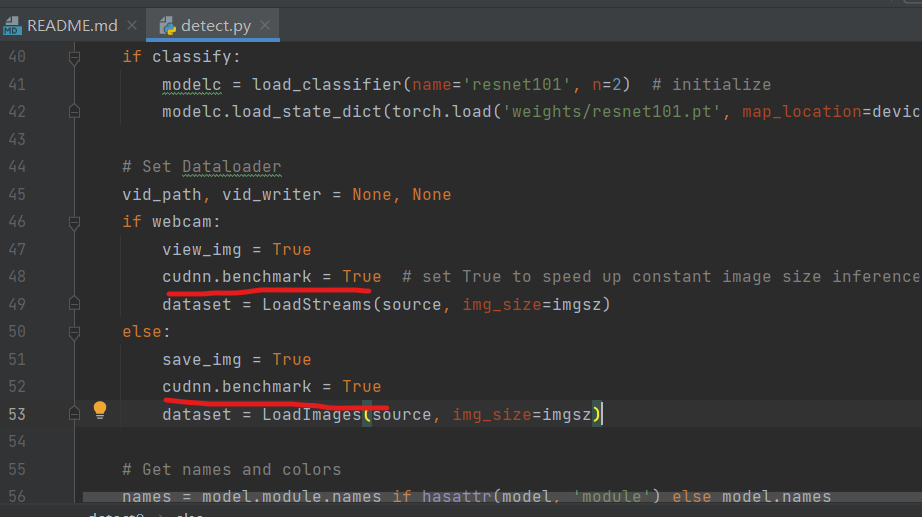
We enter the detect code and add it on line 53
cudnn.benchmark = True
You can see that the code is the same as line 48,
We added code to let detect not turn on the camera and also make cudnn benchmark = True
Run program
We can see that it takes longer because it needs to find the right algorithm

Open file
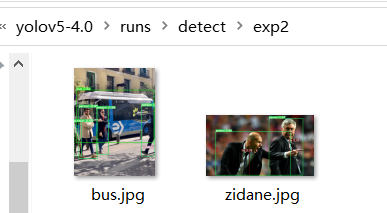
Test successful
summary
It seems that the writing is a little too long. I may consider writing it into several independent articles separately, including the training model and the training model