Previously:
Wechat applet learning journey - production of the first page
Wechat applet learning journey - making your own applet based on zero - making the second page
Introduction to wechat applet (3)
We made the article section earlier.
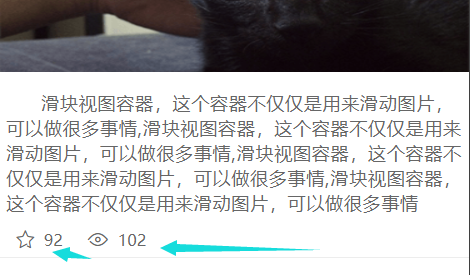
The simulated user collection articles and browsing times we made at that time used png format pictures. But there is a very bad thing about the picture, that is, it will lose its virginity when zoomed in. We plan to replace it with font icon.
Use of font icons
In the native wechat applet components, using font icons is still troublesome. So here we use the Font Icon component of the Lin UI component library.
-
In pages After registering components in the JSON file, you can use them directly
<l-icon name="research"/>
-
You can also modify the color and size of the icon
<l-icon color="#ccc" size="128" name="research"/>
So here we replace the icon made by png last time with the font icon. More beautiful and convenient.
<view class="post-like">
      <l-icon color="#666" size="28" name="favor" class="post-like-image" />
      <!-- <image class="post-like-image" src="/images/icon/chat.png"></image> -->
      <text class="post-like-font">92</text>
      <!-- <image class="post-like-image" src="/images/icon/view.png" /> -->
      <l-icon color="#666" size="32" name="eye" class="post-like-image" />
      <text class="post-like-font">102</text>
    </view>
Generate multiple articles
Earlier, we completed the production of an article. Here we copy it several times. Suppose there are five articles, change the content and pictures, date, avatar, etc. (we're just here to learn the syntax of the applet. We use false data and dead data temporarily. In fact, the data must not be written on the page like this.)

data sources
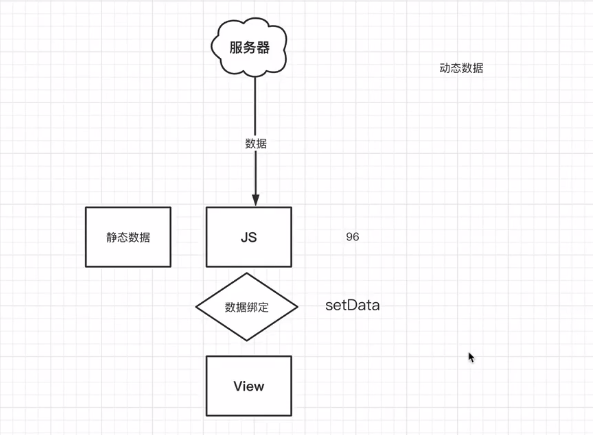
In fact, the data displayed on our page is requested from the server. Then it involves one-way data binding and two-way data binding.
One way data binding
Unidirectional data binding refers to the data obtained from the server through the request initiated by js. We display the data on the view (page, view) through some means, so that users can see it without modification. This is also the most common problem in development.
Bidirectional data binding
To put it bluntly, when the data requested by js to the server is displayed on the page, the user can also make some changes, and then synchronously modify the native data requested in js. The two can affect each other. Now the applet has a (simple) two-way data binding mechanism.
The two-way data binding of small programs should be very simple compared with the three front-end frameworks. Of course, in vue/react and other frameworks, if you don't know much about the principle of response, sometimes it will be very uncomfortable if there are bug s.
Realize one-way data binding
The life cycle of the applet will be discussed later. For the time being, let's have a brief understanding
onLoad lifecycle
  /**
   * Life cycle function -- listening for page loading
   * It can also be called hook function
   */
  onLoad: function (options) {
    // onLoad function, which will automatically call back when the applet page is loaded.
    console.log(1);
  }
It can be found that when the page is loaded, 1. 0 is output
Data binding mode I
So how do we implement data binding?
In the js file, there is also a data attribute. The data attribute is an object. The variables and functions defined in this attribute can be used directly on the view. Here we assume that the tag of the first article is obtained from the server.
/**
   * Initial data of the page
   */
  data: {
    titles:["1-I am the title requested by the server!"]
  },
Use this data on the page. Grammar is the double curly bracket grammar mentioned earlier
<text class="post-title" user-select="true">2021 {{titles[0]}}</text>

Data binding mode II setData
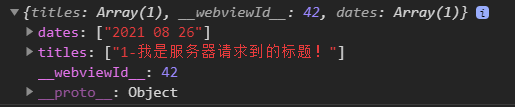
We can also implicitly define data through the setData function
onLoad: function (options) {
    // onLoad function, which will automatically call back when the applet page is loaded.
    // console.log(1);
    // The data defined by the setData function will be implicitly placed on the data attribute,
    // That is, the final data will be on the data attribute
    this.setData({
      dates:['2021 08 26']
    })
    console.log(this.data);
  }
According to the output, we can see that the final data is all defined on data
Data definition
There are two ways to implement data binding: display and implicit. Do we actually develop the definition that needs to display all data?
The answer is that it is necessary to show both definitions. If the data of this variable will be directly referenced by the view page, it is recommended that the displayed definition be in data.
The variables defined in data have initial values. More often, we can understand the role of setData as updating data, rather than purely to define data. All definitions are displayed in data, which is more convenient for us to read.
Applet lifecycle
The life cycle is the loading to unloading (extinction) of a page. The life cycle function of an applet is actually a function that automatically calls back at a certain stage during the loading to unloading process of the page.
onLoad: function (options) {
    console.log("onLoad");
  },

  /**
   * Life cycle function -- monitor the completion of the first rendering of the page
   */
  onReady: function () {
    console.log("onReady");
  },

  /**
   * Life cycle function -- monitor page display
   */
  onShow: function () {
    console.log("onShow");
  },
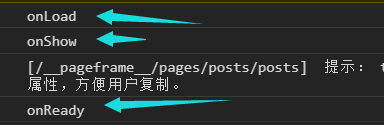
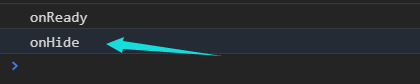
You can find that the actual loading order is: onload - > Onshow - > onready
onShow is in front of onReady, because the page display does not mean that the data rendering is completed.
Among them, onLoad life cycle function is the most important and used.
The onHide and onUnload life cycle functions are conditional triggers, which does not mean that the page must be hidden and unloaded.
  /**
   * Life cycle function -- listening for page hiding
   */
  onHide: function () {
    console.log("onHide");
  },

  /**
   * Life cycle function -- listen for page unloading
   */
  onUnload: function () {
    console.log("onUnload");
  },
We can't simulate the unloading of the page for the time being. But you can simulate hiding.
Click on this dot
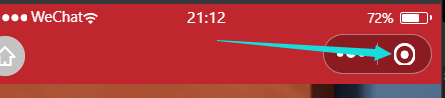
You can trigger the hidden page
Switching back to the applet again will trigger the onShow event.
Simple data binding exercises
Simulate requested data
onLoad: function (options) {

    /**
     * The simulation requests data from the server
     */
    const content = {
      date: "Sep 18 2021",
      title: "It is when the shrimp is fat and the crab is strong",
      imgSrc: "/images/post/sls.jpg",
      avatar: "/images/avatar/2.png",
      content: "Chrysanthemum yellow crab is fat and tastes the taste of autumn. Xu Zhimo,"Look at the "grass reed" and "eat crab outside the building",It is also listed as the elegant thing that you can't miss when you come to Hangzhou in autumn; In sister Lin's words, "the pincers are full of tender jade,...",
      reading: "112",
      collection: "96",
      author: "Lin Baiyi"
      }
    this.setData(content);
  },
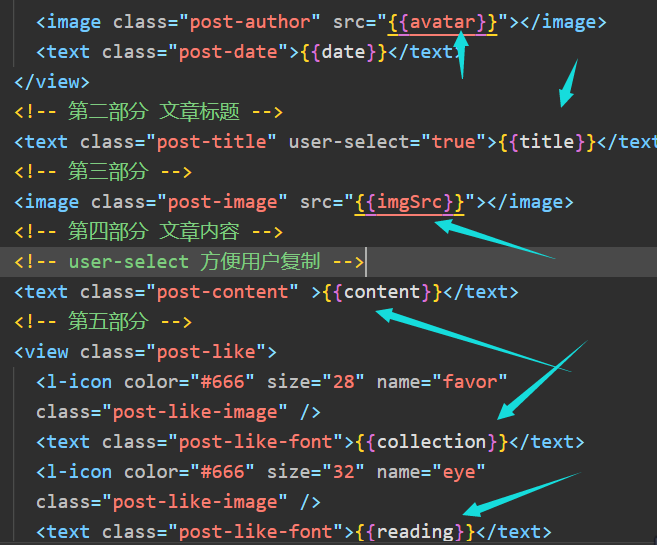
Data binding to view
<view class="post-container">
    <!-- Part I author date -->
    <view class="post-author-date">
      <!-- head portrait -->
      <image class="post-author" src="{{avatar}}"></image>
      <text class="post-date">{{date}}</text>
    </view>
    <!-- Part II article title -->
    <text class="post-title" user-select="true">{{title}}</text>
    <!-- Part III -->
    <image class="post-image" src="{{imgSrc}}"></image>
    <!-- The fourth part is the content of the article -->
    <!-- user-select Convenient for users to copy -->
    <text class="post-content" >{{content}}</text>
    <!-- Part V -->
    <view class="post-like">
      <l-icon color="#666" size="28" name="favor" class="post-like-image" />
      <text class="post-like-font">{{collection}}</text>
      <l-icon color="#666" size="32" name="eye" class="post-like-image" />
      <text class="post-like-font">{{reading}}</text>
    </view>
  </view>

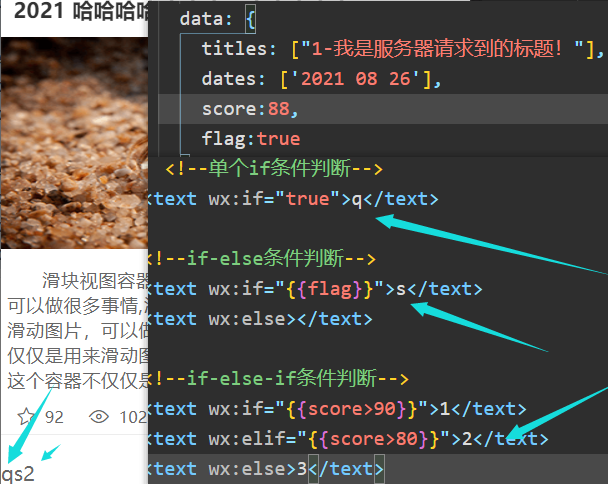
conditional rendering
Some elements need to be displayed or not displayed under certain conditions. At this time, conditional rendering is used.
Syntax for conditional display:
<Tag name wx:if="condition"/>

<!--single if Conditional judgment-->
<text wx:if="true"></text>

<!--if-else Conditional judgment-->
<text wx:if="{{flag}}"></text>
<text wx:else></text>

<!--if-else-if Conditional judgment-->
<text wx:if="{{score>90}}">1</text>
<text wx:elif="{{score>80}}">2</text>
<text wx:else>3</text>
List rendering
Here we simulate an array as the data of the article.
onLoad: function (options) {

    /**
     * The simulation requests data from the server
     */
    const content = [{
      date: "Sep 18 2021",
      title: "It is when the shrimp is fat and the crab is strong",
      imgSrc: "/images/post/sls.jpg",
      avatar: "/images/avatar/2.png",
      content: "Chrysanthemum yellow crab is fat and tastes the taste of autumn. Xu Zhimo,"Look at the "grass reed" and "eat crab outside the building",It is also listed as the elegant thing that you can't miss when you come to Hangzhou in autumn; In sister Lin's words, "the pincers are full of tender jade,...",
        reading: "112",
        collection: "96",
      author: "Lin Baiyi"
    },
    {
      title: "From vision to touch VR Gloves give you a real touch",
      content: "8 On June 29, according to foreign media VentureBeat According to the report, a company called Dexta Robotics The company recently released a new product that is expected to change the way virtual reality hand tracking and interaction",
      imgSrc: "/images/post/vr.png",
      reading: 102,
      collection: 26,
      author: "Dark white",
      date: "Nov 20 2016",
      avatar: "/images/avatar/4.png",
    }]
    this.setData({
      posts: content
    });
  },
More syntax for list loops is described on the official website
We are just a simple demonstration here. List loops can loop arrays or objects. Only array loops are shown here.
<!-- Use list rendering to complete the production of articles -->
  <!-- Syntax for list rendering: wx:for -->
  <!-- block  Generally, when we render the list, we will block On the label-->
  <!-- block It is not a component, it is just a wrapper element, does not do any rendering in the page, and only accepts control attributes. -->
  <!-- block The label has no special meaning. It is equivalent to a bracket to wrap multiple labels that need to be recycled -->
  <!-- Cyclic fetch posts Each element in the array is traversed -->
  <!-- If you do not specify the name of each loop element, the default is item -->
  <!-- If we need to modify the name of the loop element, we can wx:for-item Property, you can also specify the variable name of the current subscript of the array: wx:for-index="index"  -->
  <!-- The subscript variable name of the current item of the default array is assumed by default index -->
  <block wx:for="{{posts}}" wx:for-item="item">
    <!-- Second article -->
    <view class="post-container">
      <!-- Part I author date -->
      <view class="post-author-date">
        <!-- head portrait -->
        <image class="post-author" src="{{item.avatar}}"></image>
        <text class="post-date">{{item.date}}</text>
      </view>
      <!-- Part II article title -->
      <text class="post-title" user-select="true">{{item.title}}</text>
      <!-- Part III -->
      <image class="post-image" src="{{item.imgSrc}}"></image>
      <!-- The fourth part is the content of the article -->
      <!-- user-select Convenient for users to copy -->
      <text class="post-content">{{item.content}}</text>
      <!-- Part V -->
      <view class="post-like">
        <l-icon color="#666" size="28" name="favor" class="post-like-image" />
        <text class="post-like-font">{{item.collection}}</text>
        <l-icon color="#666" size="32" name="eye" class="post-like-image" />
        <text class="post-like-font">{{item.reading}}</text>
      </view>
    </view>
  </block>
You don't need to think too much about the block tag. When you cycle through the list, you can use it directly, no matter how much.

The most important function of list loop is to display a set of data.
Page Jump
Our two pages are basically developed. Next, go back to the welcome page and click the button to jump to the pages page.
What is an event
They are all brothers who have studied js, so I won't repeat it.
- Events are the means of communication from the view layer to the logical layer.
- Events can feed back the user's behavior to the logic layer for processing.
- Events can be bound to components. When the trigger event is reached, the corresponding event handling functions in the logic layer will be executed.
- Event objects can carry additional information, such as ID, dataset, and touches.
All the things you want to know are here, dddd
Capture events
If an event occurs, there is no point in not capturing it. After we capture the event, we can perform a series of operations we need.
We are going to realize the function of clicking the button to trigger page Jump.
On the mobile terminal, that is, the touch device, clicking a button is actually a tap event, so what we need to capture is a tap event.
Syntax for capturing events:
<!-- Capture events: bind:Event name="Function name" -->
<view class="btn-journey-container" bind:tap="onTap">
  <!-- Set the style to simulate our favorite button style -->
  <text class="journey">Start the applet journey</text>
</view>
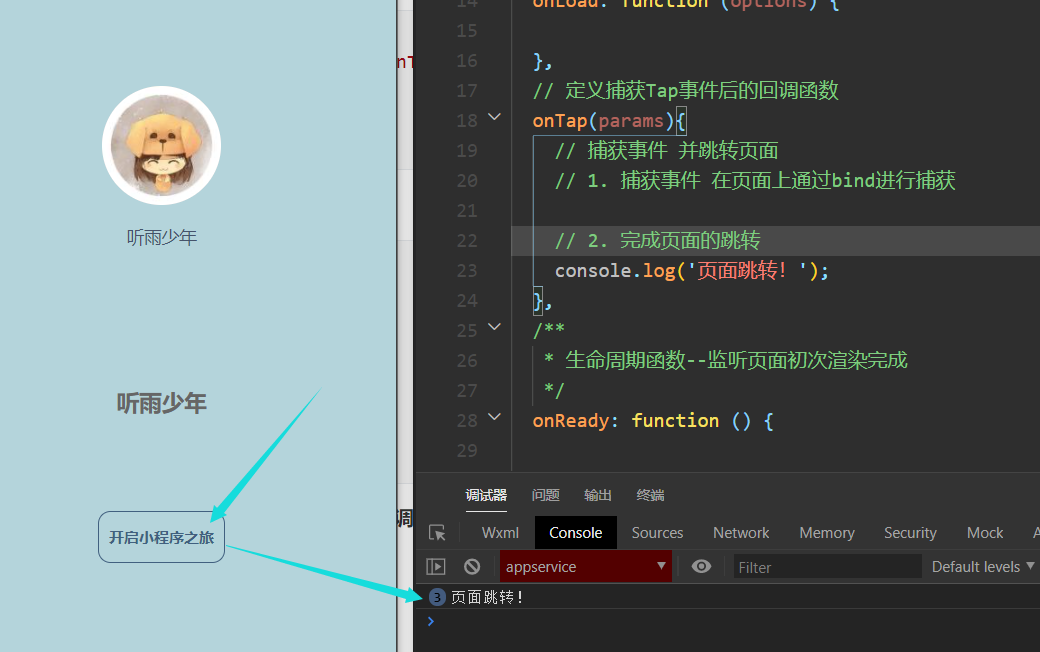
The definition of event callback function is the same level as that of onLoad and other lifecycle functions.
// Define the callback function after capturing the Tap event
  onTap(params){
    // Capture events and jump to page
    // 1. Capture events through bind on the page

    // 2. Complete page Jump
    console.log('Page Jump!');
  }
When we click the button, the tap event will be triggered and the corresponding callback function will be executed.
The actual page Jump is described below.
Event capture syntax sugar
In fact, we don't have to write the event capture as a bind: event. We can also omit the middle:, but we suggest not to omit it.
<text bindtap="onTap"></text>
But it depends on personal habits. We'll see later that you can also use catch to capture events
Routing system
If we want to jump the page, we must be inseparable from the routing system of the applet.
navigateTo method
Use Wx The navigateto ({url: 'url'}) method completes the page direct jump
-
The parameter received by this method is an object, and the url attribute is the jump path
-
Characteristics of navigateTo method:
- The page that this method jumps to is actually a sub page of the current page. We can return to the current page from the sub page. Of course, if there are sub pages, there can be sub pages, but there can be no more pages. The page stack can only open up 10 at most, so there can be 10 sub pages at most.
wx.navigateTo({
      // During page Jump, the absolute path of the filled page file relative to the whole project
      url: '/pages/posts/posts',
      // You can also use a relative path (see the page path we configured in app.json)
      // url: '../posts/posts',
    })
redirectTo method
We don't want to jump from the welcome page to the pages page, but we can return. In other words, we just want to use the welcome page as a transitional page and don't let it have any inevitable connection with other pages.
Then you can use the redirectTo method here. Use the same way as above.
wx.redirectTo({
      // During page Jump, the absolute path of the filled page file relative to the whole project
      url: '/pages/posts/posts',
      // You can also use a relative path (see the page path we configured in app.json)
      // url: '../posts/posts',
    })

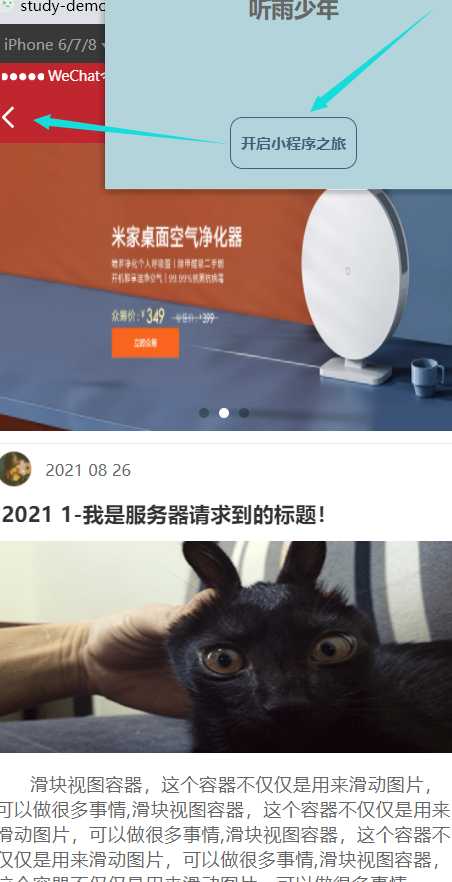
After page Jump, there is no small arrow to return to parent page. But here's a little house like button.
Clicking the button of this small house will also return to the previous welcome page. Do you doubt that this can go back to the previous page?
In fact, this function is added by the new applet. The button of this small house is used to return to the home page. What is set on your home page will return to that page. Not necessarily back to the previous page.
Differences between redirectTo and navigateTo methods
The navigateTo method retains the current page, that is, even if you jump to a new page, the current page remains in the page stack.
The redirectTo method will directly destroy the current page and jump to a new page.
verification
Here we can verify through the life cycle of the applet mentioned earlier.
We write an output statement in the life cycle function of the listening page unloading of the welcome page for verification.
 wx.redirectTo({
      // During page Jump, the absolute path of the filled page file relative to the whole project
      url: '/pages/posts/posts',
      // You can also use a relative path (see the page path we configured in app.json)
      // url: '../posts/posts',
    })
/**
   * Life cycle function -- listen for page unloading
   */
  onUnload: function () {
    console.log("welcome Page unloaded!");
  },
If it is the redirectTo method, we can find that the onUnload method will be called.
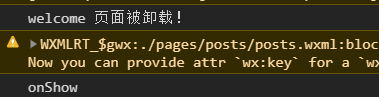
The navigateTo method does not trigger this function. The description page is retained. It's just that the page is hidden.
The difference between catch and bind events
bind captures events that actually happen to itself, while catch can capture events that happen to child elements, which is actually the bubbling of events.
Use bind to capture events, which can bubble up. However, once catch is used to capture an event, the event will terminate after it is captured and will not continue to be transmitted outward.
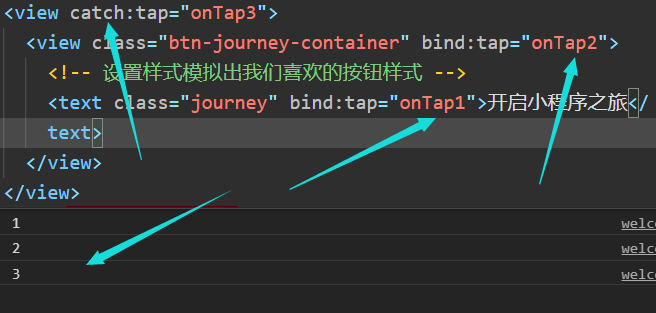
Here, three-tier event binding is used for testing
Use catch bind bind first
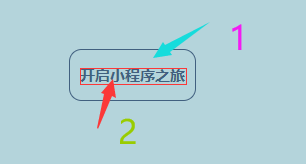
-
When we click on the text on the button
-
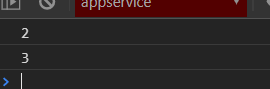
Click the button (no text)
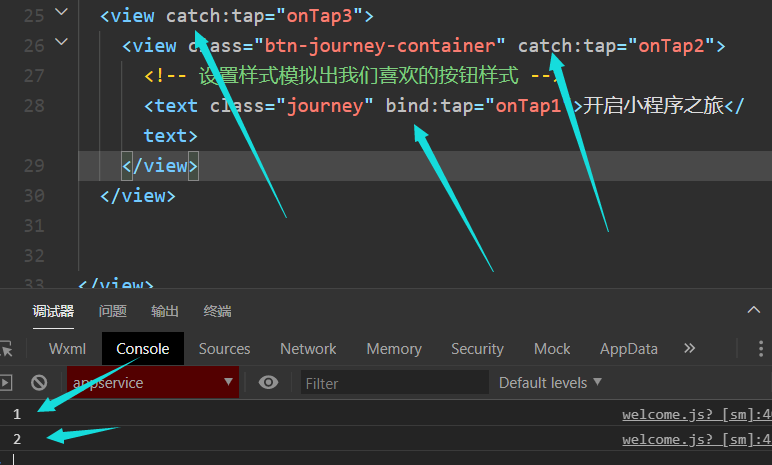
Test 2: catch catch bind
-
Click the text on the button
-
Click the button without clicking the text

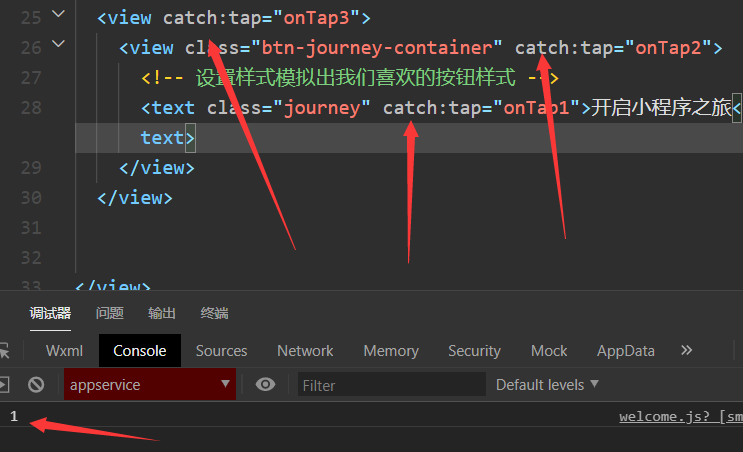
Test 3: catch catch catch
-
Click the text on the button
-
Click the button without clicking the text
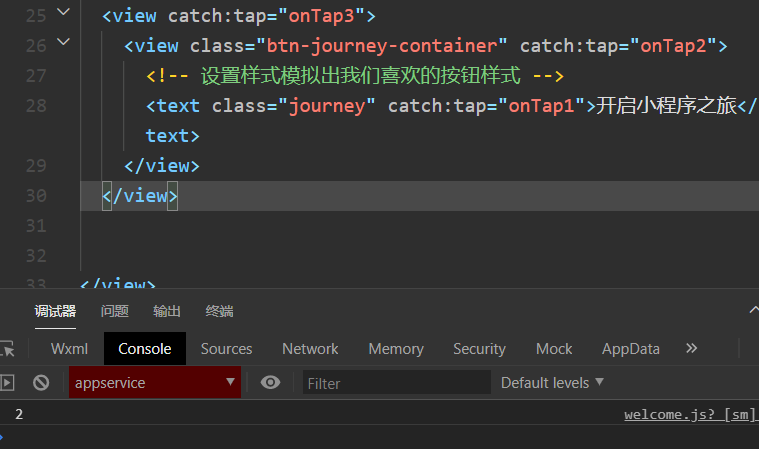
To sum up: both catch and bind can be used to capture events, but catch will prevent bubbling, so that the parent element cannot capture events.
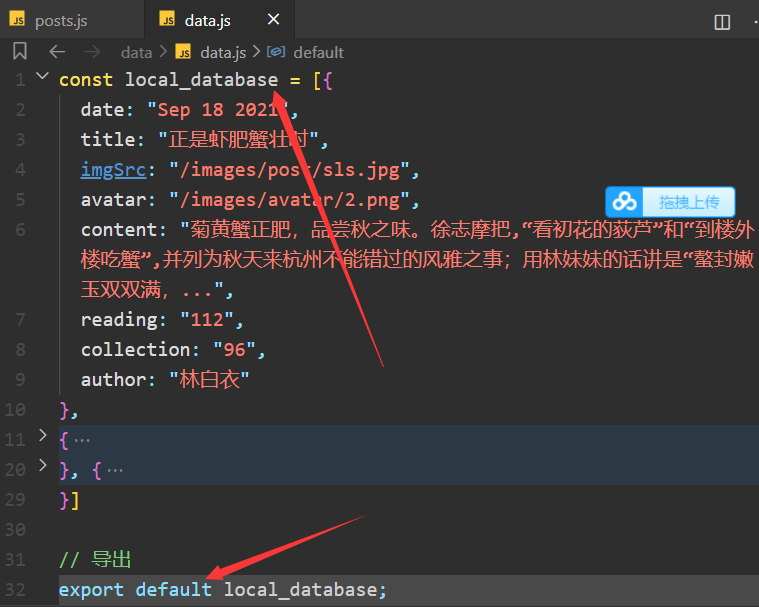
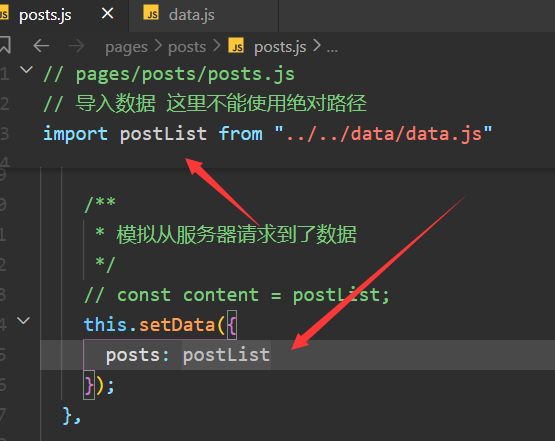
Import and export of js module
Now let's request the simulated article data from posts JS file. Here is a simple simulation of several pieces of data. If you need more data, you can write it yourself at will.
In ES6, a js file can be regarded as a module.
I won't say much about the syntax of import and export. This thing is js basic.
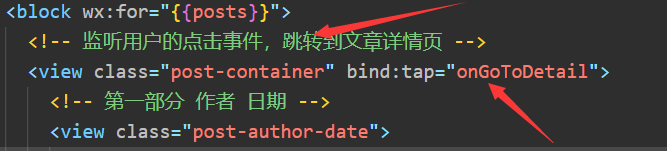
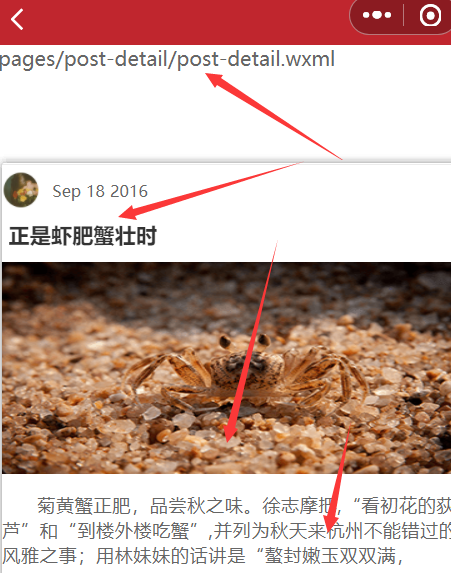
Article jump
Jump from the list of articles to the article details page
Obviously, we can't actually know how many articles there are, so there will only be one article details page. The specific content displayed must be automatically filled according to the actual text content. What we need to do is to do a good job of the article details and content template.
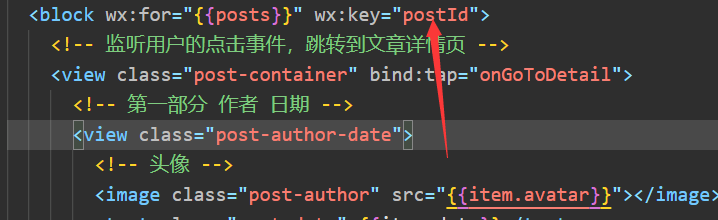
Obviously, events are still needed here. We need to listen to user click events.
This event should scope all parts of this article, and jump only when you click on the article. In fact, the jump here should not be so simple. For example, when we click the avatar, we can enlarge the avatar image, or jump to the user details page, and so on.
Not so much here.
Click anywhere in the article to jump
Because we are going to the article details page, we should use the navigateTo method.
Warning about list rendering
Previously, we found that list rendering is used, and warnings are always prompted.

It is suggested that we use the wx:key attribute to improve the performance of list rendering.
My postId here is an attribute added to the simulated data. As long as the value of key binding is unique. Of course, we do not recommend binding the index of article data in the array. That's not actually legal.
Then there is the new applet, where the binding does not need to use double curly bracket syntax or item Postid to bind. Because it's on the label of the loop.
Previously, you could bind using double curly braces syntax, but now the new version of the applet has been modified.