In other words, it's an annual holiday for others, Christmas. Remember last year, the circle of friends frantically forwarded to the Christmas hat. It's quite appropriate to add a Christmas hat for their avatar at Christmas.
Maybe so
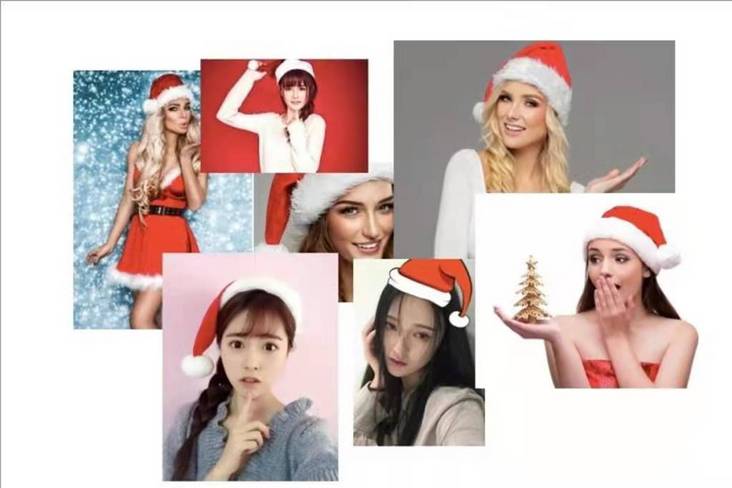
Well, it looks good. Don't think too much. I'm talking about hats ( ̄▽  ̄)“
Have you ever thought about implementing a small program for decorating avatars by yourself? Today we'll finish one together
Project framework
Recently, I have been infatuated with uni APP. Although I am still a beginner, I can always feel that the era of big front-end is coming. Yes, the APP we want to talk about today is realized through uni APP, which can be realized by pure front-end code!
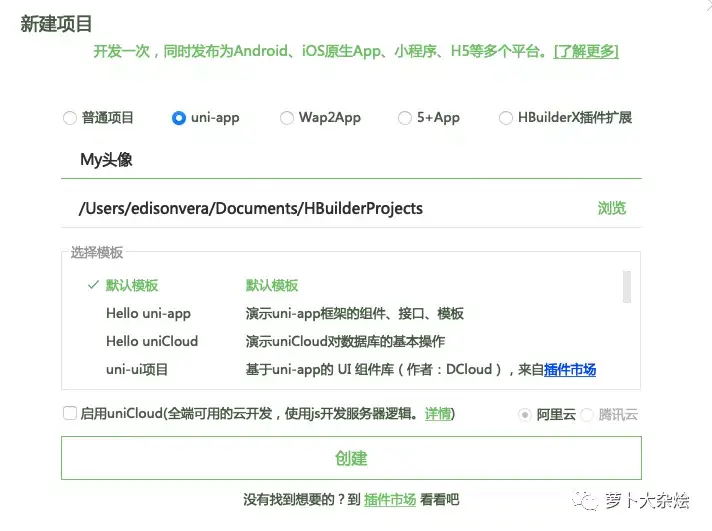
I still recommend HBuilderX compiler here. After all, it is really easy to use and perfectly combined with the uni app project, because it is all the products of the DCloud team!
Next, create a uni app project through HBuilderX
For this program, we will use the simplest way. One page is enough. Edit the index in the index in the pages Vue, write the page layout of our program here, and the relevant operations have been completed
Let's set the page background first, which can set the overall tone
<image class="page-bg" :style="{ height: windowHeight + 'px'}" mode="aspectFill" src="/static/image/christmas-bg.png"></image>Now let's decorate a personal portrait
<view class="avatar-container grid justify-center" id="avatar-container" @touchstart="touchStart" @touchend="touchEnd" @touchmove="touchMove">
            <view class="avatar-bg-border">
                <image @touchstart="touchAvatarBg" class="bg avatar-bg" id="avatar-bg" :src="avatarPath"></image>
            </view>
            <image
                v-if="currentMaskId > -1"
                class="mask flip-horizontal"
                :class="{maskWithBorder: showBorder}"
                id='mask'
                :src="maskPic"
              :style="{ top: maskCenterY-maskSize/2-2+'px', left: maskCenterX-maskSize/2-2+'px', transform: 'rotate(' +rotate+ 'deg)' + 'scale(' +scale+')' + 'rotateY('+ rotateY +'deg)'}"
            ></image>
            <text class="cuIcon-full handle circle" :class="{hideHandle: !showBorder}" id="handle" :style="{top:handleCenterY-10 + 'px', left:handleCenterX-10 +'px'}"></text>
        </view>
For personal avatars, use avatarPath to save them. The path will be defined later
Next, we define several buttons
<view class="grid justify-around action-wrapper">
            <view class="grid col-1">
                <!-- #ifdef MP-WEIXIN -->
                <button id="btn-my-avatar" class="cu-btn round action-btn bg-yellow shadow " open-type="getUserInfo" @getuserinfo="getUserInfo">Get Avatar</button>
                <!-- #endif -->
                <!-- #ifndef MP-WEIXIN -->
                <button id="btn-my-avatar" class="cu-btn round action-btn bg-yellow shadow " @click="getPic">Upload Avatar</button>
                <!-- #endif -->
            </view>
            <view class="grid col-2">
                <button id="btn-save" class="cu-btn round action-btn bg-yellow shadow" @click="draw">Save Avatar</button>
            </view>
            <!-- #ifdef APP-PLUS -->
            <view class="grid col-3">
                <button id="btn-save" class="cu-btn round action-btn bg-yellow shadow" open-type="share">Share friends</button>
            </view>
            <!-- #endif -->
        </view>
Here, I select the platform through annotation method, so as to call different methods\
·For wechat applet, the function of the button is to obtain the user's Avatar\
·For APP programs, the function of the button is to select pictures from local albums
The following is the pendant part
<scroll-view class="scrollView mask-scroll-view" scroll-x="true">
            <view v-for="(item,index) in imgList" :key="index" style="display: inline-flex;">
                <image class="imgList" :src="'/static/image/Christmas/'+ index +'.png'" :data-mask-id="index" @tap="changeMask"></image>
            </view>
        </scroll-view>
Here, we will convert the prepared pendant image to long mask format by method, and then display it at the bottom
Let's look at the script section
First
data() {
            return {
                duration: 15,
                windowHeight: 0,
                cansWidth: 270, //Width} px
                cansHeight: 270, //Height} px
                avatarPath: '/static/image/Christmas/avatar_mask.png',
                imgList: range(0, 7, 1), //The second parameter is number
            }
        }
Here, the path of the user's initial avatar and the number of avatar pendant are defined
The following is the initial configuration when the APP program is started
onShareAppMessage() {
            return {
                title: 'Christmas is coming, decorate a Christmas tree!',
                imageUrl: '/static/image/Christmas/avatar_mask.png',
                path: '/pages/index/index',
                success: function(res) {
                    console.log(res);
                }
            }
        }
Finally, let's take a simple look at how to get pictures from local albums
getPic(result) {
                let self = this;
                uni.chooseImage({
                    count: 1, //Default 9
                    sizeType: ['original', 'compressed'], //You can specify whether to use the original or compressed image. Both are available by default
                    sourceType: ['album'], //Select from the album
                    success: function (res) {
                            uni.getImageInfo({
                                src: res.tempFilePaths[0],
                                success: function (image) {
                                    self.avatarPath = image.path;
                                }
                            });
                        }
                });
            }
Here, you can directly call the API interface of uni. chooseImage can open the local album and select pictures. getImageInfo can get the relevant information of pictures
As for how to obtain the user's wechat avatar, I won't repeat it. There are many examples on the Internet!
Let's take a brief look at the final effect
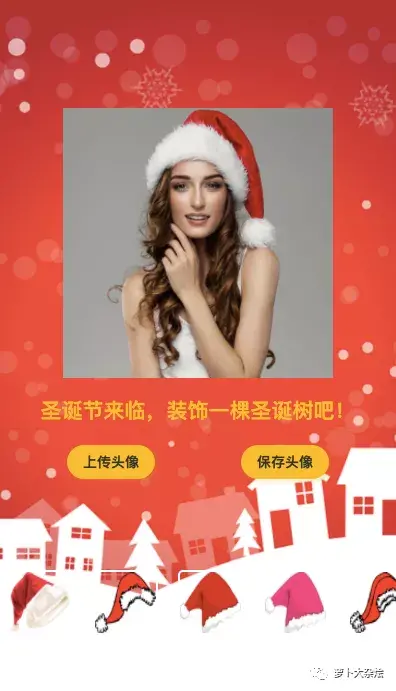
Finally, if you want this APP, you can reply to "Christmas Avatar" in the background. If you want a complete code, you can reply to "Christmas code"
Thank you for your support. Give me a compliment and attention before you go!