Author: shade
Translator: front end Xiaozhi
Source: learnvue
There are dreams and dry goods. Wechat search [Daqian world] pays attention to this bowl washing wisdom who is still washing dishes in the early morning.
This article GitHub https://github.com/qq449245884/xiaozhi It has been included. There are complete test sites, materials and my series of articles for the interview of front-line large factories.
Plug ins are a good way to add reusable functionality to Vue applications. With a large number of existing plug-ins for components, routing, etc., Vue's ecosystem provides solutions for many common use cases.
Some common plug-ins are Vue router, Vue custom element and Vue touch.
However, sometimes, when no plug-in can meet our needs, we need to write a plug-in to meet the taste of the product.
In this tutorial, let's learn to build our own Vue 3 plug-in.
What can we do with the Vue plug-in?
Simply put, the Vue plug-in allows us to extract any type of functionality into its own contained code that can be reused in different projects.
Typically, they are used to add global level functionality to Vue applications. according to Vue documents , here are some of the most common uses of plug-ins.
- Add global component
- Add a global instruction, transition, or its resources
- Add component options using global mixins (such as Vue router)
- Add the addition property to the Vue instance (via app.config.globalproperties)
Next, we will talk about one by one. First, let's create our first plug-in.
Create our Vue 3 plug-in
In this tutorial, we will make a plug-in that allows us to add UI elements and styles to our application.
We created a named myplugin JS and create an export default with the install method. This method has two parameters:
- app - app object generated by Vue's createApp
- Options - options passed in by the user
// MyFirstPlugin.js

export default {
    install: (app, options) => {
      // TODO
    }
}
Then, in order to insert the plug-in into the Vue application, enter main JS file and use app use().
// main.js

import { createApp } from 'vue'
import App from './App.vue'
import MyFirstPlugin from './plugin'

const app = createApp(App)

app.use(MyFirstPlugin, /* You can pass options as the second parameter*/)

app.mount('#app')
We will do a good job in this preliminary work.
Add global components from Vue plug-ins
An important use of the Vue plug-in is to add global components that can be used anywhere in the Vue project without having to import them every time.
Using the app parameter, we can use app The component syntax declares global components.
By using app Component, we can use single file components or declare our components directly in js files.
Suppose we want to create a title component (MyHeader.vue) – it contains the information of an article.
<template>
    <div>
        <h1 class="header-title">
            <slot name="title" />
        </h1>
        <h2 class="title-author">
            <slot name="author" />
        </h2>
    </div>
</template>
Back to myfirstplugin JS, add it to our plug-in.
// MyFirstPlugin.js

import MyHeader from './components/MyHeader.vue'
export default {
    install: (app, options) => {
        /* Declare global components */
        app.component('my-header', MyHeader)
    }
}
Now, we can use MyHeader anywhere because it is registered globally.
For example, in app Used in Vue. You do not need to import, just add it to the template.
<template>
  <my-header>
    <template #title>
      Building Your Own Vue 3 Plugin - <i> A Full Guide </i>
    </template>
    <template #author>
      Matt Maribojoc
    </template>
  </my-header>
</template>
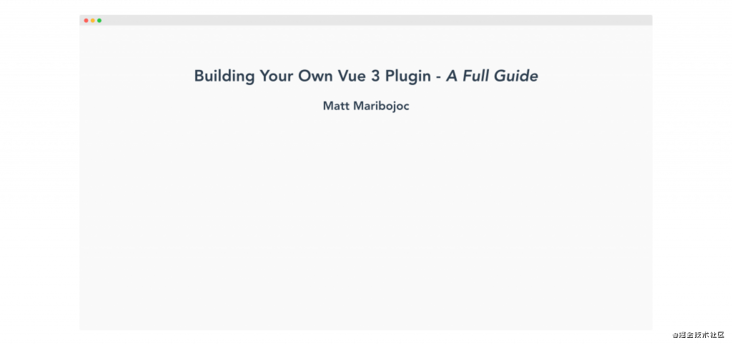
Operation results:
We can also add styles to these components
If we add any non scope style to the component, we can set it directly in the component.
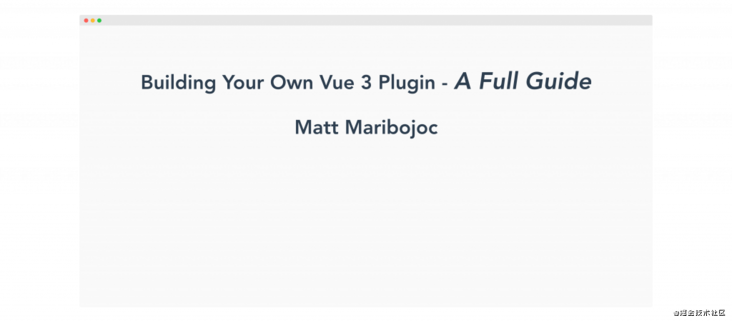
For example, if we want to change the font size and background color of the whole project, we can implement it in the MyHeader component.
<template>
    <div>
        <h1 class="header-title">
            <slot name="title" />
        </h1>
        <h2 class="title-author">
            <slot name="author" />
        </h2>
    </div>
</template>

<style>
    html, body, * {
        font-size: 1.2em;
        background: #fafafa;
    }
</style>
After operation:
Adding global directives using the Vue plug-in
One of my favorite things about using Vue is the ability to create my own instructions.
Directives are a way Vue allows developers to edit DOM directly. For example, v-if, v-show, v-bind, and so on.
Through plug-ins, we can easily use app Directive creates directives and is used in multiple projects.
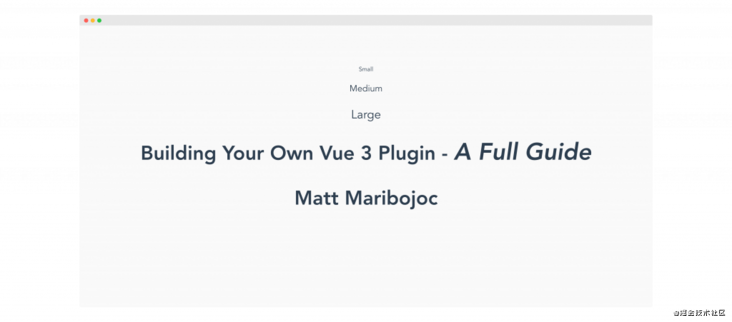
In short, we want to take an instruction parameter, determine the font size of the element, and then change the style of the element (through el) to use the appropriate size.
// MyFirstPlugin.js

export default {
    install: (app, options) => {
        app.component('my-header', MyHeader)

        app.directive("font-size", (el, binding, vnode) => {
            var size = 16;
            switch (binding.arg) {
              case "small":
                size = 12;
                break;
              case "large":
                size = 24;
                break;
              default:
                size = 18;
                break;
            }
            el.style.fontSize = size + "px";
          })
    }
}
Then, in app Vue or any component, because it is globally available, we can use instructions like this.
<template>
  <p v-font-size:small>Small</p>
  <p v-font-size:medium>Medium</p>
  <p v-font-size:large>Large</p>

  <my-header>
    <template #title>
      Building Your Own Vue 3 Plugin - <i> A Full Guide </i>
    </template>
    <template #author>
      Matt Maribojoc
    </template>
  </my-header>
</template>
After operation:
Provide customization using plug-in options
Adding options to plug-ins is a good way to make plug-ins more flexible in different use cases.
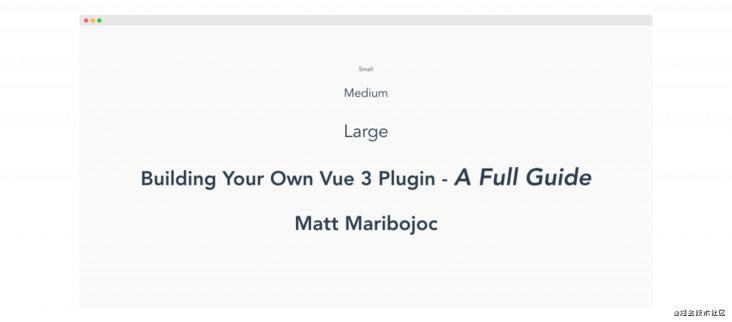
Suppose we want developers to control the exact size of the small, medium, and large parameters.
Go back to main JS, we can apply to app Add the second parameter to the use function:
// main.js

app.use(MyFirstPlugin, {
   fontSize: {
       small: 12,
       medium: 24,
       large: 36
   }
})
Then, back to our plug-in, we can use the options object to extract anything passed to the plug-in instead of hard coding our font size.
// MyFirstPlugin.js
app.directive("font-size", (el, binding, vnode) => {
  var size = 16;
  switch (binding.arg) {
    case "small":
      size = options.fontSize.small;
      break;
    case "large":
      size = options.fontSize.large;
      break;
    default:
      size = options.fontSize.medium;
      break;
  }
  el.style.fontSize = size + "px";
});
After operation:
Using Mixins to add methods, data, and other component options
A common way for plug-ins to add reusable functionality to Vue applications is to use Vue mixins. Mixins is a way to add component options to Vue components.
We can add any component options, such as life cycle hooks, data and methods. If a component uses this mixin, these options will be merged with the options of the component.
It is important to understand how to combine these options. For example, the mixin lifecycle hook will be called before the component hook, and if there is a naming conflict, the component data will take precedence over the mixin data.
We can use app The mixin method creates a global mixin.
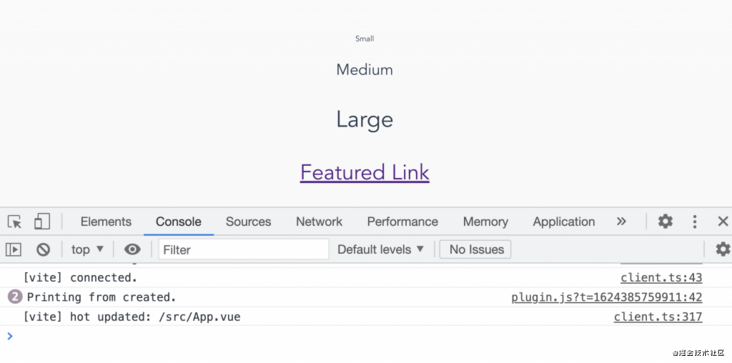
For example, we want to add a created hook. It just prints a log statement to our console and gives a data attribute. It gives an external URL. We can use it to change the href attribute of links in the whole application.
// MyFirstPlugin.js
export default {
    install: (app, options) => {
        app.mixin({
            data() {
                return {
                    featuredLink: 'https://learnvue.co'
                }
            },
            created() {
                console.log("Printing from created.")
            },
        })
    }
}
In any component we use, the created hook will run and we can access my featuredLink property. Two prints - one for app Vue and one for myheader vue
Using Provide and Inject in plug-ins
A powerful way for a particular component to access different properties and methods is to use the provide and inject patterns in Vue.
This allows our plug-in "provide" a property or method, and allows any component to "inject" the value.
Let's take a look at an example. Let's create a logout method. We don't need this method to be available to every component, but we want to create only one logout method so that it will be easier to modify in the future.
Inside our plug-in, we declare our methods and call app Provide to provide it to other parts of our application.
// MyFirstPlugin.js

import { provide } from 'vue'

export default {
    install: (app, options) => {
        const logout = () => {
            console.log('Logout is being called')
        }

        app.provide('logout', logout)
    }
}
Then, in any component, we can inject this method and create a button to call the logout method.
<template>
  <button @click="logout"> Logout </button>
  <p v-font-size:small>Small</p>
  <p v-font-size:medium>Medium</p>
  <p v-font-size:large>Large</p>
  <a :href="featuredLink"> Featured Link </a>
  <my-header>
    <template #title>
      Building Your Own Vue 3 Plugin - <i> A Full Guide </i>
    </template>
    <template #author>
      Matt Maribojoc
    </template>
  </my-header>
</template>

<script setup>
import { inject } from 'vue'
const logout = inject('logout')
</script>
After running, you will see that whenever we click the button, the content in logout will be printed.
summary
The possibilities of designing your own Vue 3 plug-in are unlimited. I hope this article can help you.
~After that, I'm Xiao Zhi. When finishing this article, I was ill and ready to go to the club to relax.
The bugs that may exist after code deployment cannot be known in real time. Afterwards, in order to solve these bugs, we spent a lot of time on log debugging. By the way, we recommend a useful BUG monitoring tool Fundebug.
Original text: https://learue.co/2021/06/building-your-own-vue-3-plugin-a-full-guide/
communication
There are dreams and dry goods. Wechat search [Daqian world] pays attention to this bowl washing wisdom who is still washing dishes in the early morning.
This article GitHub https://github.com/qq449245884/xiaozhi It has been included. There are complete test sites, materials and my series of articles for the interview of front-line large factories.
