2022.1.2 records:
1. Dimension dataset
The software I use to label the dataset here is labelImg, labellmg download link
I put down the latest version.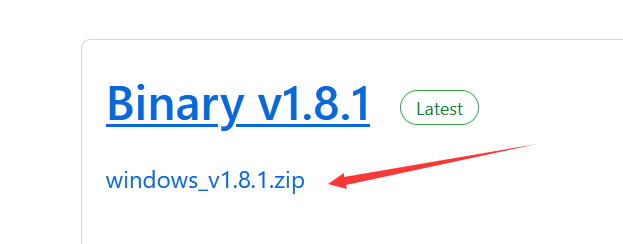
Originally, I wanted to mark 1000 pieces yesterday, but I was so tired. I marked 50 pieces for each signal, a total of 200 pieces.
Before labeling, you need to create two folders like this (Anywhere)
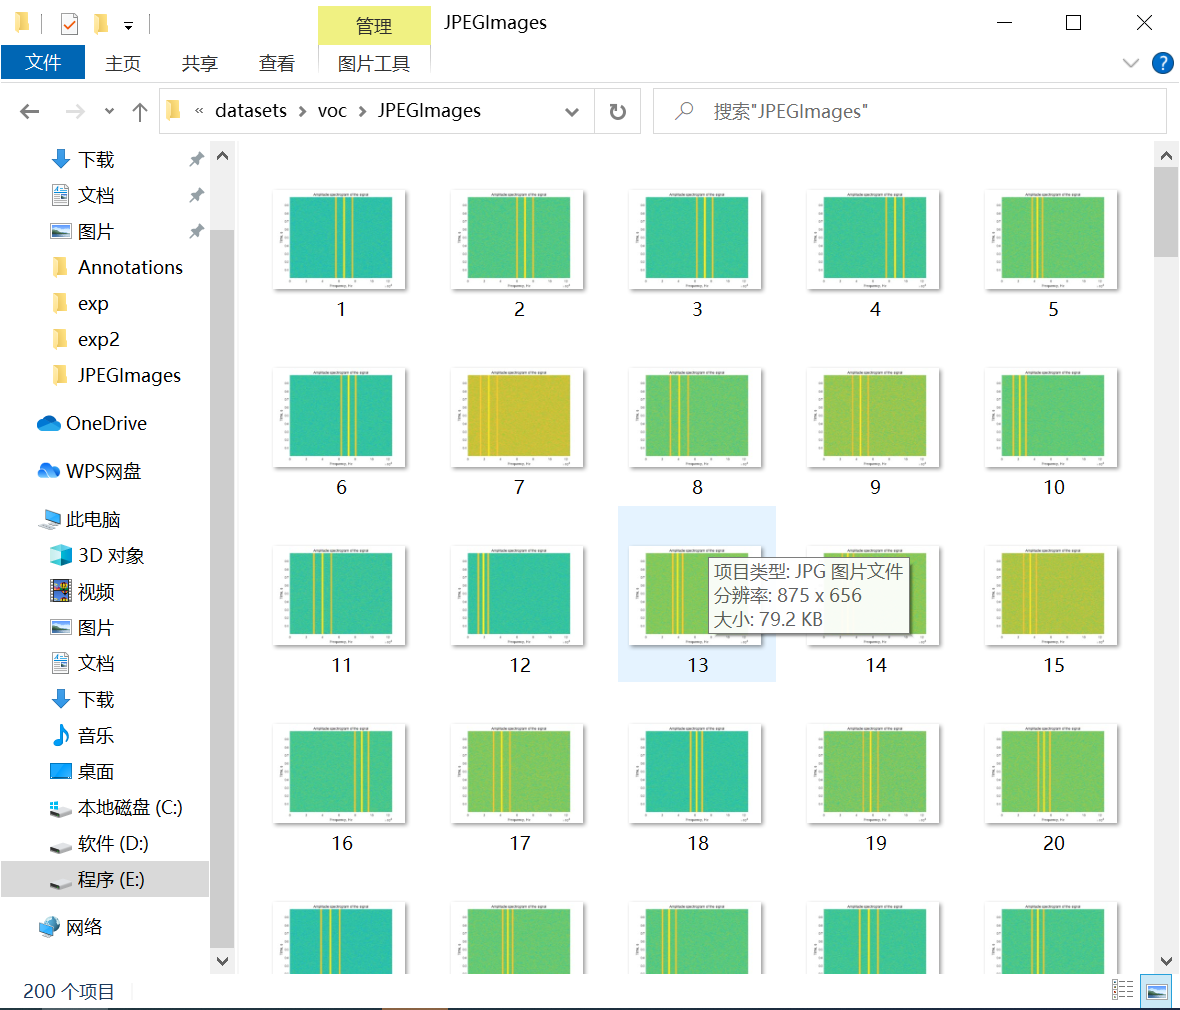
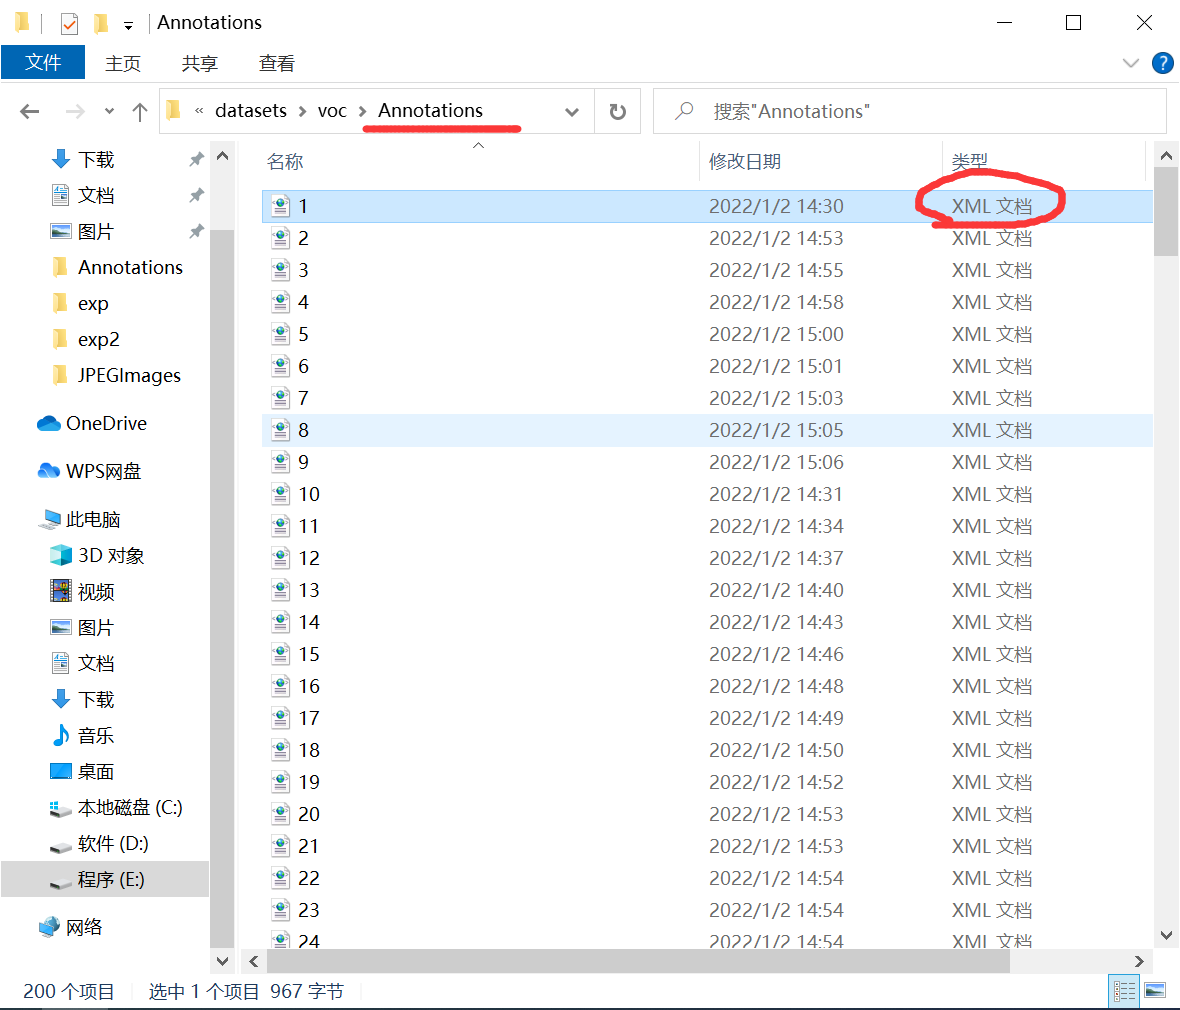
 Put the pictures you need to label in the JPEGImages folder, and arrange the names in order, like this.
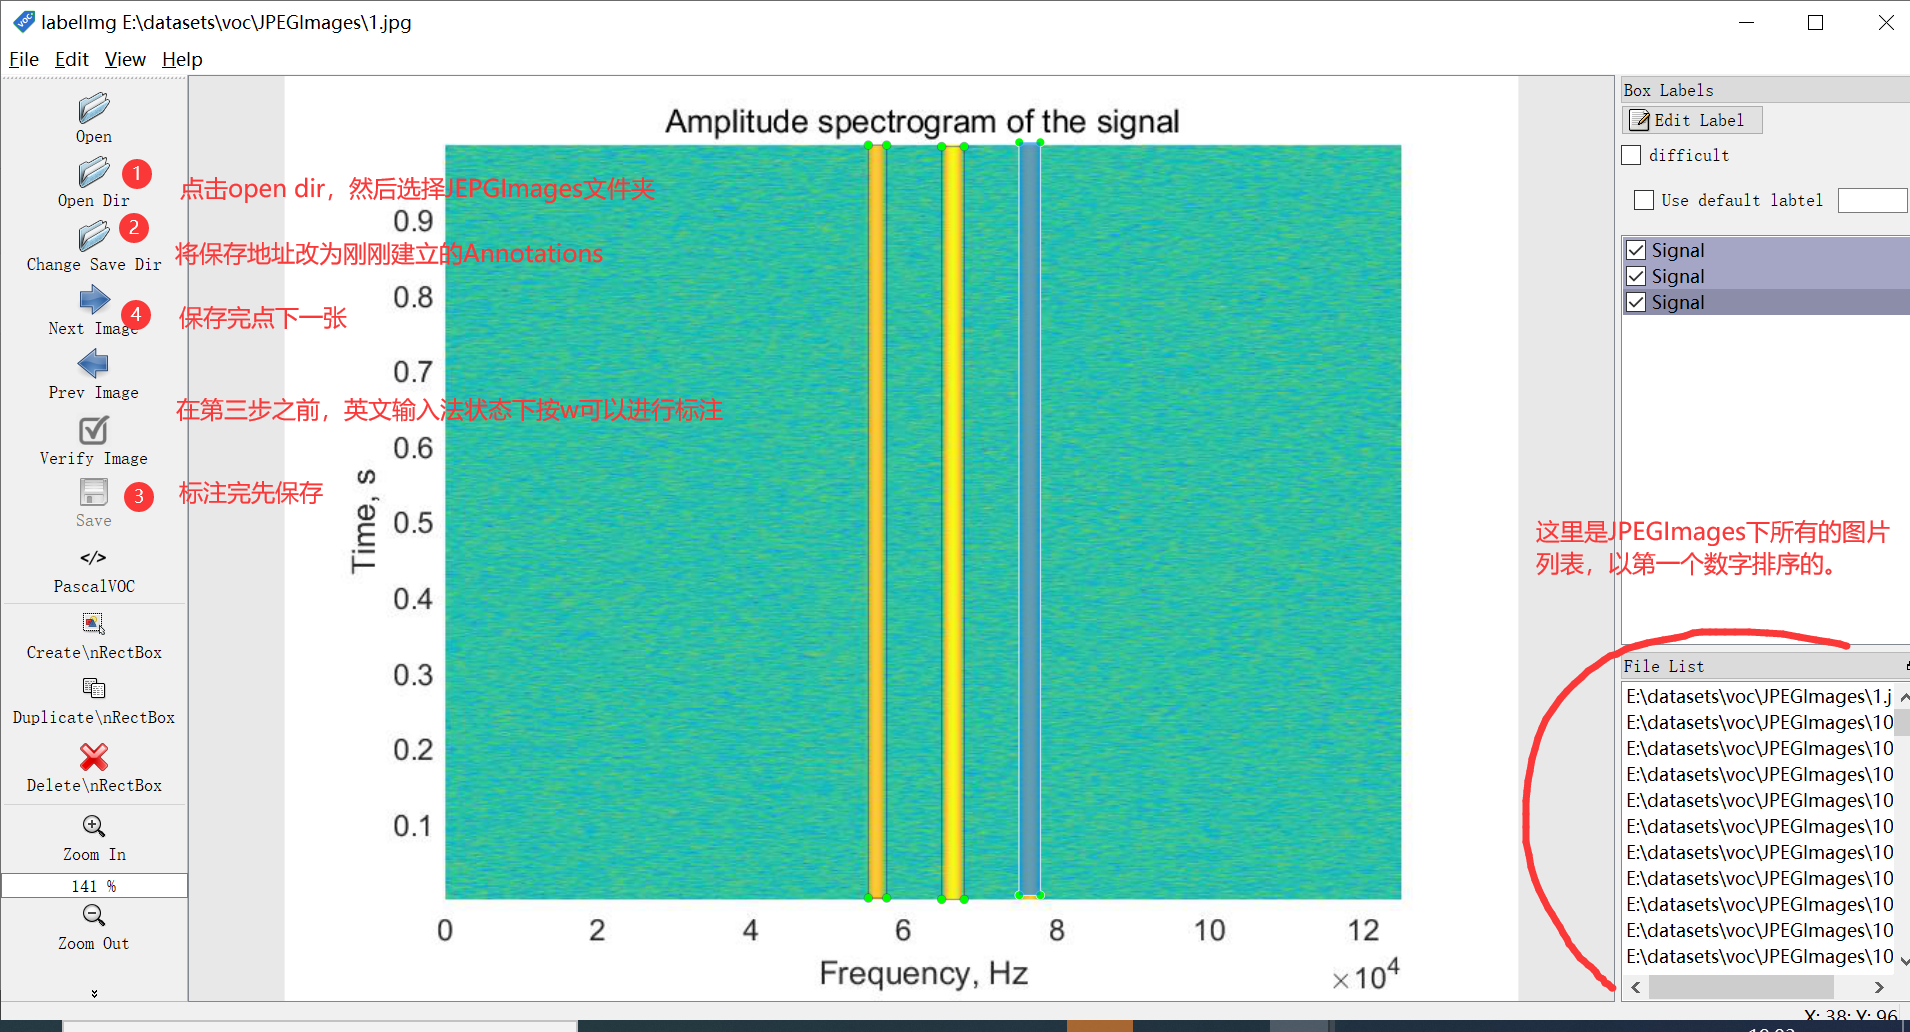
 Then you can start labeling the dataset. Open labelImg.
 After marking, there will be the coordinate location file just marked in the Annotations folder. It should be noted that this file is a voc annotation format, and we can't use it directly. You can refer to the difference between voc and yolo annotation formats Thoroughly understand the VOC/YOLO annotation format supplement
2. Preparation of data set before training
The establishment path of the training data folder in this step is based on the yolov5 source code, on the premise that the path in the yolov5 code is not modified as much as possible.
Be sure to pay attention to the path!!! Make no mistake.
In the above step, we got the label file in voc format. Now we need to convert it into a label file in yolo format. Relevant codes of conversion
import xml.etree.ElementTree as ET
import pickle
import os
from os import listdir, getcwd
from os.path import join

# Data label
classes = ['Signal']

def convert(size, box):
    dw = 1./(size[0])
    dh = 1./(size[1])
    x = (box[0] + box[1])/2.0 - 1
    y = (box[2] + box[3])/2.0 - 1
    w = box[1] - box[0]
    h = box[3] - box[2]
    x = x*dw
    w = w*dw
    y = y*dh
    h = h*dh
    if w>=1:
        w=0.99
    if h>=1:
        h=0.99
    return (x,y,w,h)

def convert_annotation(rootpath,xmlname):
    xmlpath = rootpath + '/Annotations'
    xmlfile = os.path.join(xmlpath,xmlname)
    with open(xmlfile, "r", encoding='UTF-8') as in_file:
      txtname = xmlname[:-4]+'.txt'
      print(txtname)
      txtpath = rootpath + '/worktxt'  #Generated txt files will be saved in the worktxt directory
      if not os.path.exists(txtpath):
        os.makedirs(txtpath)
      txtfile = os.path.join(txtpath,txtname)
      with open(txtfile, "w+" ,encoding='UTF-8') as out_file:
        tree=ET.parse(in_file)
        root = tree.getroot()
        size = root.find('size')
        w = int(size.find('width').text)
        h = int(size.find('height').text)
        out_file.truncate()
        for obj in root.iter('object'):
            difficult = obj.find('difficult').text
            cls = obj.find('name').text
            if cls not in classes or int(difficult)==1:
                continue
            cls_id = classes.index(cls)
            xmlbox = obj.find('bndbox')
            b = (float(xmlbox.find('xmin').text), float(xmlbox.find('xmax').text), float(xmlbox.find('ymin').text), float(xmlbox.find('ymax').text))
            bb = convert((w,h), b)
            out_file.write(str(cls_id) + " " + " ".join([str(a) for a in bb]) + '\n')


if __name__ == "__main__":
    rootpath='E:\\datasets\\voc'  ##Where modifications are required
    xmlpath=rootpath+'\\Annotations'
    list=os.listdir(xmlpath)
    for i in range(0,len(list)) :
        path = os.path.join(xmlpath,list[i])
        if ('.xml' in path)or('.XML' in path):
            convert_annotation(rootpath,list[i])
            print('done', i)
        else:
            print('not xml file',i)
The rootpath in the code needs to be modified. Mine is the one circled in the figure below. You can modify it according to your own path.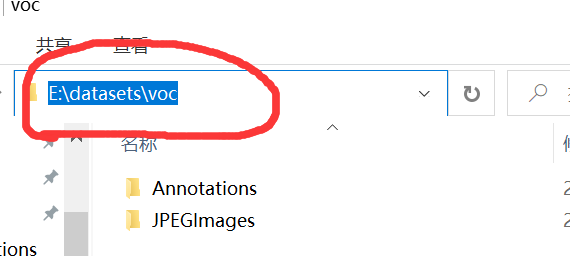 After running, a worktxt folder containing yolo annotation format files will be generated in the rootpath path.
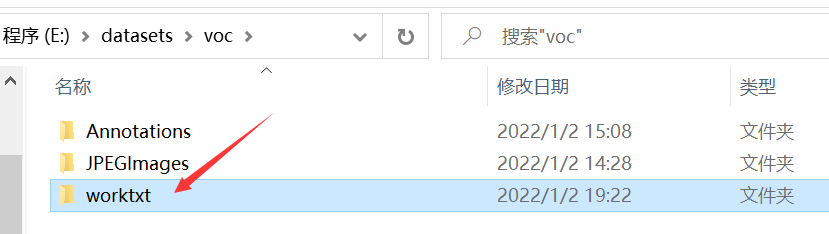
 Next, divide the data set into training set, verification set and test set. The code is as follows (however, the training code of yolov5 I use does not use the test set. I use ultralytics. )
import os
import random
import sys


root_path = 'E:\\datasets\\voc'
xmlfilepath = root_path + '/Annotations'
txtsavepath = root_path + '/ImageSets/Main'


if not os.path.exists(txtsavepath):
    os.makedirs(txtsavepath)

train_test_percent = 1.0  # (training set + verification set) / (training set + verification Set + test set)
train_valid_percent = 0.8  # Training set / (training set + verification set)

total_xml = os.listdir(xmlfilepath)
num = len(total_xml)
list = range(num)
tv = int(num * train_test_percent)   # Number of training sets + verification sets
ts = int(num-tv)   # Number of test sets
tr = int(tv * train_valid_percent)  # Number of training sets
tz = int(tv-tr)   # Number of validation sets
trainval = random.sample(list, tv)
train = random.sample(trainval, tr)

print("train and valid size:", tv)
print("train size:", tr)
print("test size:", ts)
print("valid size:", tz)

# ftrainall = open(txtsavepath + '/ftrainall.txt', 'w')
ftest = open(txtsavepath + '/test.txt', 'w')
ftrain = open(txtsavepath + '/train.txt', 'w')
fvalid = open(txtsavepath + '/valid.txt', 'w')

ftestimg = open(txtsavepath + '/img_test.txt', 'w')
ftrainimg = open(txtsavepath + '/img_train.txt', 'w')
fvalidimg = open(txtsavepath + '/img_valid.txt', 'w')

for i in list:
    name = total_xml[i][:-4] + '.txt' + '\n'
    imgname = total_xml[i][:-4] + '.jpg' + '\n'
    if i in trainval:
        # ftrainall.write(name)
        if i in train:
            ftrain.write(name)
            ftrainimg.write(imgname)
        else:
            fvalid.write(name)
            fvalidimg.write(imgname)
    else:
        ftest.write(name)
        ftestimg.write(imgname)

# ftrainall.close()
ftrain.close()
fvalid.close()
ftest.close()

ftrainimg.close()
fvalidimg.close()
ftestimg.close()
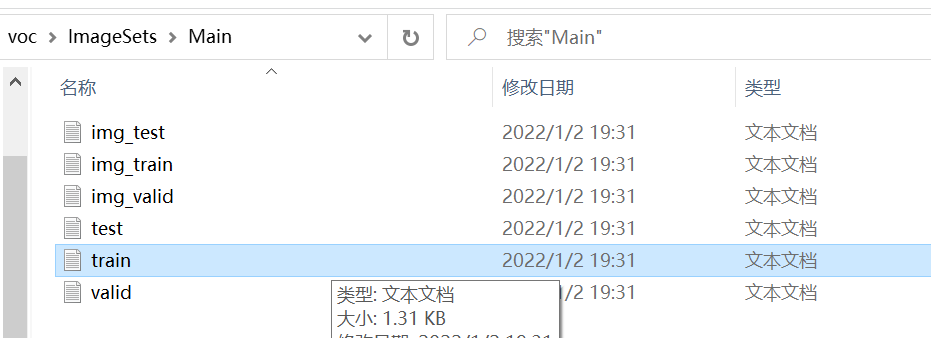
Similarly, you need to modify the root_path to your own path, just change it to the same as above. The proportional relationship among training set, verification set and test set can be modified in the code. After running, it will be in root_ Generate an ImageSets folder under the path.
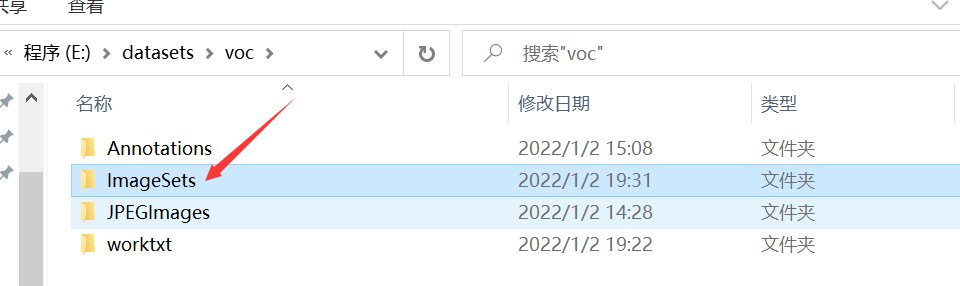 There is a Main folder, which contains the assigned text files containing the image names of training set, verification set and test set and the corresponding annotation file names.
 After that, we will reconstruct these files into a file form that meets the needs of the training code. The code is as follows:
import os
import shutil

# Get the split train\test\valid name
img_txt_cg_train = []
img_txt_cg_test = []
img_txt_cg_valid = []
label_txt_cg_train = []
label_txt_cg_test = []
label_txt_cg_valid = []

root_path = 'E:\\datasets\\voc'
path = root_path + '\\ImageSets\\Main\\'

for line in open(path+"img_train.txt"):
    line=line.strip('\n')
    img_txt_cg_train.append(line)
for line1 in open(path+"img_test.txt"):
    line1=line1.strip('\n')
    img_txt_cg_test.append(line1)
for line2 in open(path+"img_valid.txt"):
    line2=line2.strip('\n')
    img_txt_cg_valid.append(line2)

for line3 in open(path+"train.txt"):
    line3=line3.strip('\n')
    label_txt_cg_train.append(line3)
for line4 in open(path+"test.txt"):
    line4=line4.strip('\n')
    label_txt_cg_test.append(line4)
for line5 in open(path+"valid.txt"):
    line5=line5.strip('\n')
    label_txt_cg_valid.append(line5)

# Create a folder for cg data
new_dataset_train = root_path + '/data/train/images/'
new_dataset_test = root_path + '/data/test/images/'
new_dataset_valid = root_path + '/data/valid/images/'

new_dataset_trainl = root_path + '/data/train/labels/'
new_dataset_testl = root_path + '/data/test/labels/'
new_dataset_validl = root_path + '/data/valid/labels/'

if not os.path.exists(new_dataset_train):
    os.makedirs(new_dataset_train)
if not os.path.exists(new_dataset_test):
    os.makedirs(new_dataset_test)
if not os.path.exists(new_dataset_valid):
    os.makedirs(new_dataset_valid)
if not os.path.exists(new_dataset_trainl):
    os.makedirs(new_dataset_trainl)
if not os.path.exists(new_dataset_testl):
    os.makedirs(new_dataset_testl)
if not os.path.exists(new_dataset_validl):
    os.makedirs(new_dataset_validl)

# cg Mobile
fimg = root_path + '\\JPEGImages\\'
flable = root_path + '\\worktxt\\'

# Small data suggestion: copy big data suggestion: move
for i in range(len(img_txt_cg_train)):
    shutil.copy(fimg+str(img_txt_cg_train[i]),new_dataset_train)
    shutil.copy(flable+str(label_txt_cg_train[i]),new_dataset_trainl)
for j in range(len(img_txt_cg_test)):
    shutil.copy(fimg+str(img_txt_cg_test[j]),new_dataset_test)
    shutil.copy(flable+str(label_txt_cg_test[j]),new_dataset_testl)
for q in range(len(img_txt_cg_valid)):
    shutil.copy(fimg+str(img_txt_cg_valid[q]),new_dataset_valid)
    shutil.copy(flable+str(label_txt_cg_valid[q]),new_dataset_validl)
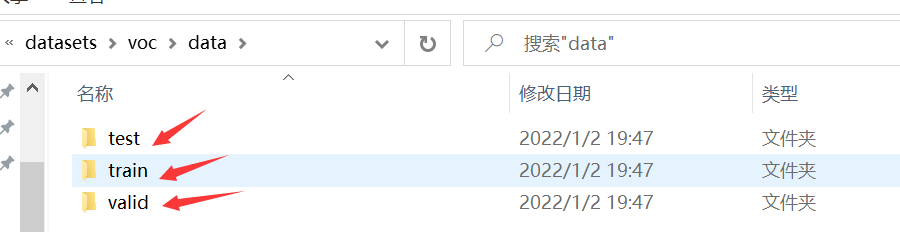
Similarly, you have to put the root in the code_ Change path to the file path where your JPEGImages are located. Just change it to the same as above. After running, it will be in root_ A data folder is generated under the path path, which contains the data files used for yolov5 training.

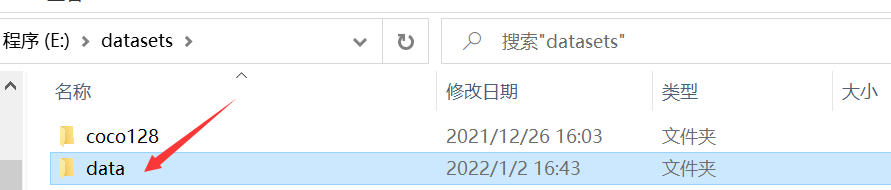
 Then create a new datasets folder under the same level path of the folder where you put yolov5 code. If you have run the coco128 dataset used for demonstration on github, you should already have this folder, so you don't need to create it.
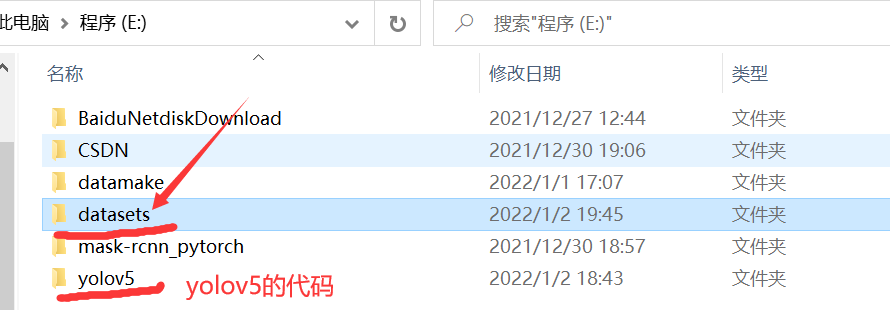 After creating a new folder, copy the data folder to the datasets folder. Or you can create a new datasets folder first, then modify the path in the third program above, and directly generate the data folder into your datasets folder, which is a little easier.
 Then modify the name of the folder. For example, I modify the time-frequency diagram of all Signals in my data set to Signals.
 At this point, the data set, verification set and test set (without test set) to be used for training are ready.
This part of the code comes from Make your own yolov5 dataset and train
3. Modify training related codes
After completing the previous step, you can start training. If you just want to get through first, what I marked in red in the figure needs to be modified. Don't touch anything else you don't know.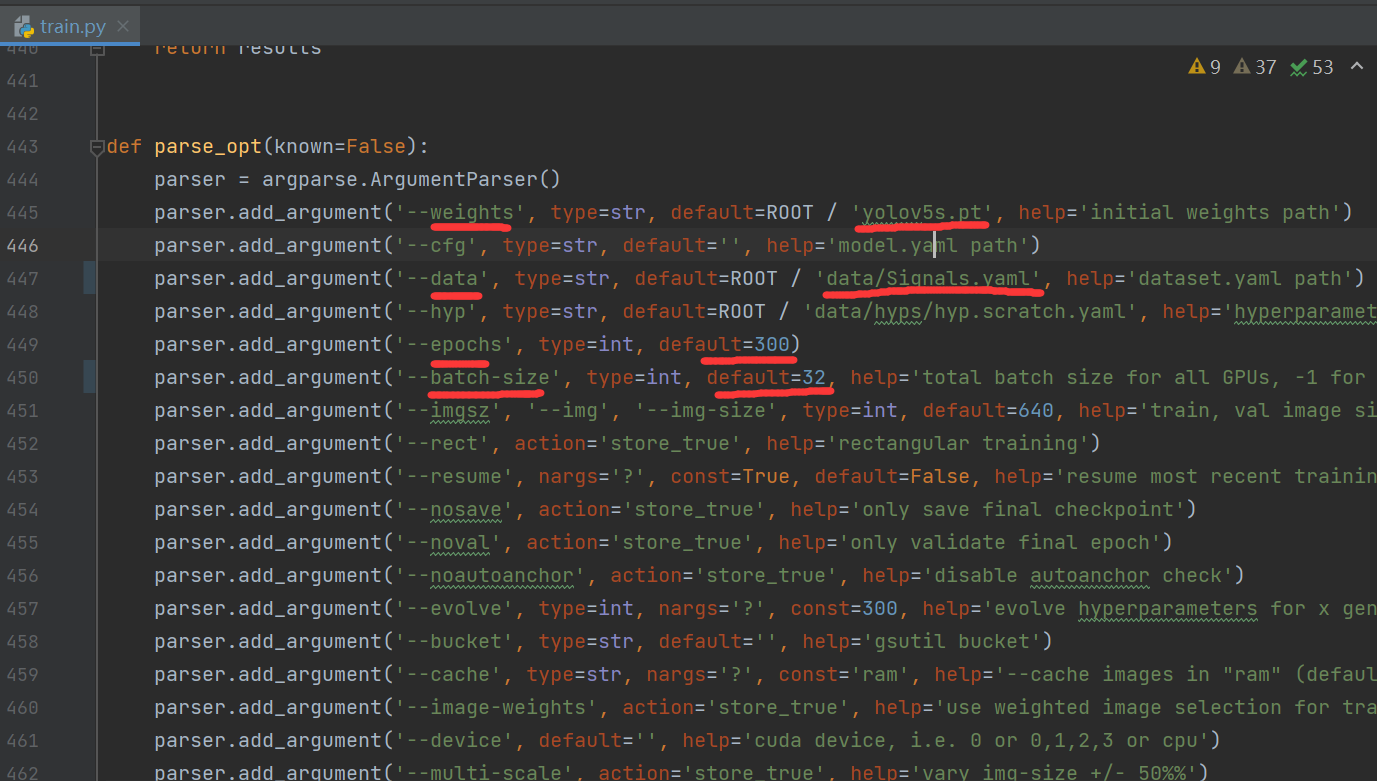 The first weight is changed to yolov5s pt. If you want to use other weights, like yolov5m Pt, you need to download it yourself and put it in your yolov5 code folder.
For the second data, you need to create a new one under the data folder before modifying it yaml file, I copied coco128 yaml renames and then modifies the.
 The content is as follows. What I drew the red line is to be changed:
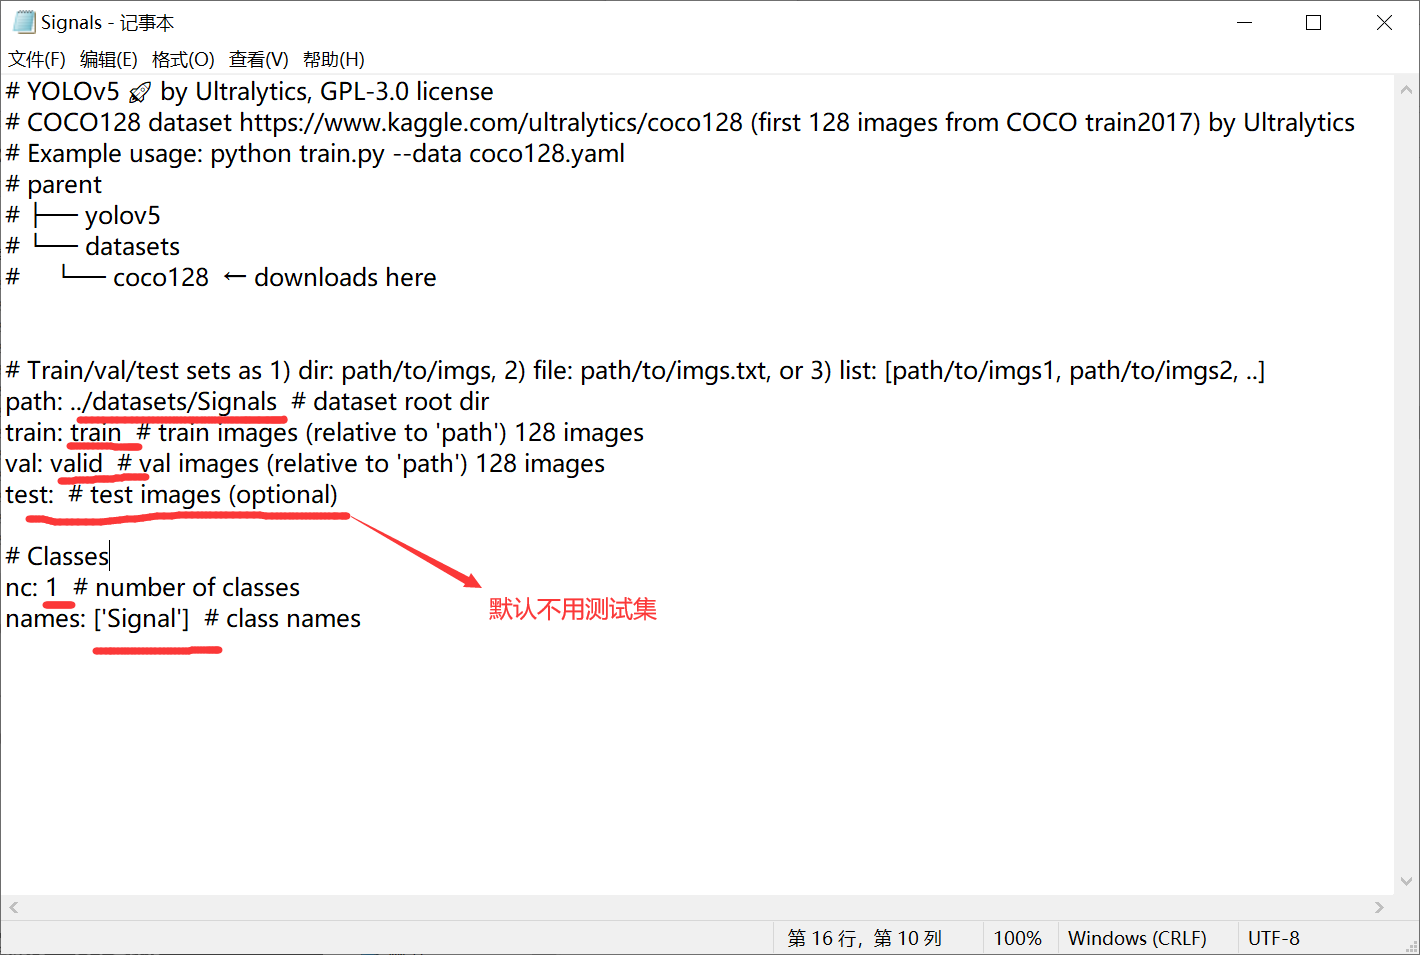 If you follow my steps above, change the lines of train and val to be the same as me, and the line of path to change Signals to the folder name named by yourself (just the data folder just generated). If you don't need test, you don't have to touch it in the test line. Then the category quantity nc, which can be modified according to your own situation. If you have more than one category name, add it one by one as shown in the figure below.
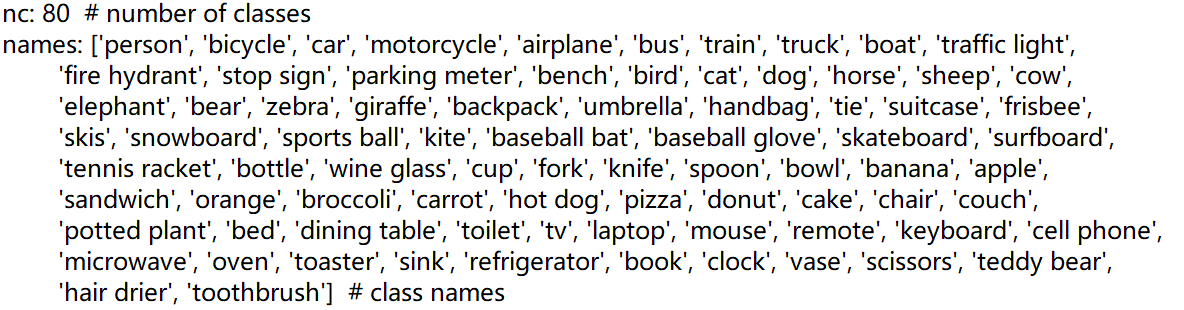
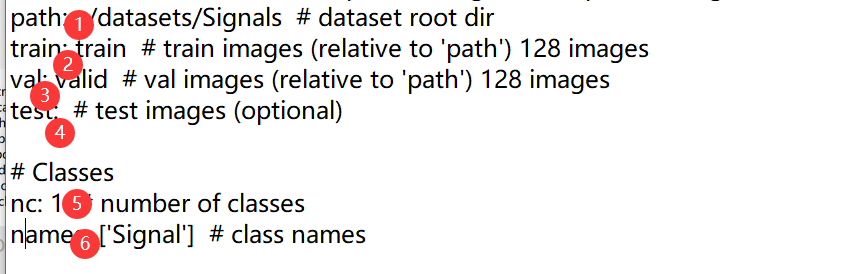
 actually. yaml file needs these six contents.
 After the modification is saved, you can modify the row of data just now.
 Then epochs, the number of training rounds, can be modified according to your own situation.
Finally, batch_size, if your graphics memory is not very large and the picture size is not very small, it is recommended to batch_ Set the size smaller. My existing graphics card is 12G, set to 32. You can change it from large to small until you don't report an OOM (Out Of Memory) error.
Finally, you can run train Py program.
For visualization of training process, wandb is used in yolov5, but I believe not everyone can use wandb. If you report an error every time you run to the 29th round, you can see my article.
Graduation project record -yolov5's wandb error report, causes and solutions (unshielded wandb)
There are two other visualization schemes.
Graduation design record - pytoch learning - tensorboardX training process visualization
Graduation design record - Python learning - hiderlayer training process visualization
4. Test with trained weights
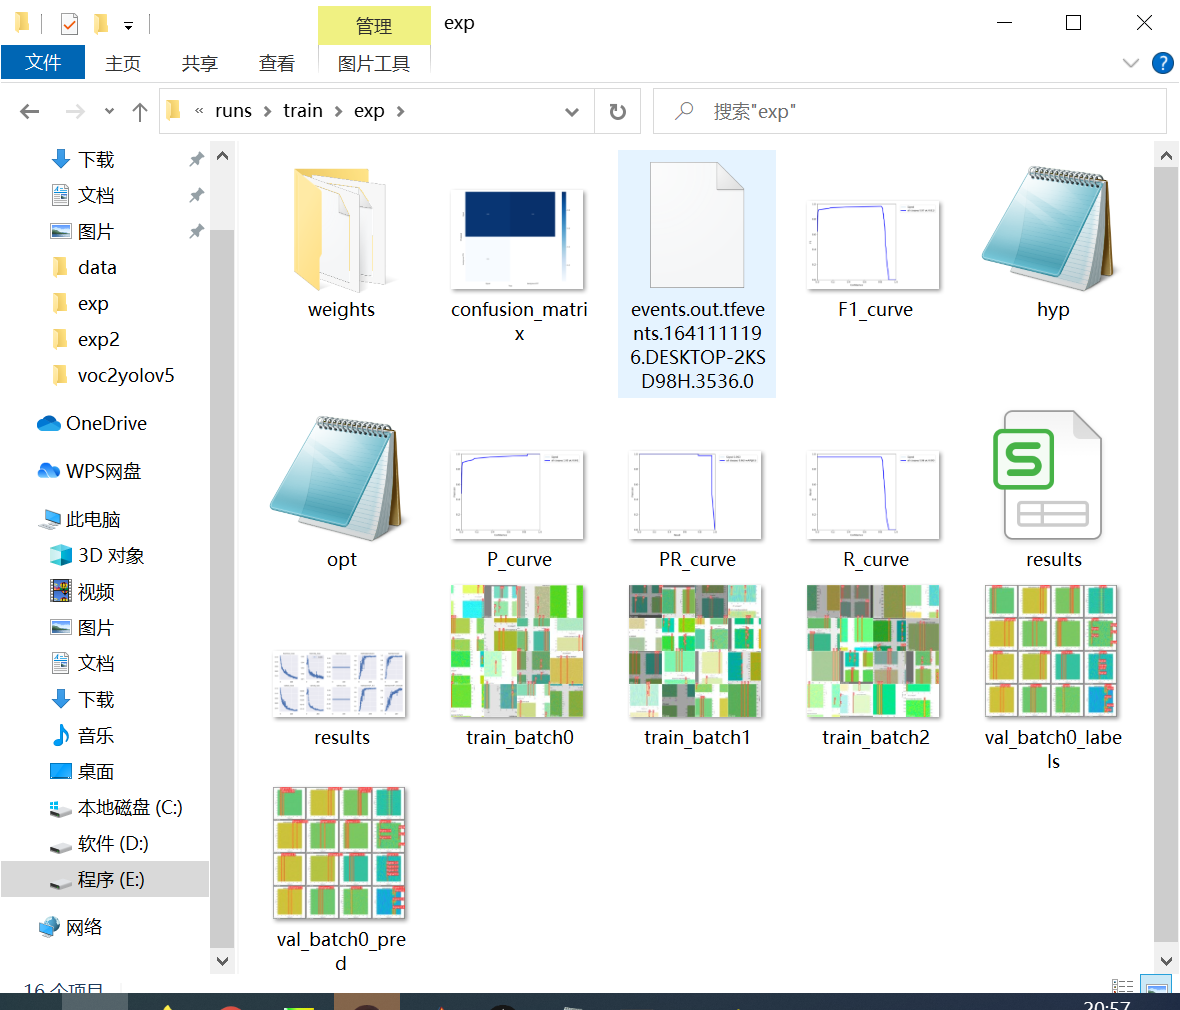
After the training, the code will print out the folder paths of various outputs. You can see what you print after the training.
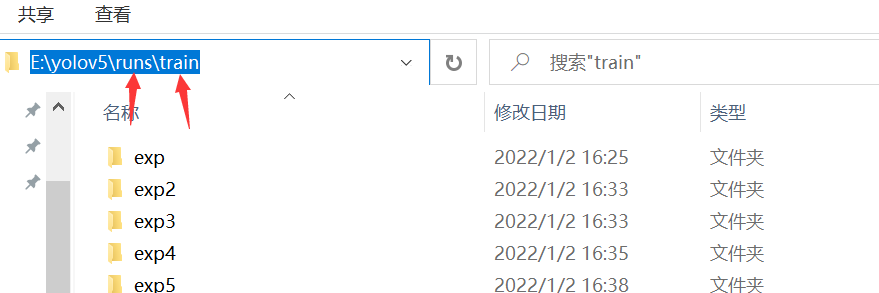
 The weights we trained are placed under the weights folder. One is the most accurate and the other is the last.
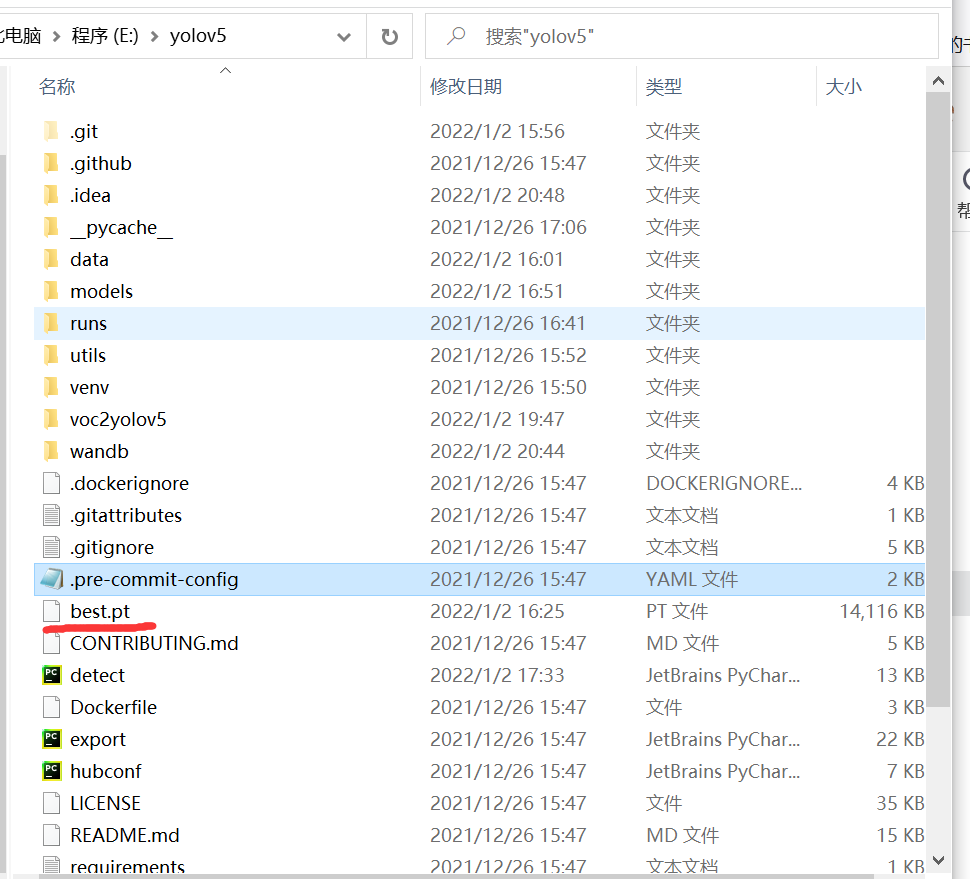
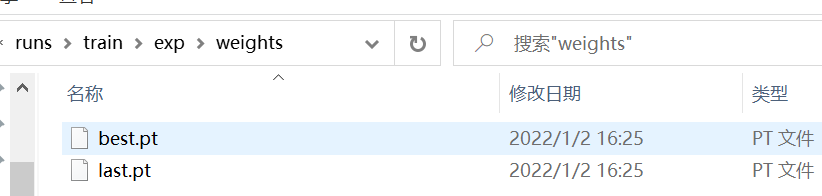 I use best Pt, set the best Copy PT to yolov5 code folder, as shown below.
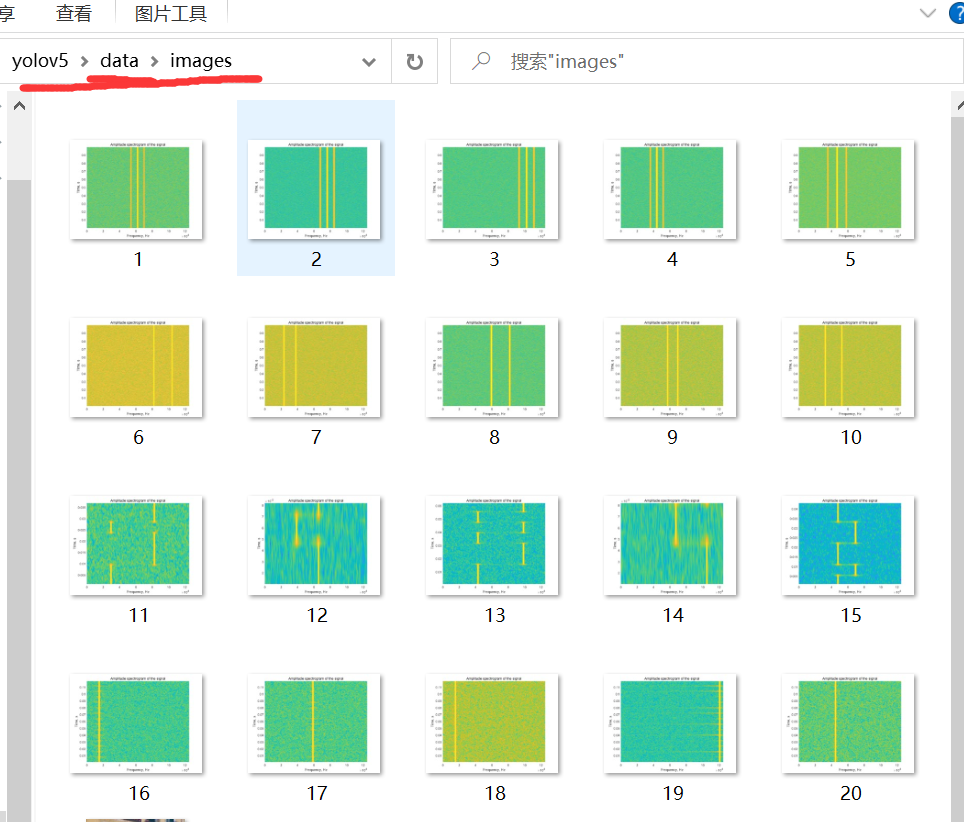
 Then put all the pictures you want to test in this directory
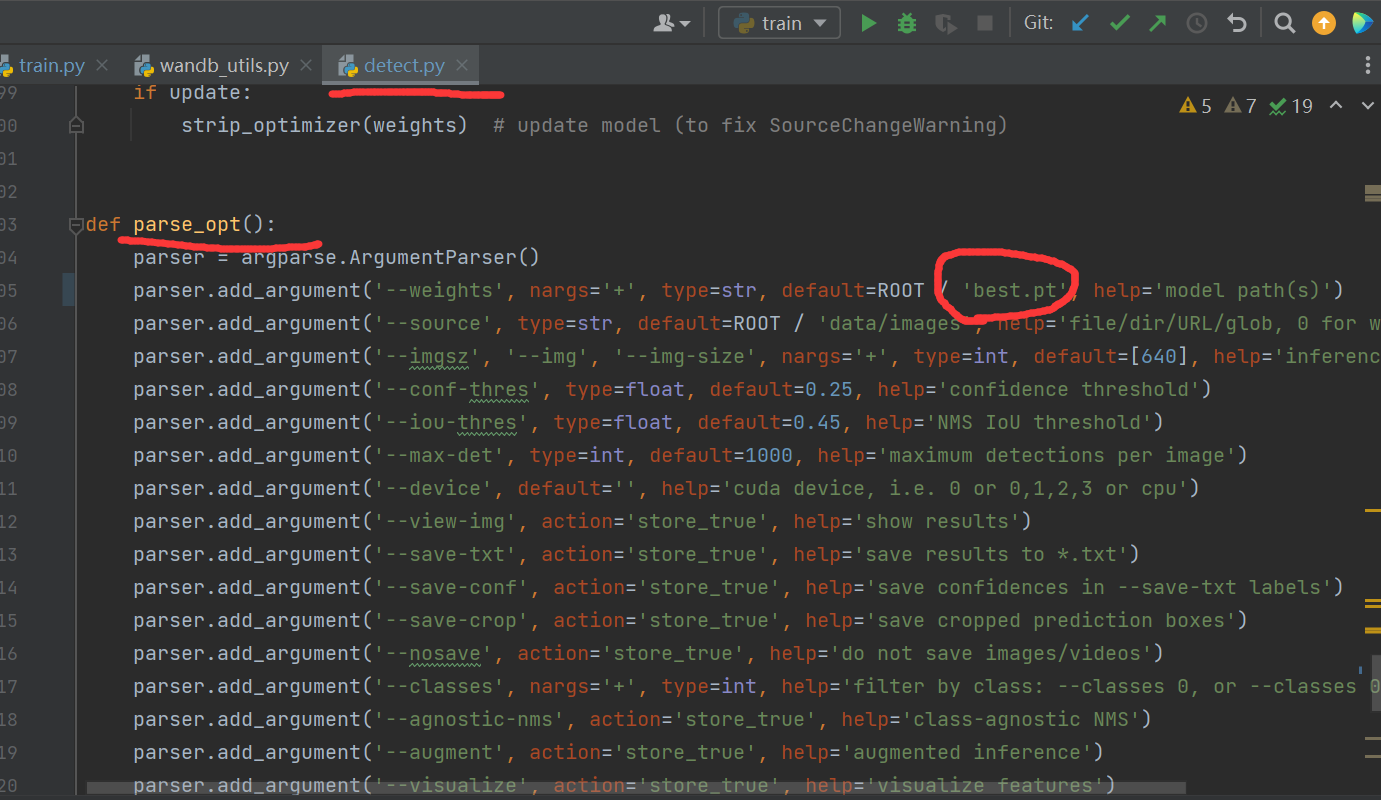
 Finally, modify detect The part I circled in the PY file is changed to best pt.
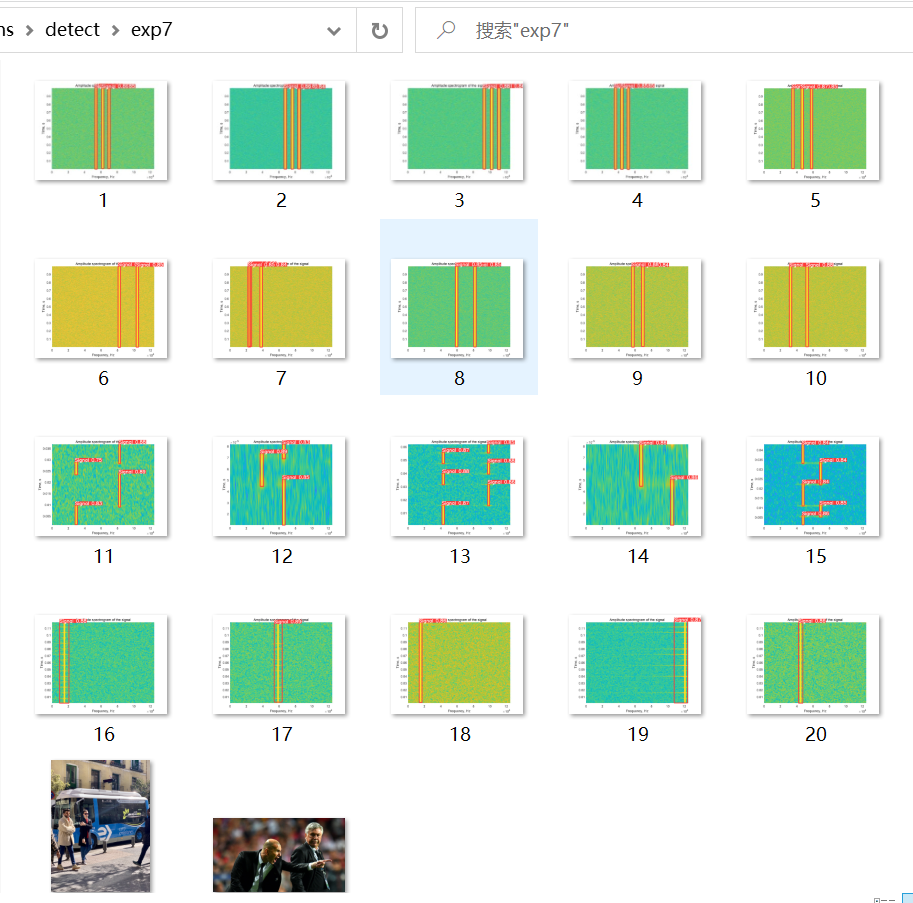
 Then run detect Py, after running, the output path will also be printed out.
 as follows
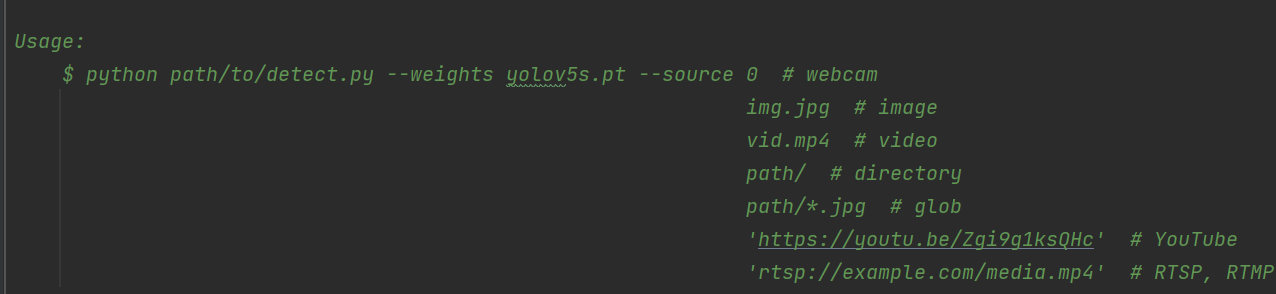
 If you want to test the video, press and hold shift, then right-click to open the power shell window and enter the following command. The path in the instruction is based on its own.