This article is the second part of the introduction, packaging and deploying the project to the server, and modifying the relevant configuration.
192.168.38.132   -front end

192.168.38.133   -back-end

192.168.38.134   -back-end
The three servers create the / root/workspace directory respectively
1, Front end 192.168.38.132 deployment
First, package the front-end code of ruoyi, upload it to the server of 132, and then unzip it. The directory is in / root/workspace
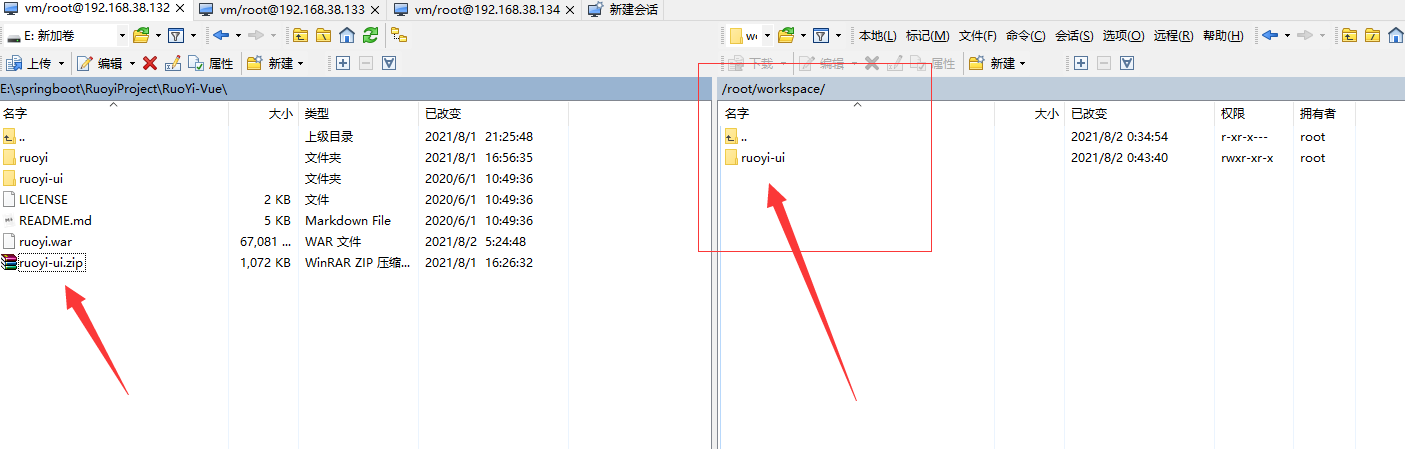
Open the terminal in this directory and enter the following command
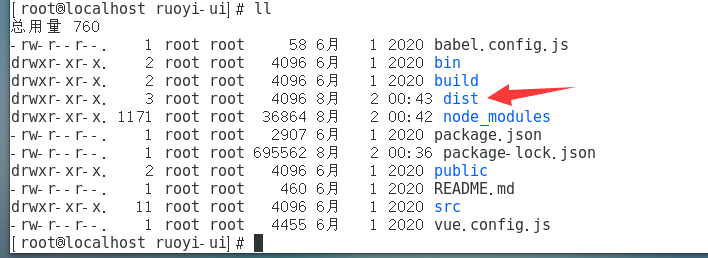
#Download package
npm install --unsafe-perm --registry=https://registry.npm.taobao.org

#pack
npm run build:prod
After packaging, the dist folder will be generated, which is our packaged files
 Deploy front end nginx
cd /usr/local/nginx
cd sbin/
./nginx
Configure nginx conf
        user  root;

        location / {
            root   /root/workspace/ruoyi-ui/dist;
            index  index.html index.htm;
        }
location /prod-api/ {
            proxy_set_header Host $http_host;
            proxy_set_header X-Real-IP $remote_addr;
            proxy_set_header REMOTE-HOST $remote_addr;
            proxy_set_header X-Forwarded-For $proxy_add_x_forwarded_for;
            proxy_pass http://192.168.38.133:8080/;
        }
Restart Nginx
/usr/local/nginx/sbin/nginx -s reload
Open 8080 port
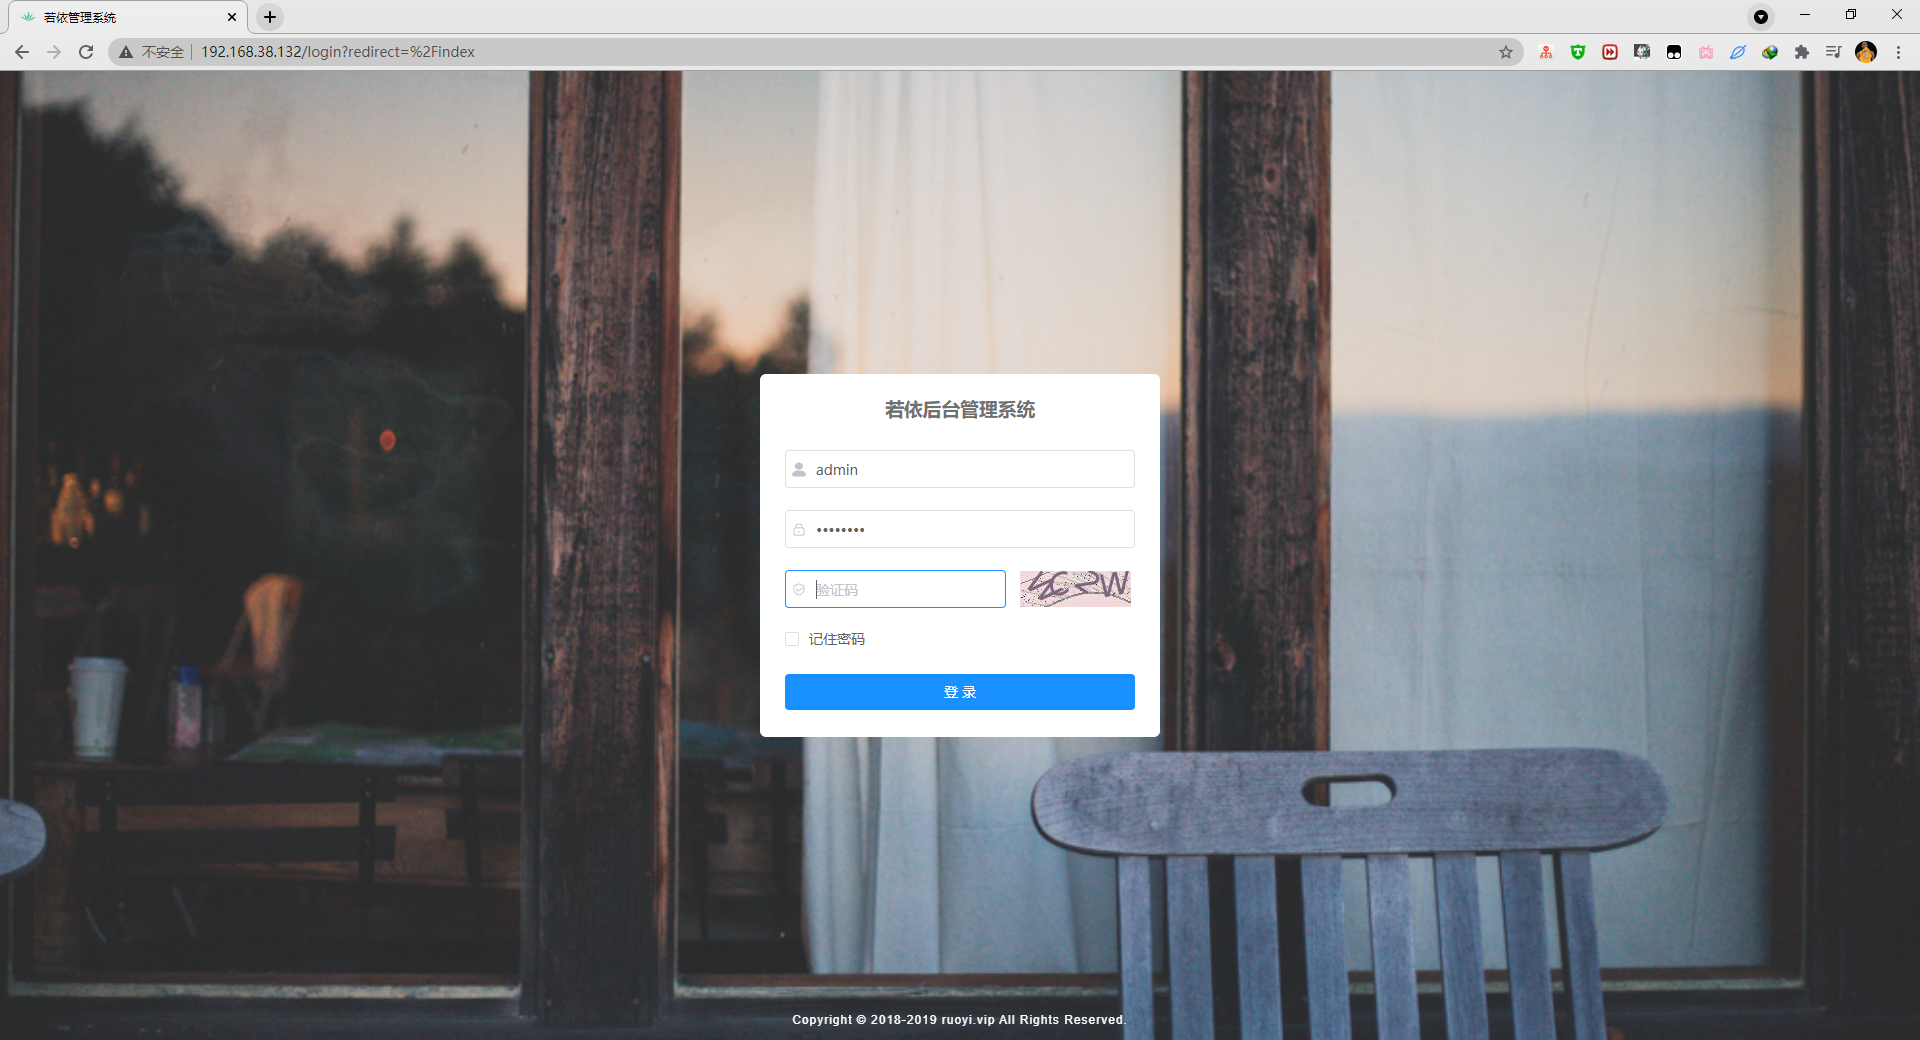
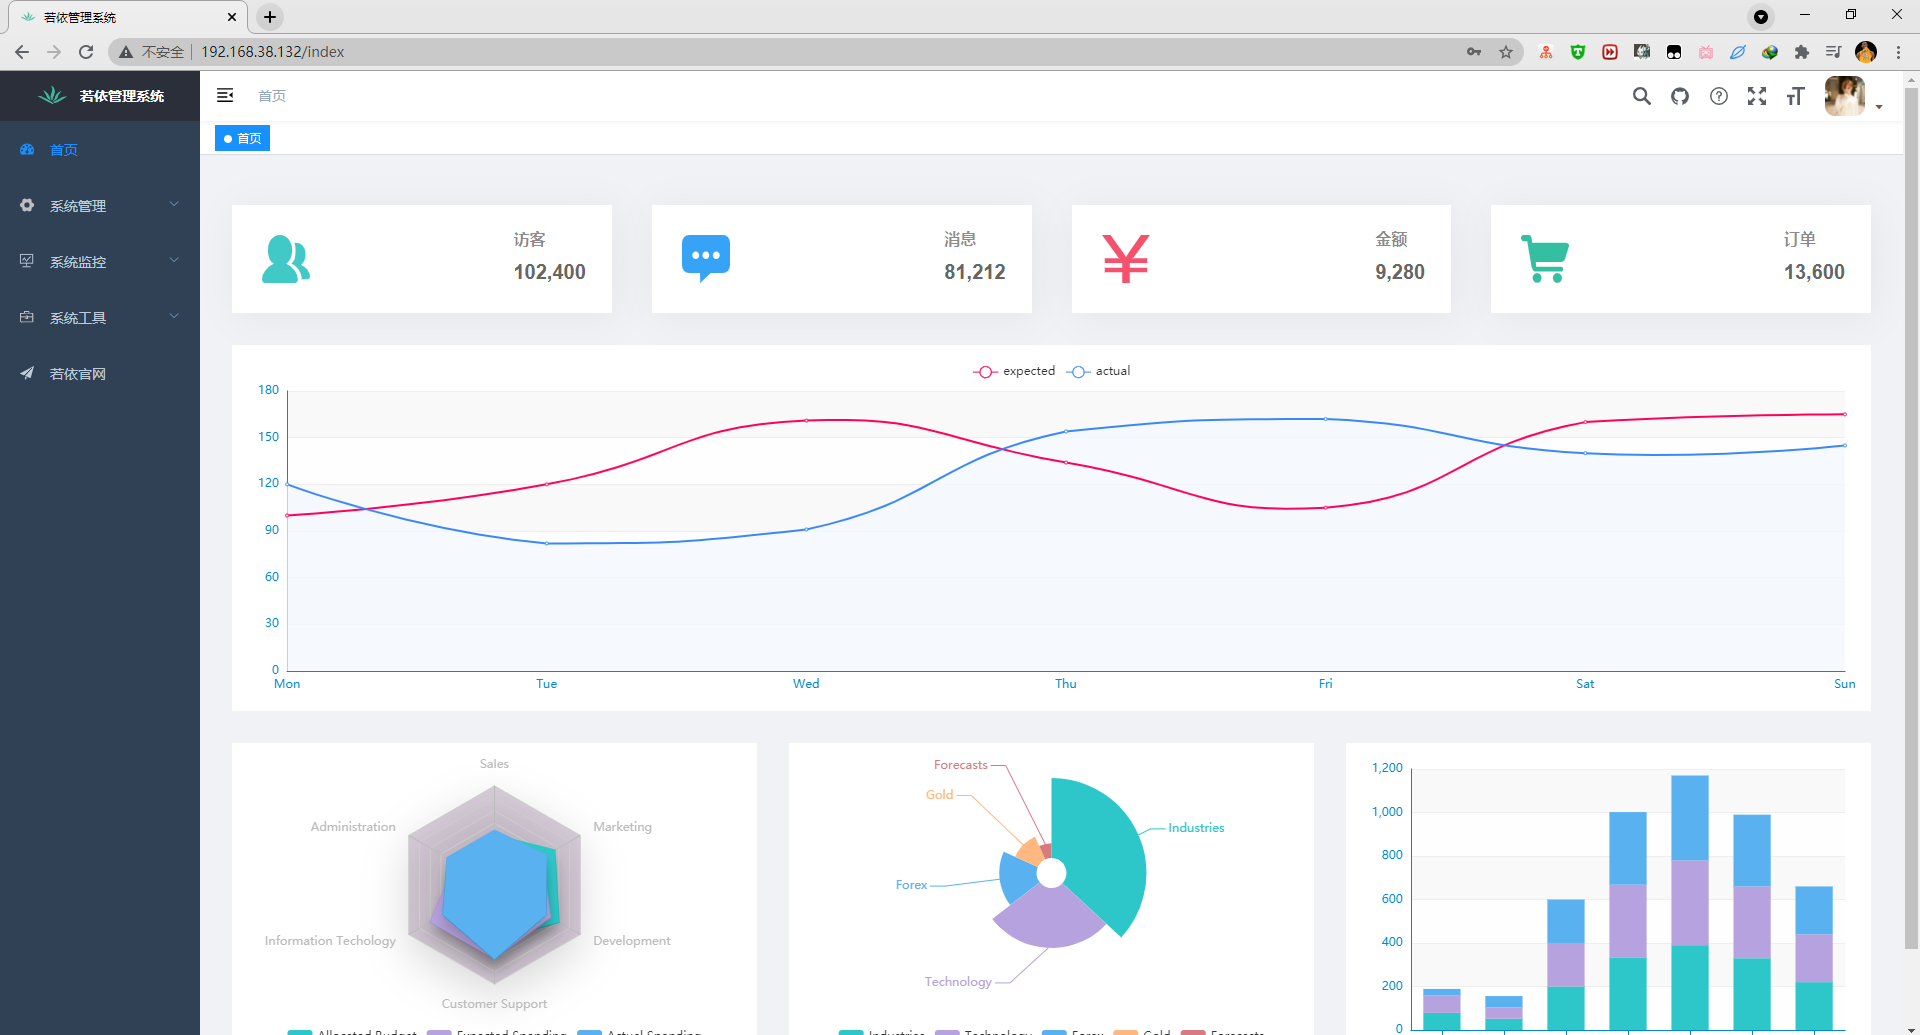
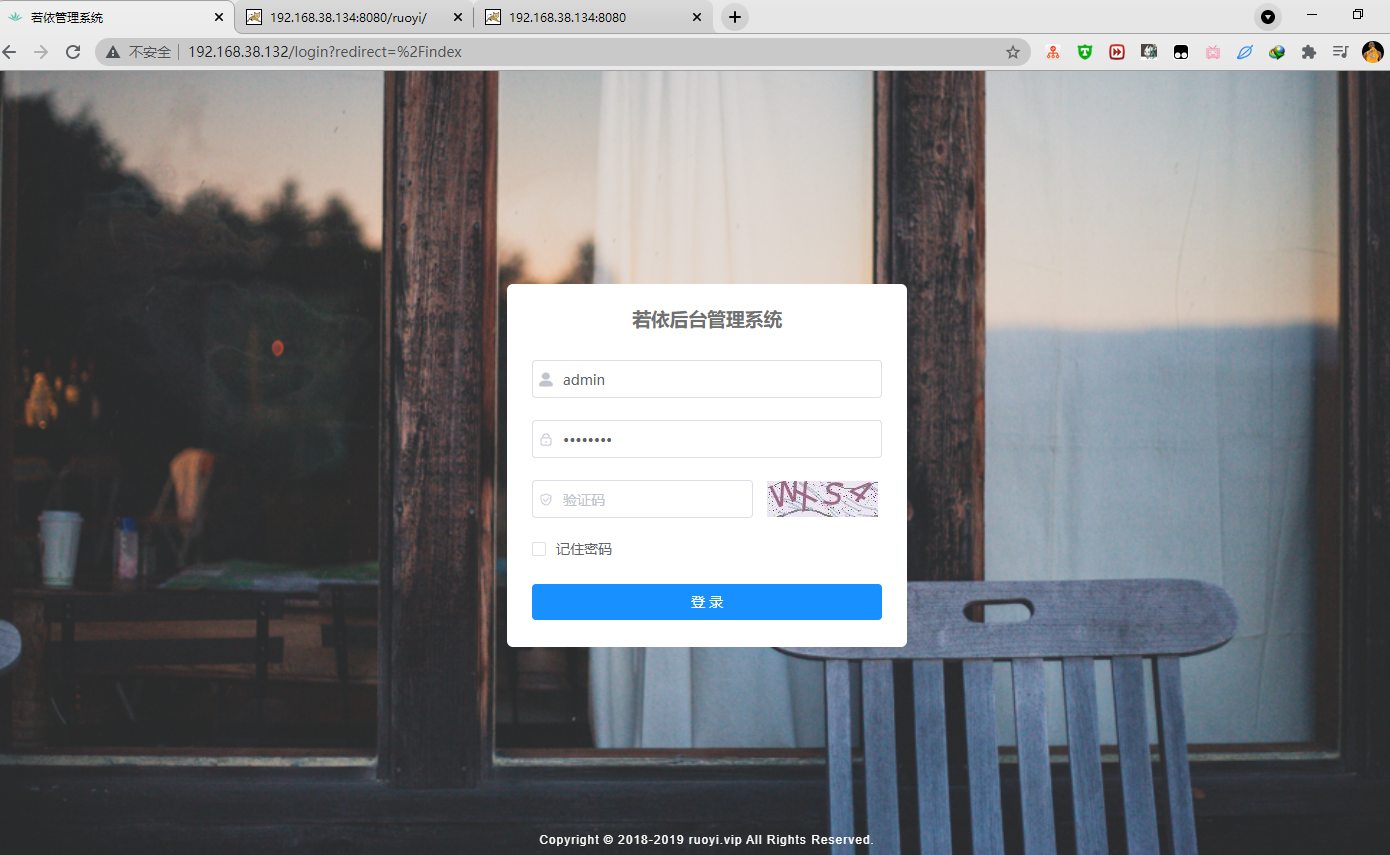
Browser input: http://192.168.38.132/
There is an interface when you find it.
2, Backend 192.168.38.133/134 deployment
1. Modify database, redis, log file and configuration file
First, you will open the back-end code of Ruoyi and modify the configuration first
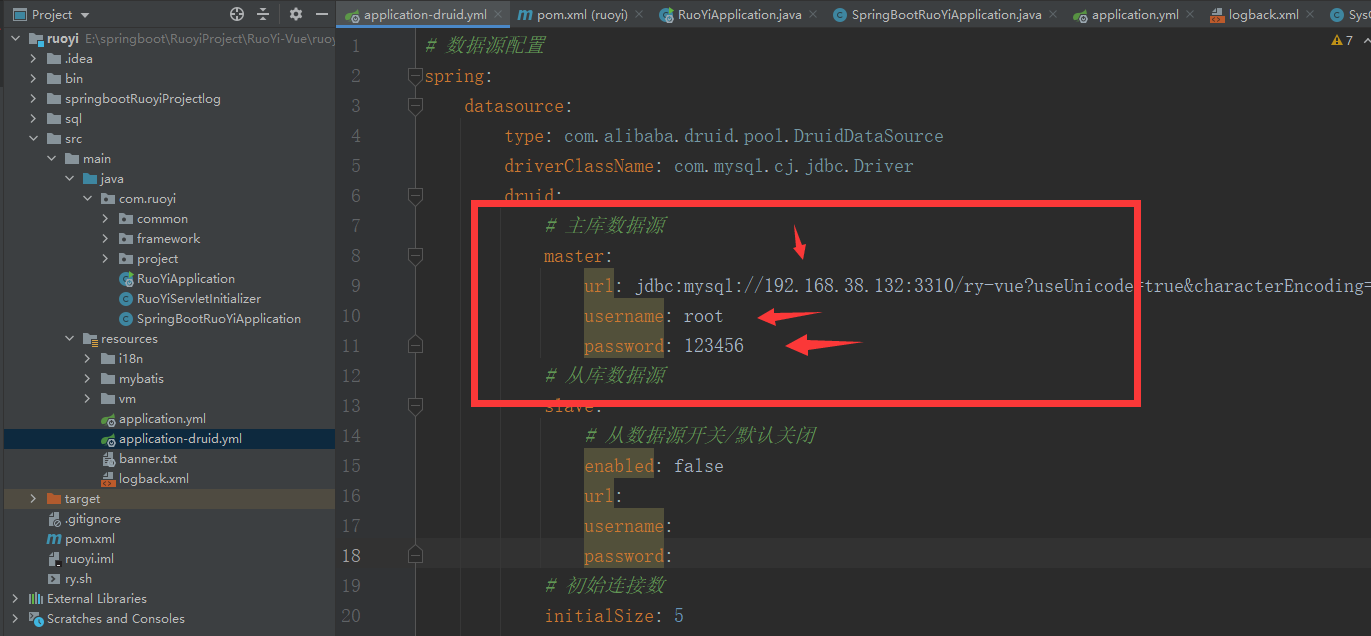
application-druid.yml
Modify the data source. Here I use docker to install mysql and redis. See the related articles< docker installs redis >And< docker installs mysql5.0 seven>
               url: jdbc:mysql://192.168.38.132:3310/ry-vue?useUnicode=true&characterEncoding=utf8&zeroDateTimeBehavior=convertToNull&useSSL=false&serverTimezone=GMT%2B8
                username: root
                password: 123456
I mapped the 3310 port here. If I reported com mysql. cj. jdbc. exceptions. Communicationsexception: communications link failure this error, please see This article addresses
useSSL=false
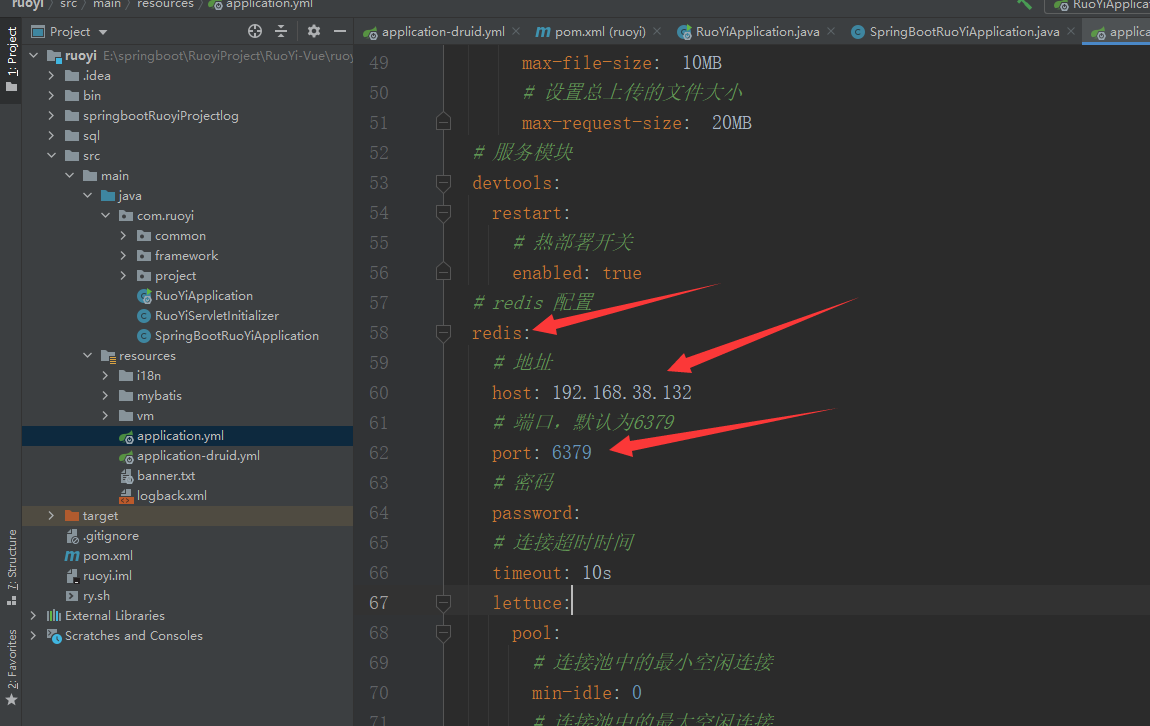
application.yml
Modify redis and also pay attention to opening ports.
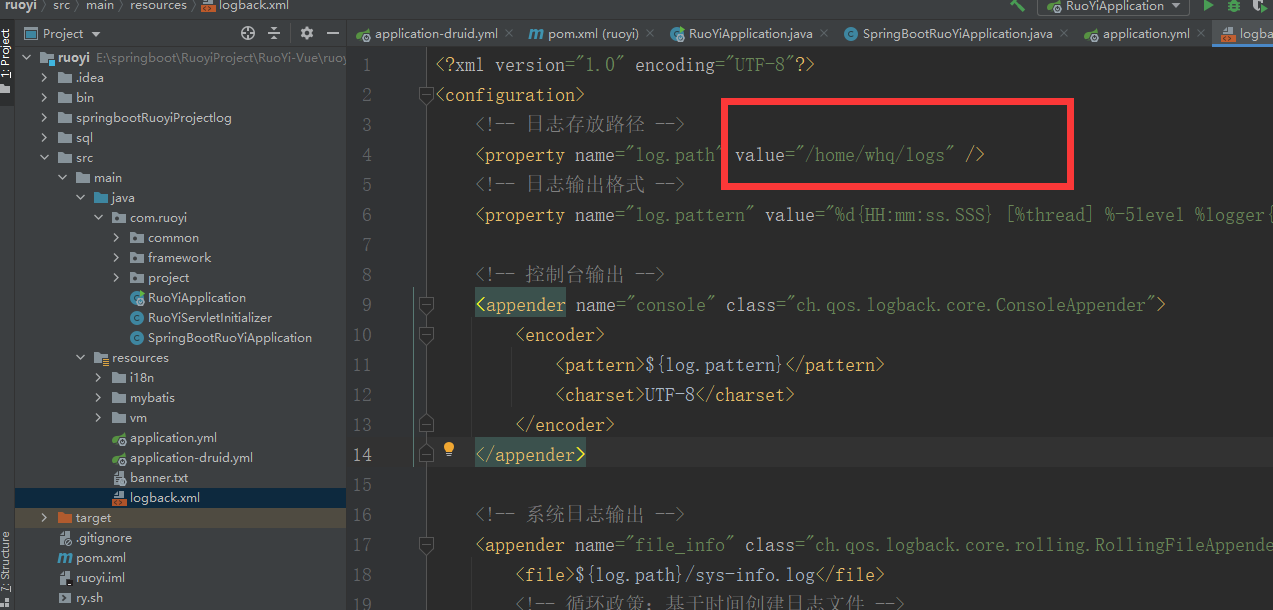
logback.xml
Modify the log file. The directory here is the log folder generated after you run jar or war package under Linux, so you need to go to 133 and 134 servers to add this directory. I put the directory in the / home/whq/logs folder.
If you find that these files are locked, it indicates that there is a permission problem. Use this command to modify them
chmod 777 logs
In this way, the relevant configuration is modified. We run it and find no errors. We can upload this file to 133 and 134 servers.
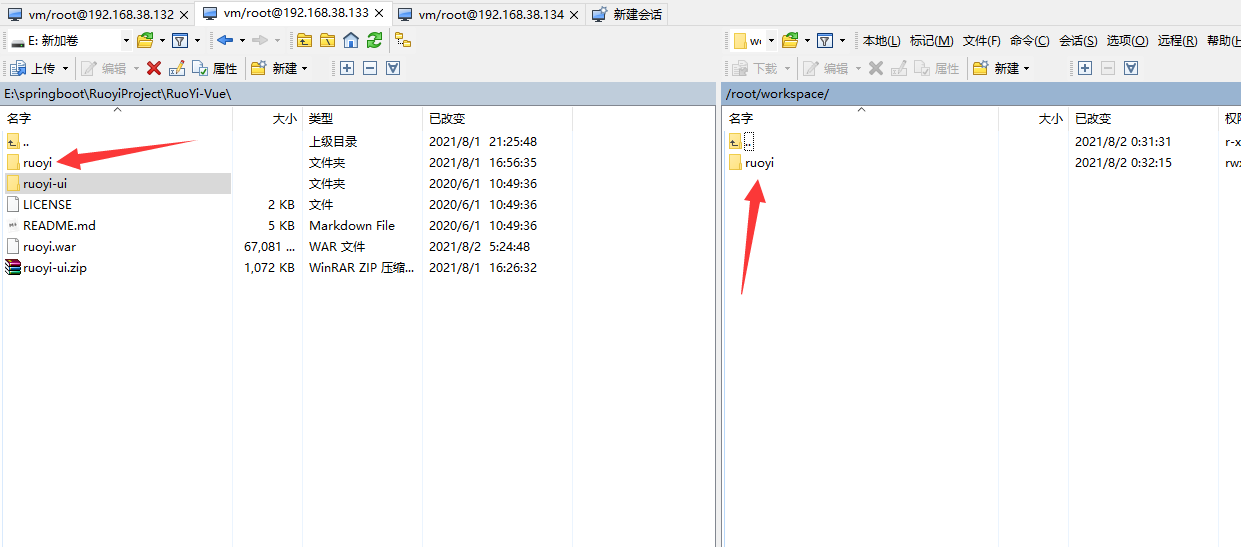
2. Upload server
Drag ruoyi this file to the / root/workspace file on servers 133 and 134
3. jar package deployment
Then open this location on the terminal and use the command to type the project into a jar package
# Package jar package
mvn package
The target directory will be generated, which contains ruoyi Jar package, ruoyi Copy the jar to the ruoyi directory

Now deploy using the jar package
cd /root/workspace/ruoyi

nohup java -jar ruoyi.jar &
This completes the front-end and back-end deployment
4. war package deployment
The above is the deployment using jar package. Now use war package to deploy
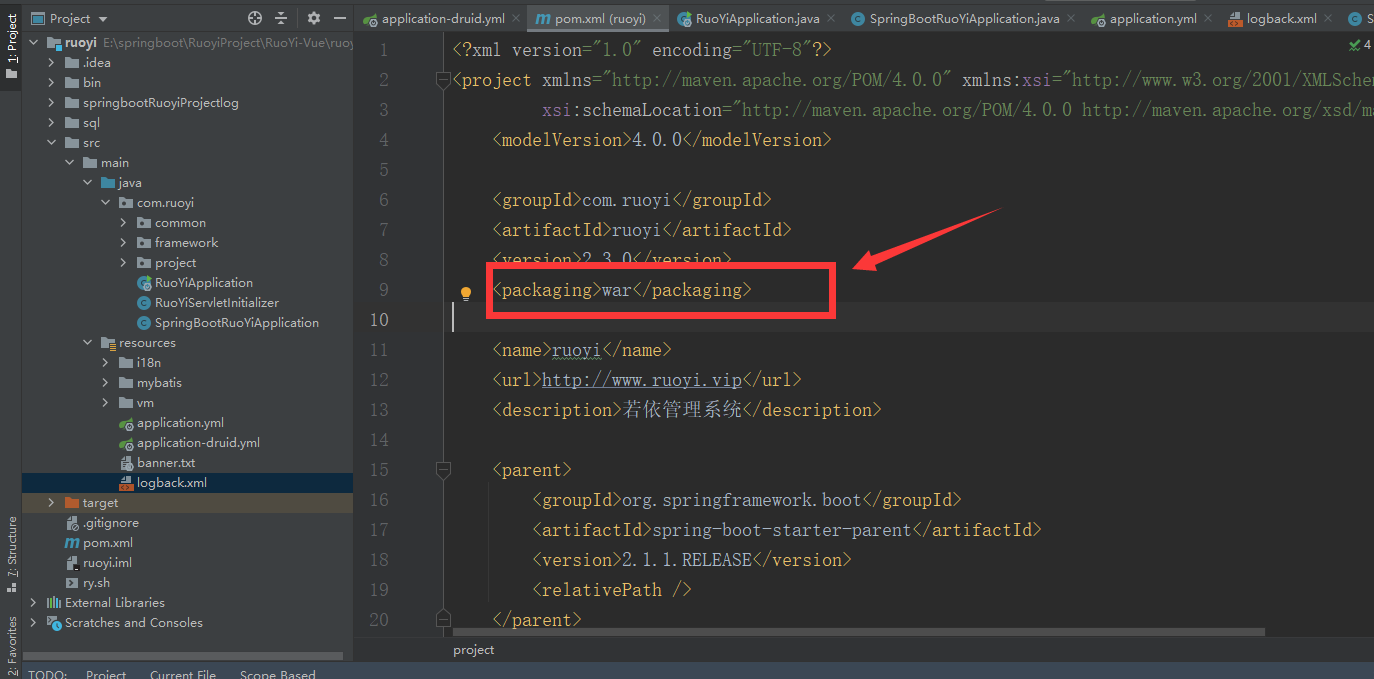
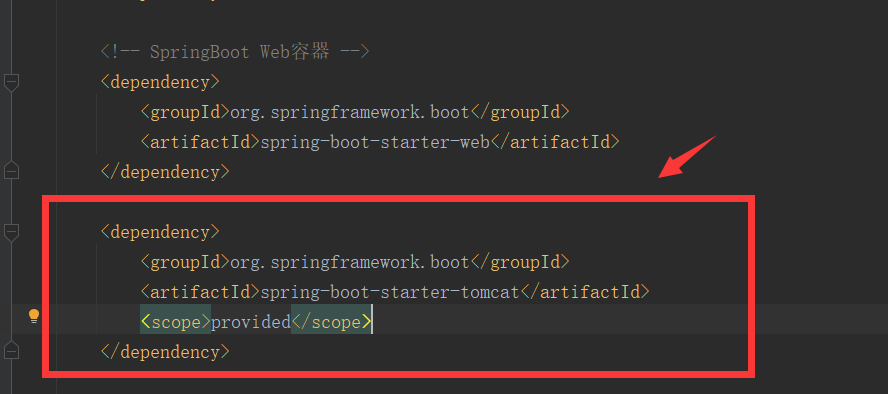
1) , modify the configuration file POM xml
	<packaging>war</packaging>


		<dependency>
			<groupId>org.springframework.boot</groupId>
			<artifactId>spring-boot-starter-tomcat</artifactId>
			<scope>provided</scope>
		</dependency>
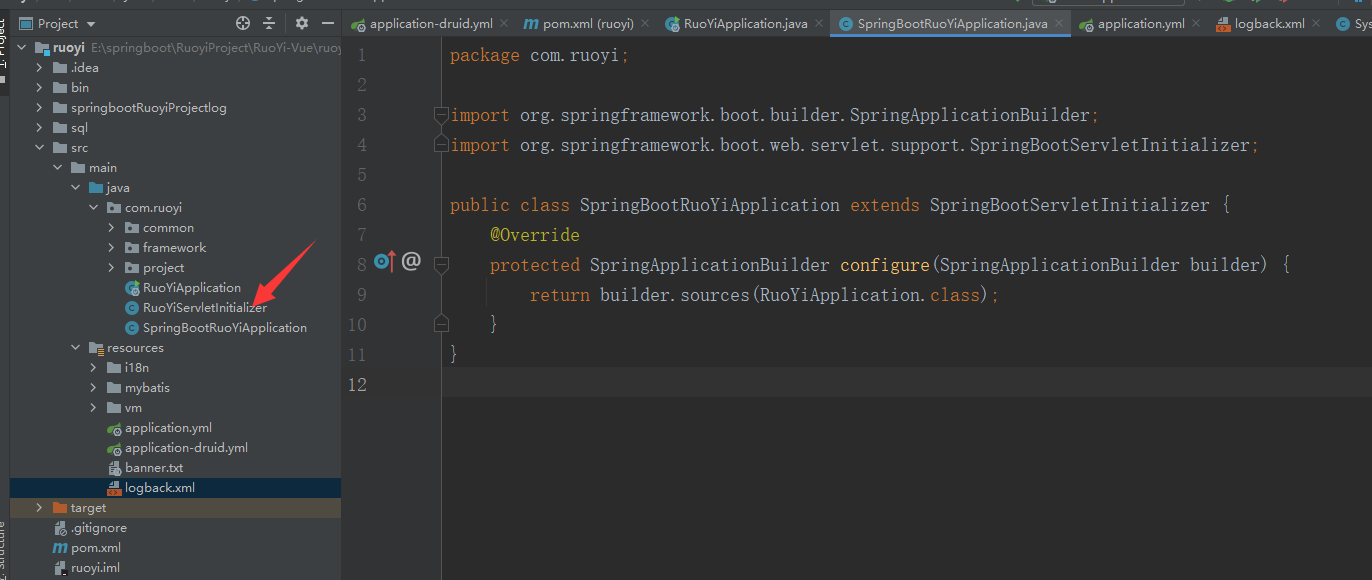
2) . add springbootruoyiapplication java
package com.ruoyi;

import org.springframework.boot.builder.SpringApplicationBuilder;
import org.springframework.boot.web.servlet.support.SpringBootServletInitializer;

public class SpringBootRuoYiApplication extends SpringBootServletInitializer {
    @Override
    protected SpringApplicationBuilder configure(SpringApplicationBuilder builder) {
        return builder.sources(RuoYiApplication.class);
    }
}
3) Upload the newly modified file to the server and repack it
cd  cd /root/workspace/ruoyi
mvn clean
mvn package
This generates the war package. Copy the war package to the ruoyi directory
Now deploy using the war package
cd  /usr/local/tomcat/apache-tomcat-8.5.69/webapps
cp /root/workspace/ruoyi/ruoyi.war  ./
service tomcat start
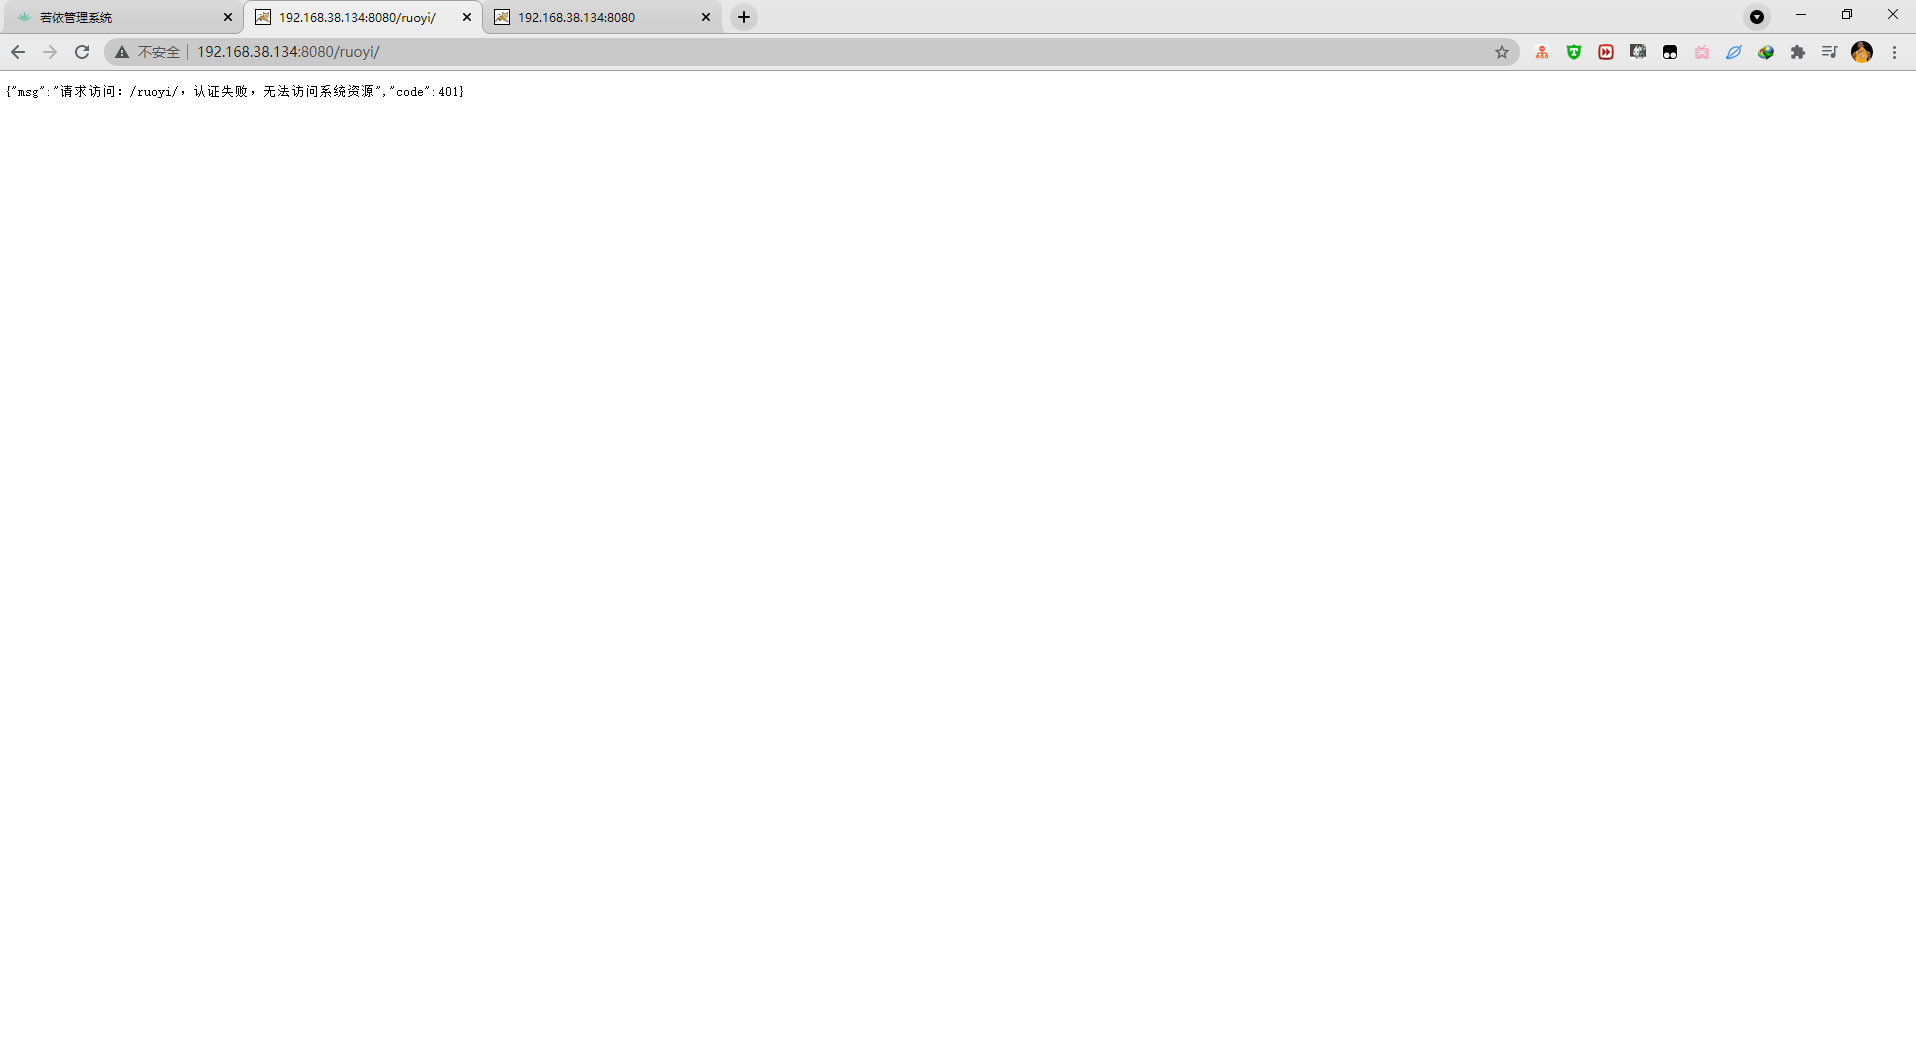
At this point, the external network can be accessed http://192.168.38.133:8080/ruoyi/
Configure root directory access
Go to the server in the conf folder of the Tomcat directory xml
<Host name="localhost"  appBase="webapps"
            unpackWARs="true" autoDeploy="true">

        <Context  path="/"  docBase="/usr/local/tomcat/apache-tomcat-8.5.69/webapps/ruoyi" reloadable="false"></Context>
Save and then restart Tomcat
service tomcat stop
service tomcat start
This completes the war package deployment project.
5. The same operation will deploy the server
Just repeat the above steps for the 134 server.
3, Backend 192.168.38.133/134 deployment cluster
Configure the Nginx cluster with a server of 132
1. Modify nginx Conf file
    upstream ruoyi{
    	server  192.168.38.133:8080  weight=5;
    	server  192.168.38.134:8080  weight=3;
    }
         location /prod-api/ {
            proxy_set_header Host $http_host;
            proxy_set_header X-Real-IP $remote_addr;
            proxy_set_header REMOTE-HOST $remote_addr;
            proxy_set_header X-Forwarded-For $proxy_add_x_forwarded_for;
            proxy_pass http://ruoyi/;
        }
Then save and exit. The weight configured here is weight=5;
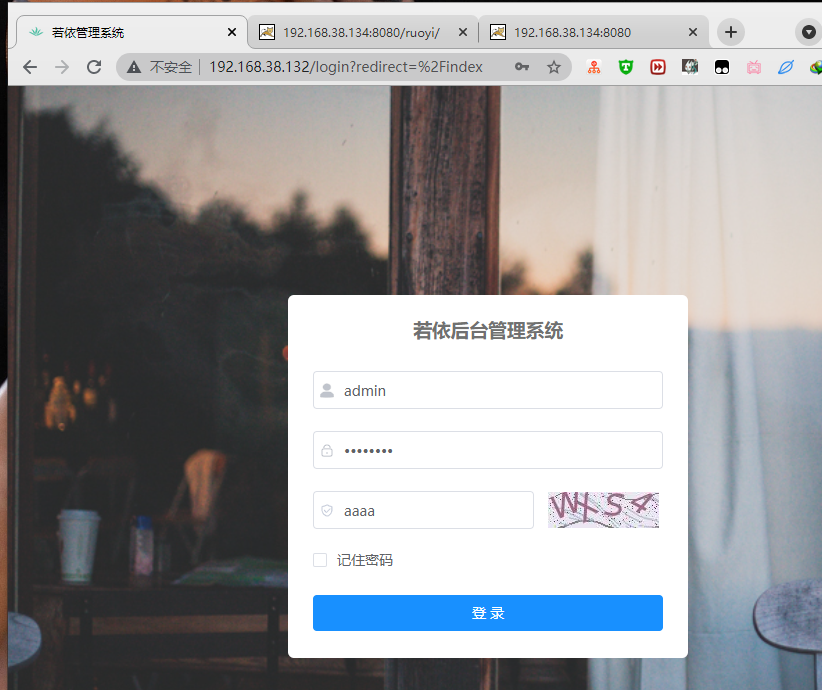
Now open the front-end interface to test whether the cluster has been deployed.
4, Test cluster
1. Log out and log in again
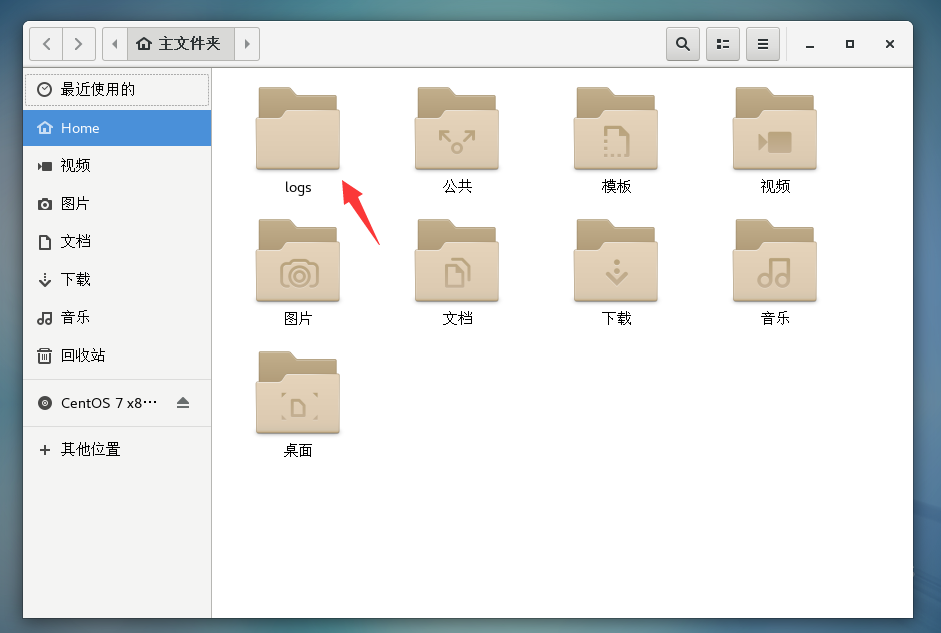
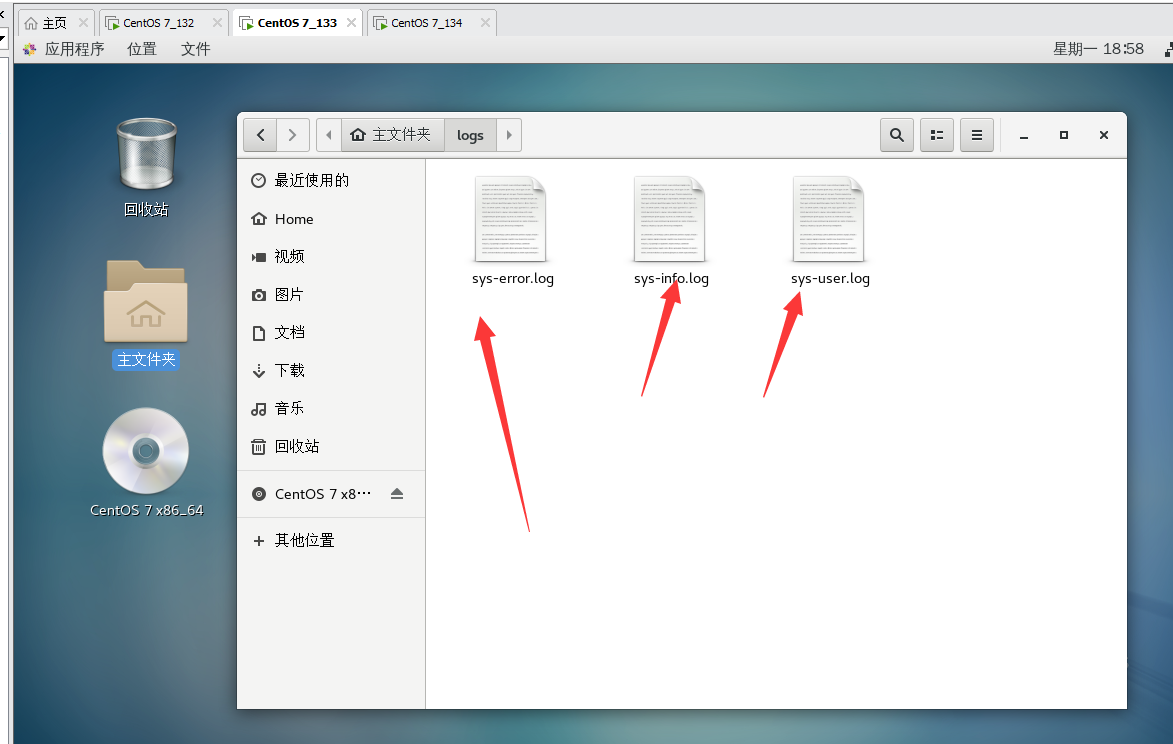
2. Check whether the servers of 133 and 134 have logs files
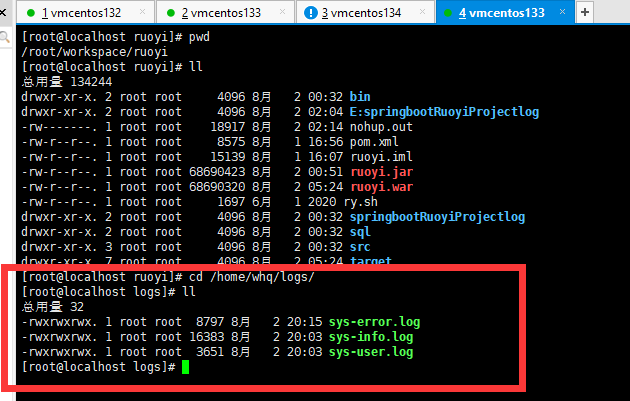
All three files are here!
3. View log
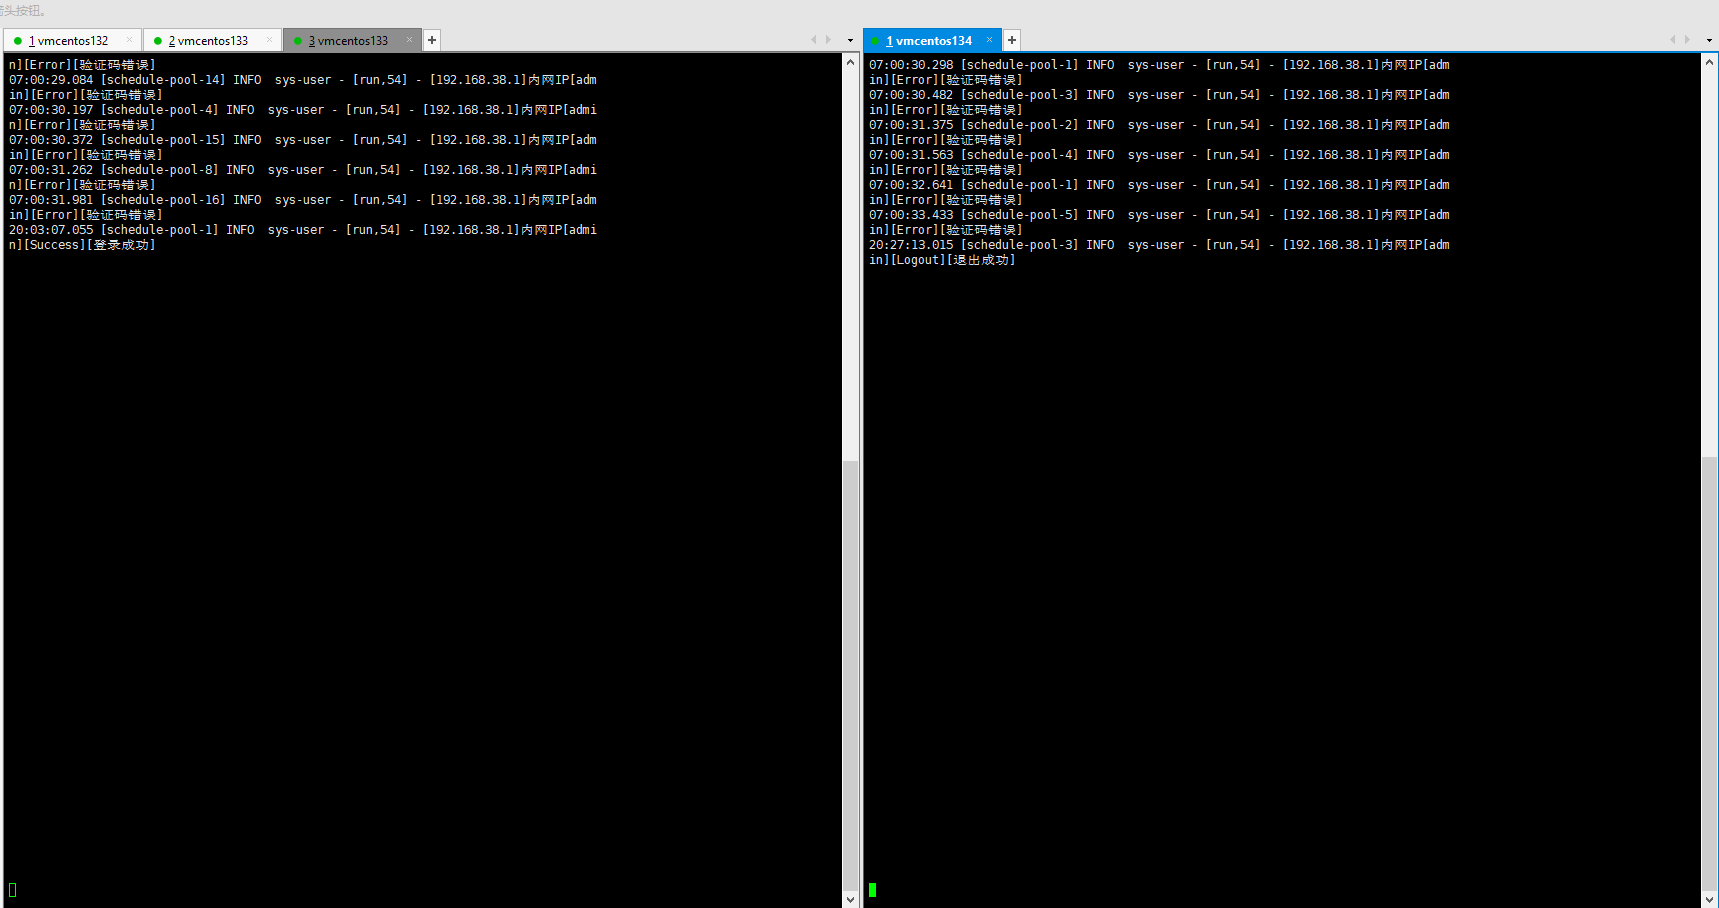
133 and 134 servers go to the logs directory to view the logs.
tail -f sys-info.log
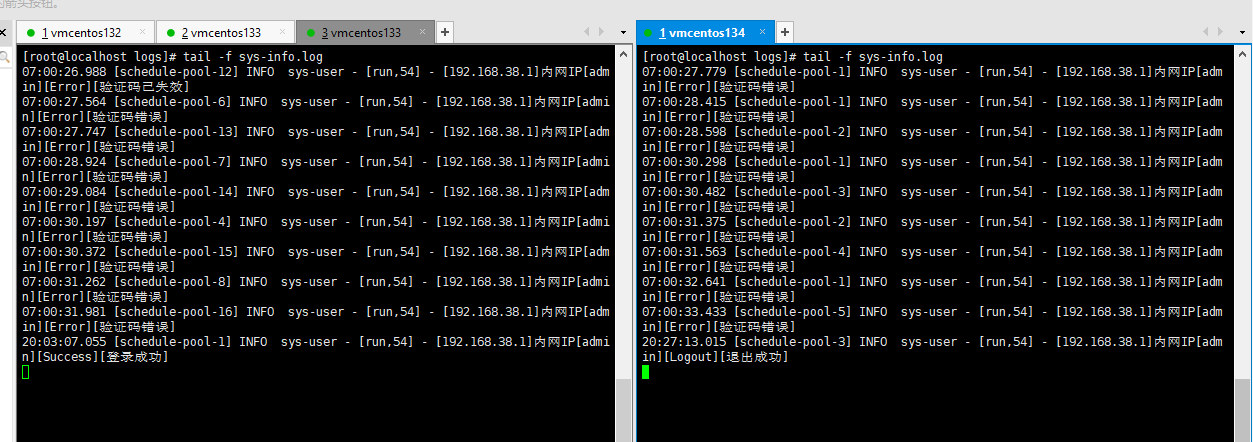
Here we go to the front end and enter the wrong verification code
Then test
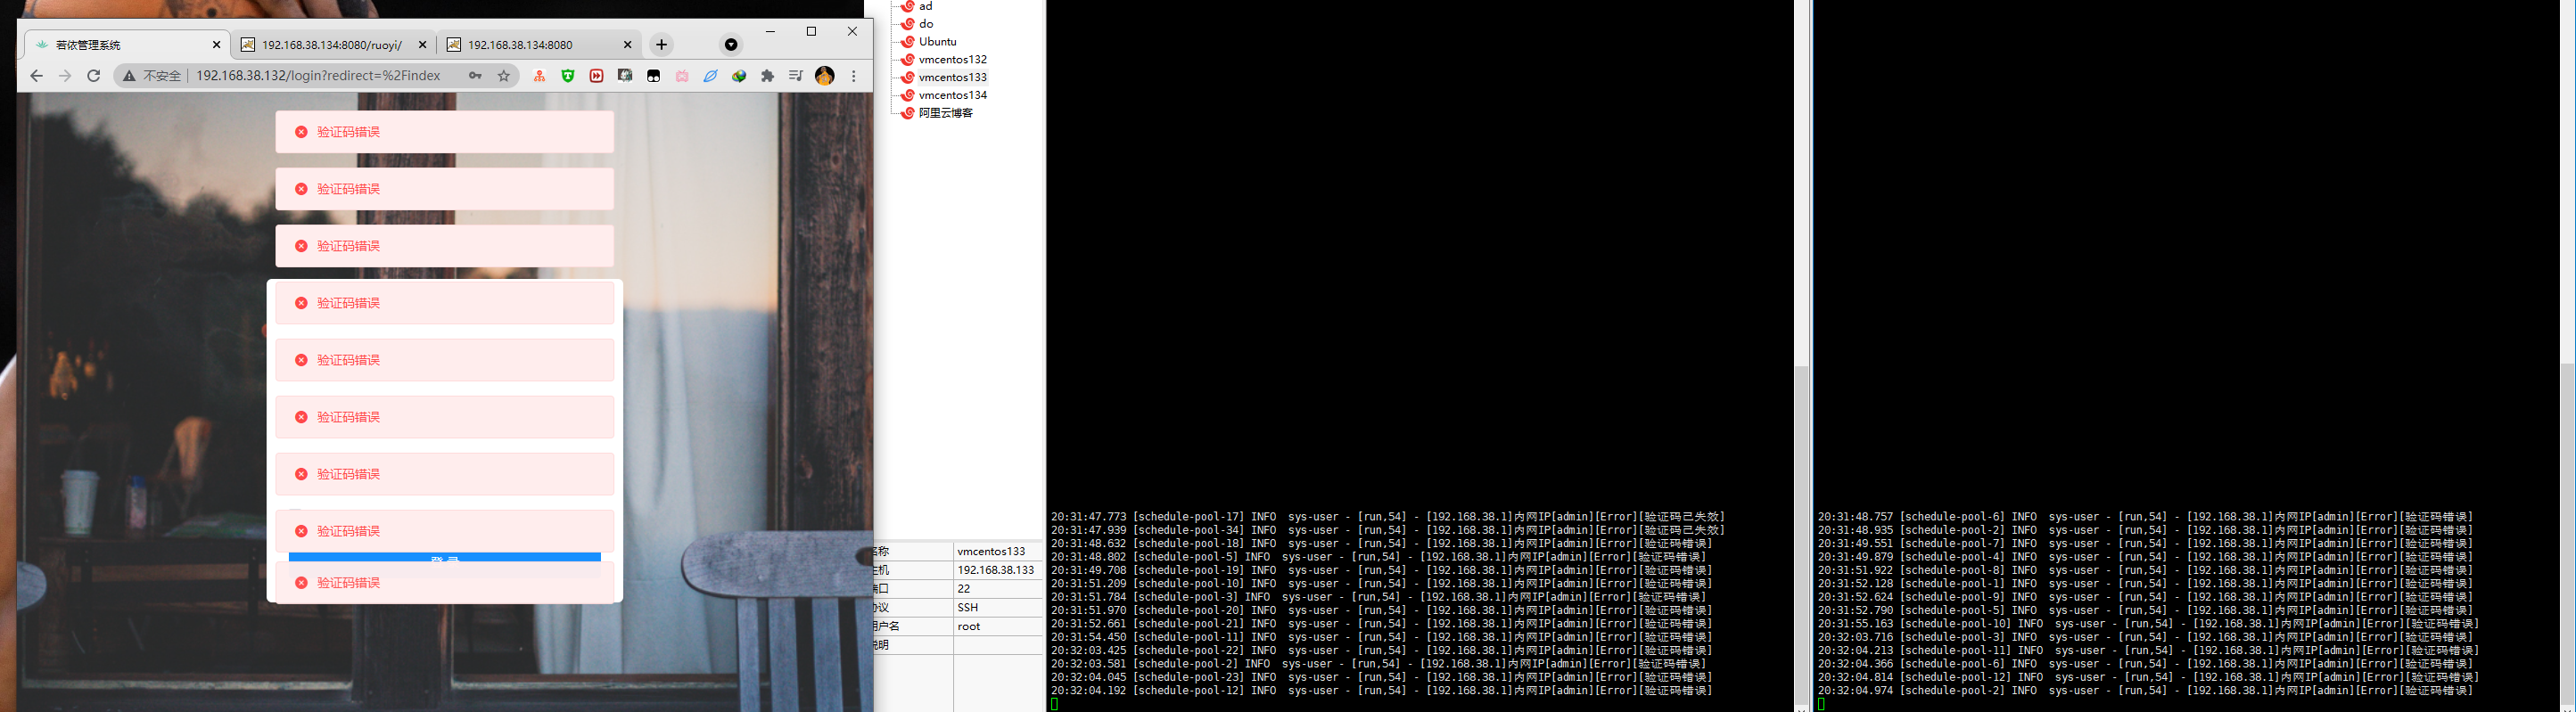
Then it is found that the log reports an error, and the cluster effect is made. It has been successful here!!
5, The complete documentation is as follows
The server
192.168.38.132

192.168.38.133

192.168.38.134
Front end command
Download package
npm install --unsafe-perm --registry=https://registry.npm.taobao.org
cnpm install --unsafe-perm --registry=https://registry.npm.taobao.org

pack
npm run build:prod
Backend command
pack jar package
mvn package

pack war package
<packaging>war</packaging>


		<dependency>
			<groupId>org.springframework.boot</groupId>
			<artifactId>spring-boot-starter-tomcat</artifactId>
			<scope>provided</scope>
		</dependency>


package com.ruoyi;

import org.springframework.boot.builder.SpringApplicationBuilder;
import org.springframework.boot.web.servlet.support.SpringBootServletInitializer;

public class SpringBootRuoYiApplication extends SpringBootServletInitializer {
    @Override
    protected SpringApplicationBuilder configure(SpringApplicationBuilder builder) {
        return builder.sources(RuoYiApplication.class);
    }
}


mvn clean
Deploy front end
cd /usr/local/nginx
cd sbin/
./nginx


to configure Nginx.conf

        location / {
            root   /root/workspace/ruoyi-ui/dist;
            index  index.html index.htm;
        }
location /prod-api/ {
            proxy_set_header Host $http_host;
            proxy_set_header X-Real-IP $remote_addr;
            proxy_set_header REMOTE-HOST $remote_addr;
            proxy_set_header X-Forwarded-For $proxy_add_x_forwarded_for;
            proxy_pass http://192.168.38.133:8080/;
        }


Open port
#View servers on open port 132
firewall-cmd --list-port
#If there is no port for 11111, open it
firewall-cmd --zone=public --add-port=80/tcp --permanent
#service iptables restart
firewall-cmd --reload
#Check whether port 11111 is turned on
firewall-cmd --query-port=8080/tcp

Browser input: http://192.168.38.132/

Restart Nginx
 /usr/local/nginx/sbin/nginx  -s reload


Open port
#View servers on open port 133
firewall-cmd --list-port
#If there is no port for 11111, open it
firewall-cmd --zone=public --add-port=8080/tcp --permanent
#service iptables restart
firewall-cmd --reload
#Check whether port 11111 is turned on
firewall-cmd --query-port=8080/tcp

Now use jar Package deployment
nohup java -jar ruoyi.jar &

Now use war Package deployment
cd  /usr/local/tomcat/apache-tomcat-8.5.69/webapps
cp /root/workspace/ruoyi/ruoyi.war  ./
service tomcat start
 At this point, the external network can be accessed http://192.168.38.133:8080/ruoyi/
Configure root directory access
 reach Tomcat Catalog conf Under folder server.xml
<Host name="localhost"  appBase="webapps"
            unpackWARs="true" autoDeploy="true">

        <Context  path="/"  docBase="/usr/local/tomcat/apache-tomcat-8.5.69/webapps/ruoyi" reloadable="false"></Context>

This allows you to access the root directory


Servers with the same configuration;;


132 Server configuration for Nginx colony

        upstream ruoyi{
    	server  192.168.38.133:8080  weight=5;
    	server  192.168.38.134:8080  weight=3;
    }

     location /prod-api/ {
            proxy_set_header Host $http_host;
            proxy_set_header X-Real-IP $remote_addr;
            proxy_set_header REMOTE-HOST $remote_addr;
            proxy_set_header X-Forwarded-For $proxy_add_x_forwarded_for;
            proxy_pass http://ruoyi/;
        }
Monitoring log
tail -f sys-info.log