preface
I often walk by the river. How can I not wet my shoes?
Today, a customer contacted and said that the data table was incorrectly updated, resulting in data disorder. He hopes to restore this table to the specified time point a week ago.
- The database version is 11.2 zero point one
- The operating system is windows 64
- The data has been changed for more than 1 week
- Archive mode is enabled for the database
- No DG disaster recovery
- With RMAN backup
Let's simulate the detailed solution process of the problem!
1, Analysis
Only general recovery methods are listed below:
- The data has been misoperated for more than a week, so it is excluded to use UNDO snapshot to retrieve it;
- If there is no DG disaster recovery environment, DG flashback is excluded;
- The main database has started the archiving mode and has RMAN backup. You can use RMAN to recover the table space corresponding to the table, and use DBLINK to retrieve the data table;
- Single table recovery is supported after Oracle 12C;
Conclusion: for safety, use RMAN to recover the table space to retrieve the data table.
2, Train of thought
The customer wants to restore the table data to a time point before < 2021 / 06 / 08 17:00:00 >.
The general operation steps are as follows:
- The main database query incorrectly updates the table space corresponding to the data table and the table space that does not need to be recovered.
- Install Oracle 11.2.0 on the new host 0.1 database software, there is no need to build a database, and the directory structure should be consistent.
- The master library copies the parameter file and password file to the new host, modifies the parameter file and creates the directory required for the new instance according to the new host.
- The new host uses the modified parameter file to open the database instance to the unmount state.
- The master database copies the backed up control file to the new host. The new host uses RMAN to restore the control file and MOUNT the new instance.
- RESTORE TABLESPACE of the new host to the point in time < 2021 / 06 / 08 16:00:00 >.
- The new host RECOVER DATABASE SKIP TABLESPACE is restored to the point in time < 2021 / 06 / 08 16:00:00 >.
- The new host instance is turned on to read-only mode.
- Confirm whether the table data of the new host instance is correct. If not, repeat step 7 to adjust the time point and slowly promote the recovery to < 2021 / 06 / 08 17:00:00 >.
- The master database creates a DBLINK connecting the new host instance, and retrieves table data from the new host instance through DBLINK.
Note: tablespace recovery is selected because of the large amount of data in the primary database. If the full database recovery takes a lot of time.
3, Test environment simulation
In order to desensitize the data, the test environment simulation scenario is used for demonstration!
⭐ The test environment can be installed using scripts, Oracle one click installation scripts written by bloggers can be used, and stand-alone and RAC cluster modes are supported at the same time!
Open source project: Install Oracle Database By Scripts!
For more detailed script usage, you can subscribe to the column: Oracle one click installation script.
1. Environmental preparation
The test environment information is as follows:
node | Host version | host name | Instance name | Oracle version | IP address |
|---|---|---|---|---|---|
Main library | rhel6.9 | orcl | orcl | 11.2.0.1 | 10.211.55.111 |
New host | rhel6.9 | orcl | Do not create instance | 11.2.0.1 | 10.211.55.112 |
2. Simulation test scenario
The main library opens the Archive Mode:
sqlplus / as sysdba
## Set archive path
alter system set log_archive_dest_1='LOCATION=/archivelog';
## Restart to enable Archive Mode
shutdown immediate
startup mount
alter database archivelog;
## Open database
alter database open;
Create test data:
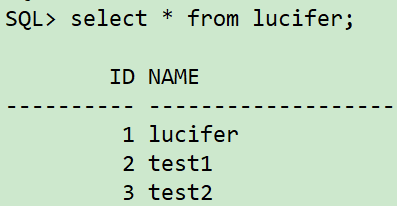
sqlplus / as sysdba
## Create tablespace
create tablespace lucifer datafile '/oradata/orcl/lucifer01.dbf' size 10M autoextend off;
create tablespace ltest datafile '/oradata/orcl/ltest01.dbf' size 10M autoextend off;
## Create user
create user lucifer identified by lucifer;
grant dba to lucifer;
## Create table
conn lucifer/lucifer
create table lucifer(id number not null,name varchar2(20)) tablespace lucifer;
## insert data
insert into lucifer values(1,'lucifer');
insert into lucifer values(2,'test1');
insert into lucifer values(3,'test2');
commit;
Full database backup:
rman target /
## After entering rman, execute the following command
run {
allocate channel c1 device type disk;
allocate channel c2 device type disk;
crosscheck backup;
crosscheck archivelog all;
sql"alter system switch logfile";
delete noprompt expired backup;
delete noprompt obsolete device type disk;
backup database include current controlfile format '/backup/backlv0_%d_%T_%t_%s_%p';
backup archivelog all DELETE INPUT;
release channel c1;
release channel c2;
}
Analog data modification:
sqlplus / as sysdba
conn lucifer/lucifer
delete from lucifer where id=1;
update lucifer set name='lucifer' where id=2;
commit;
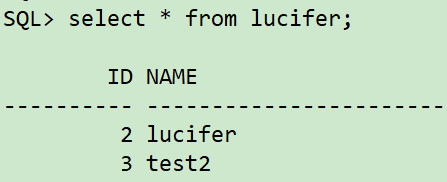
Note: in order to simulate the customer environment, assuming that it cannot be retrieved through UNDO snapshot, the current deletion time point is: < 2021 / 06 / 17 18:10:00 >.
If you use UNDO snapshots, it is more convenient:
sqlplus / as sysdba
## Check whether the UNDO snapshot data is correct
select * from lucifer.lucifer as of timestamp to_timestamp('2021-06-17 18:05:00','YYYY-MM-DD HH24:MI:SS');
## Retrieve the UNDO snapshot data to the new table
create table lucifer.lucifer_0617 as select * from lucifer.lucifer as of timestamp to_timestamp('2021-06-17 18:05:00','YYYY-MM-DD HH24:MI:SS');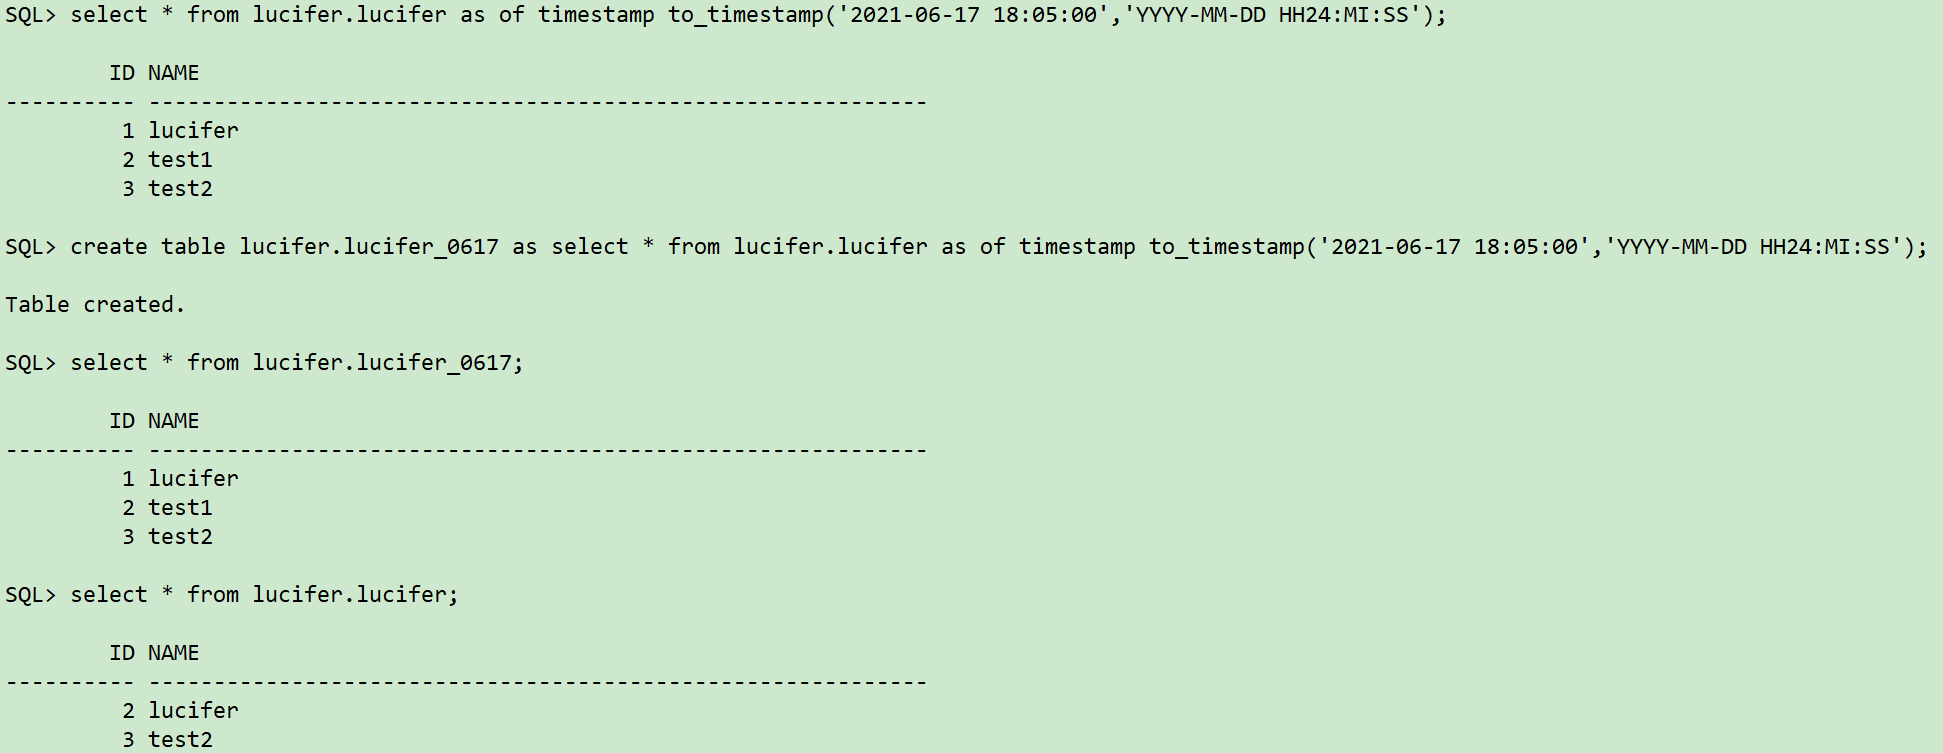
4, RMAN full recovery process
The main database query incorrectly updates the tablespace corresponding to the data table and the tablespace that does not need to be recovered:
sqlplus / as sysdba
## Querying and updating the corresponding tablespace of the data table incorrectly
select owner,tablespace_name from dba_segments where segment_name='LUCIFER';
## Query all tablespaces
select tablespace_name from dba_tablespaces;


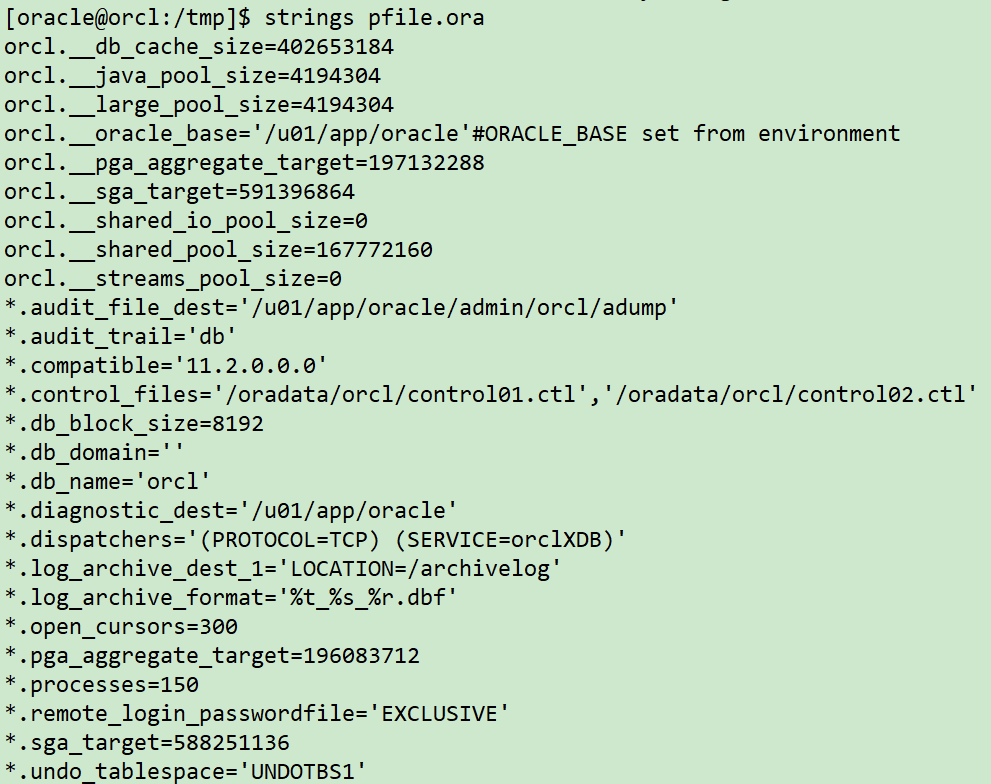
The master database copies the parameter file and password file to the new host, modifies the parameter file and creates the directory required for the new instance according to the new host:
## Generate pfile parameter file
sqlplus / as sysdba
create pfile='/home/oracle/pfile.ora' from spfile;
exit;
## Copy to new host
su - oracle
scp /home/oracle/pfile.ora 10.211.55.112:/tmp
scp $ORACLE_HOME/dbs/orapworcl 10.211.55.112:$ORACLE_HOME/dbs
## The new host modifies the parameter file and creates a directory according to the actual situation
mkdir -p /u01/app/oracle/admin/orcl/adump
mkdir -p /oradata/orcl/
mkdir -p /archivelog
chown -R oracle:oinstall /archivelog
chown -R oracle:oinstall /oradata
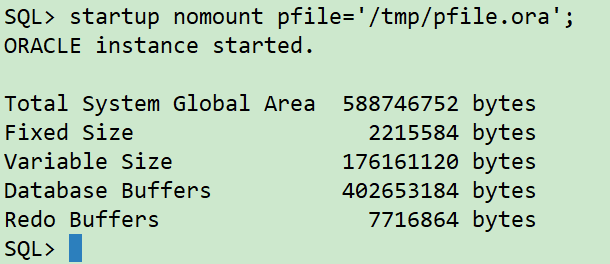
The new host uses the modified parameter file to open the database instance to the unmount state:
sqlplus / as sysdba
startup nomount pfile='/tmp/pfile.ora';
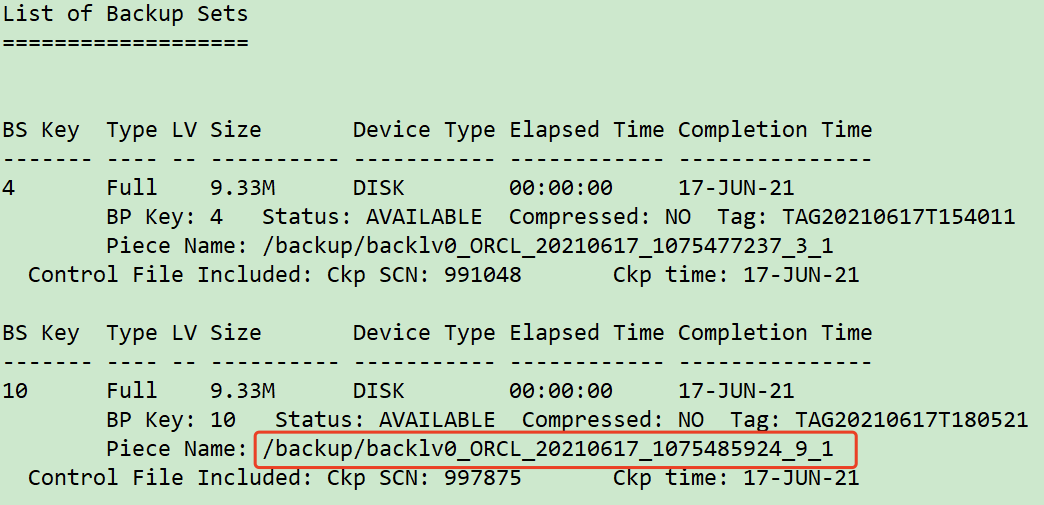
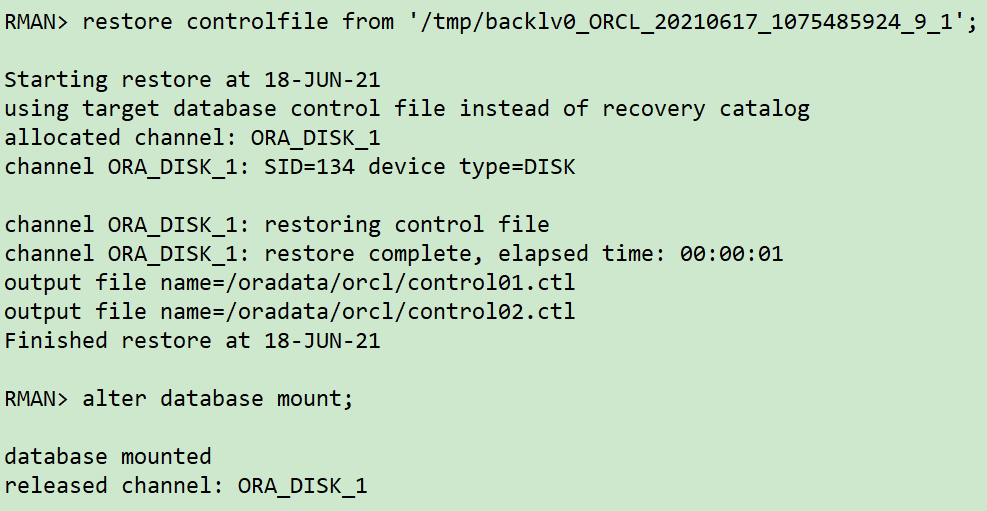
The master database copies the backed up control file to the new host. The new host uses RMAN to restore the control file, and MOUNT the new instance:
rman target /
list backup of controlfile;
exit;
## Copy backup files to new host
scp /backup/backlv0_ORCL_20210617_107548592* 10.211.55.112:/tmp
scp /u01/app/oracle/product/11.2.0/db/dbs/0c01l775_1_1 10.211.55.112:/tmp
## The new host restores the control file and opens it to the mount state
rman target /
restore controlfile from '/tmp/backlv0_ORCL_20210617_1075485924_9_1';
alter database mount;
Through the list backup of control file; You can see the control file location:

RESTORE TABLESPACE of new host to time point < 2021 / 06 / 17 18:06:00 >:
## Registering backup sets for new hosts
rman target /
catalog start with '/tmp/backlv0_ORCL_20210617_107548592';
crosscheck backup;
delete noprompt expired backup;
delete noprompt obsolete device type disk;
## Restore tablespace Lucier and system tablespace, specify time point ` 2021 / 06 / 17 18:06:00`
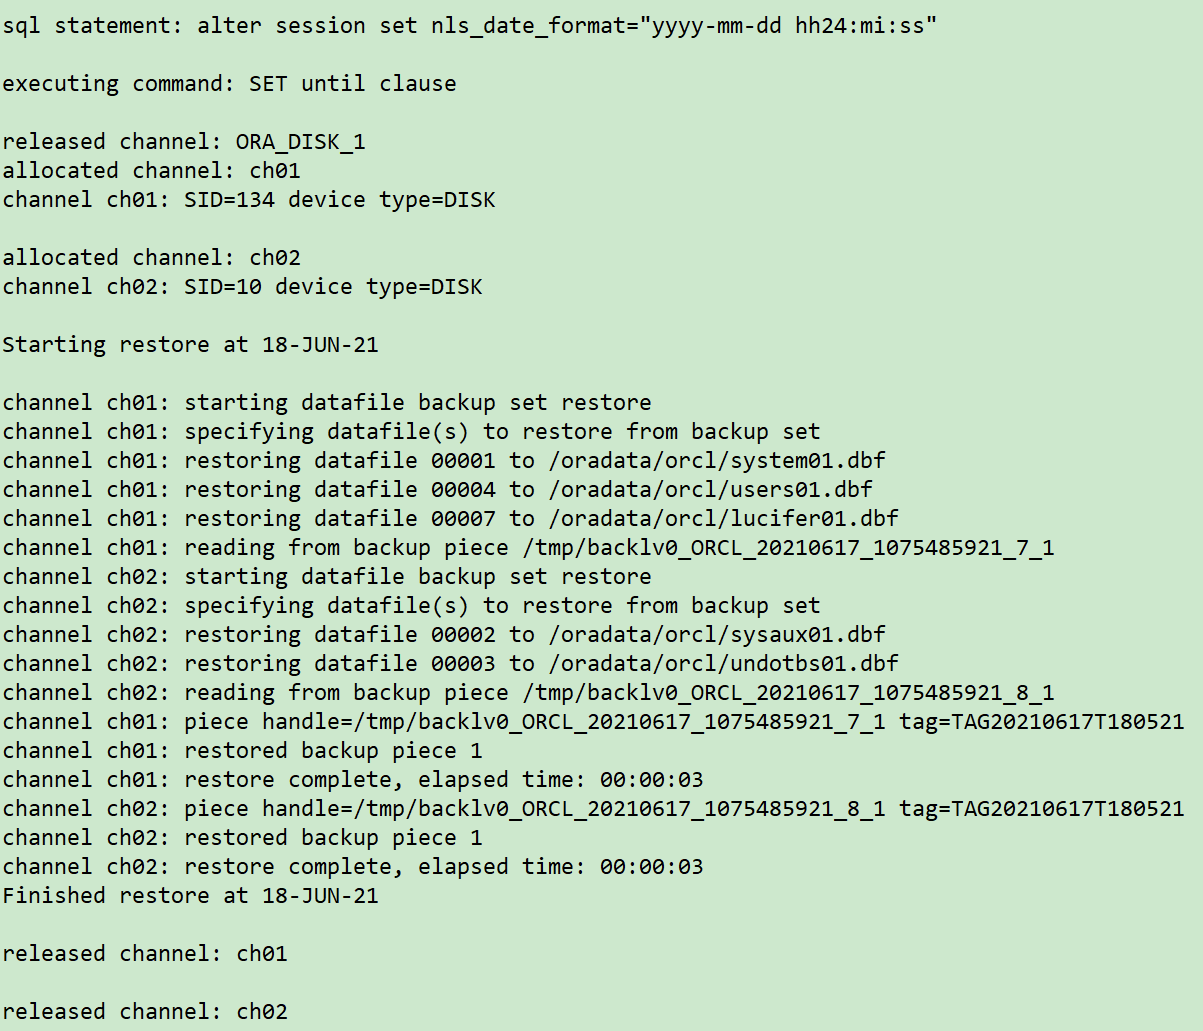
run {
sql 'alter session set nls_date_format="yyyy-mm-dd hh24:mi:ss"';
set until time '2021-06-17 18:06:00';
allocate channel ch01 device type disk;
allocate channel ch02 device type disk;
restore tablespace SYSTEM,SYSAUX,UNDOTBS1,USERS,LUCIFER;
release channel ch01;
release channel ch02;
}
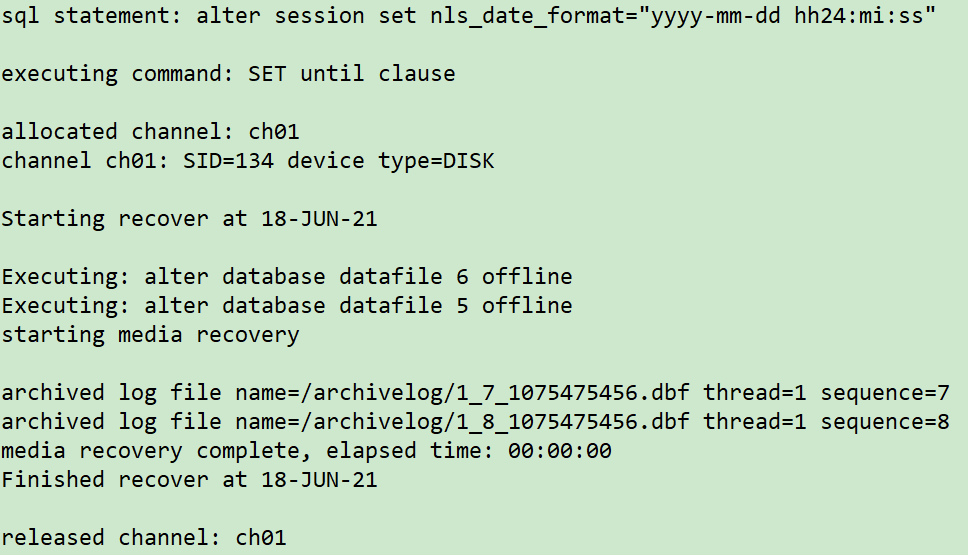
RECOVER DATABASE SKIP TABLESPACE of new host to time point < 2021 / 06 / 17 18:06:00 >:
rman target /
run {
sql 'alter session set nls_date_format="yyyy-mm-dd hh24:mi:ss"';
set until time '2021-06-17 18:06:00';
allocate channel ch01 device type disk;
recover database skip tablespace LTEST,EXAMPLE;
release channel ch01;
}
Here is a small BUG: the customer environment is Windows. An error is reported at the end of this step, and the database cannot be opened manually.

Solution:
sqlplus / as sysdba
## Drop all the table spaces skipped by recovery offline, and execute the following query results
select 'alter database datafile '|| file_id ||' offline drop;' from dba_data_files where tablespace_name in ('LTEST','EXAMPLE');
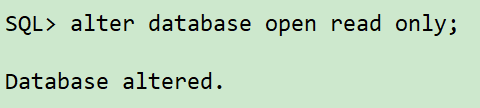
## Open the database again
alter database open read only;Note: if the archive log is missing, you can refer to the following steps:
sqlplus / as sysdba
## Query the archive log number and time required for recovery
alter session set nls_date_format="yyyy-mm-dd hh24:mi:ss";
select first_time,sequence# from v$archived_log where sequence#='7';
exit;
## Spit out the required archive logs through backup RESTORE
rman target /
catalog start with '/tmp/0c01l775_1_1';
crosscheck archivelog all;
run {
allocate channel ch01 device type disk;
SET ARCHIVELOG DESTINATION TO '/archivelog';
restore ARCHIVELOG SEQUENCE 7;
release channel ch01;
}
## recover again to the specified time point 2021-06-17 18:06:00
run {
sql 'alter session set nls_date_format="yyyy-mm-dd hh24:mi:ss"';
set until time '2021-06-17 18:06:00';
allocate channel ch01 device type disk;
recover database skip tablespace LTEST,EXAMPLE;
release channel ch01;
}
Turn on the new host instance to read-only mode:
sqlplus / as sysdba
alter database open read only;
Confirm whether the table data of the new host instance is correct:
sqlplus / as sysdba
select * from lucifer.lucifer;
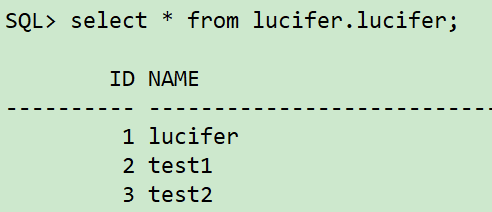
Note: if it is incorrect, repeat step 7 to adjust the time point and slowly push the recovery towards 18:10:00 on 2021 / 06 / 17:
## close database
sqlplus / as sysdba
shutdown immediate;
## Open database to mount state
startup mount pfile='/tmp/pfile.ora';
## Repeat step 7, move forward for 1 minute, and adjust the time point to ` 2021 / 06 / 08 18:07:00`
rman target /
run {
sql 'alter session set nls_date_format="yyyy-mm-dd hh24:mi:ss"';
set until time '2021-06-17 18:07:00';
allocate channel ch01 device type disk;
recover database skip tablespace LTEST,EXAMPLE;
release channel ch01;
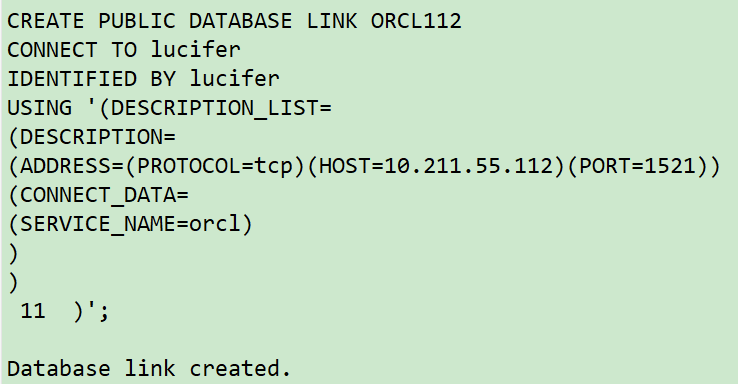
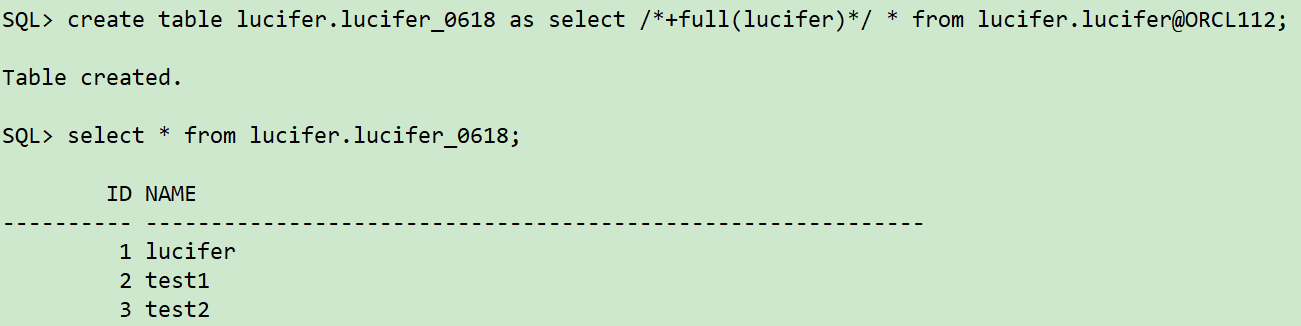
}The master database creates a DBLINK connecting the new host instance, and retrieves table data from the new host instance through DBLINK:
sqlplus / as sysdba
## Create dblinnk
CREATE PUBLIC DATABASE LINK ORCL112
CONNECT TO lucifer
IDENTIFIED BY lucifer
USING '(DESCRIPTION_LIST=
(DESCRIPTION=
(ADDRESS=(PROTOCOL=tcp)(HOST=10.211.55.112)(PORT=1521))
(CONNECT_DATA=
(SERVICE_NAME=orcl)
)
)
)';
## Retrieve data through dblink
create table lucifer.lucifer_0618 as select /*+full(lucifer)*/ * from lucifer.lucifer@ORCL112;
select * from lucifer.lucifer_0618;
At this point, the whole RMAN recovery process is over!
Write at the end
Backup is always the last line of defense, so backup must be done!!!