catalogue
preface
The company recently hired a R & D director at a high price. It is said that he graduated from Fudan University and worked in byte for a long time before changing jobs to specialize in WMS and WCS Anyway, I was surprised. I didn't expect that the company would ruthlessly invite the R & D director
Secondly, before the R & D director comes, let's reconfigure our company's server environment It's also convenient for small partners in need to write this down
Server environment construction
redmine construction (project management platform)
8. We first go to the official website to download our corresponding version, website: https://bitnami.com/stack/redmine/installer,
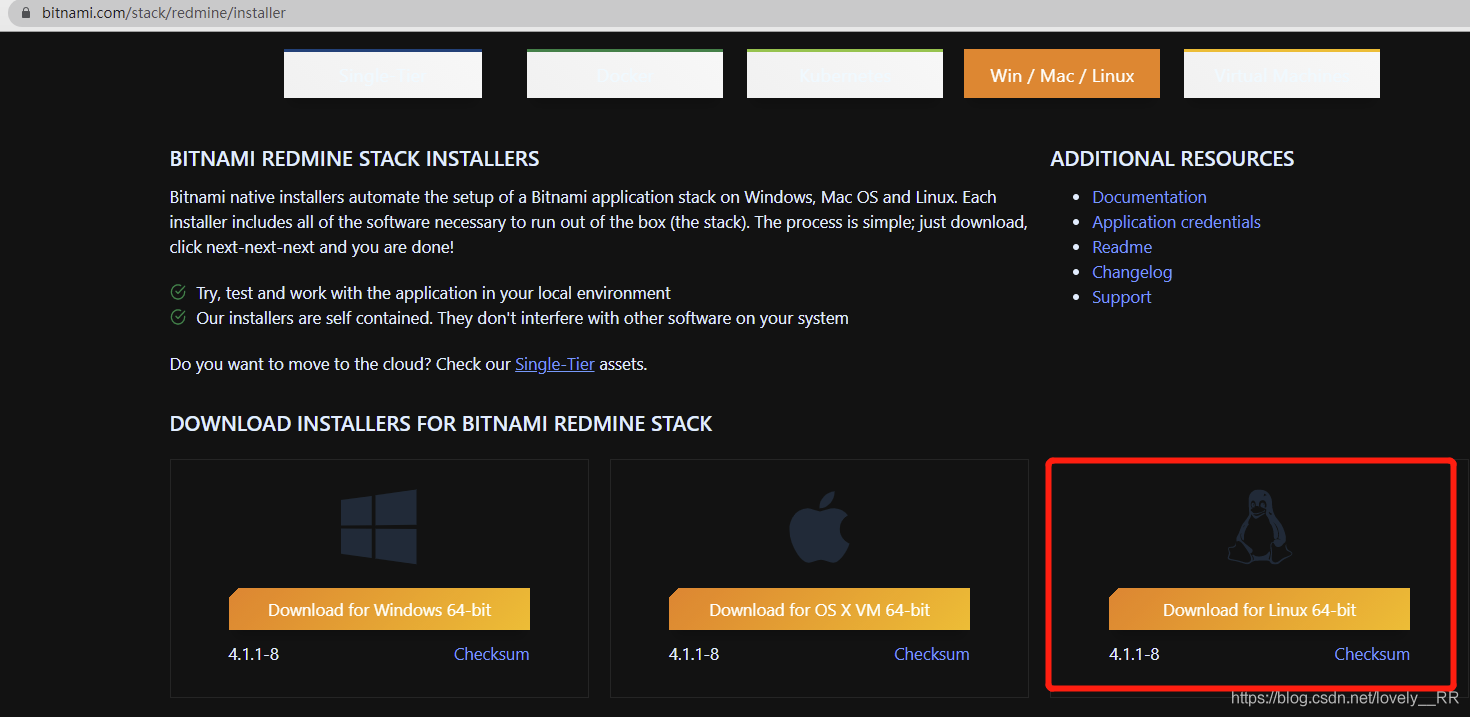
After downloading our corresponding system Upload to the location where we will install it through xftp or winscp
After that, we install it through the following command
./bitnami-redmine-4.1.1-8-linux-x64-installer.run
If the following error occurs, it means that we do not have permission to operate the file, so we modify the permission of the file below
chmod 777 bitnami-redmine-4.1.1-8-linux-x64-installer.run

Then we are re executing our above orders
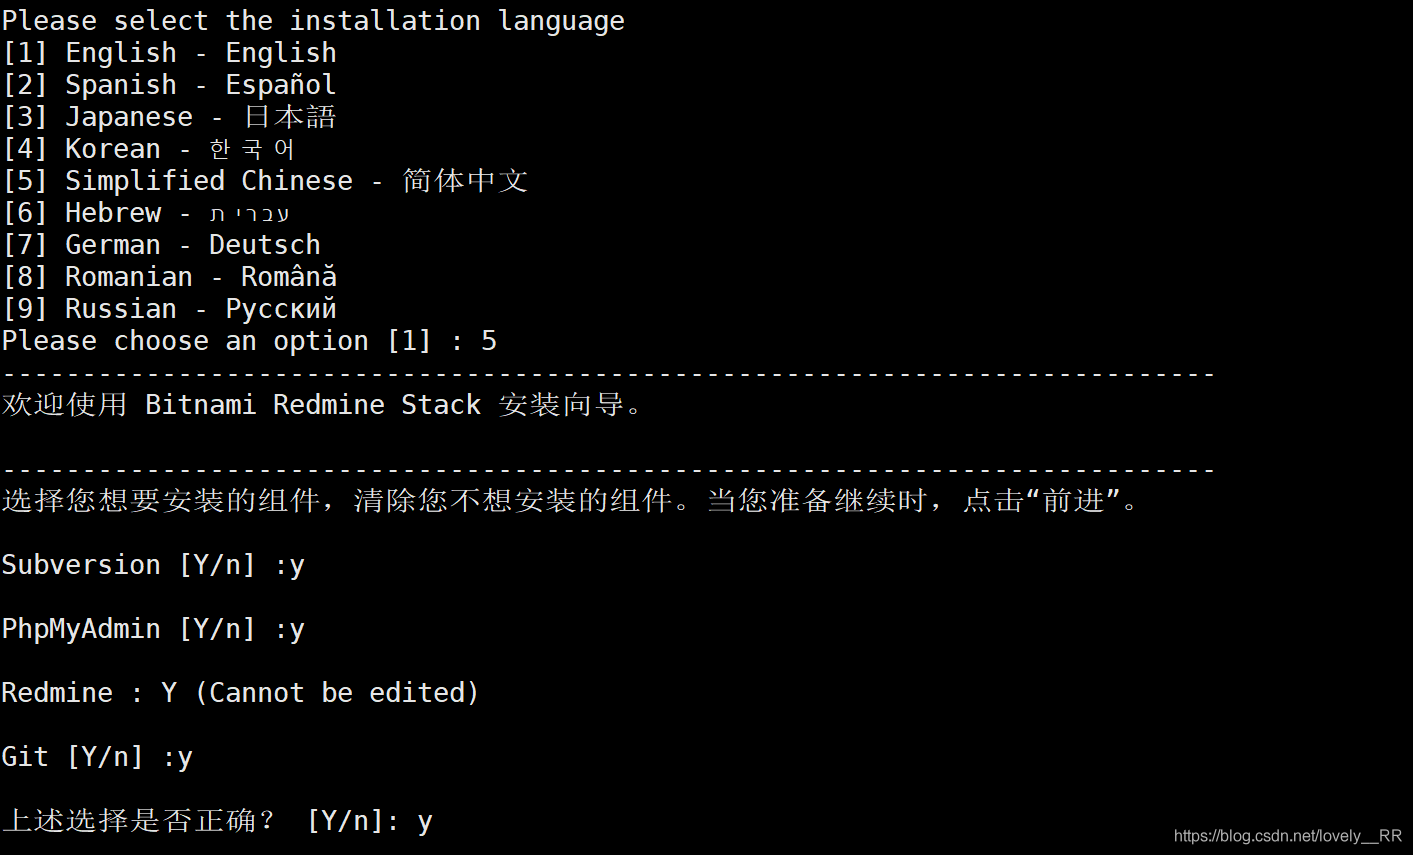
Then we start to install our redmine
Select the language and keep y it
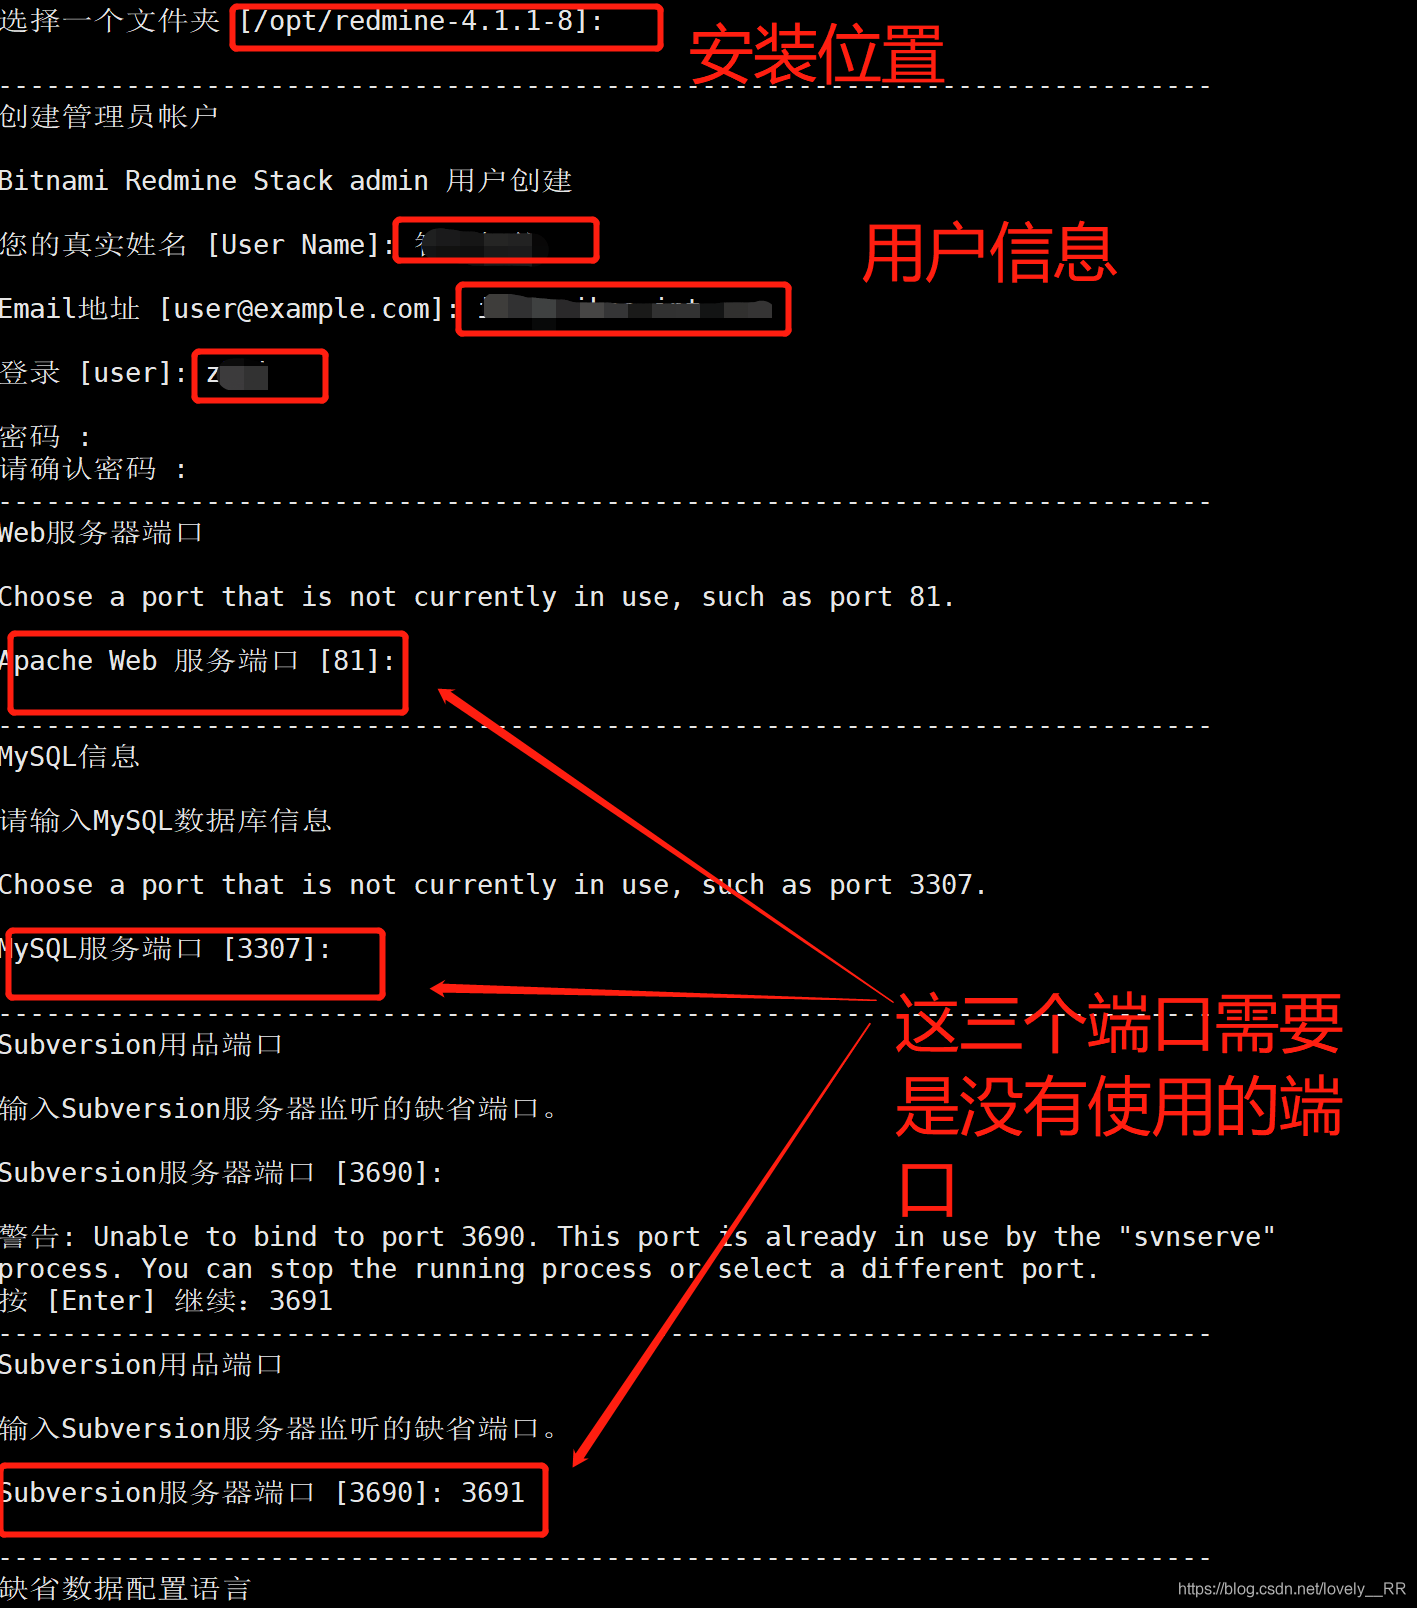
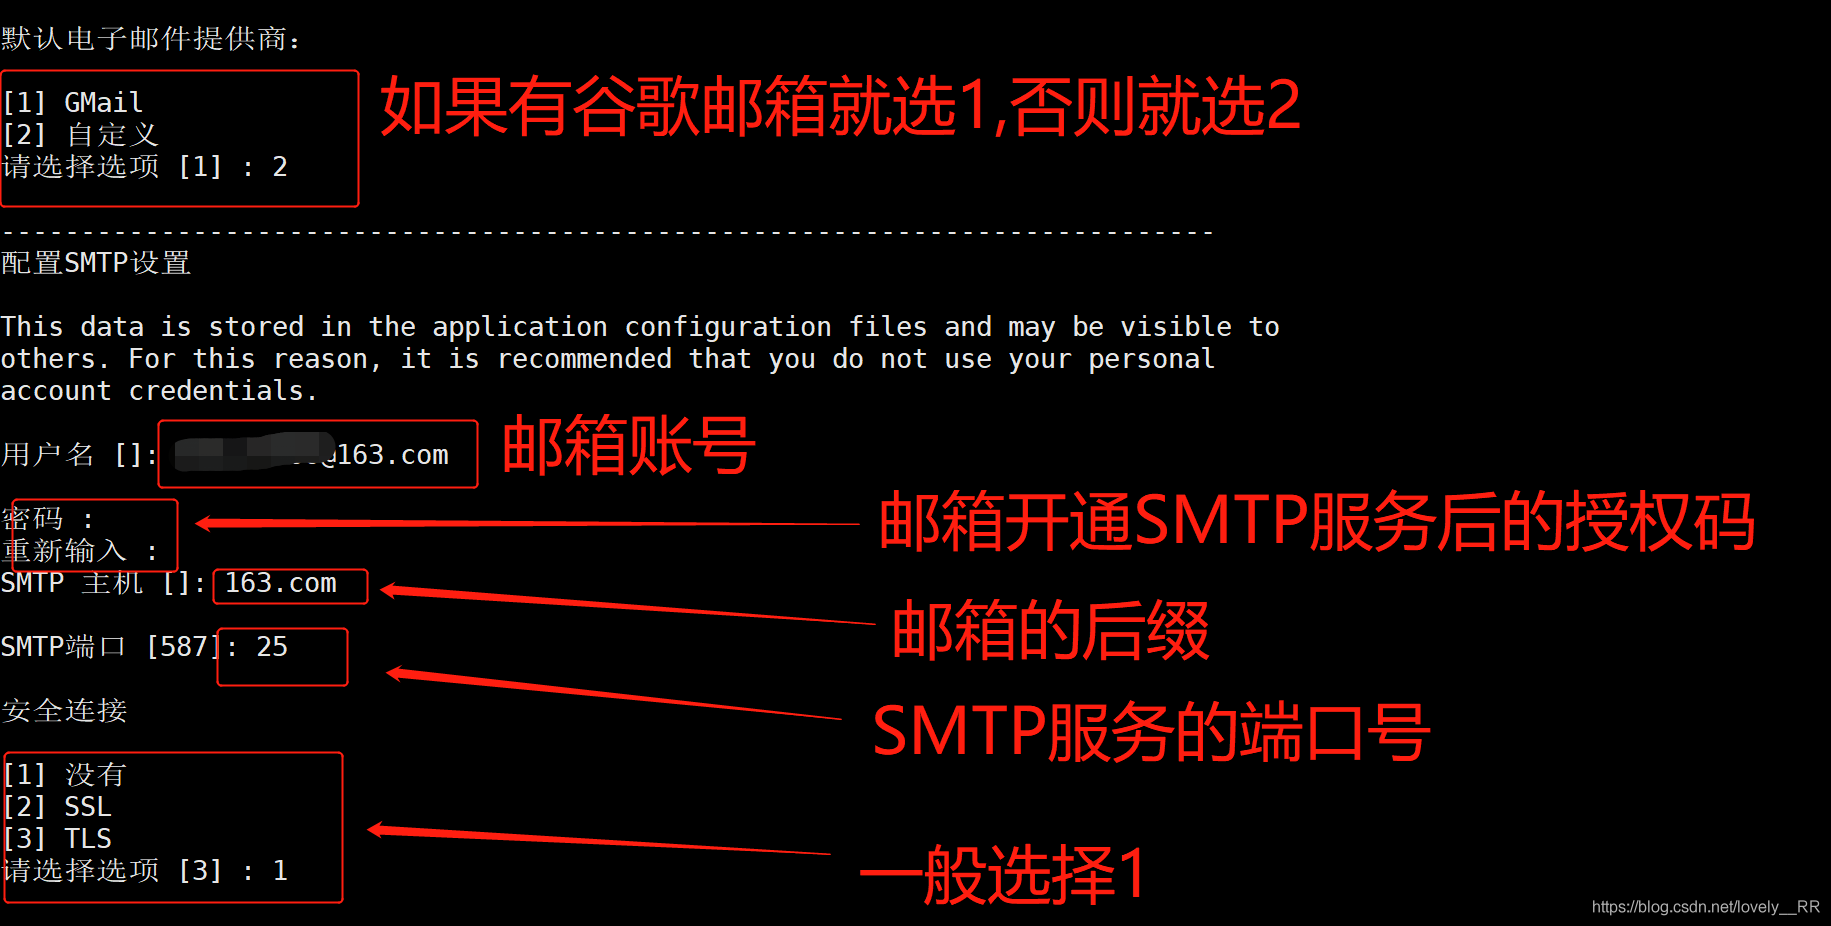
After that, we just need to continue the installation Finally, we need to access the address through the server we installed: localhost/redmine. If the corresponding page appears, it indicates that the installation has been successful
gitlab setup (code submission)
First, we need to download GitLab files. There are two download methods here. One is to download directly from the server through the wget command line, as follows:
wget https://mirrors.tuna.tsinghua.edu.cn/gitlab-ce/yum/el7/gitlab-ce-10.7.3-ce.0.el7.x86_64.rpm
However, the download speed will be slow, so another download method is recommended: directly visit the above address through the browser to download, which will be faster. Then we will upload the downloaded Gitlab to the location where our server will be installed through our WinScp tool
Then we install our gitlab in the location where we upload it through the following command
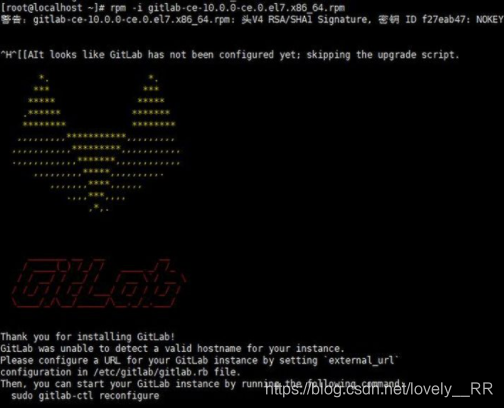
rpm -i gitlab Name of the installation package
However, we may make the following errors:
warning: soft/gitlab-ce-10.7.3-ce.0.el7.x86_64.rpm: Header V4 RSA/SHA1 Signature, key ID f27eab47: NOKEY
error: Failed dependencies:
        policycoreutils-python is needed by gitlab-ce-10.7.3-ce.0.el7.x86_64
In fact, when we see this error, we basically know that we lack this part of the plug-in policycoreutils python, so we need to install this part of the plug-in as well Download and install through the following command:
yum install policycoreutils-python
After solving this problem, we re execute the above command. If the following page appears, it means that our gitlab has been successfully installed however
However, as we have encountered when installing other software before, each program will have its default port, but this port may conflict with the software we installed before, so we need to modify our default port number
We mainly modify the information of the file / etc / gitlab / gitlab RB, mainly modify the following three items I circle:

The first line is to modify the ip address of our server
The second and third lines are the modified default ports of gitlab The default ports of gitlab we installed are 8080 and 80, and an Nginx is built in, so we need the two port information we circled above Here we explain the meaning of these two port configurations
nginx['listen_port']=8092
unicorn['port']=8070
The first port means the port number that Nginx exposed our gitlab, that is, the port number we will access in the URL bar
The second refers to gitlab's built-in rails port monitored by Nginx
After changing these two port numbers, we still need to remember to open these two ports in the firewall, and if you are a ECs, we also need to remember to open these two ports in the security group
Open the above interfaces in the firewall directly through the following command:
#Open port 8092 in the firewall
firewall-cmd --zone=public --permanent --add-port=8092/tcp
#Refresh firewall port information
firewall-cmd --reload
#Display the port information currently opened by the firewall
firewall-cmd --list-all
The security group won't repeat it here
Then we need to refresh our configuration information about gitlab and start our gitlab This can be achieved by the following command:
gitlab-ctl reconfigure
gitlab-ctl restart
But at this time, we are not in a hurry to access our gitlab. First, let's take a look at the information of these two files / var / opt / gitlab / nginx / conf / gitlab http conf

And / var / opt / gitlab / gitlab rails / etc / gitlab yml

Check whether the configuration information of these two files is synchronized with the information configured above. If so, we can access our gitlab If there is no synchronization, we need to modify these two places Generally, these two places will be synchronized correctly, but special cases are not excluded
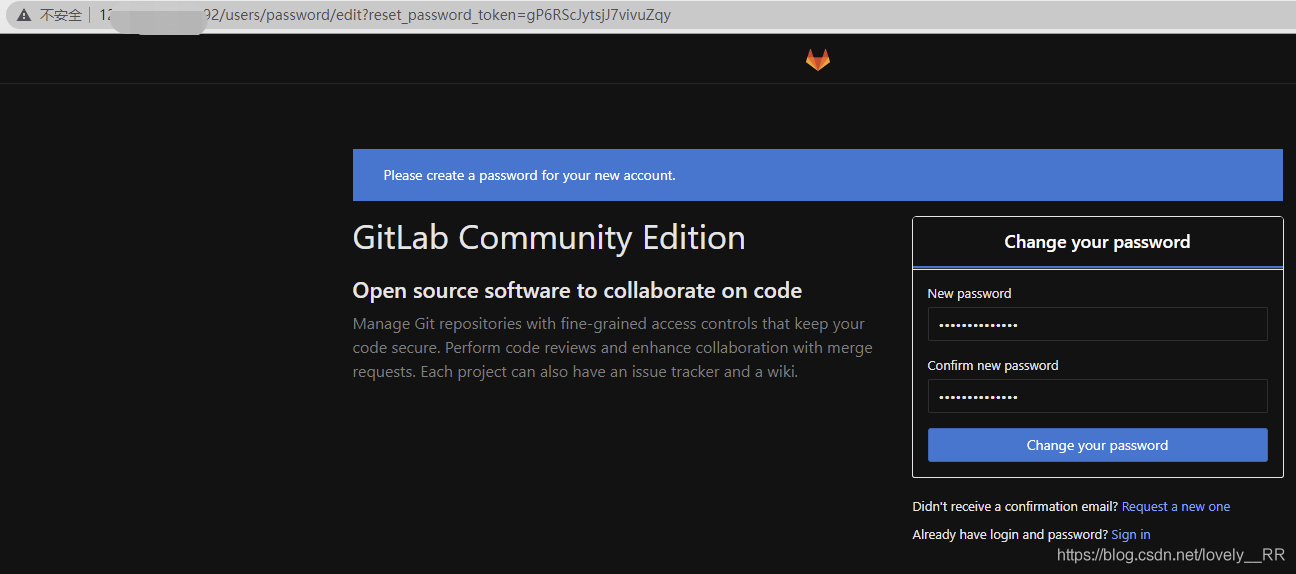
According to the above modifications, I should visit 121. *************************** 8092. If the following interface appears when you visit, it means that your gitlab has been successfully configured. Just reconfigure your account password The default account is root
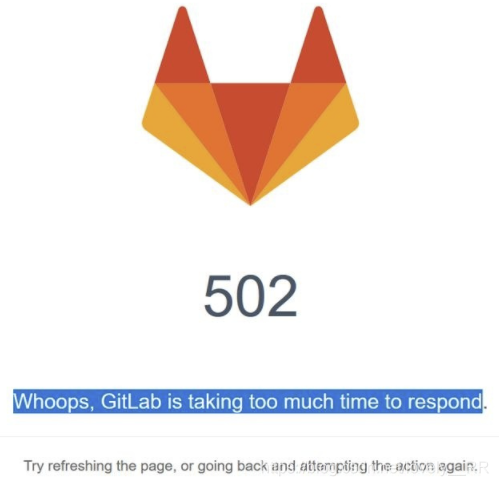
However, if the following interface appears, it means that the ports you configured conflict, so you need to reconfigure the ports
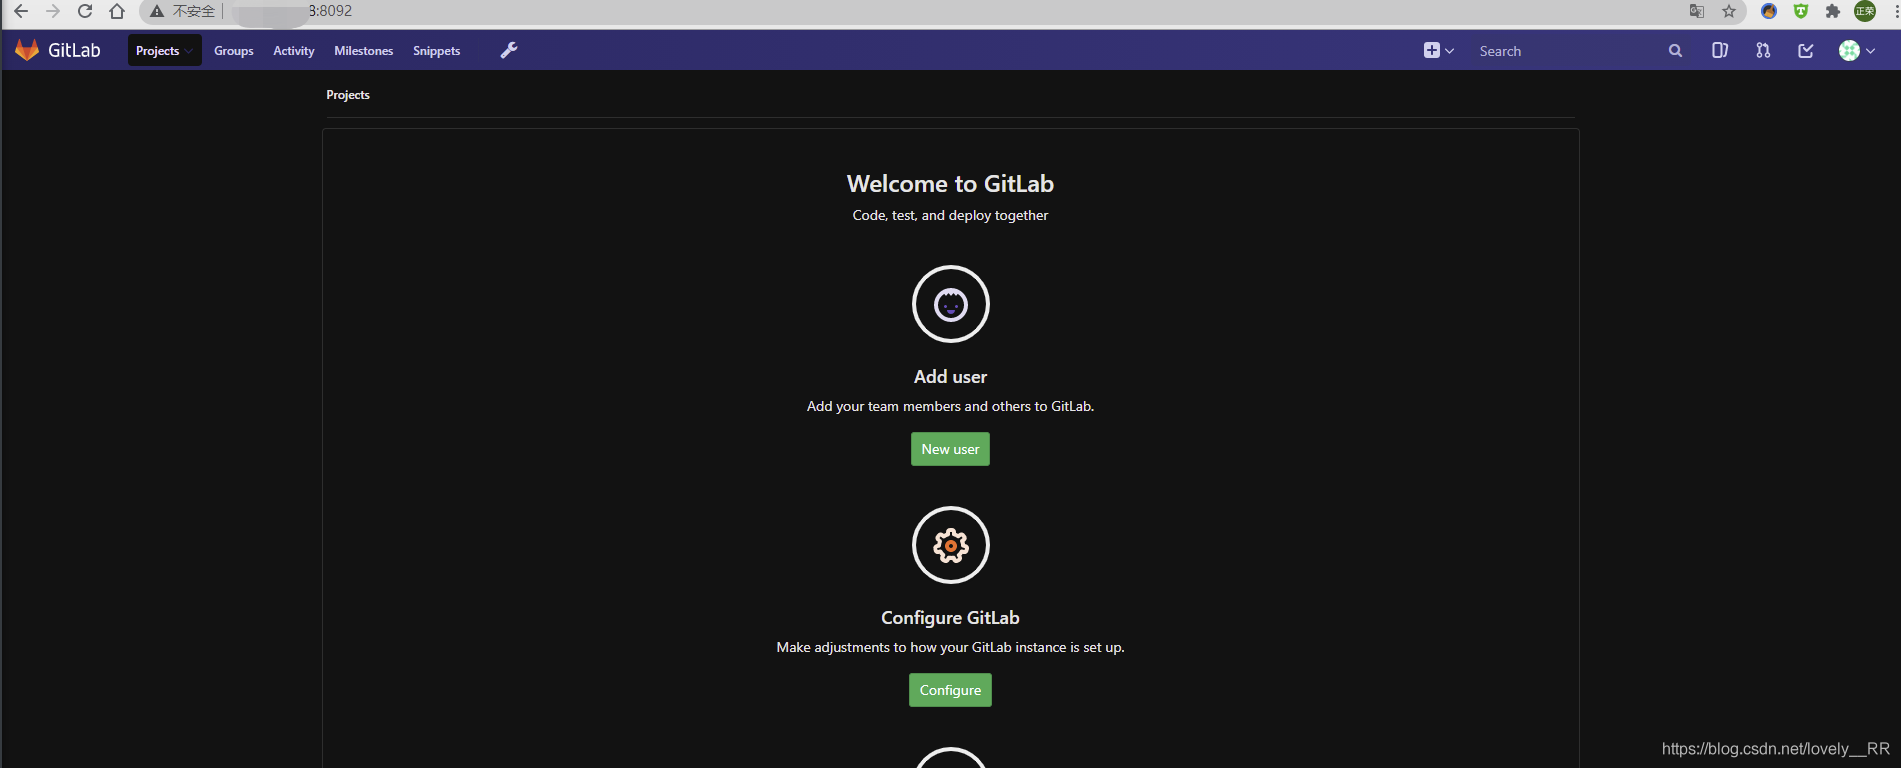
After we modify the password and log in successfully, we can see the following interface:
svn construction (put product and other documents)
First, check whether SVN is installed on our server
Check with the following command:
svnserve --version
If it has not been installed, the following interface will appear:

If the command is not found, it means that we have not installed SVN. Then we can download and install SVN directly Download through the following command:
yum install -y subversion
Then we re execute the above command:
svnserve --version
At this time, suppose we see the picture as follows:
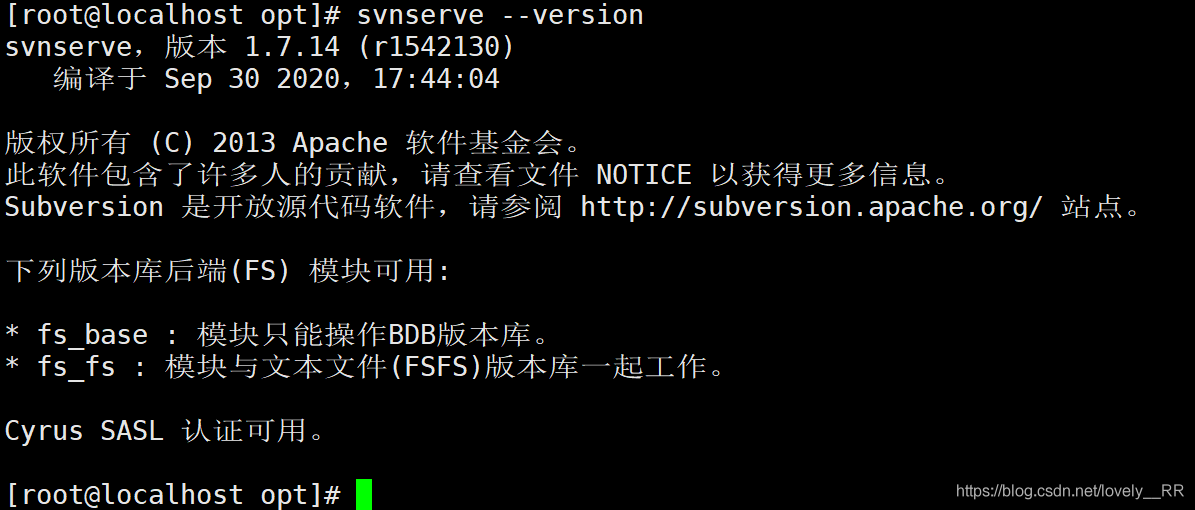
That means our SVN has been installed successfully. Next, we need to configure some basic SVN
However, SVN is somewhat different. Generally, the configuration file will be generated when the software is downloaded and installed. SVN will generate the corresponding configuration file only after we execute the following commands
svnadmin create /svndir
You can see that /, so it is obvious that this is an absolute path. Then we switch to this path to see which files are available:
cd /svndir
ls

We also see the conf configuration folder. At this time, we switch to this directory to see what files are available:

Let's briefly introduce what information these three files store
- authz
Permission profile
- passwd
User name password file
- svnserve.conf
Repository profile
After knowing this, let's create the user and the corresponding password, and the permissions
Let's modify the authz file first
vi passwd
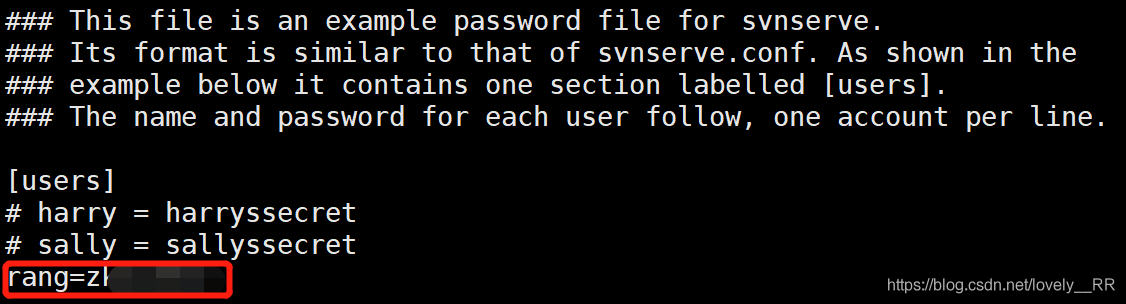
In the red box, the front represents the user name and the back represents the user's password
Then we will modify the corresponding permission information
vi authz
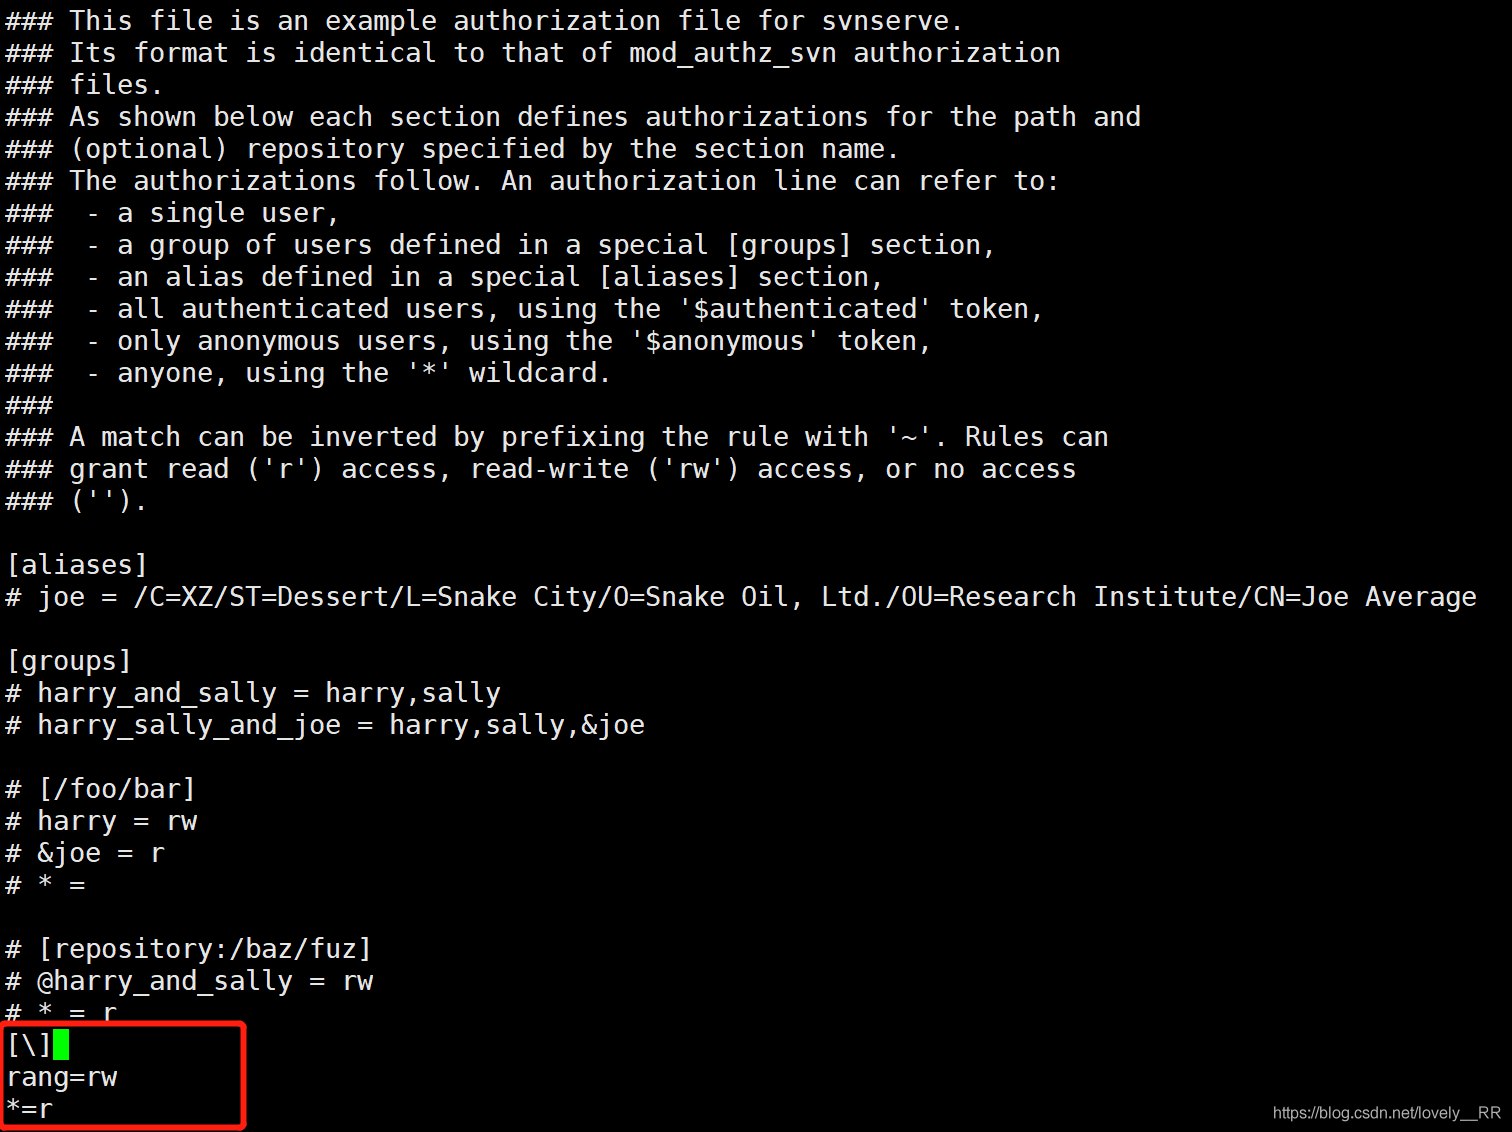
Let's modify the permissions of the user we just created, and set that all users have read permissions
Here we briefly introduce the meaning of configuration information
[\]: represents the operation permission of all files
[/ folder name]: refers specifically to the permission Operation of the user under the corresponding folder
User name = permission operation, r=read stands for reading the file, and w=write stands for writing the file
*On behalf of all users
Here, the permission configuration is finished. Next, we configure svnserve Conf file
vi svnserve.conf
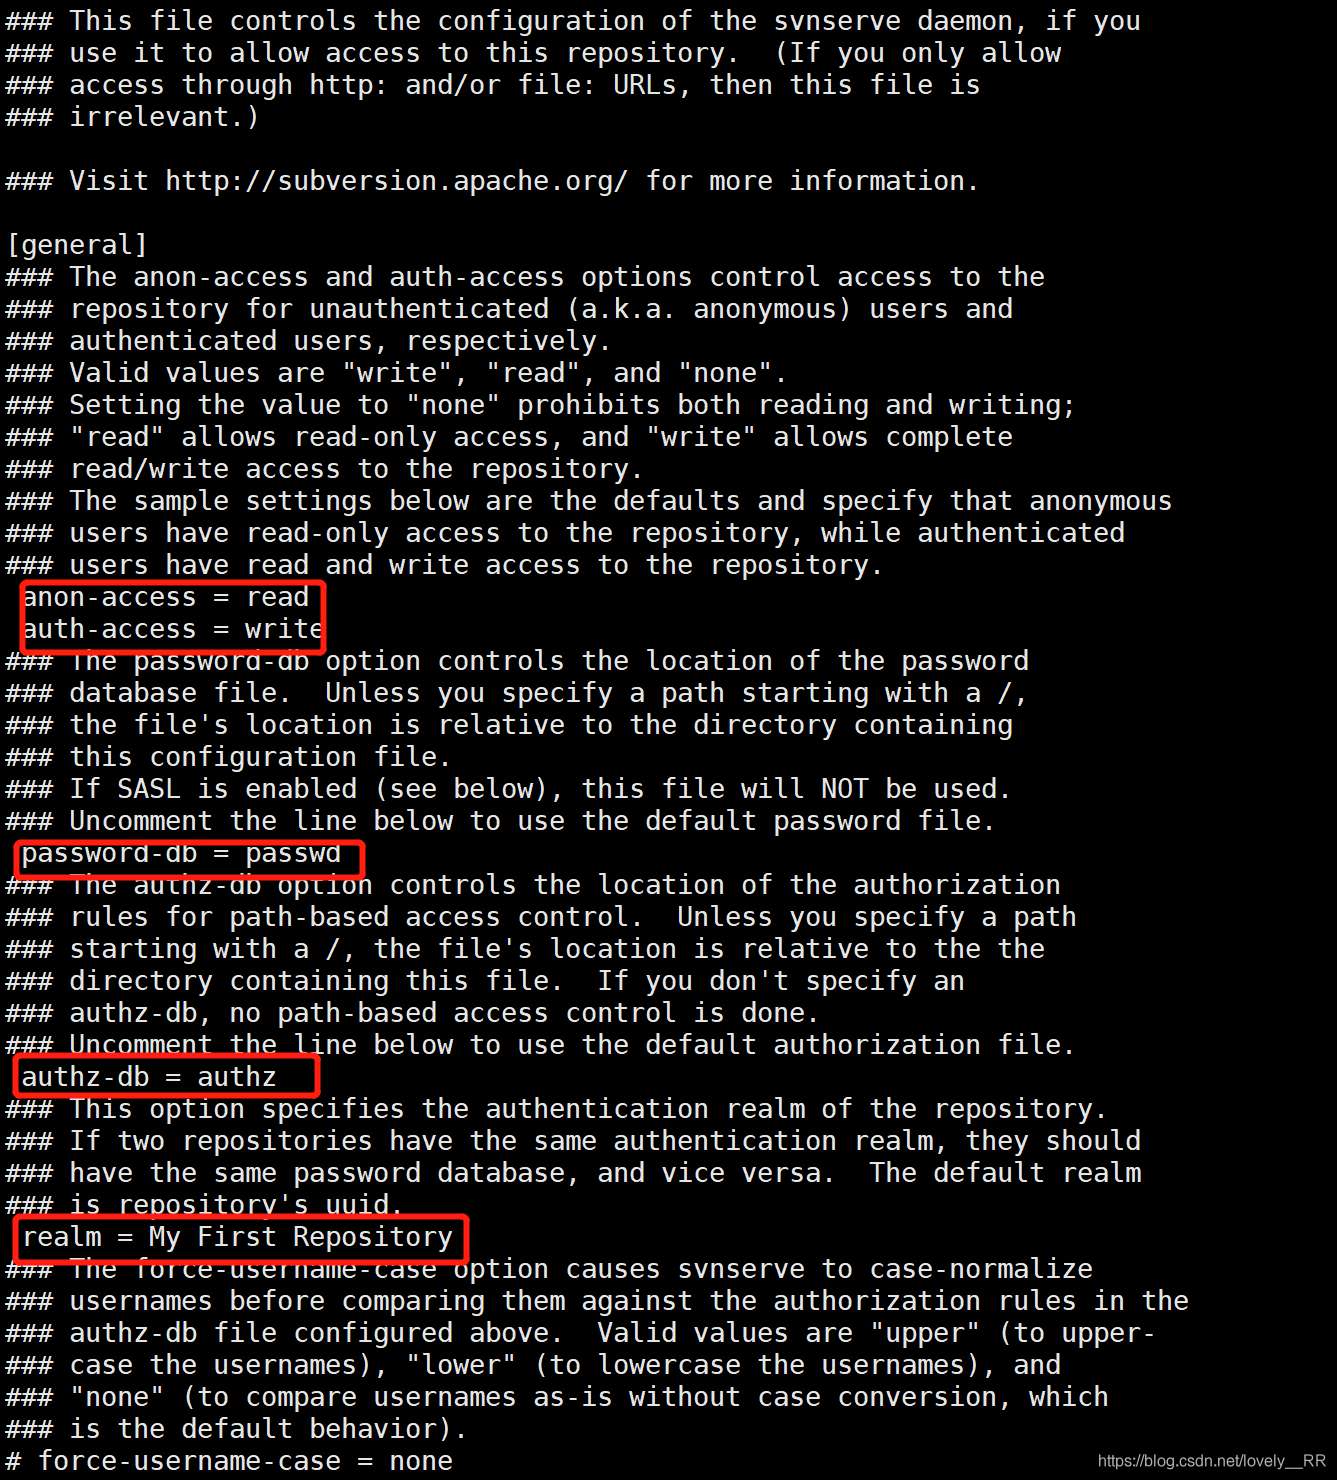
We can simply remove the notes shown in the figure Let's talk about the meaning of these places
 anon-access = read
 auth-access = write
Anon access represents the permission Operation of unauthorized users. By default, it is read-only, that is, read
Auth access represents the authorized user's permission operation. By default, it is writable, readable, or write
password-db = passwd
Just look at the name, which is the storage location of the account password database
authz-db = authz
Just look at the name, which is the storage location of the permission operation database
realm = My First Repository
realm specifies the repository authentication domain
After that, we need to add the default port number of SVN 3690 in the firewall
#Open port 3690 in the firewall
firewall-cmd --zone=public --permanent --add-port=3690/tcp
#Refresh firewall port information
firewall-cmd --reload
#Display the port information currently opened by the firewall
firewall-cmd --list-all
Then we can start the SVN service through the following command
svnserve -d -r svn Version library root directory(That is, we conf Parent directory of)
The directory we created above is svndir, so the command we started is
svnserve -d -r /svndir
After that, we can use the following command to check whether the SVN service has been started successfully
ps aux | grep svn
If you see the following interface, SVN has been started successfully:

testlink setup (test case platform)
Installing Apache httpd
yum install -y httpd*
Installing MariaDB
create profile
vi /etc/yum.repos.d/Mariadb.repo
And add the following code to the configuration file:
[mariadb]

name = MariaDB

baseurl = http://yum.mariadb.org/10.2/centos7-amd64

gpgkey=https://yum.mariadb.org/RPM-GPG-KEY-MariaDB

gpgcheck=1
[the external chain image transfer fails. The source station may have an anti-theft chain mechanism. It is recommended to save the image and upload it directly (img-tx1jongk-1616065299599) (C: \ users \ 22935 \ appdata \ roaming \ typora user images \ 1615598796321. PNG)]
Clear yum source cache data
yum clean all
Generate new yum source data cache
yum makecache all
Installing Mariadb
yum install -y MariaDB-server MariaDB-client
Start Mariadb and set it to self start:
systemctl start mariadb.service

systemctl enable mariadb.service

Change MariaDB's password
mysql_secure_installation
We just installed Mariadb, so our password is empty. At this time, we just need to press enter. If it was installed before, we need to enter the password of root user before changing the password
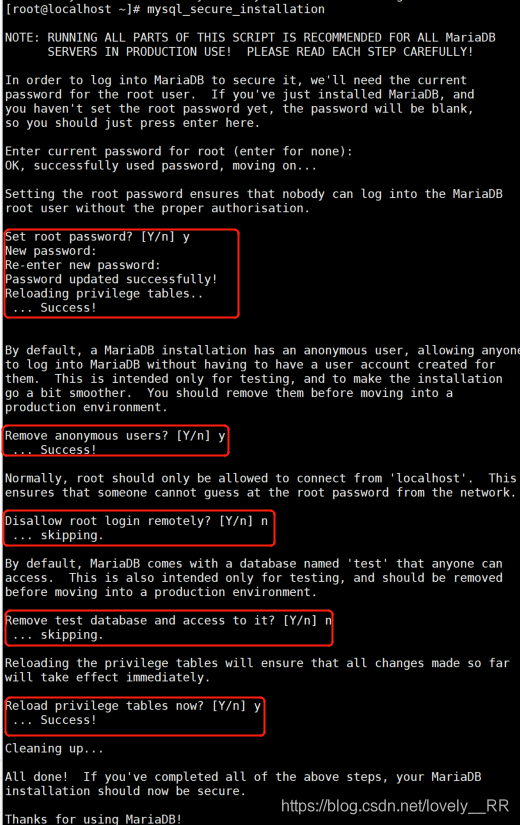
In this way, our password will be reset successfully
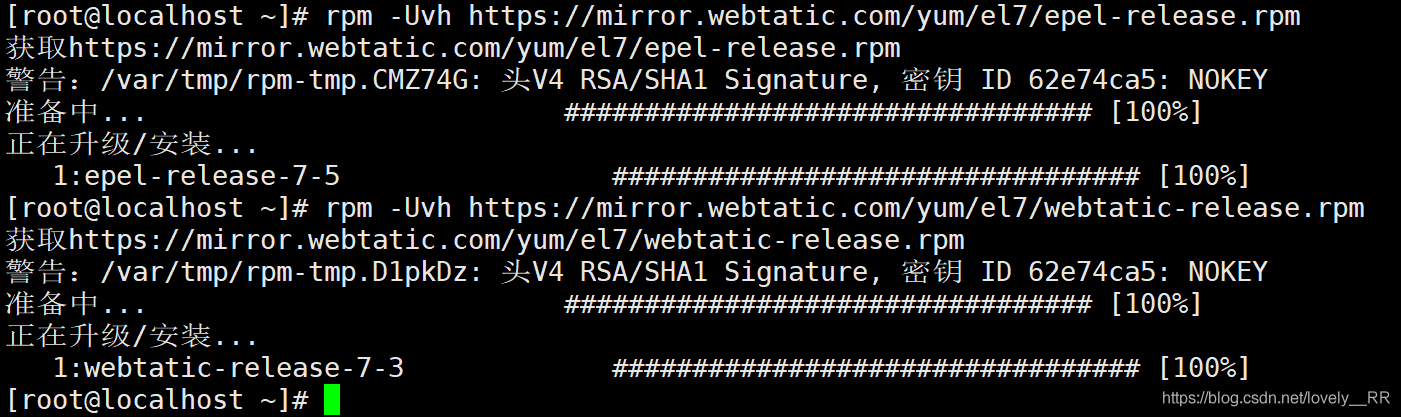
Next, because testlink itself is written in PHP, we also need to install PHP
Replace RPM source:
rpm -Uvh https://mirror.webtatic.com/yum/el7/epel-release.rpm

rpm -Uvh https://mirror.webtatic.com/yum/el7/webtatic-release.rpm
Install PHP:
yum install php71w php71w-cli php71w-common php71w-devel php71w-embedded php71w-fpm php71w-gd php71w-mbstring php71w-mysqlnd php71w-opcache php71w-pdo php71w-xml php71w-ldap php71w-mcrypt
Then we can start installing TestLink
Install wegt
yum install wget
Download testlink via wegt
wget -c https://nchc.dl.sourceforge.net/project/testlink/TestLink%201.9/TestLink%201.9.19/testlink-1.9.19.tar.gz
But it's too slow to download, and it's easy to break and download again, so we can only find the corresponding files on the Internet and download them and upload them to our server
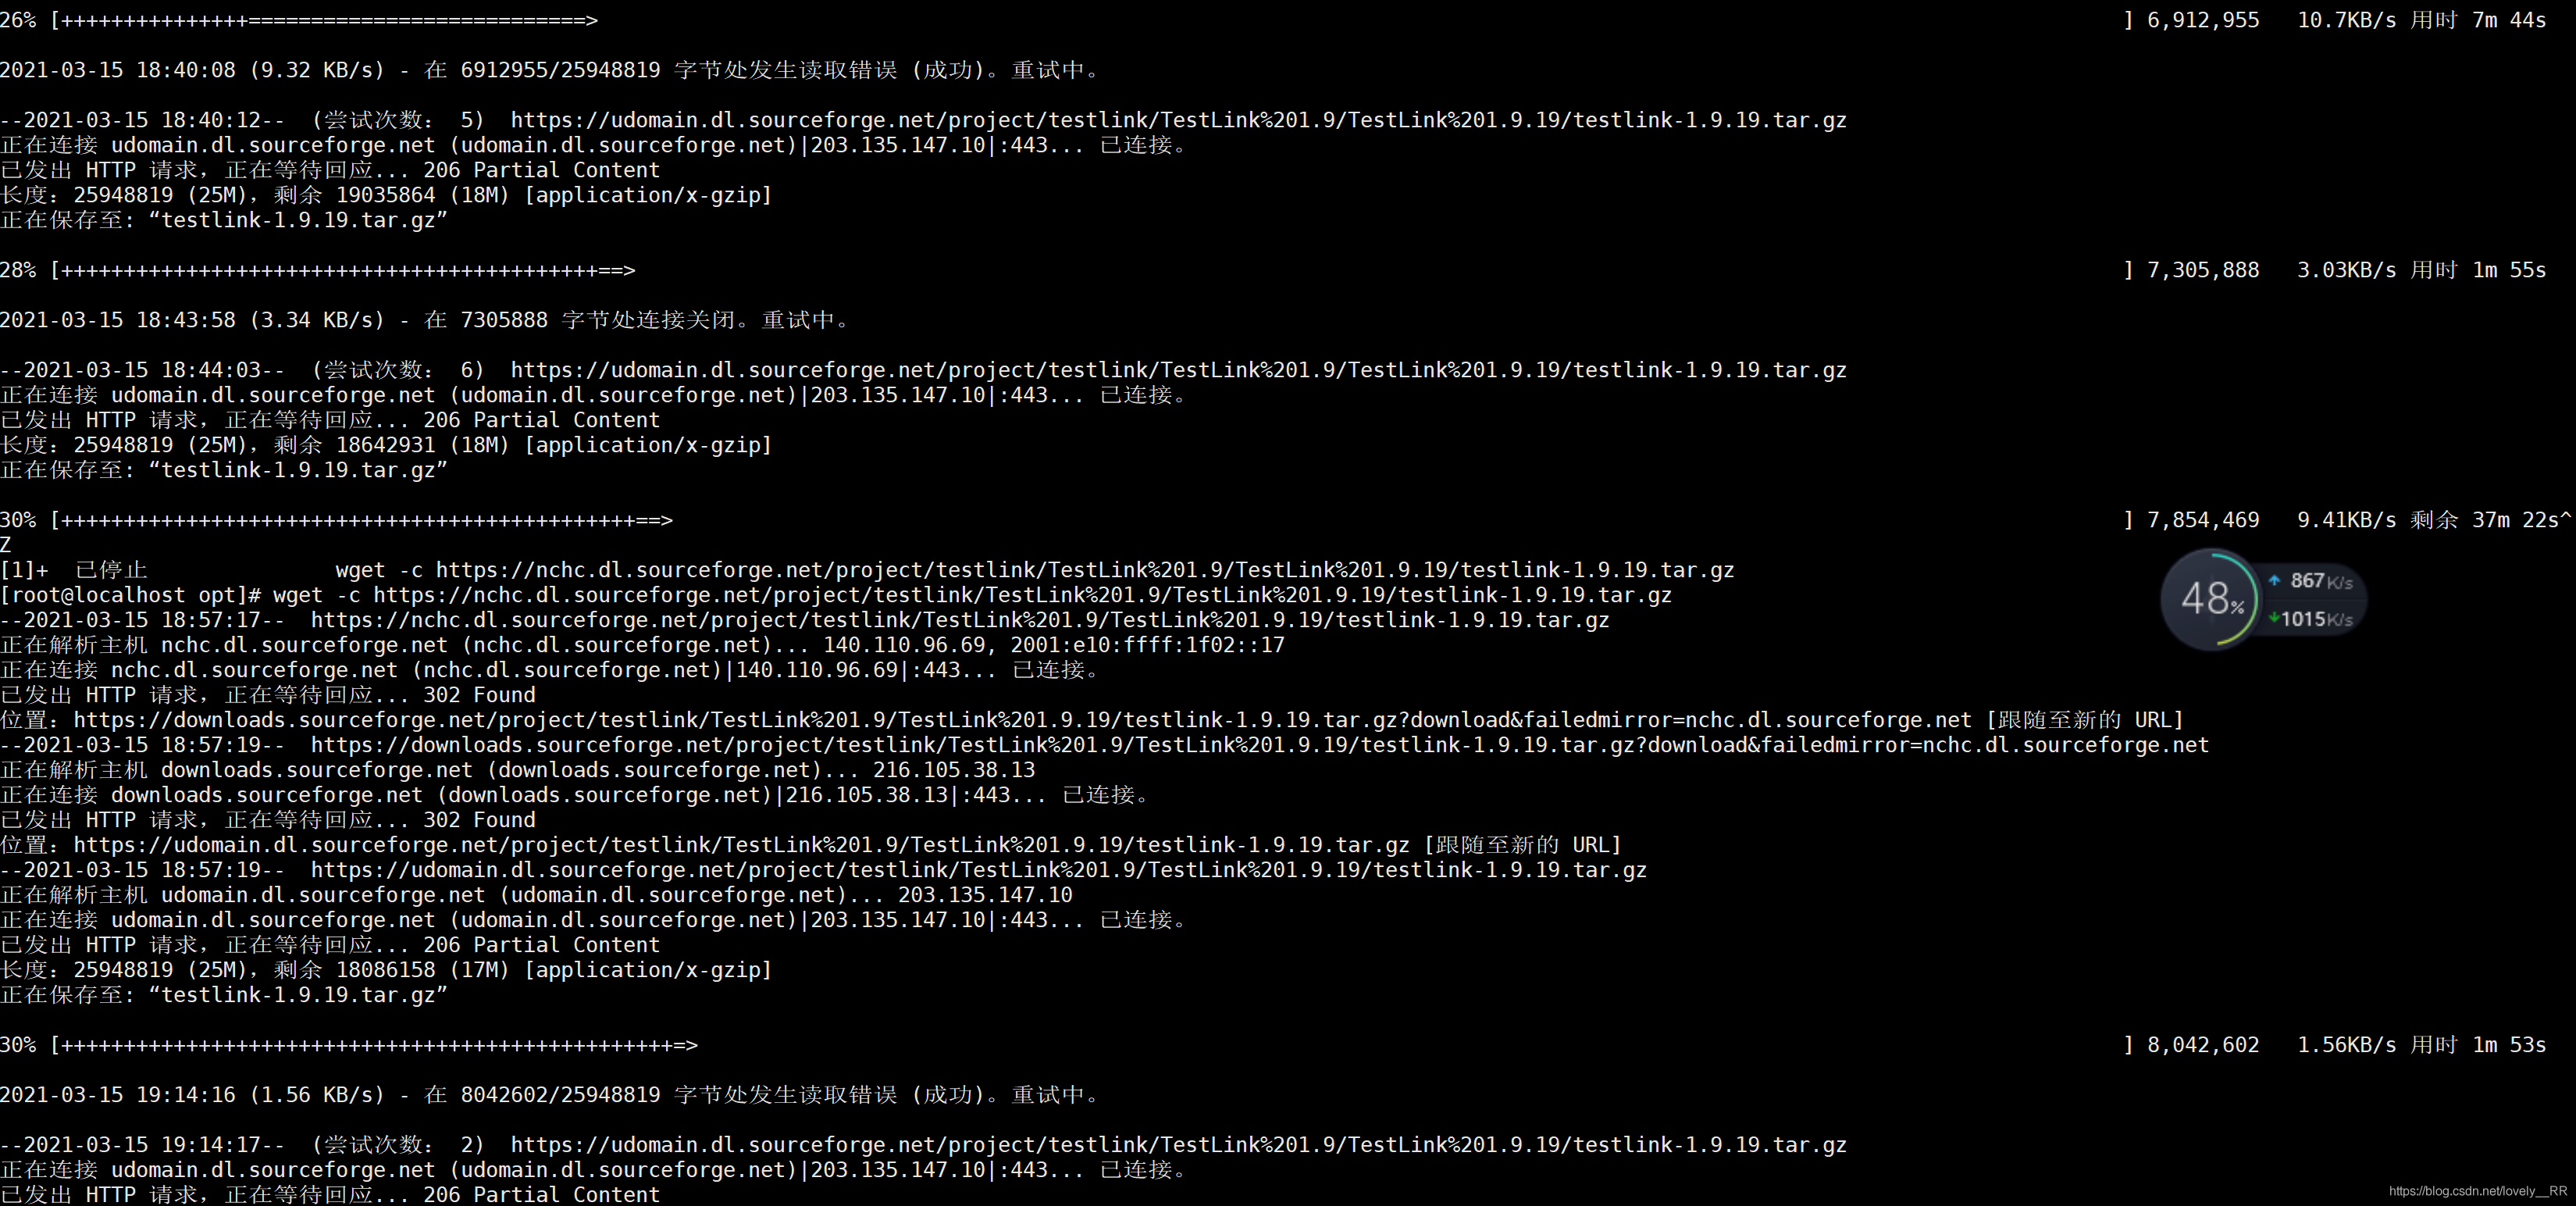
The download link address of the compressed package is pasted here: https://zh.osdn.net/frs/g_redir.php?m=jaist&f=testlink%2FTestLink+1.9%2FTestLink+1.9.19%2Ftestlink-1.9.19.tar.gz
After downloading, you can upload it directly to our server
Unzip file
tar -zxvf testlink-1.9.19.tar.gz
Move files to / var/www/html
mv testlink-1.9.19 /var/www/html/testlink
Restart httpd service
systemctl restart httpd.service
#Set startup and self startup
systemctl enable httpd.service
If we visit at this time http://ip Address / testlink We will find that we can't access it because we haven't opened port 80, so we need to open port 80 in the firewall
#Open port 8092 in the firewall
firewall-cmd --zone=public --permanent --add-port=80/tcp
#Refresh firewall port information
firewall-cmd --reload
#Display the port information currently opened by the firewall
firewall-cmd --list-all
At this time, when we visit our above address, we find that we can enter the installation and configuration interface of testlink
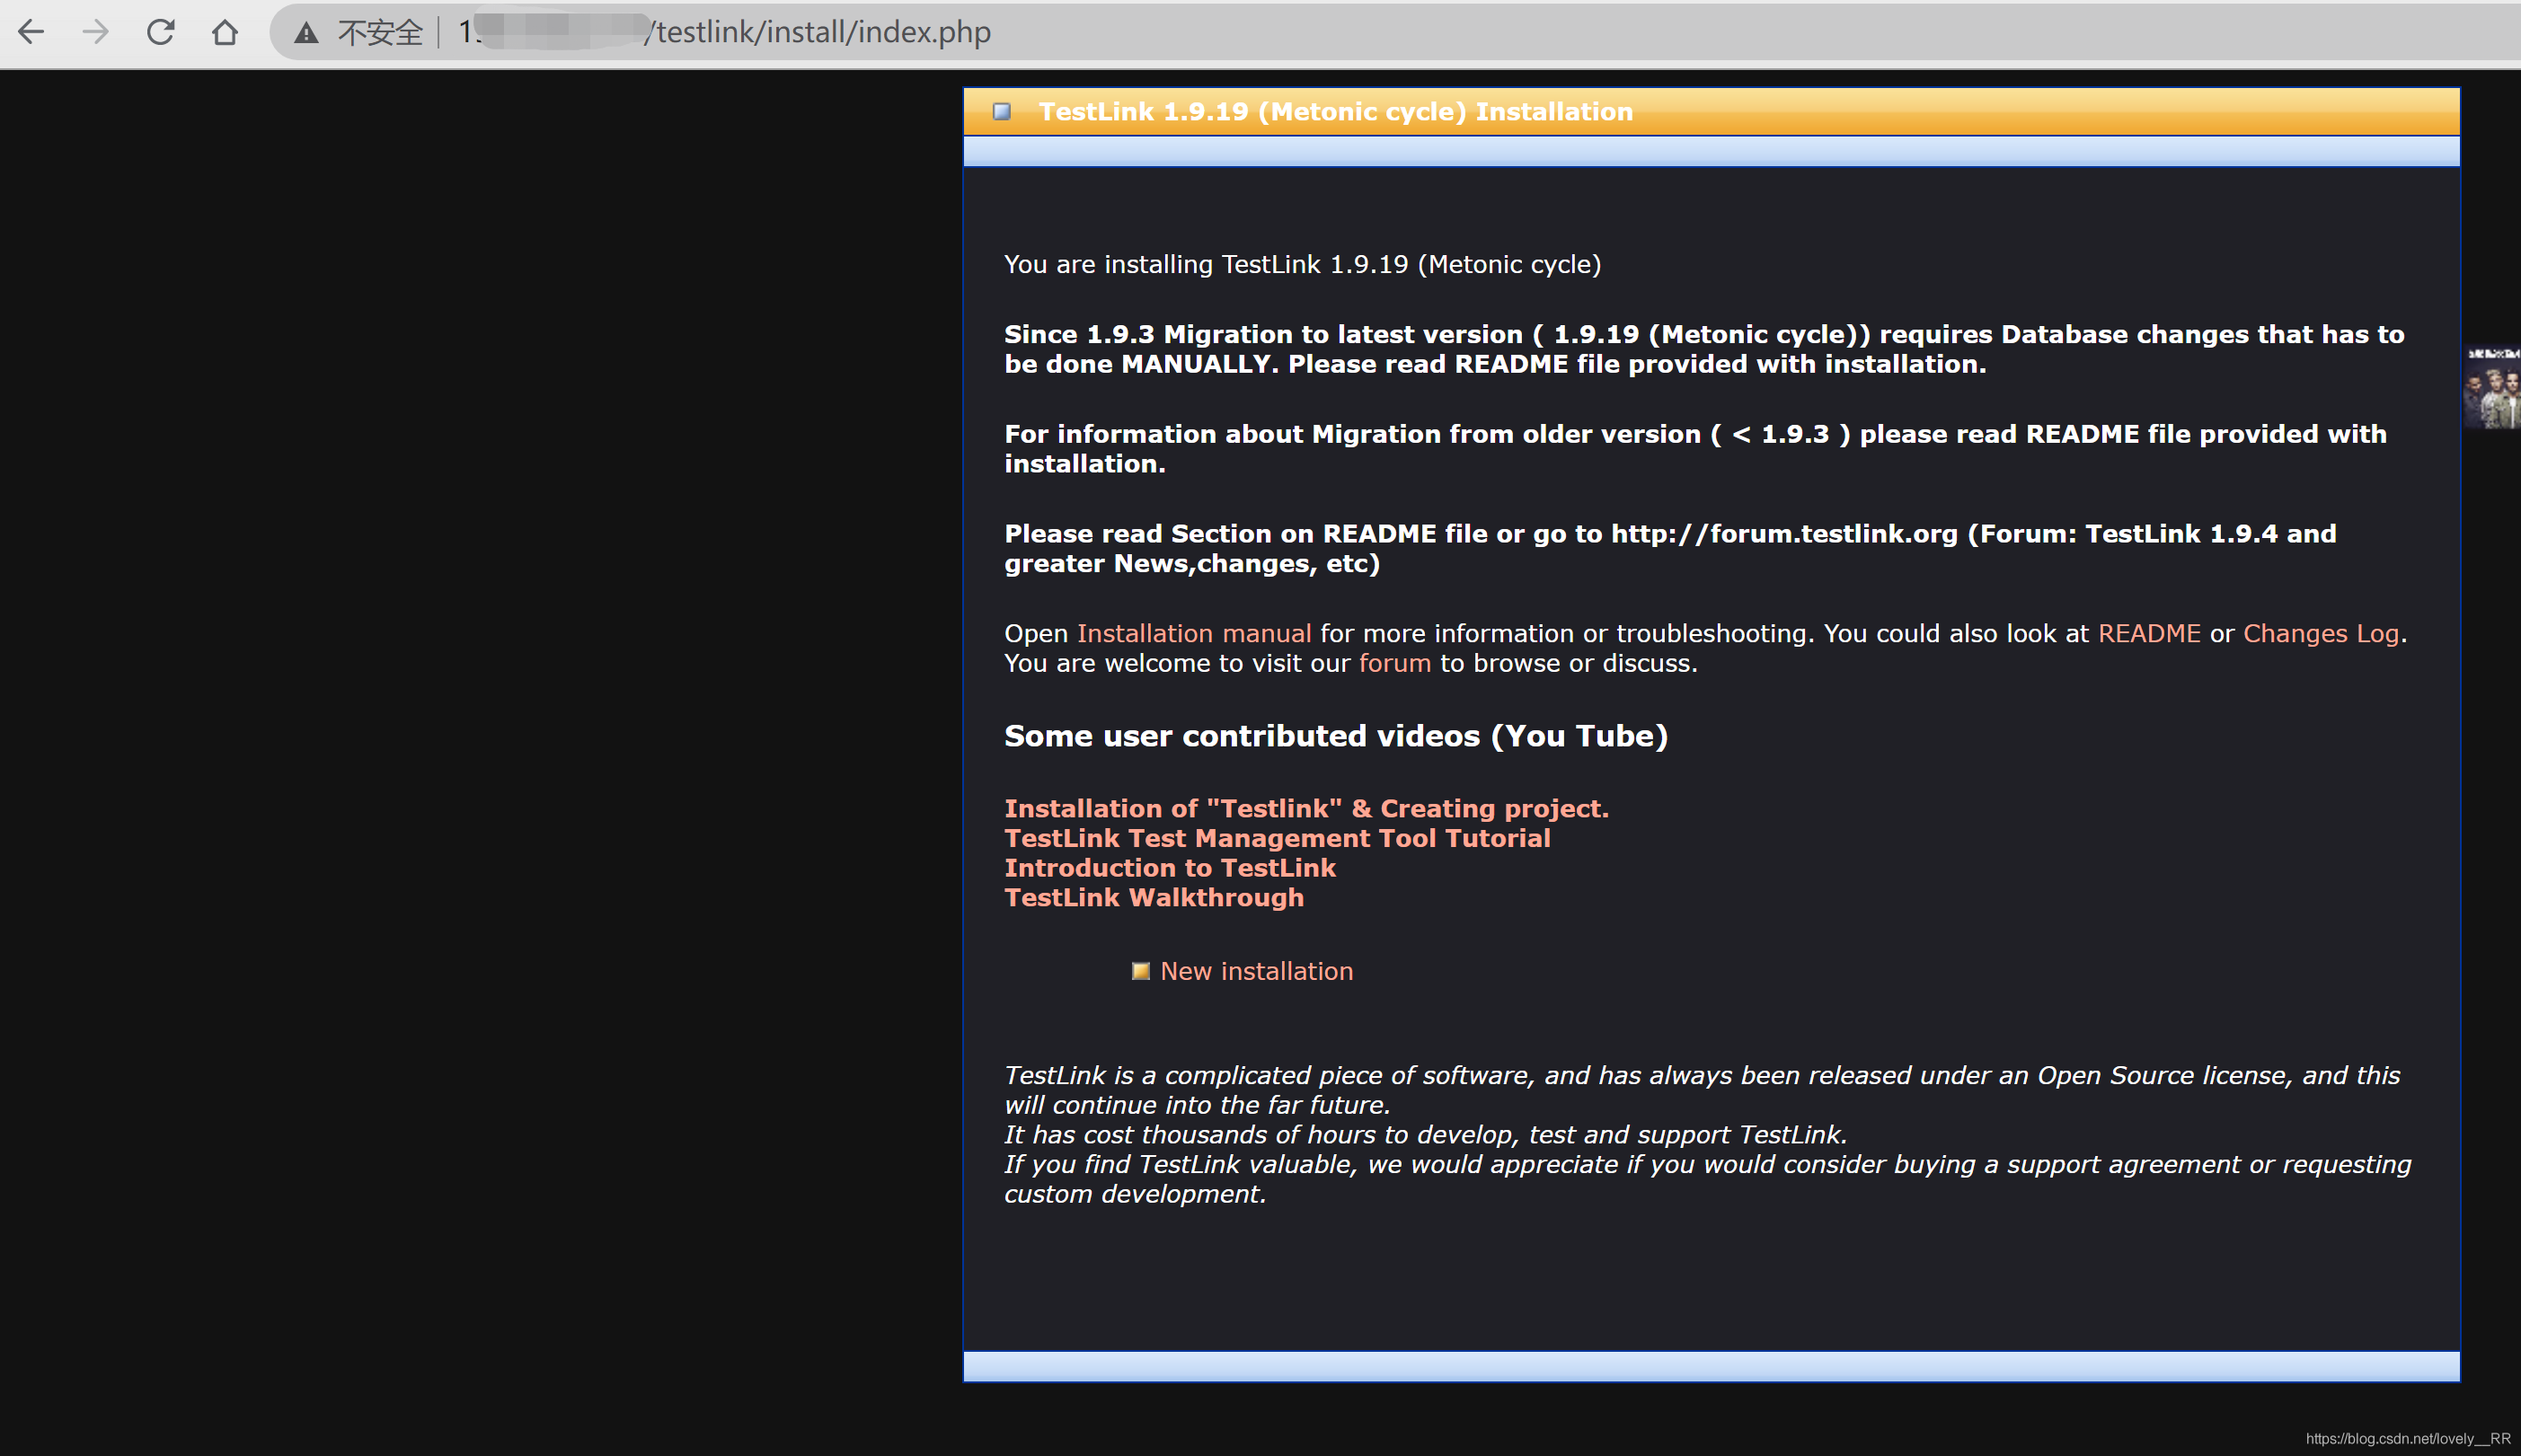
Configure TestLink
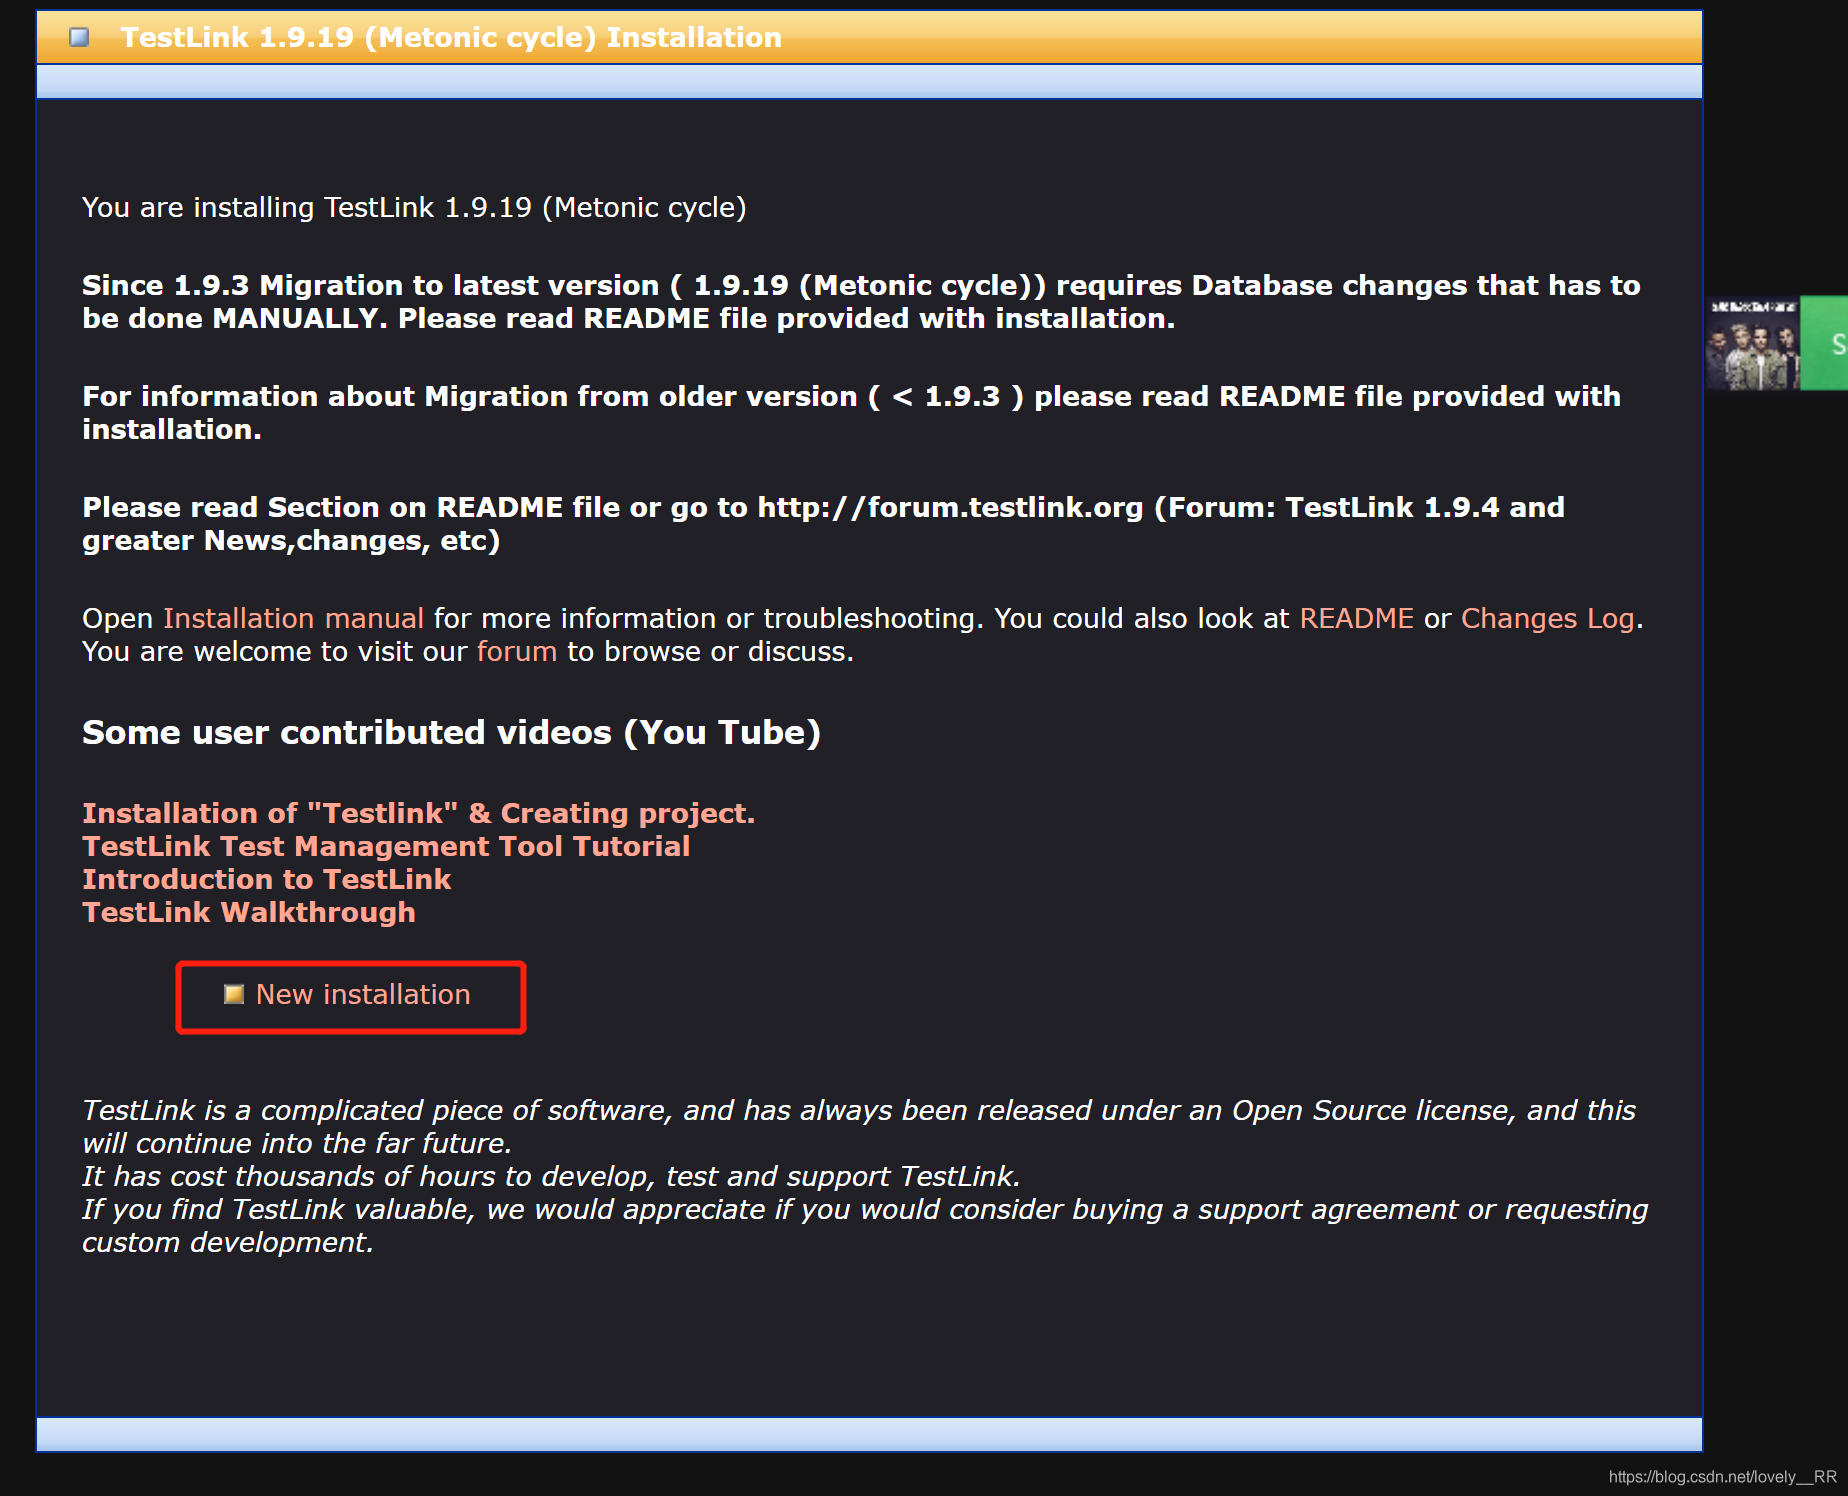
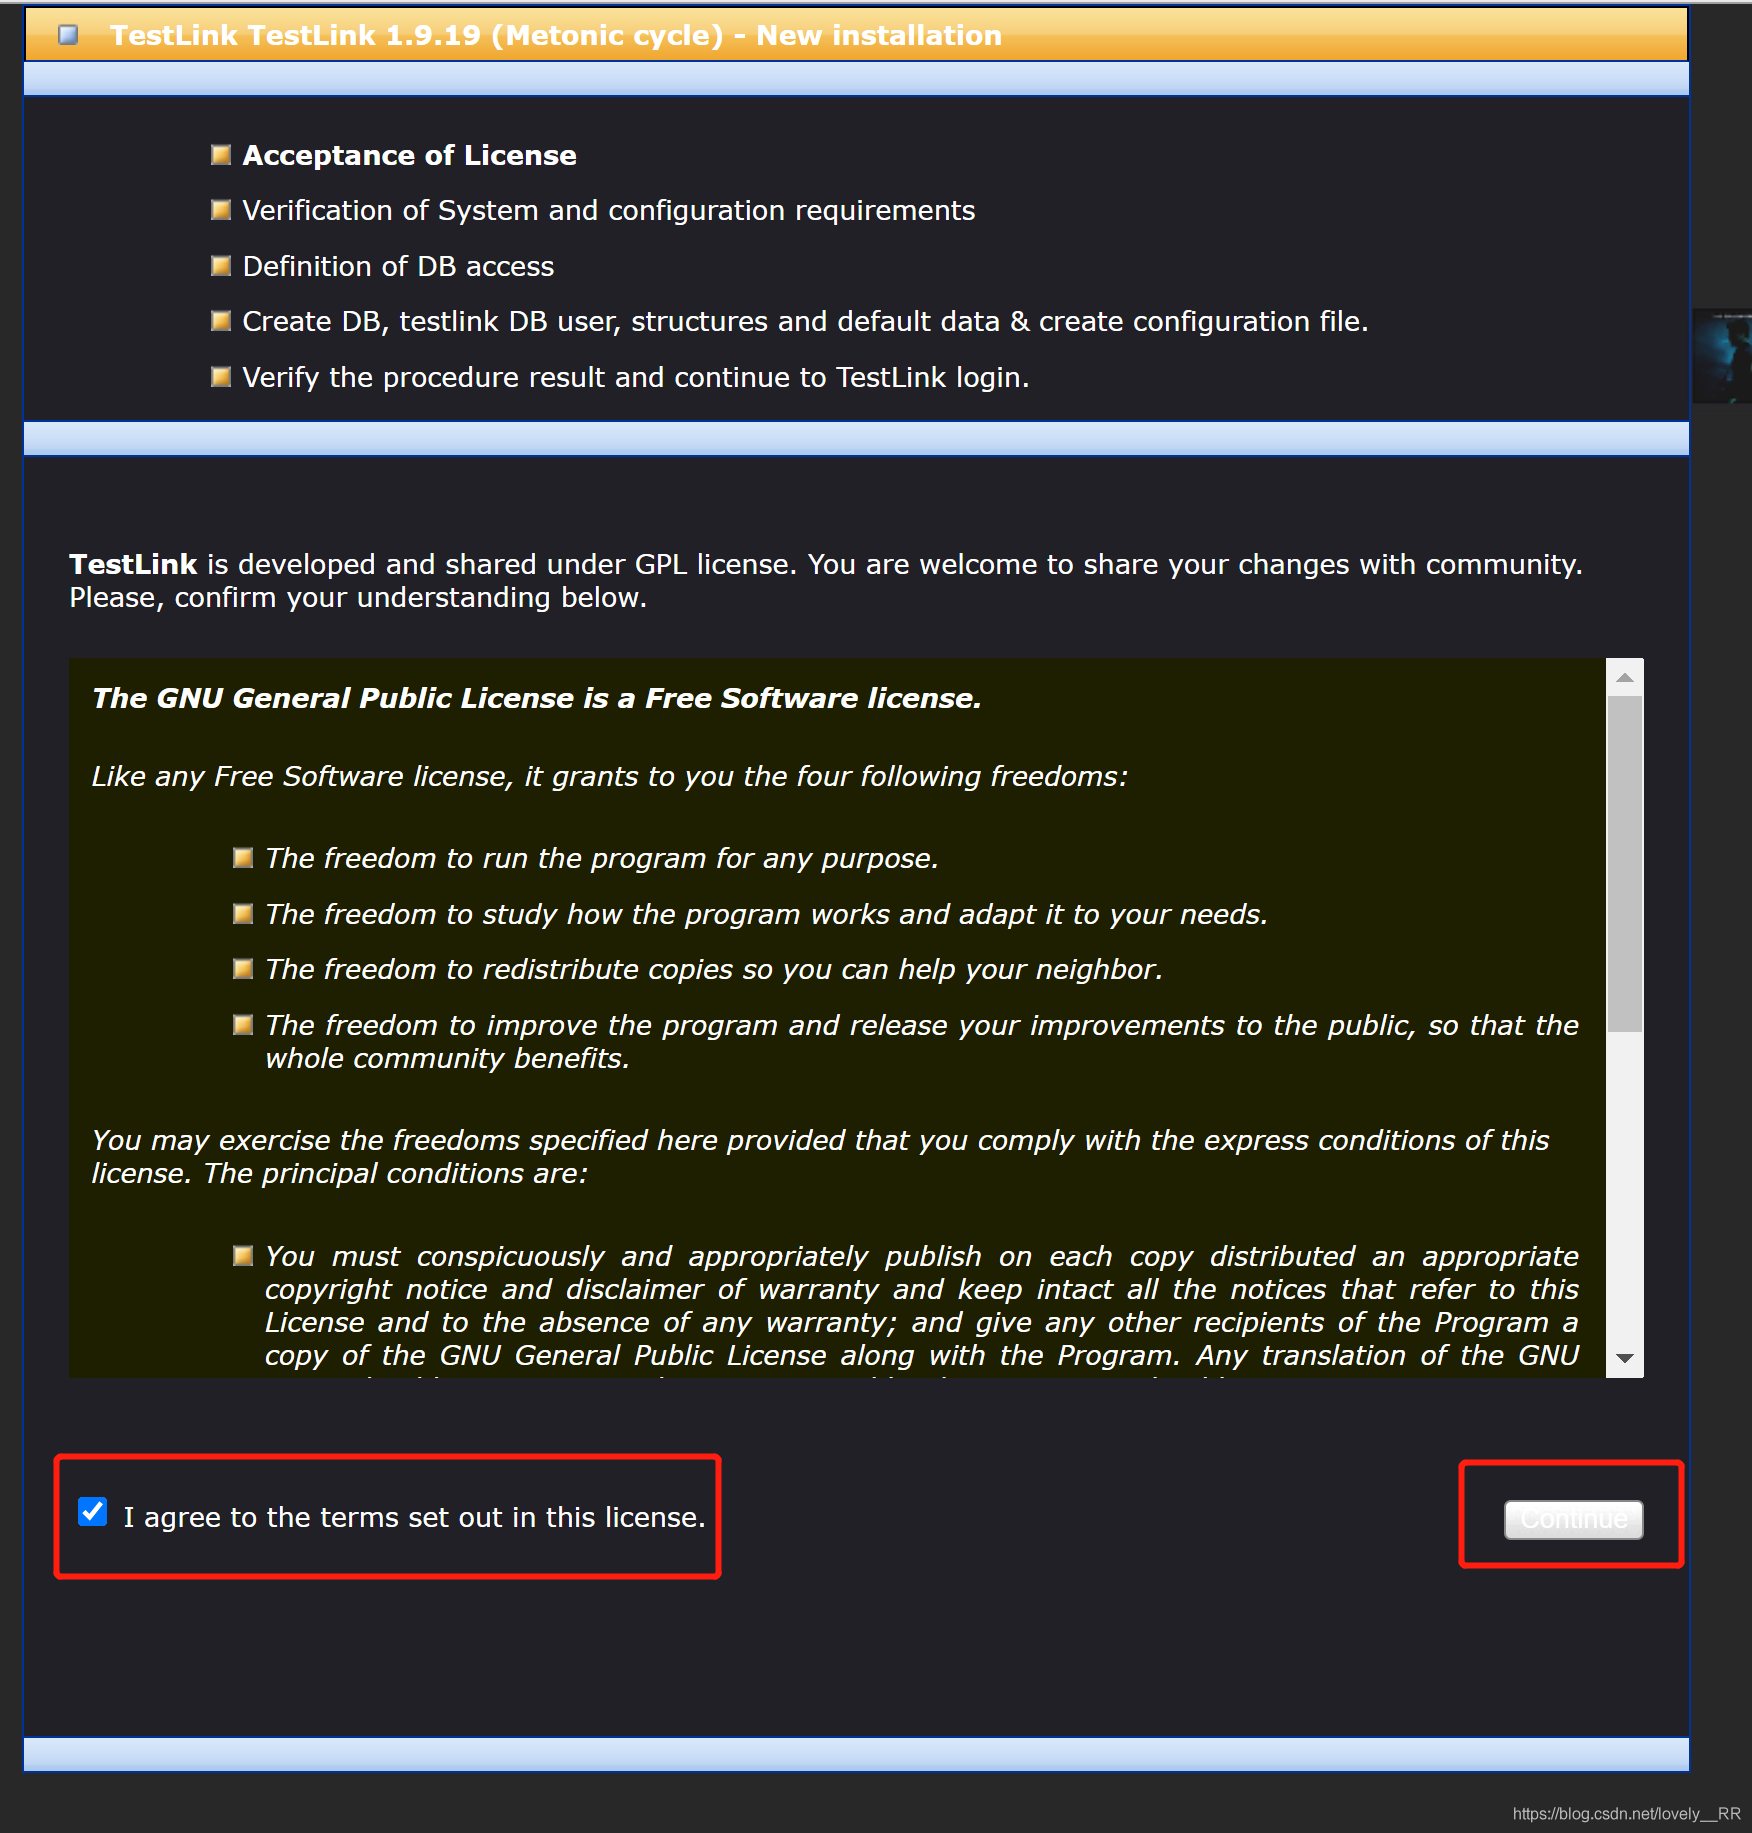
After clicking continue, we will enter the next page. We will see that several functions fail. Here we solve them one by one
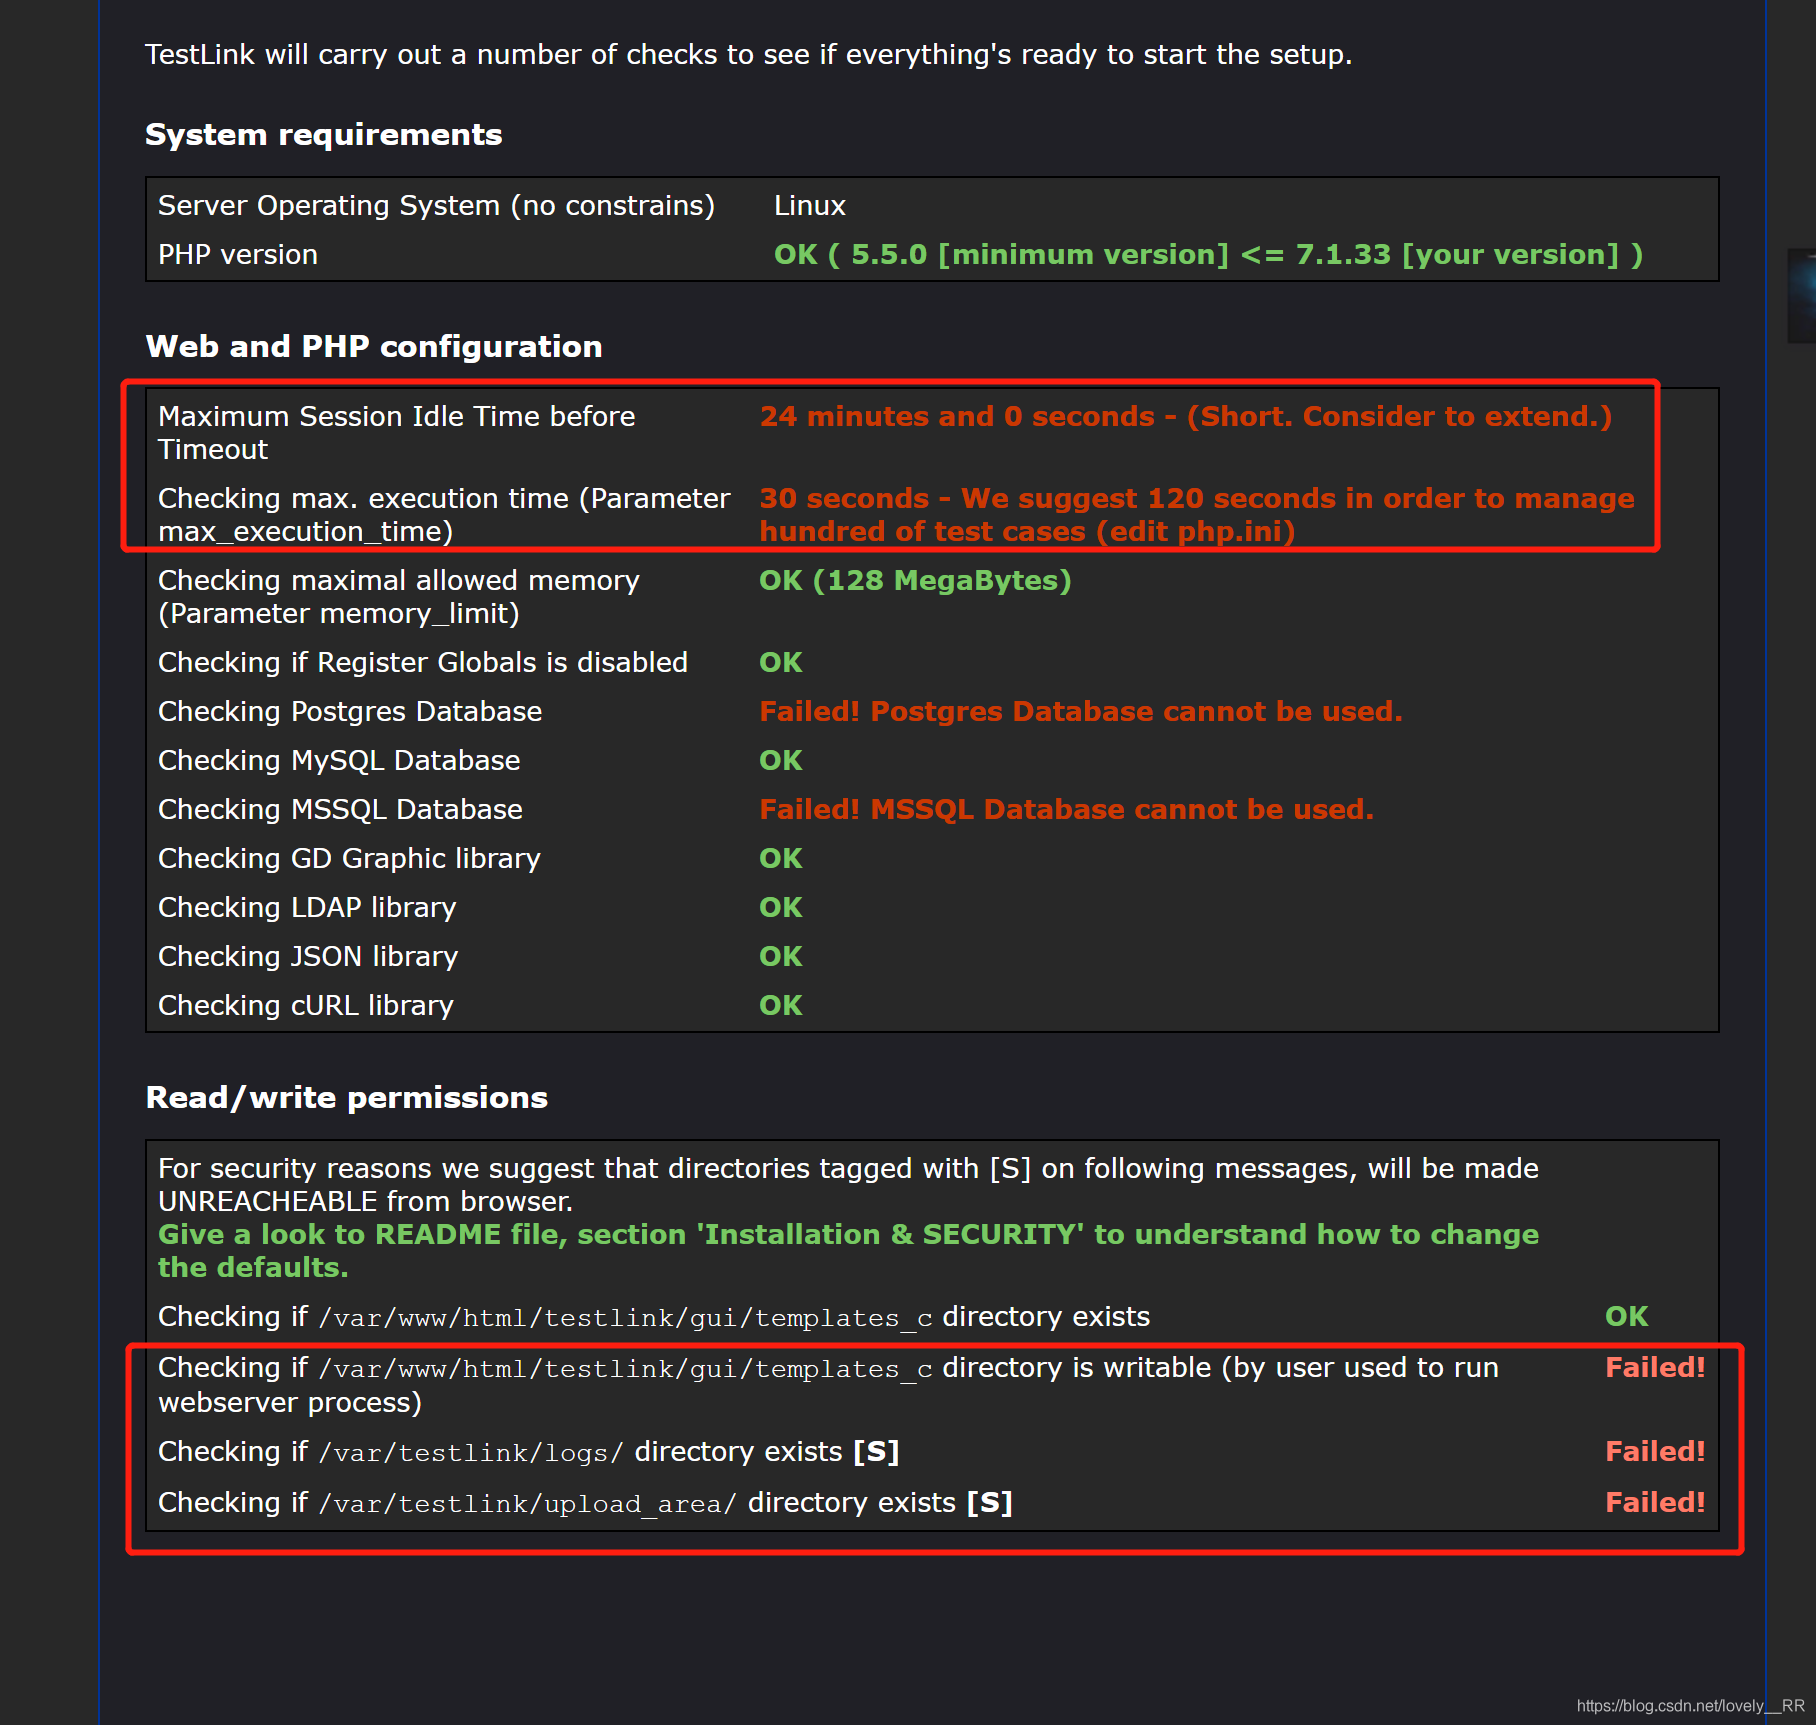
First, we solve the above two problems. We modify the following / etc / PHP INI file
vi /etc/php.ini
Modify the following basic information
Change 30 to 120

Change 1440 to 2400

Then we solve the following problems
vi /var/www/html/testlink/config.inc.php
Modify log storage address


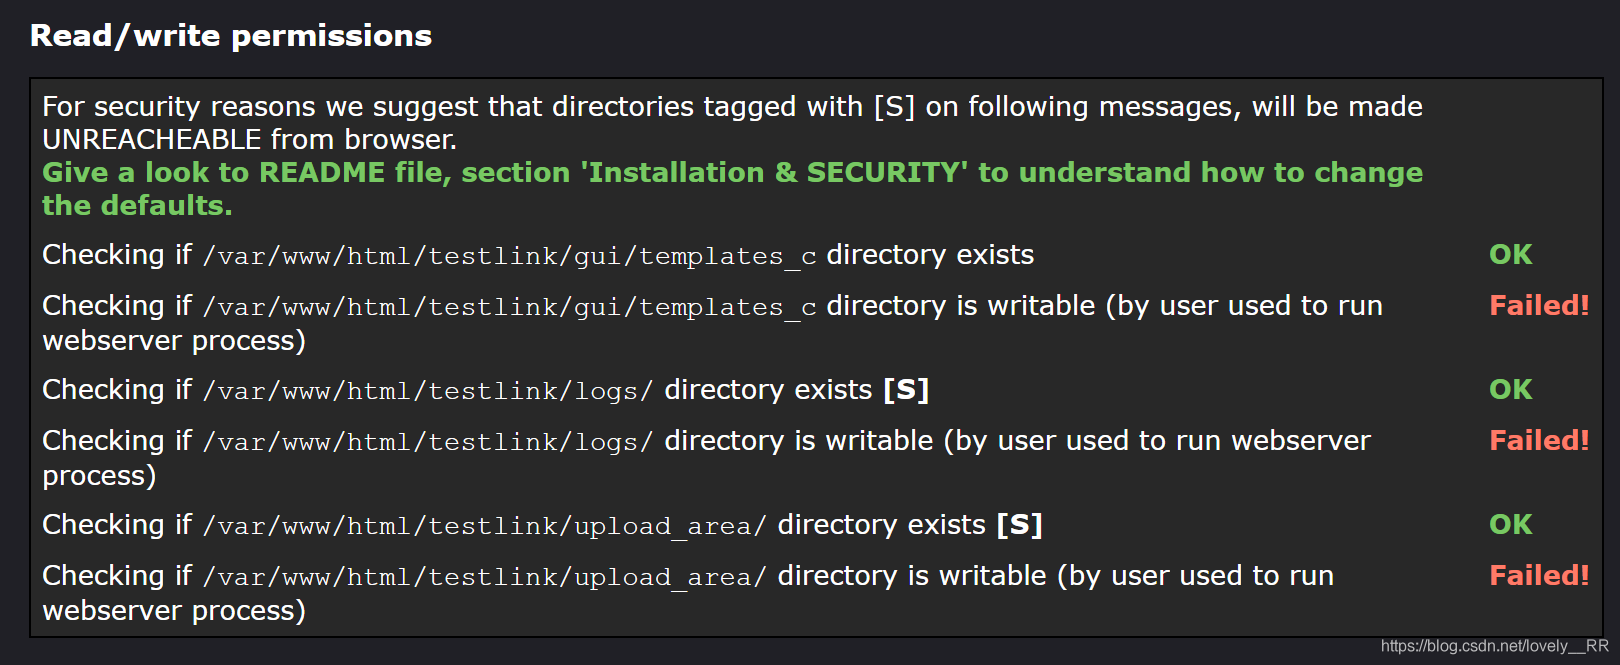
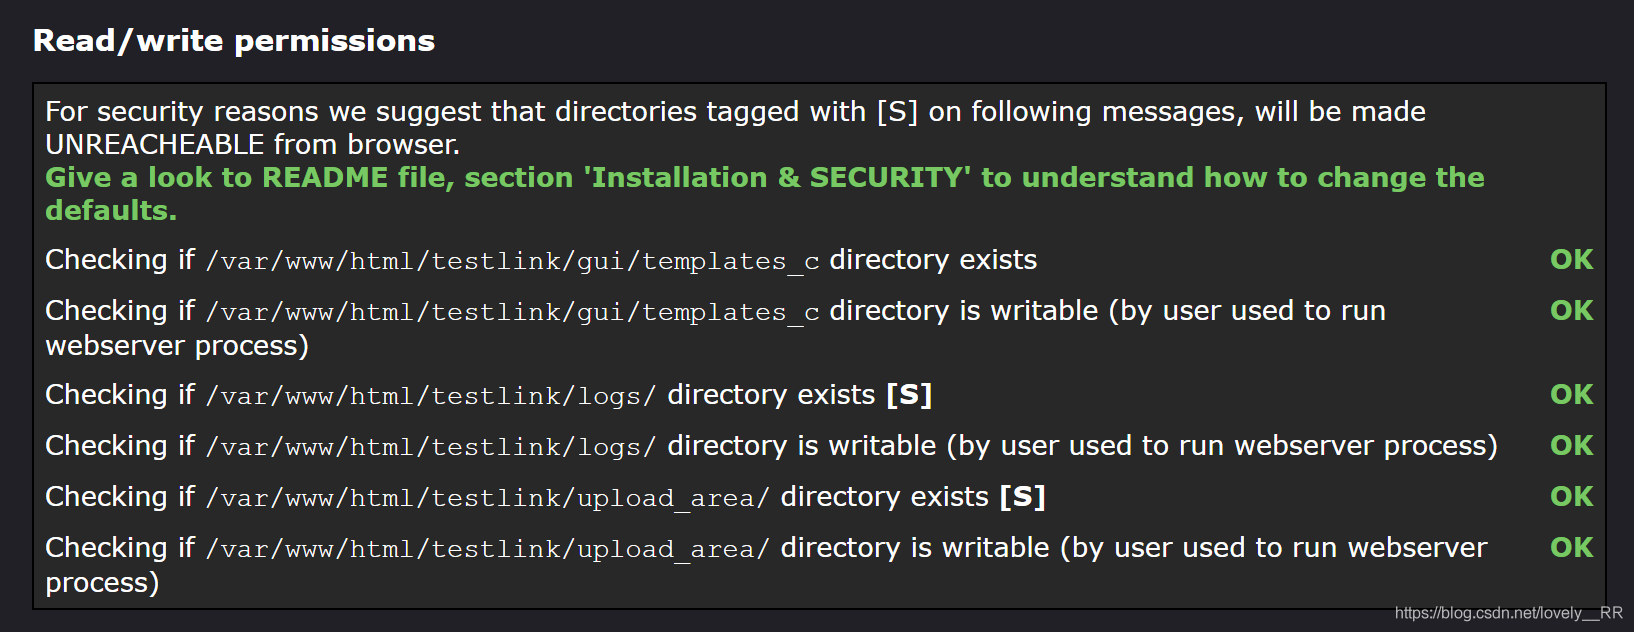
Save and give all permissions to the following files
chmod 777 -R /var/www/html/testlink/gui/templates_c/

chmod 777 -R /var/www/html/testlink/logs

chmod 777 -R /var/www/html/testlink/upload_area/
Then we restart the httpd service
systemctl restart httpd.service
If the following error occurs after refreshing the browser again, it is because SELinux blocks / usr/sbin/httpd from / var/www/html/testlink/gui/templates_c write operation
We just need to execute the following commands in sequence:
semanage fcontext -a -t httpd_sys_rw_content_t '/var/www/html/testlink/gui/templates_c'

restorecon -v '/var/www/html/testlink/gui/templates_c'

semanage fcontext -a -t httpd_sys_rw_content_t '/var/www/html/testlink/logs'

restorecon -v '/var/www/html/testlink/logs'

semanage fcontext -a -t httpd_sys_rw_content_t '/var/www/html/testlink/upload_area'

restorecon -v '/var/www/html/testlink/upload_area'
Then restart our httpd service
systemctl restart systemctl.service
Then we refresh our page to see that the problem has been solved
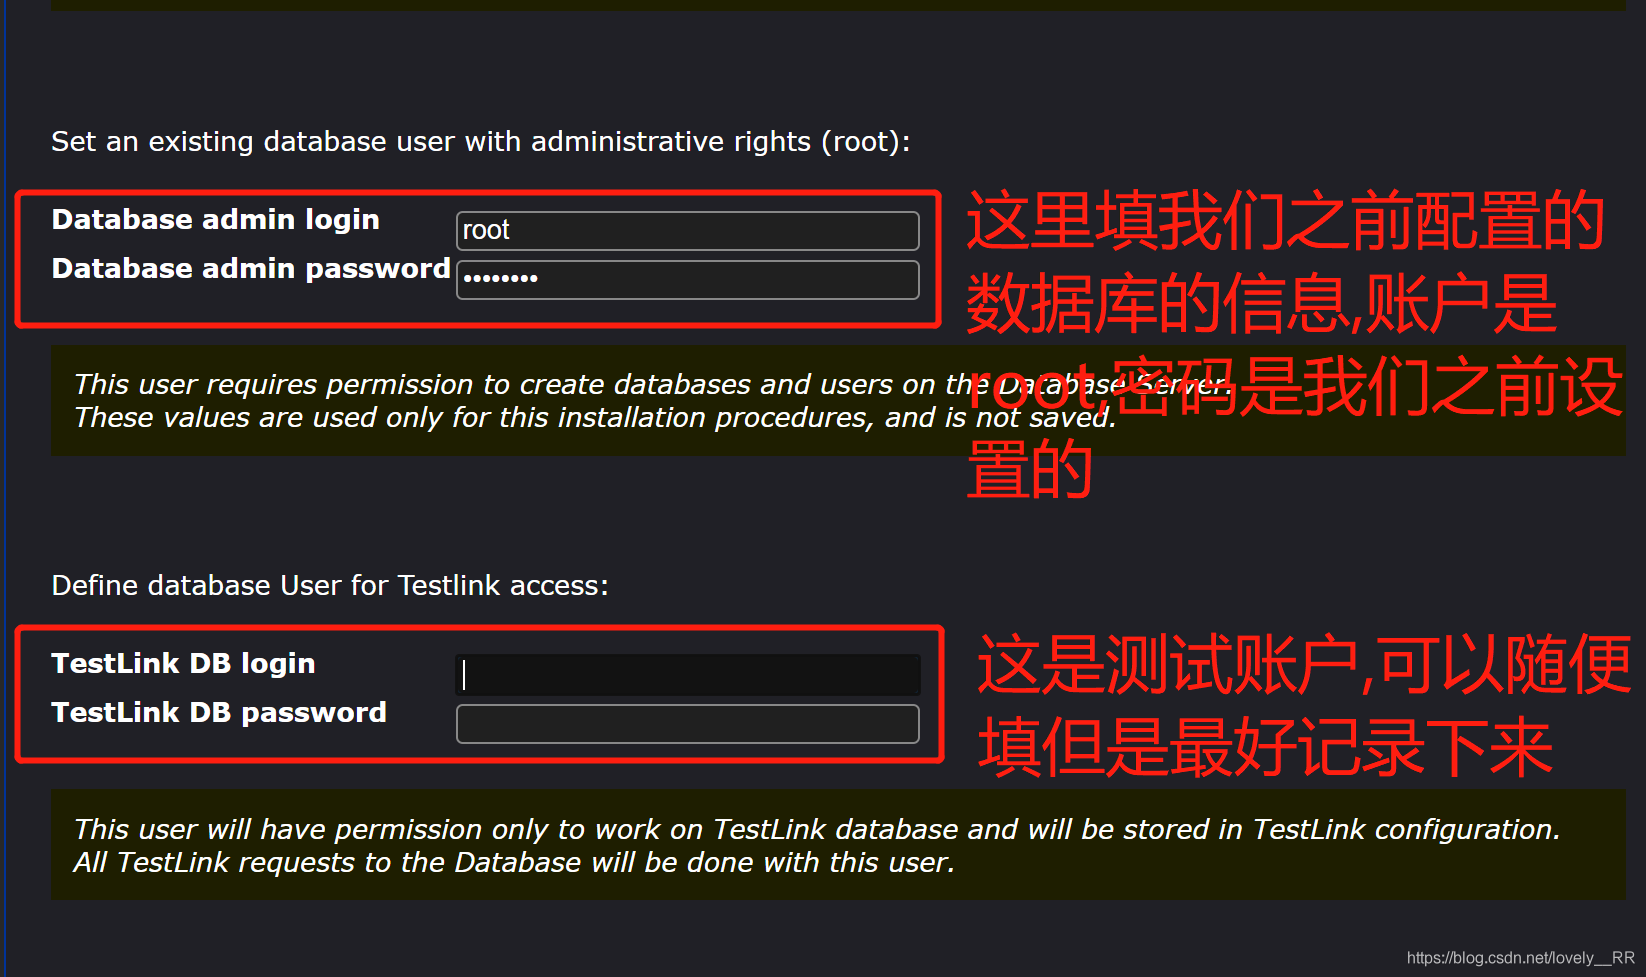
After that, we will move to the next page, which is mainly about the relevant information of the configuration database

We can see that testlink requires mysql to be at least 5.6 and MariaDB to be at least 10, so we install MariaDB above 10
Secondly, we will configure the relevant information of our database
Then we go to the next page and will encounter the following problems;
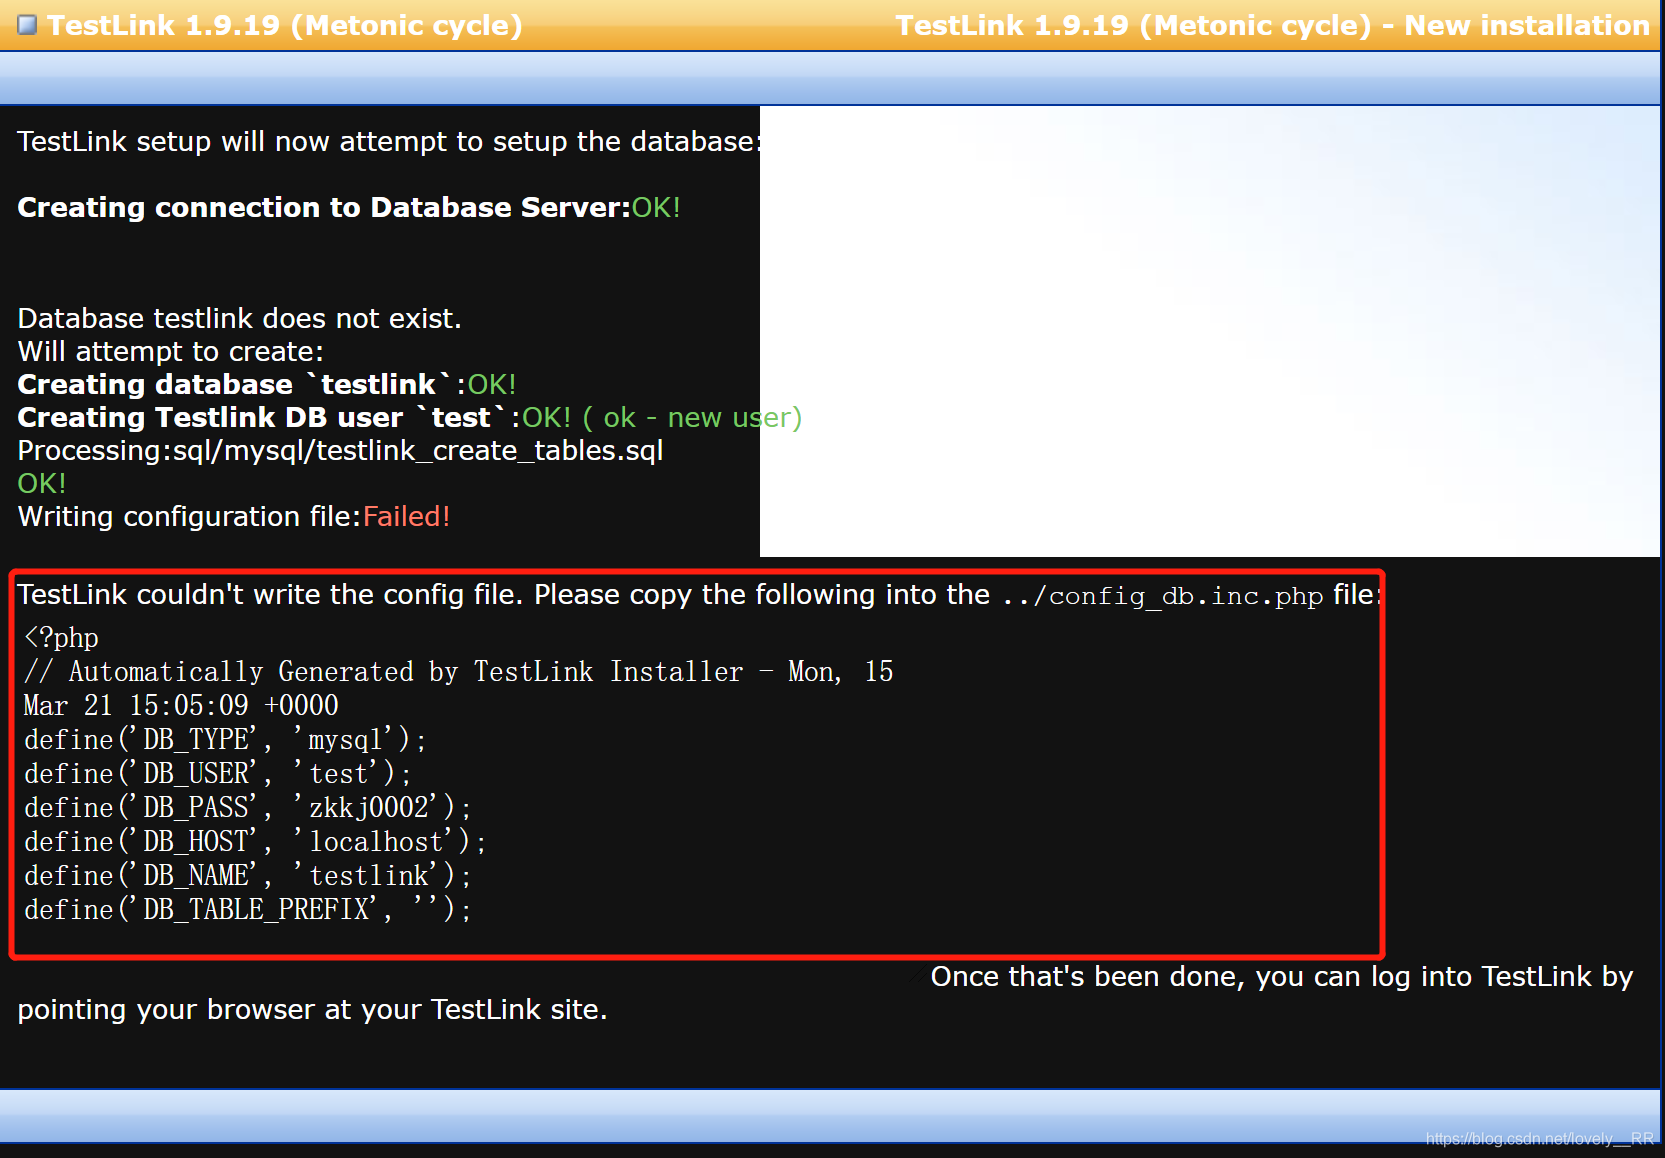
We just need to copy and paste this code into config as prompted_ db. ini. PHP file
Remember that this file does not exist, so after using automatic completion, remember to see if it is the file we want to add
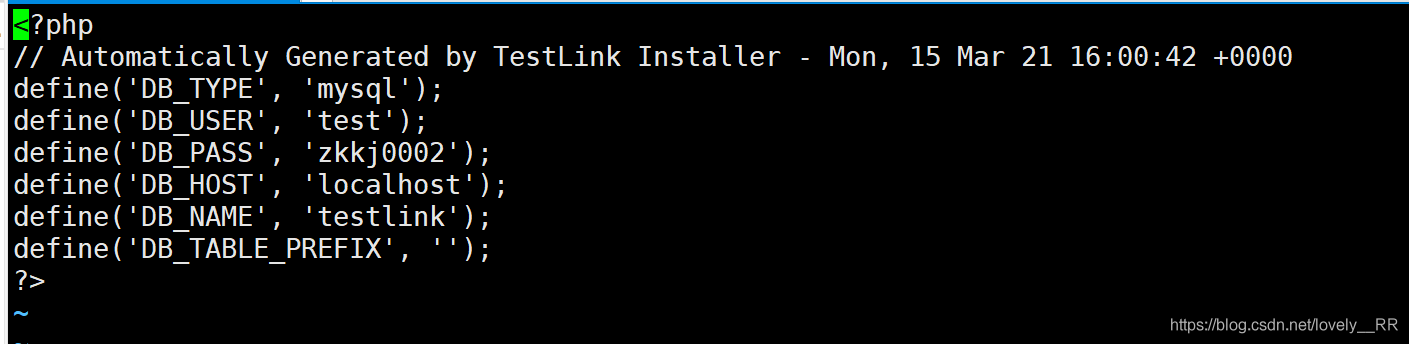
Then we can visit the page HTTP://IP address / TestLink / login php
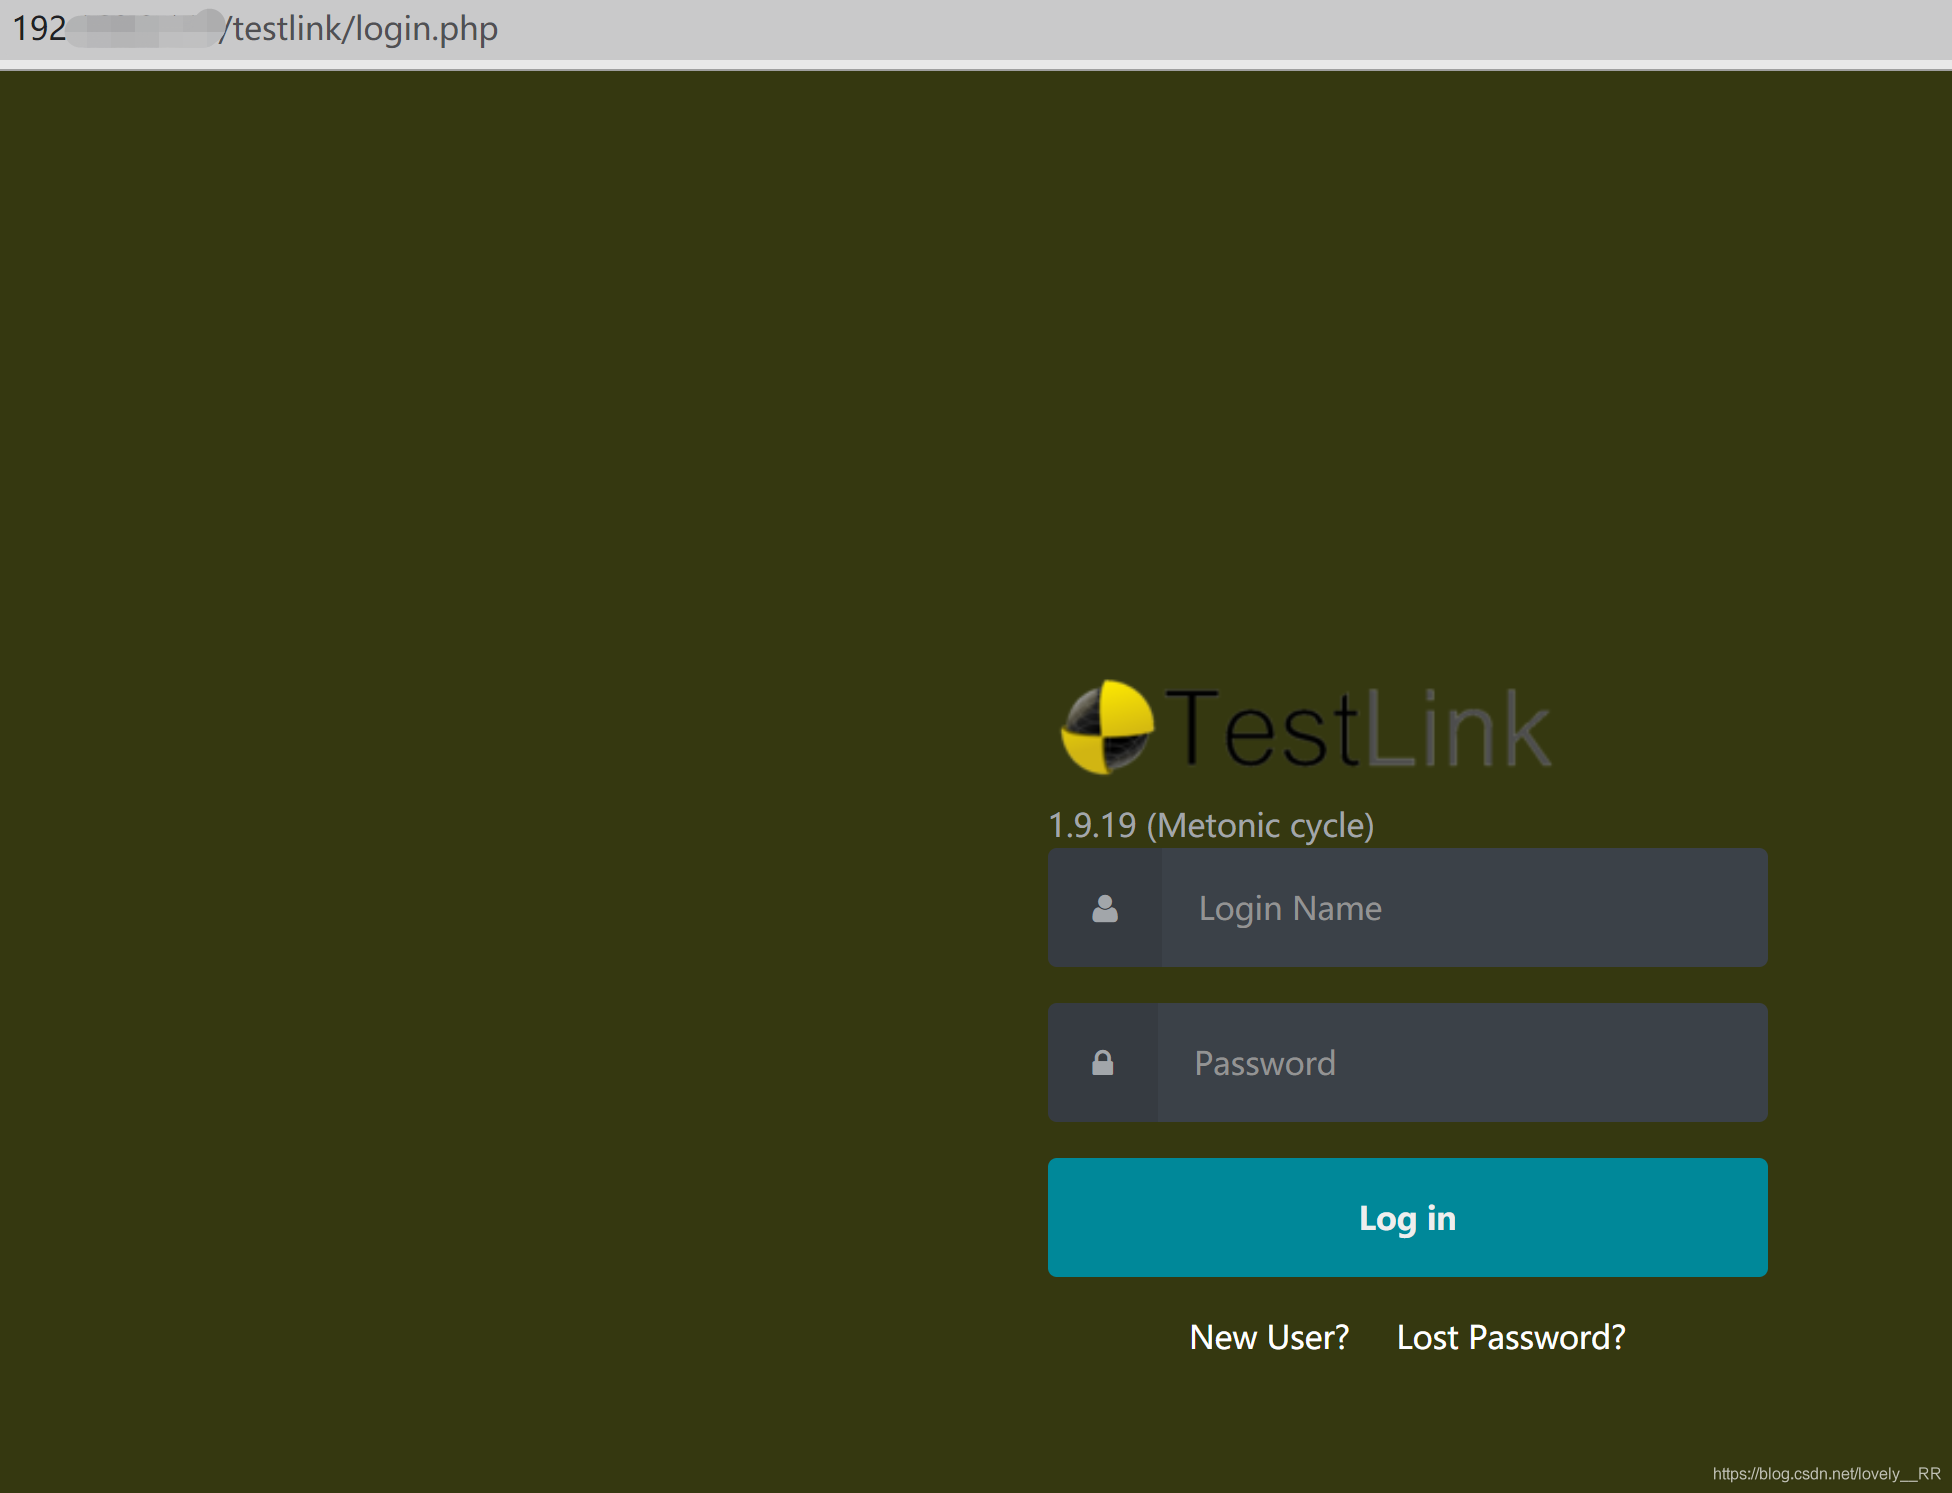
The account and password are admin by default
At this point, testlink is the end of the installation