1. Download the shuttle SDK
https://flutter.cn/docs/development/tools/sdk/releases
2. Install and configure the fluent development environment
Configure the PATH environment variable of the fluent (the current window takes effect): This command configures the PATH environment variable and will only take effect in your current command line window. If you want it to take effect permanently, check Update PATH environment variable.
export PATH="$PATH:`pwd`/flutter/bin"
Run the shuttle doctor command Run the following command to check whether other dependencies need to be installed in the current environment (if you want to view more detailed output, add a - v parameter):
This command will check your current configuration environment and generate a report in the command line window. Dart SDK will be installed with the installation of fluent, so there is no need to install dart separately. You need to carefully read the report generated by the above command to see if you miss some dependencies that need to be installed or commands that need to be executed later (this will be displayed in bold text).
flutter doctor
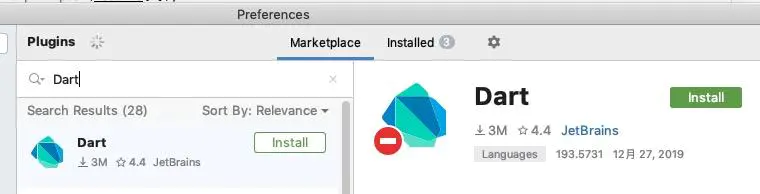
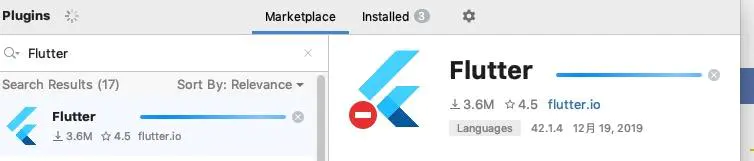
Problems encountered during installation configuration:
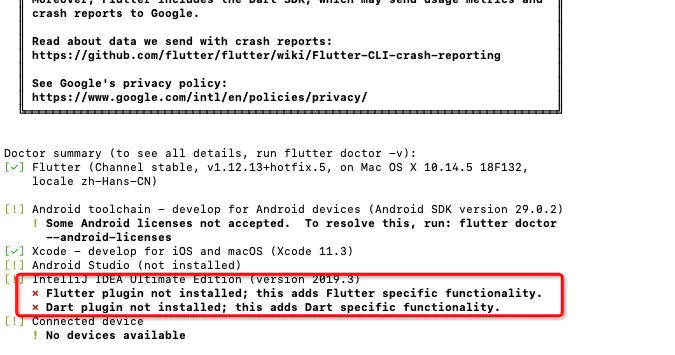
Treatment method:
Download and install dart and Flutter in the idea - plugin, restart idea, and then re execute the flutter doctor on the terminal

Normal operation results
3. Hybrid development access
Structure diagram (my project uses CocoaPods)
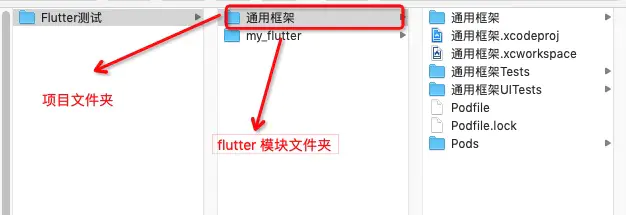
1) Create a Flutter module in the project folder peer directory (the codes of the relevant pages of Flutter are here).
Open the terminal cd to the Flutter test folder flutter create --template module my_flutter
2) Add the following code to podfile (my_fluent is the name of the module folder), and then cd it to the project folder to execute pod install
##Flutter engineering path
#flutter_application_path = '../my_flutter'
##Read podhelper RB's Ruby code is executed in the current directory
#eval(File.read(File.join(flutter_application_path, '.ios', 'Flutter', 'podhelper.rb')), binding)

flutter_application_path = '../my_flutter'
load File.join(flutter_application_path, '.ios', 'Flutter', 'podhelper.rb')
install_all_flutter_pods(flutter_application_path)
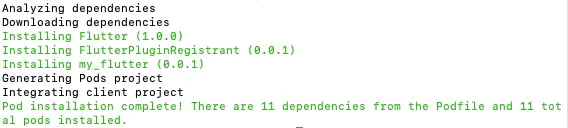
3) Compile it. If there is no problem, add the code
Import in controller  #import <Flutter/Flutter.h>

- (void)viewDidLoad {
    [super viewDidLoad];
    // Do any additional setup after loading the view.

    UIButton *button = [UIButton buttonWithType:UIButtonTypeCustom];
    [button addTarget:self action:@selector(handleButtonAction) forControlEvents:UIControlEventTouchUpInside];

    [button setTitle:@"load Flutter" forState:UIControlStateNormal];
    [button setBackgroundColor:[UIColor blueColor]];
    button.frame = CGRectMake(100, 100, 160, 60);
    [self.view addSubview:button];


}


- (void)handleButtonAction{

    FlutterViewController *flutterViewController =[FlutterViewController new];
    flutterViewController.title = @"flutterTitle";
//    //Set routing parameters
//    [flutterViewController setInitialRoute:@"route"];
//    [self presentViewController:flutterViewController animated:false completion:nil];
    [self.navigationController pushViewController:flutterViewController animated:YES];

}
4) Operation results:

First interface
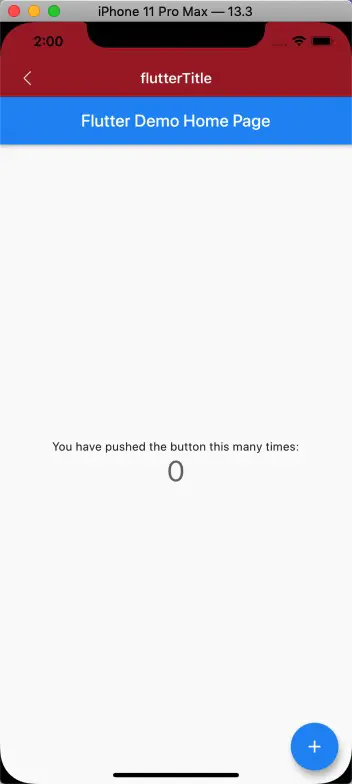
Click the button to jump to the later fluent interface
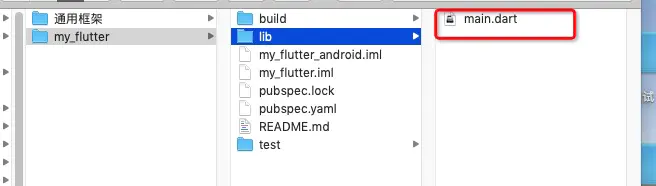
5) Modify the default code of the module, location: my_flutter - lib- main.dart, replace with the following code
// Copyright 2018 The Flutter team. All rights reserved.
// Use of this source code is governed by a BSD-style license that can be
// found in the LICENSE file.

import 'package:flutter/material.dart';

void main() => runApp(MyApp());

class MyApp extends StatelessWidget {
  @override
  Widget build(BuildContext context) {
    return MaterialApp(
      title: 'Welcome to Flutter',
      home: Scaffold(
        appBar: AppBar(
          title: Text('Welcome to Flutter'),
        ),
        body: Center(
          child: Text('Hello World'),
        ),
      ),
    );
  }
}
6) To run the project, click the button
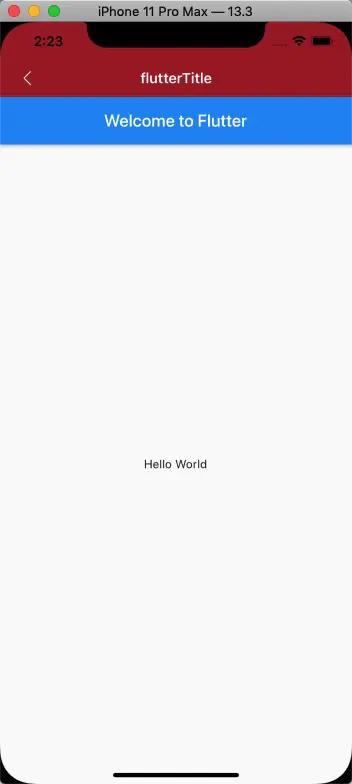
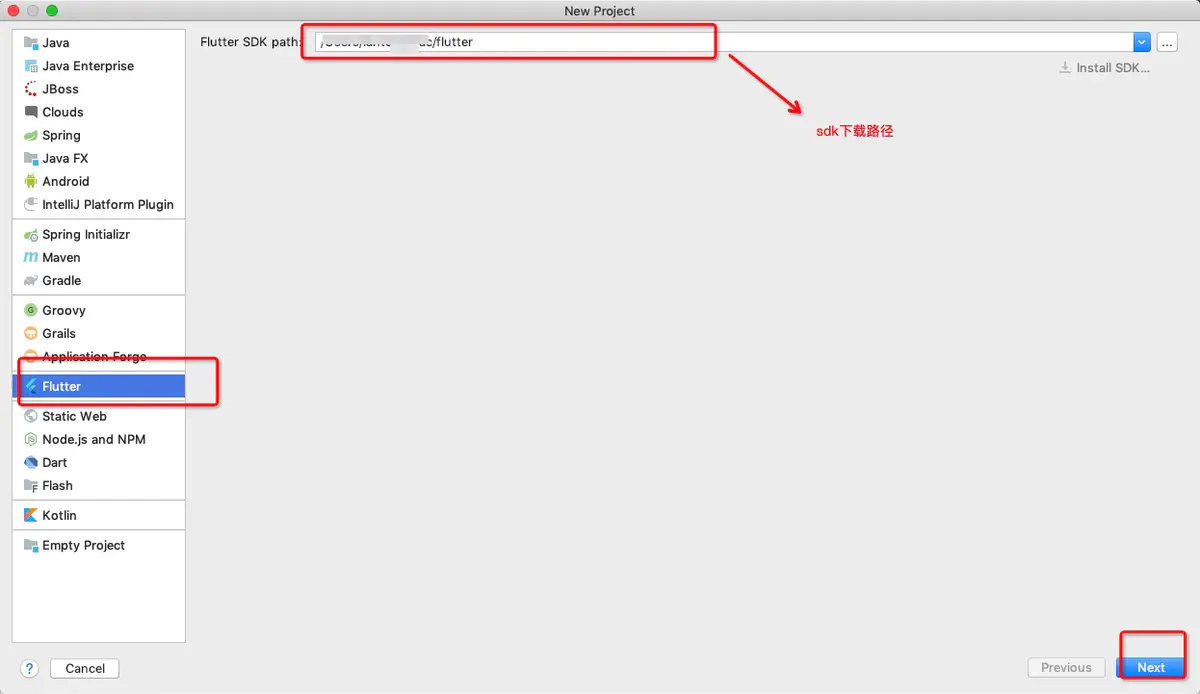
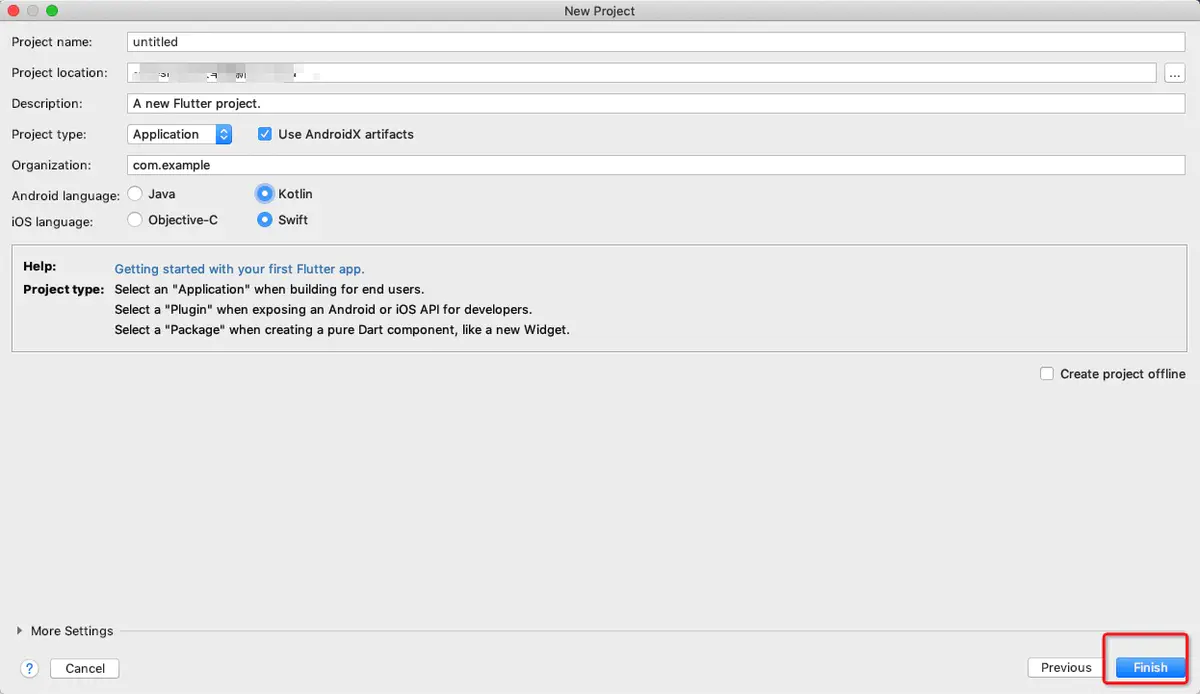
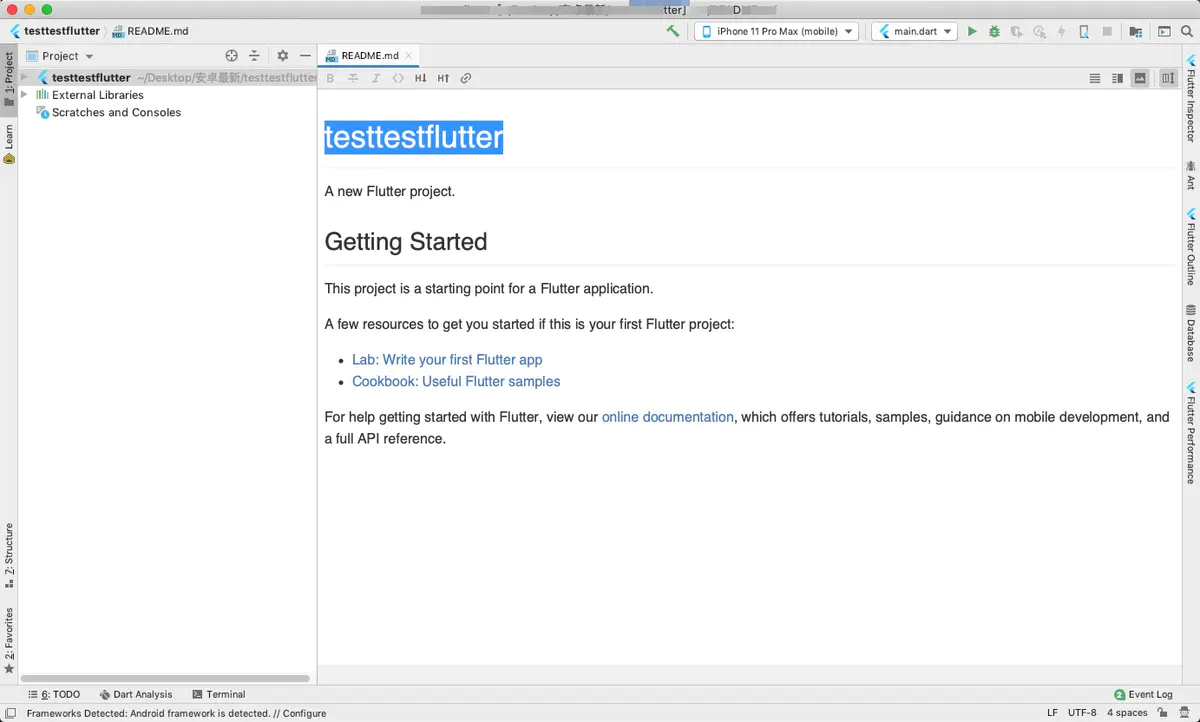
idea configure fluent, create a new project, and run it