Docker data volume – two types of volume and comfort volume plug-ins provided by docker
1, Foreword
Why use data volumes:
docker hierarchical file system
1. Poor performance
2. The lifecycle is the same as the container
docker data volume
1. mount to the host, bypassing the hierarchical file system
2. The performance is the same as that of the host disk, and the container remains after being deleted
3. Local disk only, cannot migrate with container
2, docker provides two types of volumes
1.bind mount
bind mount is to mount directories or files on the host into a container. It is intuitive, efficient and easy to understand. Use the - v option to specify the path in the following format:
The default permission of bind mount is read / write rw. You can specify read-only ro when mounting- If the path specified by the v option does not exist, it will be created automatically during mounting.
When deleting files from the directory in the container, the files in the mounting directory of the corresponding host will also be deleted. Therefore, we give the directory read-only permission when mounting:
[root@server1 ~]# docker run -d --name demo -v /webdata:/usr/share/nginx/html nginx
7332b81791abc0a5e5f19fd2f43b07ba57c2086b0d5643c7725095207a43b2dc
[root@server1 ~]# cd /var/lib/docker/volumes/webdata/_data/
[root@server1 _data]# ls  ##No nginx release file found, it has been overwritten
[root@server1 _data]# pwd
/var/lib/docker/volumes/webdata/_data
2.docker managed volume
bind mount must specify the host file system path, which limits the portability; docker managed volume
Without specifying the mount source, docker automatically creates a data volume directory for the container. The data volume directories created by default are all in / var/lib/docker/volumes; If you point to the existing directory in the container when mounting, the original data will be copied to volume
[root@server1 ~]# docker run -d --name demo -v /usr/share/nginx/html nginx
634648bdadb747f50f755b6fc55993b5cc05ccb43ea6ceb9c859181c20d6bf94
[root@server1 ~]# docker inspect demo

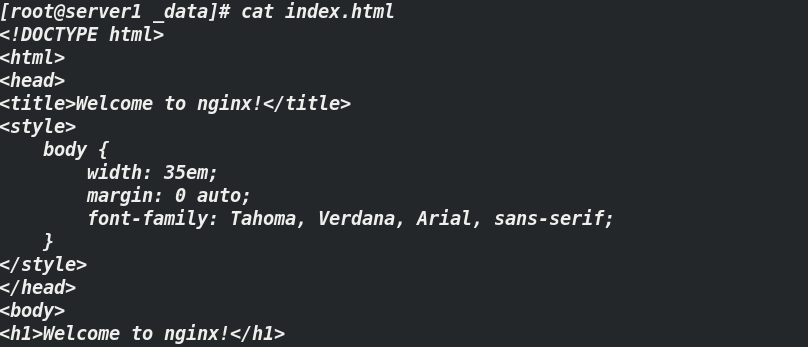
[root@server1 ~]# cd /var/lib/docker/volumes/2f36b96ab6edad0d6a64ccc752c52a947e1dc4c42961ca567976b480ce05df45/_data
[root@server1 _data]# ls
50x.html  index.html
[root@server1 _data]# cat index.html
 When we mount the bind mount mode, adding ro can prevent overwriting the original content, but it can only be read
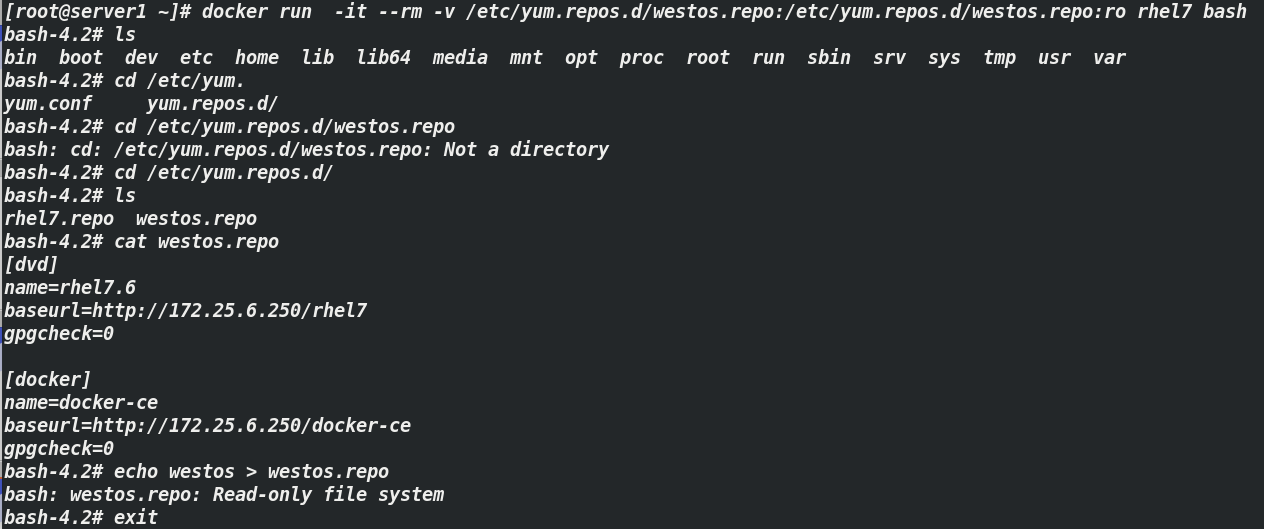
[root@server1 ~]# docker run -d --name demo -v webdata:/usr/share/nginx/html nginx
4f873ea2af75939172aeaa74854785133ae6849100fa8851cd54dcebc4df2989
[root@server1 ~]# docker run  -it --rm -v /etc/yum.repos.d/westos.repo:/etc/yum.repos.d/westos.repo:ro rhel7 bash
3, Introduction to volume plug-ins
docker volumes use local drivers by default. Only host computers can exist. Cross host volumes need to use third-party drivers. docker official only provides the api of volume plug-ins. Developers can customize volume plug-in drivers according to actual needs
- Docker Plugin runs on each Docker Host as a Web Service and transmits RPC style JSON data through HTTP protocol to complete communication.
- The start and stop of Plugin are not managed by docker. Docker Daemon automatically finds available plug-ins by searching Unix Socket files in the default path.
- When the client interacts with Daemon and uses the plug-in to create a data volume, Daemon will find the socket corresponding to the plug-in on the back end
File, establish a connection and initiate corresponding API requests, and finally complete the client's requests in combination with Daemon's own processing.
4, Comfort volume plug-in
The voice volume plug-in implementation supports three operation modes: devicemapper, NFS and EBS.
4.1 NFS mode (supported by linux system)
server1: Server
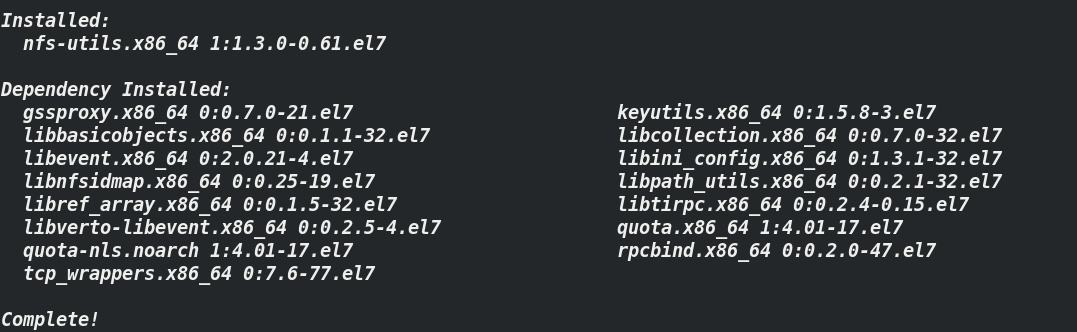
[root@server1 ~]# yum install -y nfs-utils.x86_64 ##Installing nfs components
4.1 establish the mount directory and modify the corresponding configuration file
[root@server1 ~]# mkdir /mnt/nfs #Mount directory
[root@server1 ~]# vim /etc/exports
/nfsdata        *(rw,no_root_squash)
[root@server1 ~]# chmod 777 /mnt/nfs #Modify execution permission
[root@server1 ~]# systemctl enable --now nfs ##Start up and start up immediately
Created symlink from /etc/systemd/system/multi-user.target.wants/nfs-server.service to /usr/lib/systemd/system/nfs-server.service.
4.2 console volume plug-in installation
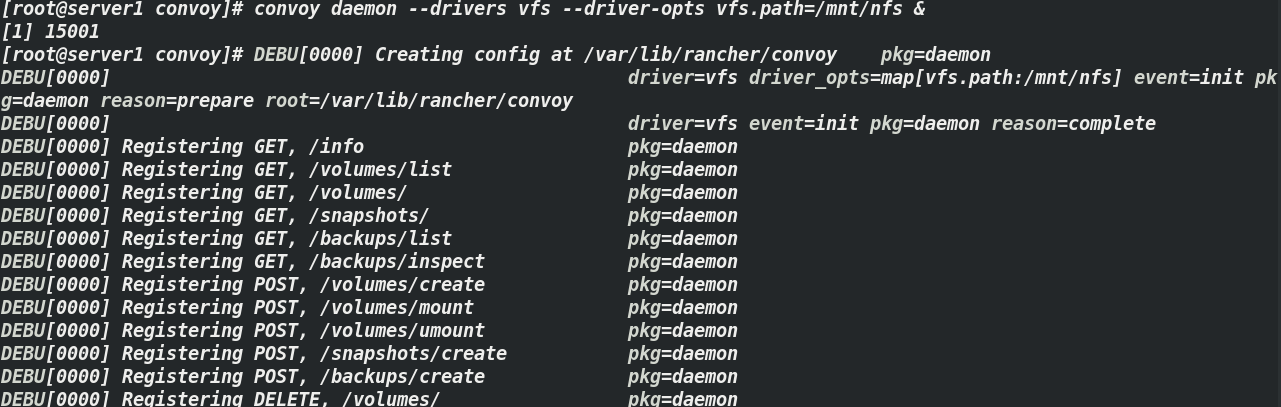
[root@server1 ~]# tar zxf convoy.tar.gz
[root@server1 ~]# cd convoy/
[root@server1 convoy]# ls
convoy  convoy-pdata_tools  SHA1SUMS
root@server1 convoy]# mkdir -p /etc/docker/plugins/   ##The path where the sock is stored in this directory
[root@server1 convoy]# cp convoy convoy-pdata_tools /usr/local/bin/  ##
[root@server1 convoy]# convoy daemon --drivers vfs --driver-opts vfs.path=/mnt/nfs &  ## Start the plug-in and enter the background
[root@server1 convoy]# echo "unix:///var/run/convoy/convoy. Sock "> / etc / docker / plugins / consult.spec ## specifies the path of the sock so that it can be retrieved when docke is called
4.3 creating volumes
[root@server1 convoy]# convoy create vol1  ##Auto generate / mnt/nfs/vol1
[root@server1 convoy]# convoy list # see information

4.4. Use volume
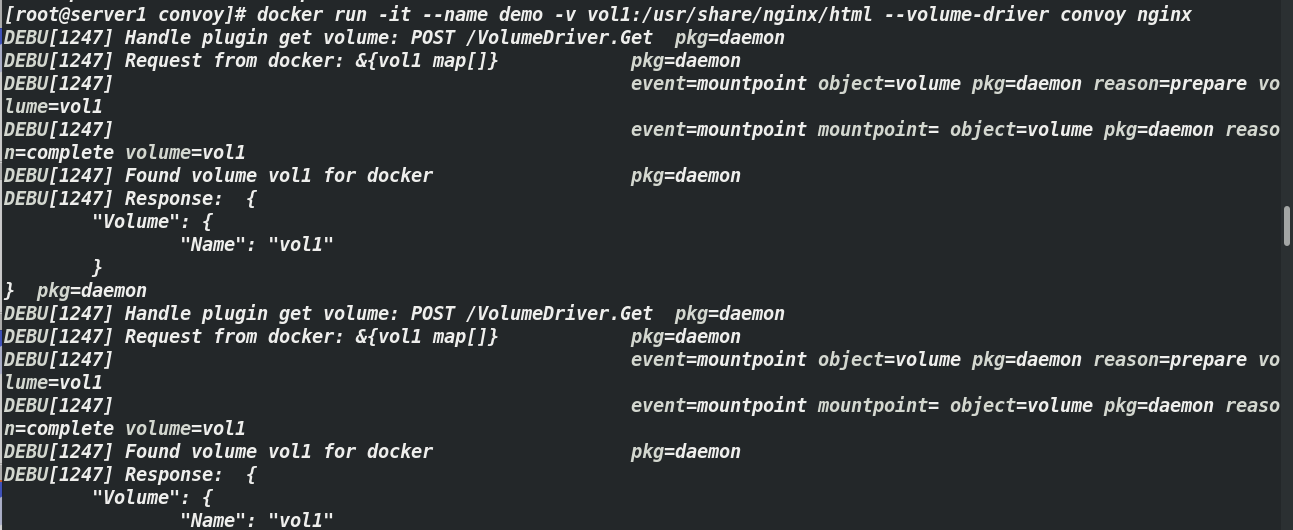
[root@server1 convoy]# docker run -it --name demo -v vol1:/usr/share/nginx/html --volume-driver convoy nginx ##
[root@server1 vol1]# docker inspect demo

[root@server1 vol1]# curl 172.17.0.2
Welcome to nginx  ##This page needs to be edited on the publishing page of nginx
server2: Server
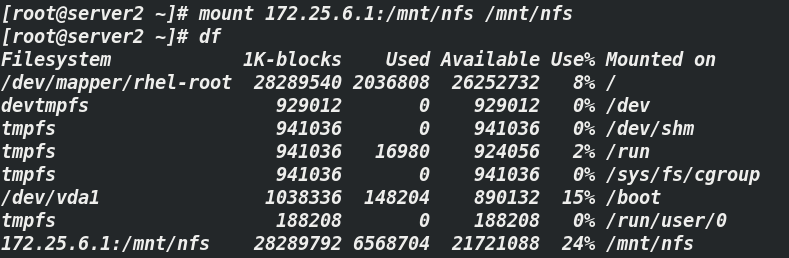
[root@server1 ~]# yum install -y nfs-utils.x86_64 ##Installing nfs components
[root@server2 ~]# mkdir /mnt/nfs ##Establish mount point
[root@server2 ~]# mount 172.25.6.1:/mnt/nfs /mnt/nfs #mount
[root@server2 ~]# df
172.25.6.1:/mnt/nfs    28289792 6568704  21721088  24% /mnt/nfs
 The installation steps of the comfort volume plug-in are the same as those of server1. Create the volume and use the volume in the same way
[root@server2 plugins]# docker run -d --name demo -v vol1:/usr/share/nginx/html --volume-driver=convoy nginx
[root@server2 plugins]# curl 172.17.0.2
 Welcome to nginx
Note: if the container is running on two hosts at the same time, the data in its data directory is synchronized; At the same time, the two hosts can backup each other
Example: delete the demo image on server1
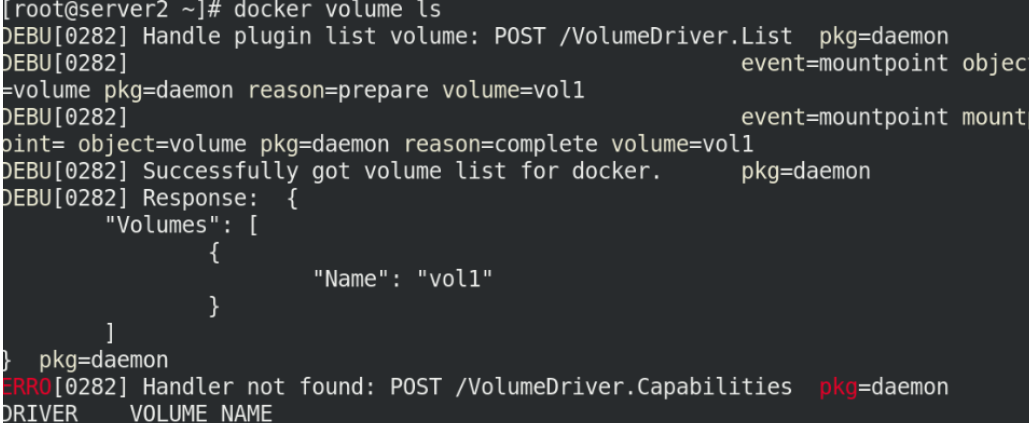
[root@server1 vol1]# docker rm -f demo                ##Do failover
[root@server2 vol1]# docker run -d --name demo -v vol1:/usr/share/nginx/html  nginx
[root@server2 vol1]# curl 172.17.0.2
www.westos.org
[root@server2 vol1]#docker volume ls
5, Data volume cleanup
The clearing method of server1 is the same as that of server2. If you directly delete volu1 by docker, a card shield will appear (which can be successful), so new measures are taken
5.1. Kill the process to prevent the system from getting stuck when the data volume
[root@server2 vol1]# ps ax ##Process view

[root@server2 vol1]# kill -9 4578 ##Kill process
5.2. Enter the input volume storage directory and delete the data volume
[root@server2 vol1]# cd /var/lib/docker/volumes/
[root@server2 volumes]# ls
metadata.db
[root@server2 volumes]# rm -f metadata.db
5.2. Enter the plugins directory and delete the placed plug-ins
[root@server2 volumes]# cd /etc/docker/
[root@server2 docker]# ls
certs.d  daemon.json  key.json  plugins
[root@server2 docker]# cd plugins/
[root@server2 plugins]# ls
convoy.spec
[root@server2 plugins]# rm -f convoy.spec
[root@server2 plugins]# systemctl restart docker.service ##Restart effective
[root@server2 plugins]# docker volume ls ##View effect (successful)
DRIVER              VOLUME NAME