User model class
1. Django default user authentication system (knowledge introduction)
1. Django has its own user authentication system
It handles user accounts, groups, permissions, and cookie based user sessions
2. Django certification system location
django.contrib.auth contains the core of the authentication framework and the default model
3. The Django authentication system handles both authentication and authorization
Authentication: verify whether a user is the person it claims, which can be used for account login
Authorization: authorization determines what an authenticated user is allowed to do
4. Contents of Django certification system
User: user model class, user authentication
Authority: identifies whether a user can do a specific task, which is commonly used in MIS system
Group: unified management of multiple users with the same authority, which is commonly used in MIS system
Password: a configurable password hashing system to set password and password verification
2. Django default user model class (knowledge introduction)
Basic properties of User object
Required for creating user: username and password
User creation options: email, first_name,last_name,last_login,date_joined,is_active,is_staff,is_superuse
Judge whether the user has passed the authentication: is_authenticated
USERNAME_FIELD: the user name authentication field can be modified
How to create a user
user = User.objects.create_user(username, password, **extra_fields)

Method of user authentication
from django.contrib.auth import authenticate
user = authenticate(username=username, password=password, **kwargs)

Method of processing password
# Set password
set_password(raw_password)
# Verify password
check_password(raw_password)
3. Extended user attribute: custom user model class (operation)
from django.db import models
from django.contrib.auth.models import AbstractUser

# Create your models here.


# User information
class User(AbstractUser):
    # Phone number field unique: unique, blank: required
    mobile = models.CharField(max_length=11, unique=True, blank=False)
    # Avatar blank: optional
    avatar = models.ImageField(upload_to='avatar/%Y%m%d/', blank=True)
    # Introduction information
    user_desc = models.TextField(max_length=500, blank=True)

    # USERNAME_FIELD = 'mobile'

    # REQUIRED_FIELDS = ['username', 'email']

    # Modify configuration information
    class Meta:
        db_table = 'tb_user'   # Modify table name
        verbose_name = 'user management '
        verbose_name_plural = verbose_name   # admin background display

    def __str__(self):
        return self.mobile
4. Replace system model class: specify user model class (operation)
The Django user model class is created through the global configuration item auth_ USER_ Determined by model
Configuration rule: AUTH_USER_MODEL = 'application name 'model class name '
.
.
For details, please read the source code: Django conf.global_ settings
AUTH_USER_MODEL = 'auth.User'
In settings Add the following code to the. Py file:
# Replace the User of the system and use the customized User configuration information as: 'sub application name 'model class name '
AUTH_USER_MODEL = 'users.User'
5. Migrate files (operations)
1. On the PyCharm console or console, execute the command
python manage.py makemigrations
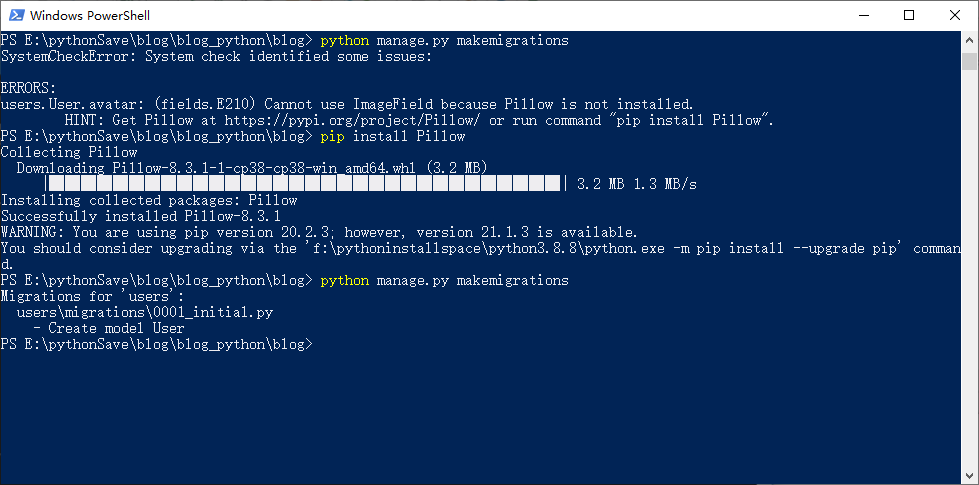
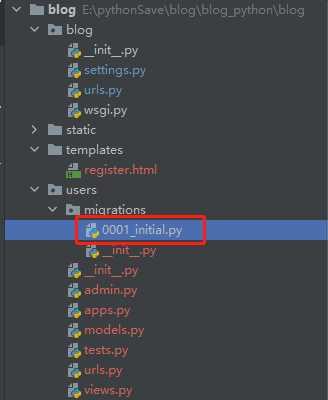
The new file will then appear in users > migrations
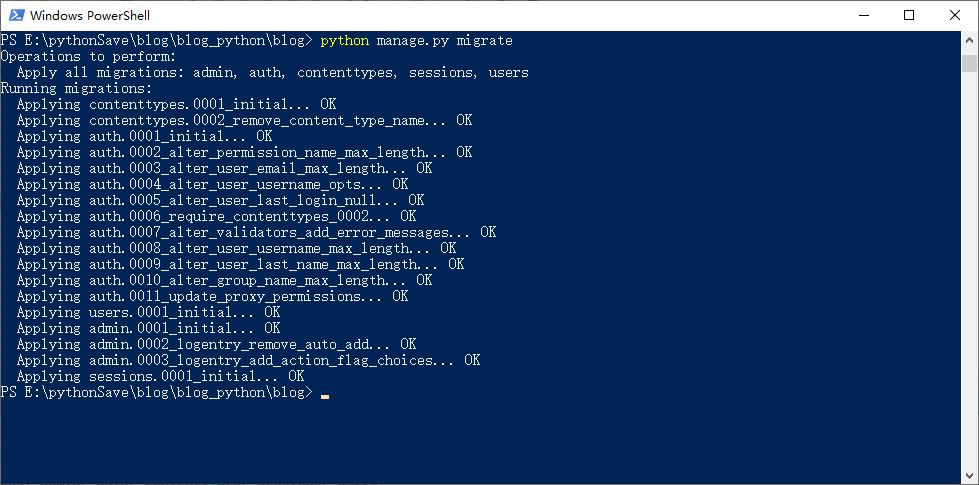
2. Migrate to database
Execute migration command
python manage.py migrate
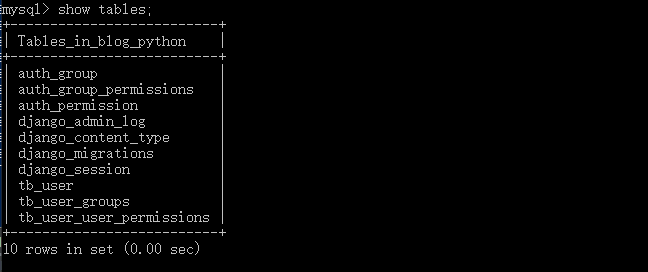
Database before command execution: empty database

Database after command execution: tables created
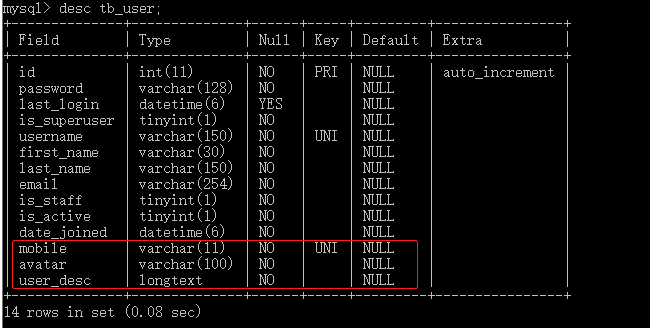
View tb_user table structure: contains custom attributes
supplement
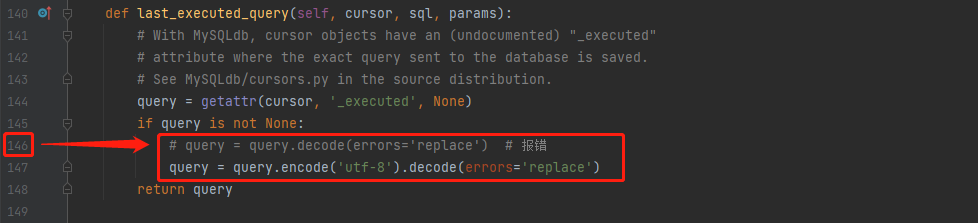
When executing the migration command, python 3 reports an error: AttributeError: 'str' object has no attribute 'decode'
Error reporting location: file "F: \ pythoninstallspace \ python3.8.8 \ lib \ site packages \ Django \ DB \ backups \ MySQL \ operations. Py", line 146, in last_ executed_ query query = query. decode(errors='replace')
Error reason: str of Python 3 is not bytes by default, so it cannot be decoded. You can only convert encode to bytes first and then decode
Details can be found at: AttributeError: 'str' object has no attribute 'decode' solution
Solution: find operations Modify the error location in py file as follows and add encode('utf-8 ')