1, Monocular dense reconstruction:
download Routine required data
http://rpg.ifi.uzh.ch/datasets/remode_test_data.zip
After decompression, it will be displayed in test_- All images from 0 to 200 are found in data / images and tested_ You can see a text file in the data directory, which records the pose corresponding to each image.
1.dense_mapping.cpp
The output information of the program is relatively simple, and only the number of iterations, the current image and the depth map are displayed. As for the depth map, we show the result of multiplying the depth value by 0.4 - that is, the depth of the pure white dot (the value is 1.0) is about 2.5m. The darker the color, the smaller the depth value, that is, the closer the object is to us. If the program is actually run, it should be found that depth estimation is a dynamic process - a process of gradually converging from an uncertain initial value to a stable value. Our initial values use a distribution with a mean and variance of 3.0. Of course, you can also modify the initial distribution to see how it will affect the results.
After compiling this program, run it with the dataset directory as a parameter:
./dense_mapping ../../remode_test_data/test_data
result:
Average squared error = 0.350139, average error: -0.0846462
*** loop 9 ***
Results of 9 iterations:

Average squared error = 0.291299, average error: -0.0392129
*** loop 30 ***
Results of 30 iterations:

It can be found from the screenshot that when the number of iterations exceeds a certain number, the depth map tends to be stable and will not change the new data. After observing the depth map after stabilization, we found that we can roughly see the difference between the floor and the table, and the depth of the object on the table is close to the table. Most of the estimates are correct, but there are also a large number of wrong estimates. They are too large or too small estimates in the depth map where they are inconsistent with the surrounding data. In addition, the area at the edge is not correctly estimated because it is seen less times during movement. To sum up, we think most of the depth map is correct, but it does not achieve the expected effect.
2, Point cloud map: deny_ RGBD
1.pointcloud_mapping:
CMakeList.txt:
cmake_minimum_required(VERSION 2.8)

project(ch12)

set(CMAKE_BUILD_TYPE Release)
set(CMAKE_CXX_FLAGS "-std=c++11 -O2")

# opencv
find_package(OpenCV REQUIRED)
include_directories(${OpenCV_INCLUDE_DIRS})

# eigen
include_directories("/usr/include/eigen3/")

# pcl
find_package(PCL REQUIRED)
include_directories(${PCL_INCLUDE_DIRS})
link_directories(${PCL_LIBRARY_DIRS})
add_definitions(${PCL_DEFINITIONS})

# octomap
find_package(octomap REQUIRED)
include_directories(${OCTOMAP_INCLUDE_DIRS})

add_executable(pointcloud_mapping pointcloud_mapping.cpp)
target_link_libraries(pointcloud_mapping ${OpenCV_LIBS} ${PCL_LIBRARIES})

add_executable(octomap_mapping octomap_mapping.cpp)
target_link_libraries(octomap_mapping ${OpenCV_LIBS} ${PCL_LIBRARIES} ${OCTOMAP_LIBRARIES})

add_executable(surfel_mapping surfel_mapping.cpp)
target_link_libraries(surfel_mapping ${OpenCV_LIBS} ${PCL_LIBRARIES})
Install pcl Library
First, you need to install the pcl library
sudo apt-get install libpcl-dev pcl-tools
Modify pointcloud_mapping.cpp
 ifstream fin("../data/pose.txt");
 boost::format fmt("../data/%s/%d.%s"); //Image file format
results of enforcement
$ ./pointcloud_mapping
Converting image to point cloud...
Convert in image: 1
 Convert in image: 2
 Convert in image: 3
 Convert in image: 4
 Convert in image: 5
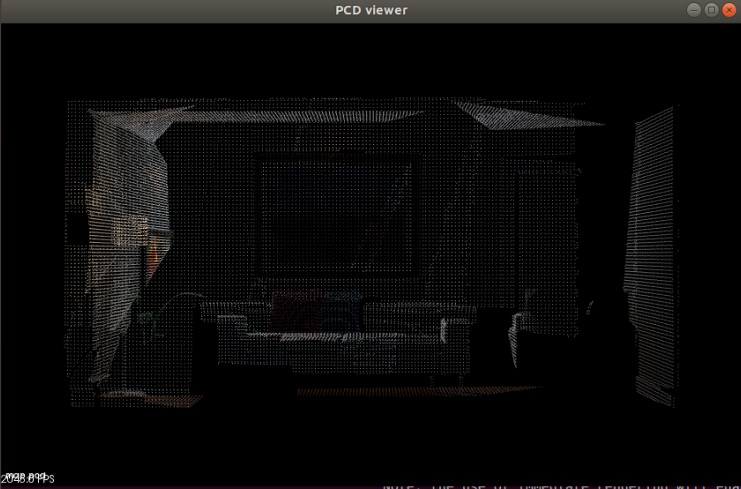
 There are 1309800 points in the point cloud.
After filtering, there are 31876 points in the point cloud.
pcl_viewer map.pcd


2.surfel_mapping
results of enforcement
$ ./surfel_mapping map.pcd
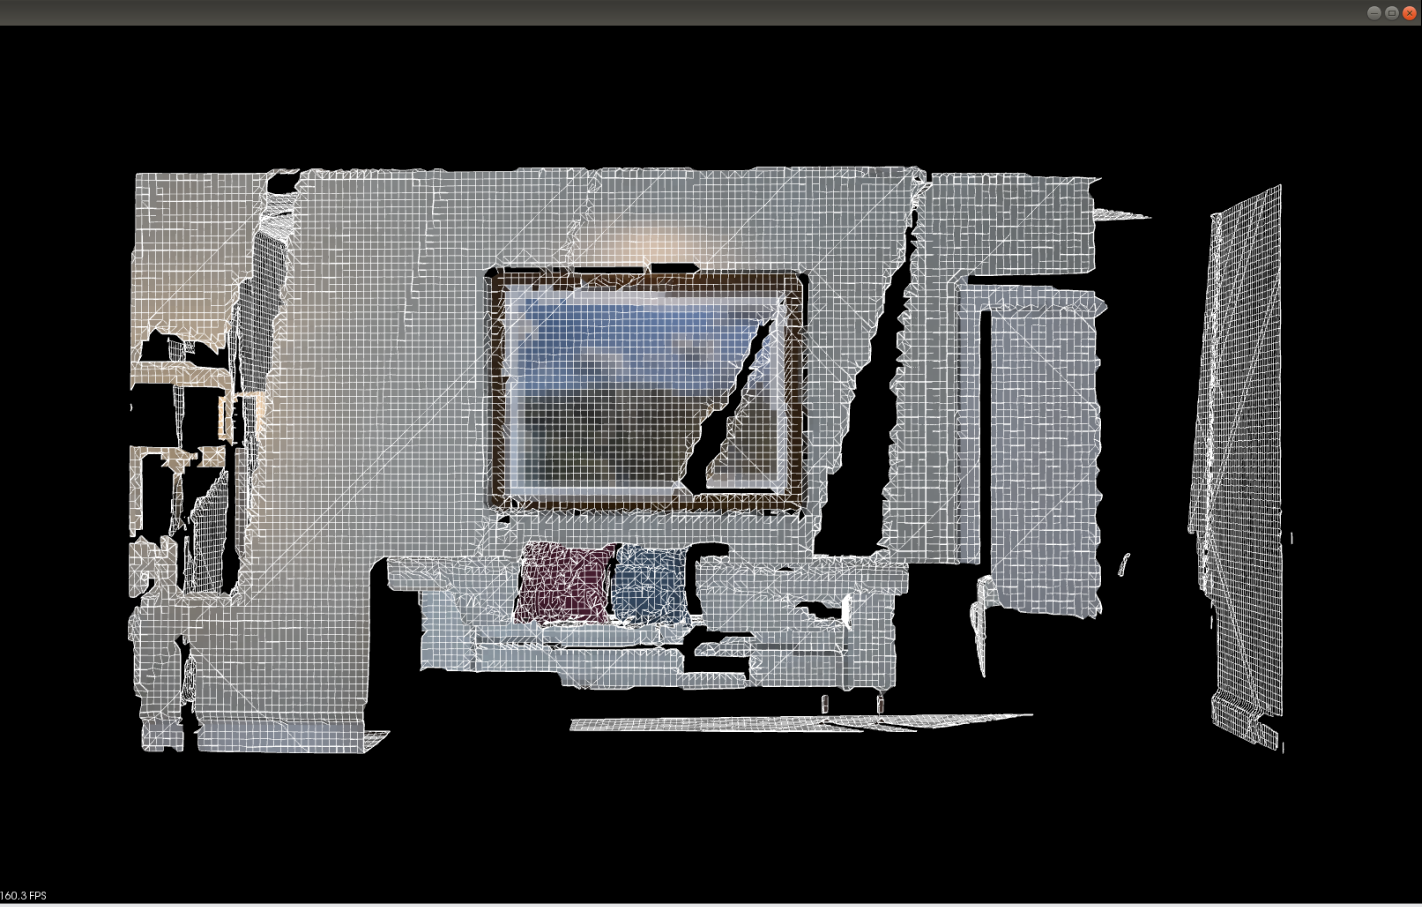
point cloud loaded, points: 31876
computing normals ...
computing mesh ...
display mesh ...

3.octomap_mapping
Install octomap
sudo apt-get install liboctomap-dev octovis
Modify octomap_mapping.cpp
ifstream fin("../data/pose.txt");
boost::format fmt("../data/%s/%d.%s"); //Image file format
results of enforcement
$ ./octomap_mapping
Converting image to Octomap ...
Convert in image: 1
 Convert in image: 2
 Convert in image: 3
 Convert in image: 4
 Convert in image: 5
saving octomap ...
octovis octomap.bt
