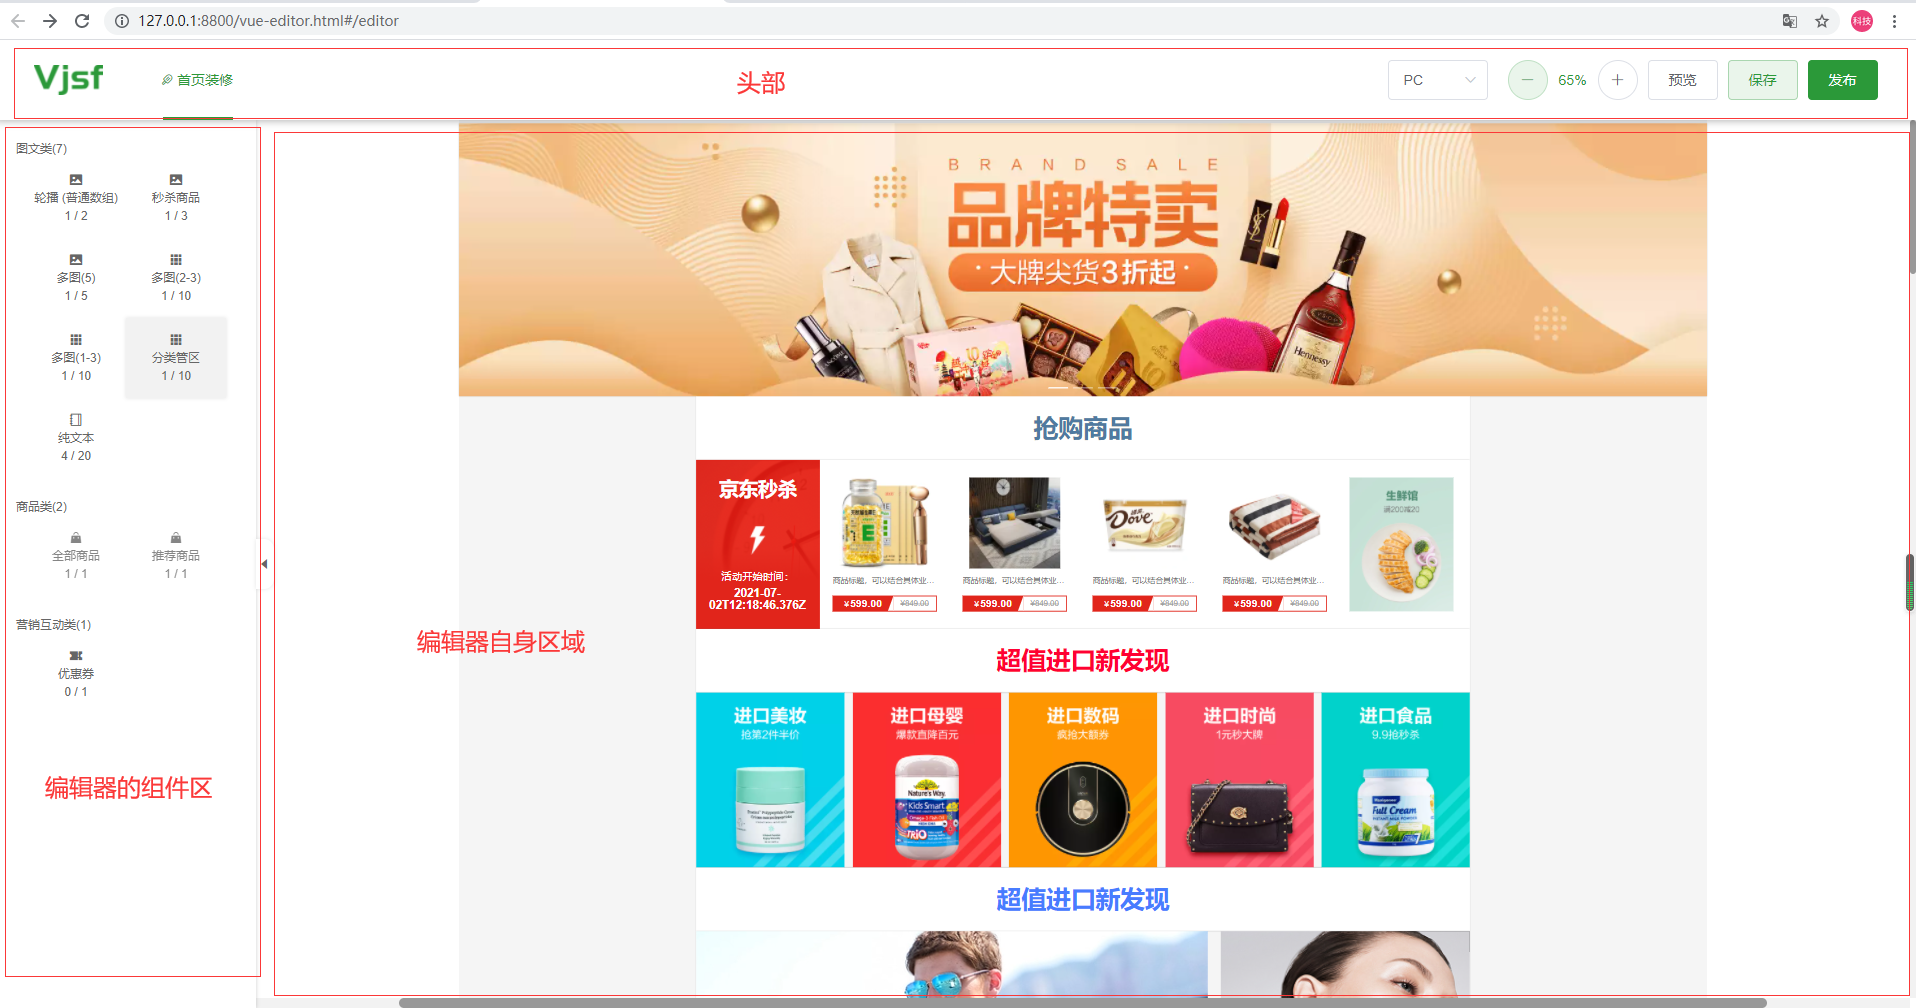
This editor is extracted from the open source project: Vue JSON Schema Form
The Editor section
It is extracted to facilitate secondary development, use and learning
Original author: Liu Jun
Official website: https://vue-json-schema-form.lljj.me/
Primary directory structure:
Route - route Vue route directory
│ └─routes
└─views
└─editor
Table of contents - assets resource directory
│ └─img
common - common
♪ components vue component
│ └─skeleton
The js open page of the config editor is important for loading the page module based on the original data
├─fieldComponents
│ └ - linkImgField overrides the default field for personalized product selection and link input
Key components - important components on the PC side of viewcomponents
│ ├─AllGoodsList
│ │ └─component
│ ├─CarouselImg
│ ├─CategoryGoods
│ ├─Coupon
│ │ └─component
│ ├─FlashSaleGoodsList
│ ├─MultipleImg1_3
│ │ └─component
│ ├─MultipleImg2_3
│ ├─MultipleImg5
│ ├─RecommendedGoodsList
│ │ └─component
│ ├─Text
│ └─_commonConfig
│ ├─error
│ └─ui
└ - important components of viewComponentsM mobile terminal
├─CarouselImg
├─CategoryList
├─RecommendGoods
├─Test
└─Text
Mainly pay attention to the red part of the directory
Let's start with a simple example:
We add a new textgrid example on the PC side
We create a folder textgrid in the pc component directory viewComponents
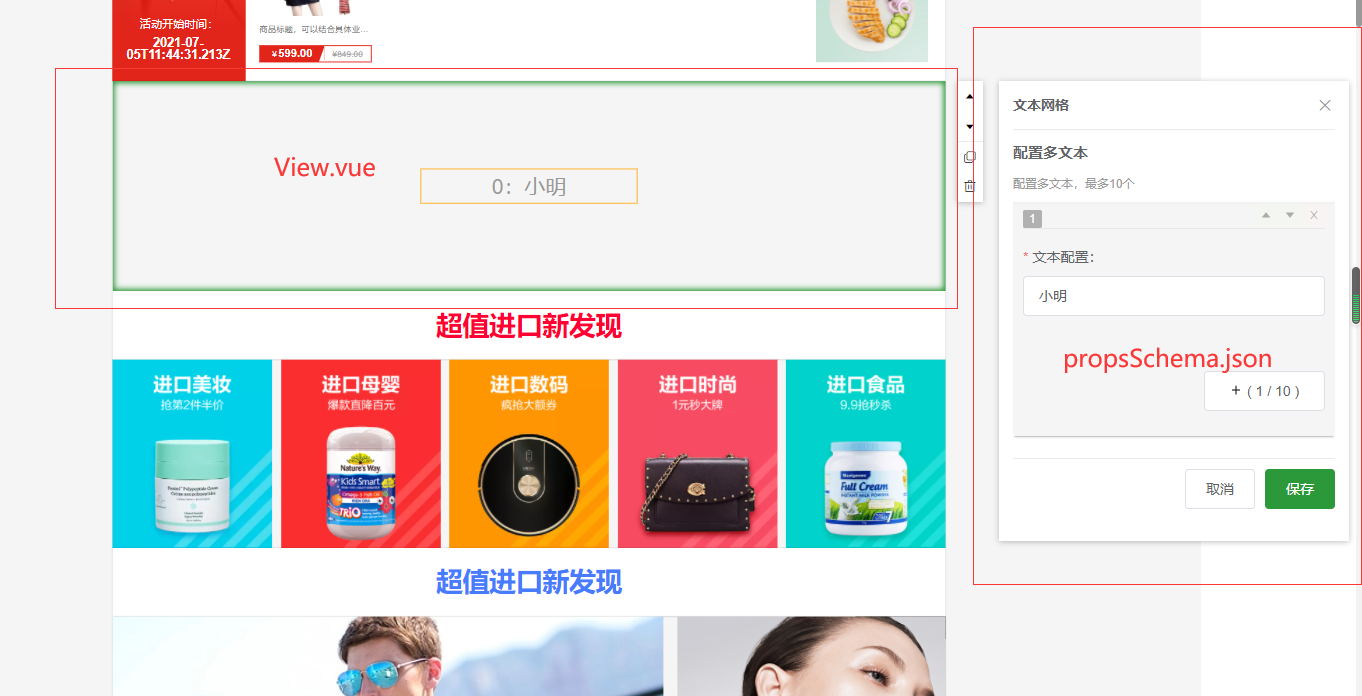
Then create our layout component under the folder: view vue
Write a simple grid layout, which is the page part of our component
According to their own needs, what they write is up to them
Here is just a simple example
Note the name of this component: you must add View after TextGrideView, otherwise the editor will not find the component when registering the component
<template>
    <div class="box-home">
        <div
            v-for="(it, index) in formData.texts"
            :key="index"
            class="item"
        >
            {{ index + ': ' + it }}
        </div>
    </div>
</template>

<script>
export default {
    name: 'TextGrideView',
    props: {
        formData: {
            type: Object,
            default: () => ({})
        }
    }
};
</script>

<style lang="css" scoped>
.box-home {
  width: 100%;
  height: 300px;
  display: flex;
  flex-direction: row;
  flex-wrap: wrap;
  justify-items: center;
  justify-content: space-evenly;
  align-items: center;
  align-content: space-evenly;
}
.item {
  width: 26%;
  height: 50px;
  text-align: center;
  line-height: 50px;
  vertical-align: middle;
  font-size: 30px;
  color: #999999;
  border: 1px solid orange;
}
</style>
Then create: propsschema json
This is the json used to generate form data
This is the part:
{
  "$schema": "http://json-schema.org/draft-07/schema#",
  "id": "TextGride",
  "type": "object",
  "properties": {
    "texts": {
      "title": "Configure multiple text",
      "description": "Configure multiple text, up to 10",
      "type": "array",
      "minItems": 1,
      "maxItems": 10,
      "items": {
        "title": "Text configuration",
        "type": "string",
        "default": "default"
      },
      "required": ["items"]
    }
  }
}
Please refer to the official guide for the specific configuration meaning here: https://vue-json-schema-form.lljj.me/zh/guide/
In short, this configuration is to generate forms
Then create a uischema js
This is used to configure the configuration of the form interface we generate
export default {
    texts: {
        'ui:options': {
            showIndexNumber: true
        }
    }
};
I only configure the display index number here, which is the part indicated by the arrow in the figure
See the official guide for more configurations: https://vue-json-schema-form.lljj.me/zh/guide/basic-config.html#ui-schema

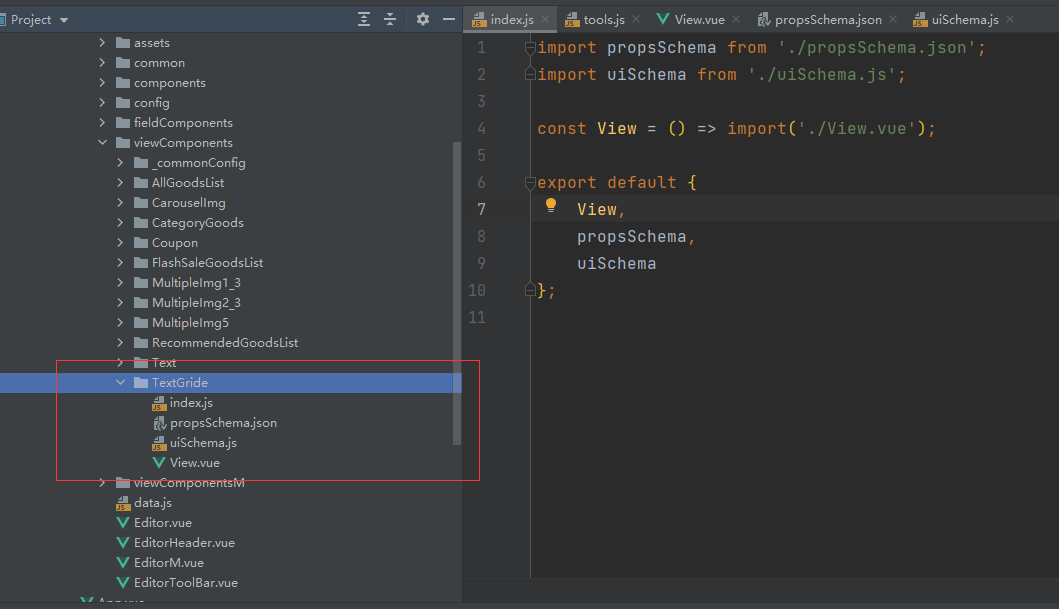
Finally, create index js
Used to expose our view s and data
import propsSchema from './propsSchema.json';
import uiSchema from './uiSchema.js';

const View = () => import('./View.vue');

export default {
    View,
    propsSchema,
    uiSchema
};
Note here that the exposed View propsSchema uiSchema name cannot be changed, otherwise the editor will not read the datagram error
At this point, our component is written
Directory structure diagram:
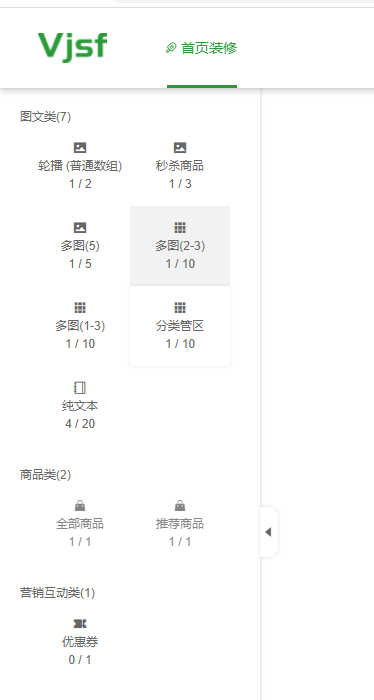
Finally, we need to add the written component to the component area
This is the area shown in the picture
Here we only need two steps:
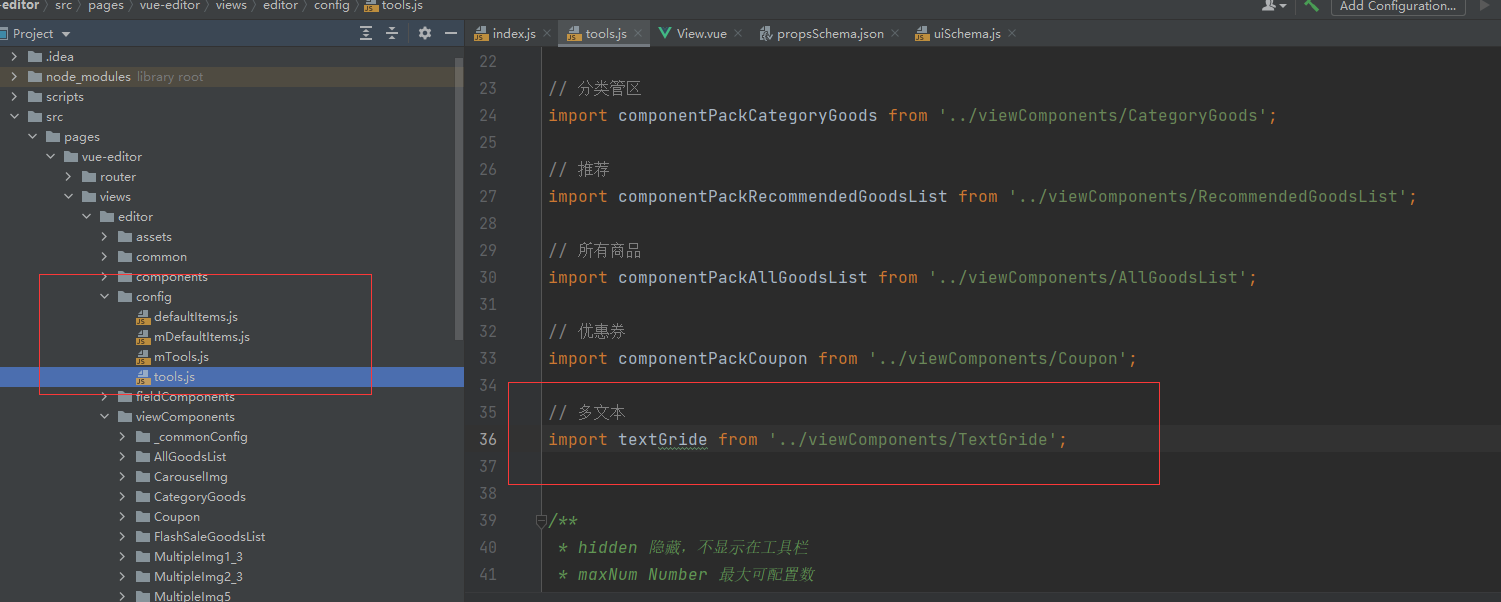
1. Edit tools. config js
Import our components first
// Multi text
import textGride from '../viewComponents/TextGride';
2. Then add the configuration of our components to the following array data:
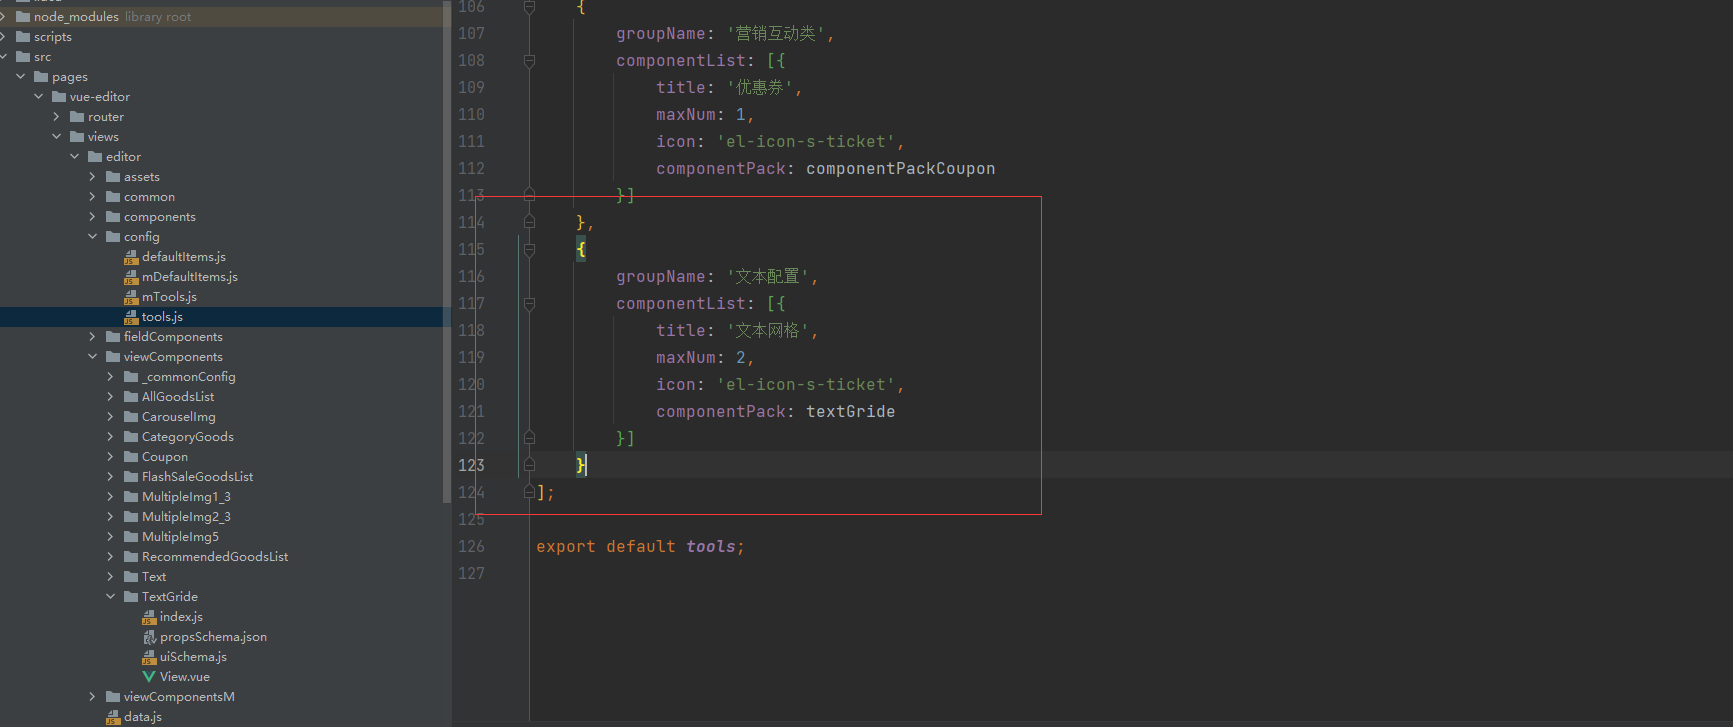
Title: the title of the component maxNum: the maximum number that can be placed in the Editor Icon: elementUi icon componentPack: the component we write
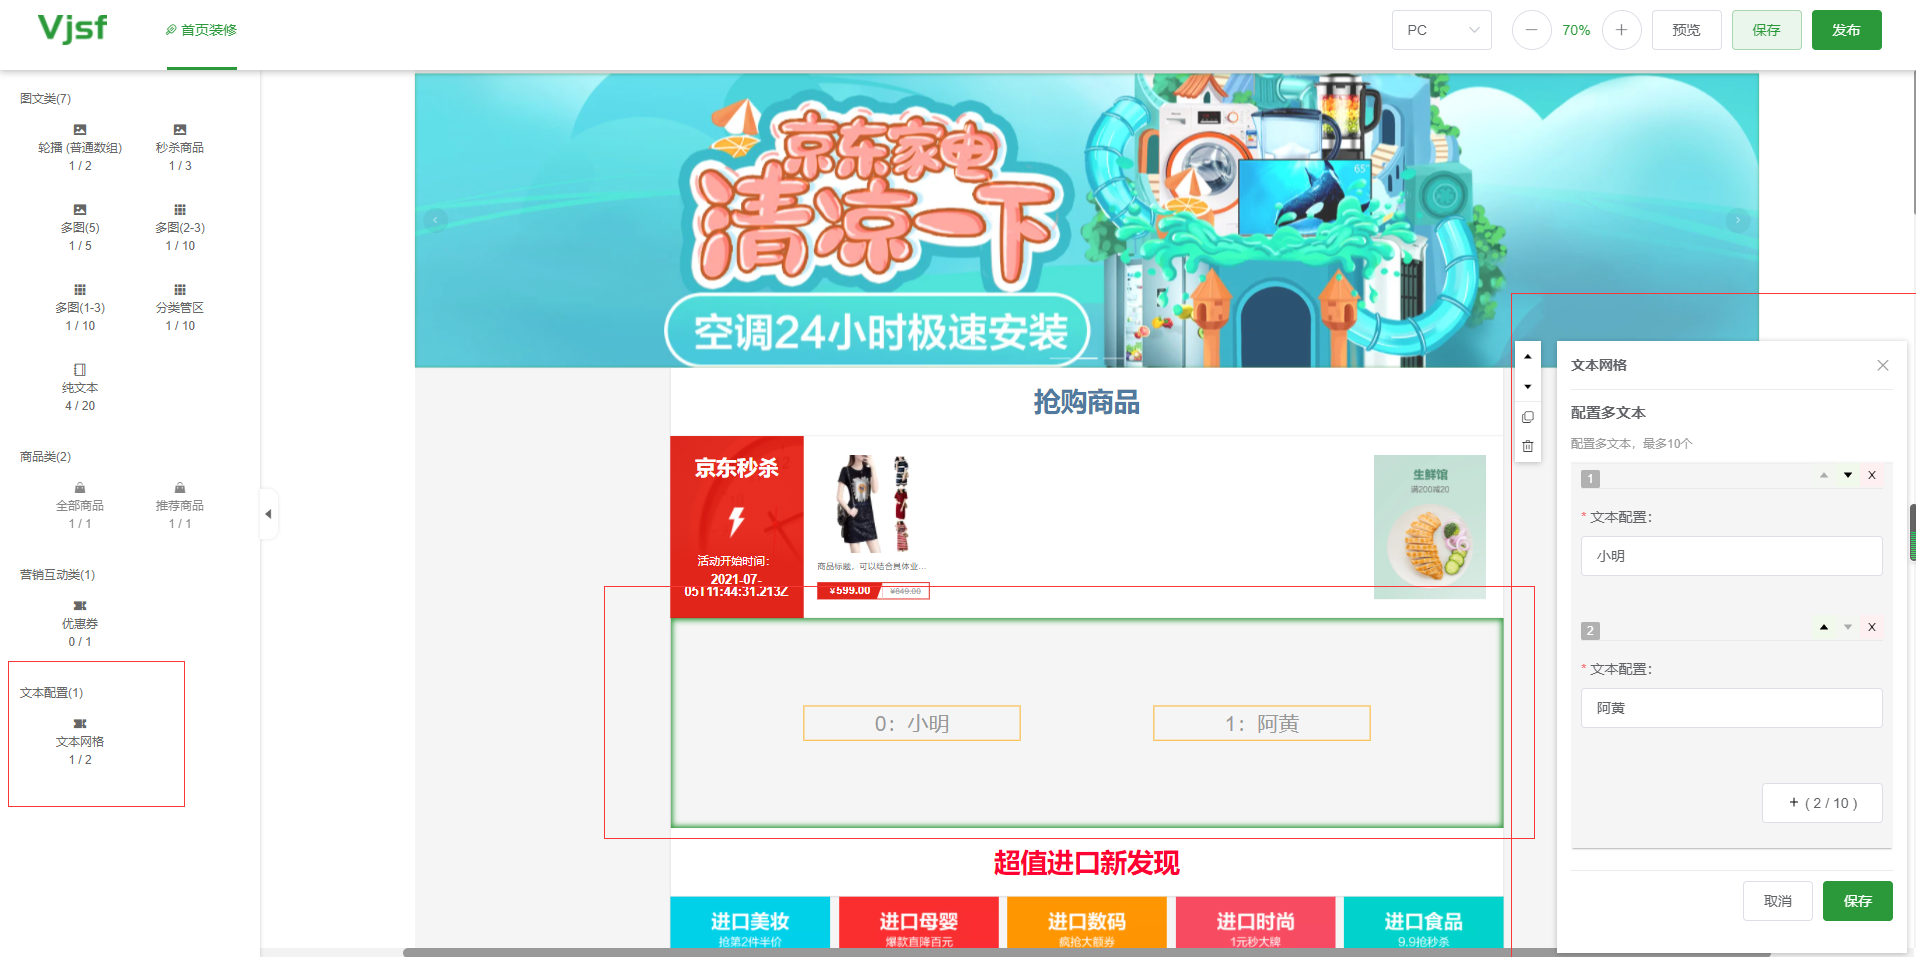
After running, we can see:
Then we drag the component into the editor and it can be used normally. It's done
Finally, let's take a look at the incorrect data submitted:
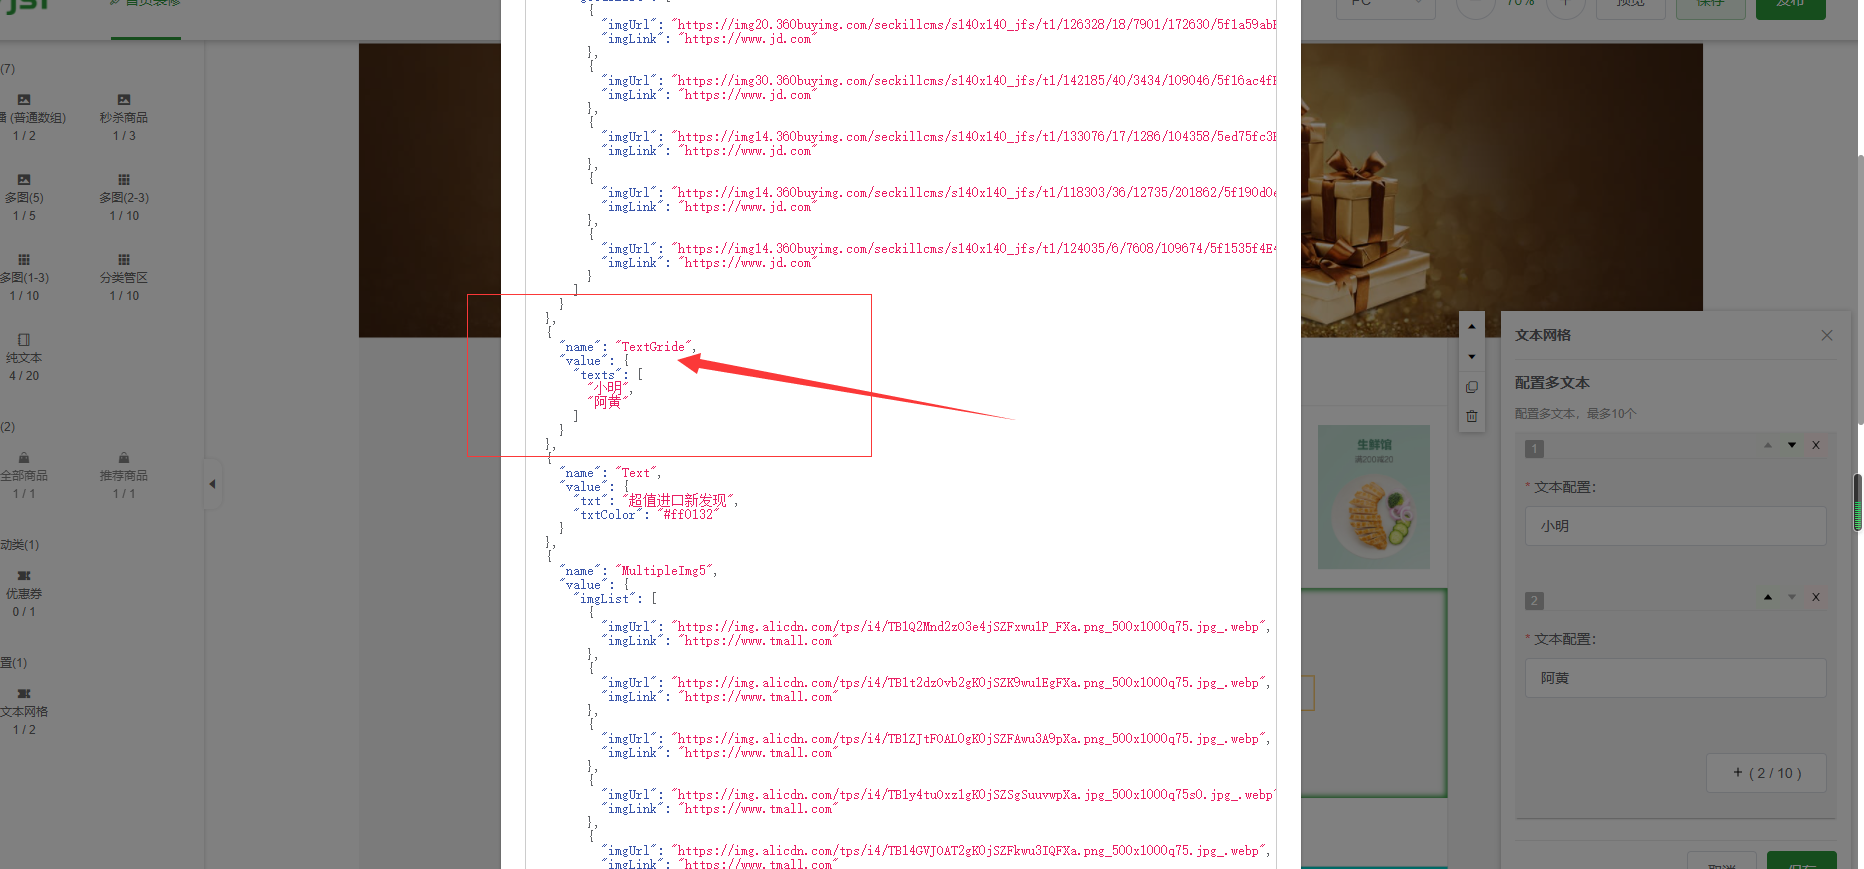
ok, everything is normal
The above is just a simple example
For more complex operations, please read the official guide
Official QQ exchange group: 146845780