Article catalogue
preface
Reference blog
https://blog.csdn.net/tingtie1438/article/details/82085199
Ubuntu16. Python 3.04 system 5+caffe+opencv3. 4.0+cudnn7. 0+cuda9. 0 installation process (detailed arrangement of the whole process)
https://blog.csdn.net/qq_42998120/article/details/105567998
ubuntu16. Installation and version correspondence of NVIDIA driver, cuda and cuDNN under 04 system
https://blog.csdn.net/avideointerfaces/article/details/89111955
Hisilicon AI chip (Hi3519A/3559A) scheme learning (10) convert the darknet model of yolov3 into caffemode
The main purpose of this paper is to realize the transformation of darknet model to caffmodal, which is used for the transplantation of deep learning algorithm of Hisilicon platform. Hisilicon platform only supports caffe framework, so it is not easy to install caffe first. There are stepping on pits everywhere on the Internet, and I basically stepped on them all before I successfully installed them. The most important thing is to pay attention to the matching of python, opencv cuda and cudnn versions during installation,
Note: if CUDA > 9.0, it is not recommended to use python2 7. It's impossible to install caffe runtest. Even if you ignore the past, the later transformation model is not successful. Therefore, this paper ends with Python 3 5. The installation was successful and the process was bumpy.
1, System environment inspection
The graphics card of this machine is RTX2080ti. Before installing cafe, the graphics card driver of this machine, opencv cuda and cudnn have been installed. Reference blog https://blog.csdn.net/qq_42998120/article/details/105567998.
1.1 check the local graphics card driver: 430.50
The instructions are as follows:
nvidia-smi
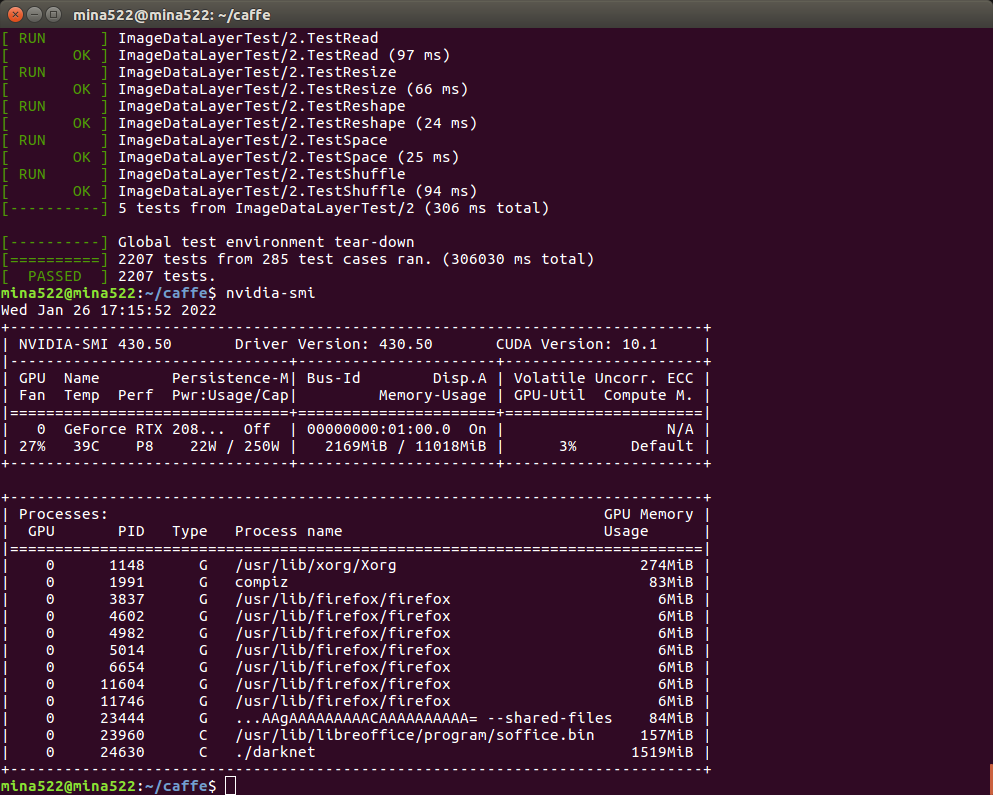 Graphics card driver information
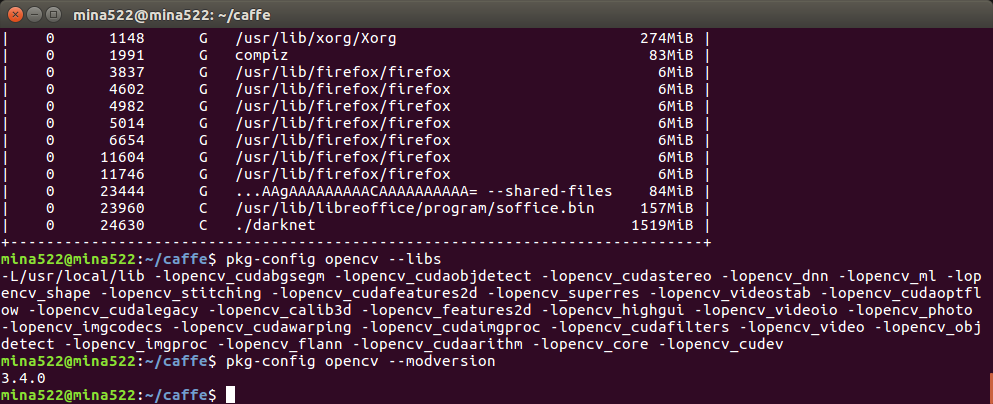
1.2 view Opencv version number: 3.4.0
$ pkg-config opencv --libs    # View opencv installed Libraries
$ pkg-config opencv --modversion    # View the installed version of opencv
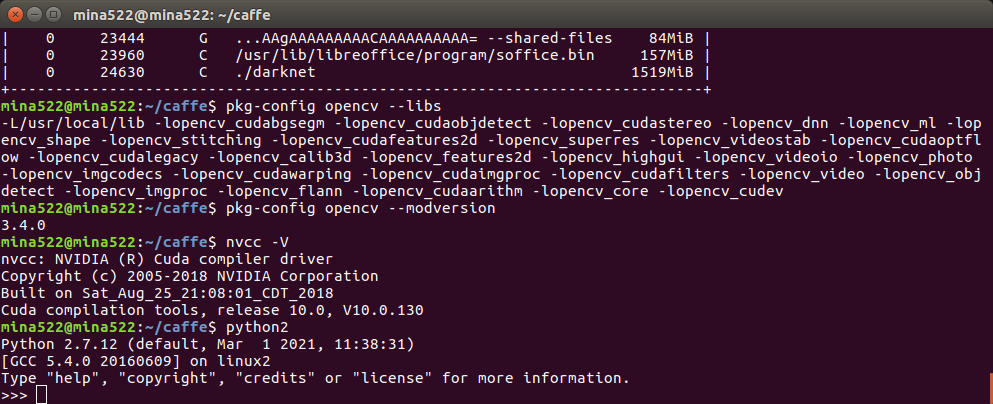
1.3 view cuda version: v10.0 zero point one three zero
nvcc -V
1.4 view the current python version number
python
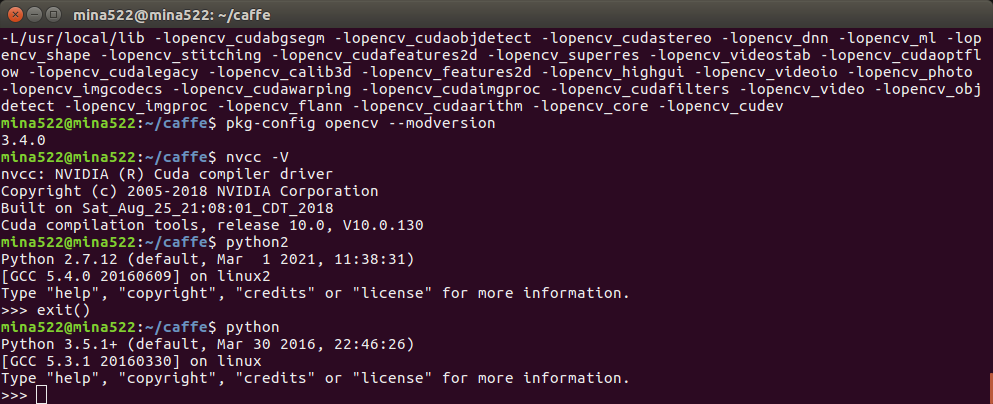 How to switch the current default python version of the system to python 3 5?
sudo rm python               #Delete the original python
sudo ln -s python3 python    #Build Python 3 5 soft connection
Finally, enter python to see if the terminal result is python 3 five
2, Installing caffe
2.1 installation dependency
Install the following steps or dependent packages necessary for the environment, and enter the following commands on the terminal:
sudo apt-get install python3-pip

sudo apt-get install python-numpy

sudo apt-get install libprotobuf-dev libleveldb-dev libsnappy-dev libopencv-dev libhdf5-serial-dev protobuf-compiler

sudo apt-get install --no-install-recommends libboost-all-dev

sudo apt-get install libopenblas-dev liblapack-dev libatlas-base-dev

sudo apt-get install libgflags-dev libgoogle-glog-dev liblmdb-dev

sudo apt-get install git cmake build-essential.
Refer to the original link: https://blog.csdn.net/tingtie1438/article/details/82085199
Pay attention to the above installation instructions
1 .Python3.5. Configure caffe with protobuf > = 3, which was not noticed when the previous installation failed. It may be related to this version.
The installation process is after caffe is downloaded
2. Install boost through the command sudo apt get install -- no install recommendations libboost all dev_ python
python3. The matching version of 5 is 1.58.0, and the version of 1.54 is directly installed on this machine, as well as Python 3.0 5 does not match. When the model is converted later, it will be prompted that C + + cannot support it. Later, install version 1.58
The boost of the system can be queried through instructions_ python
ldconfig -p | grep boost_python
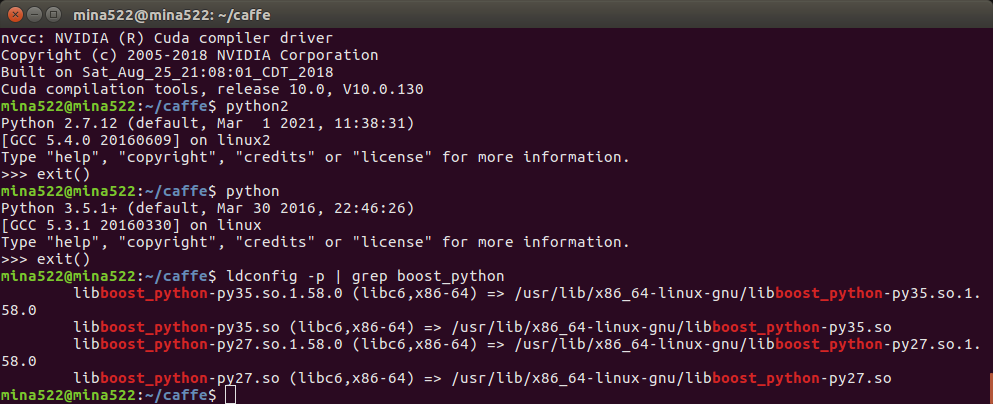
This machine installs 1.58.0 through the final version
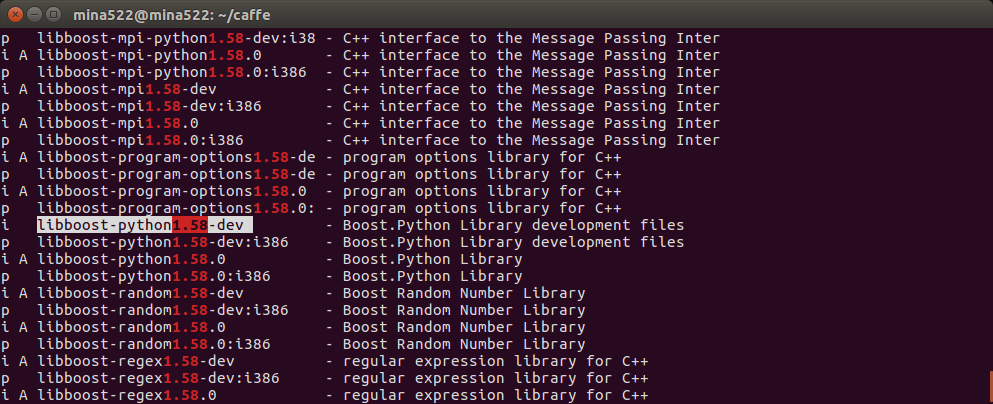
aptitude search boost |grep 1.58 #Query the boost version of 1.58
sudo apt-get install  libboost-boost1.58-dev #Specify boost version installation
2.2 Caffe download and protobuf3 installation
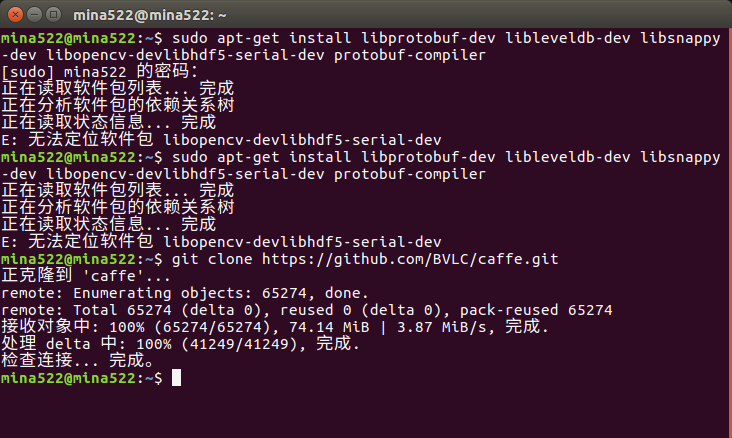
1. clone under the path you want to install:
git clone https://github.com/BVLC/caffe.git
 2 enter the caffe directory and install protobuf3 according to the following instructions.
The installation process is relatively smooth and basically no problem. Just install according to the following instructions. Pay attention to the directory: first enter the cafe directory, and carefully check the following directories created later.
mkdir protobuf && cd protobuf

mkdir cpp && cd cpp

wget https://github.com/google/protobuf/releases/download/v3.0.0/protobuf-cpp-3.0.0.tar.gz

tar xvf protobuf-cpp-3.0.0.tar.gz && cd protobuf-3.0.0

./configure && make

make check

sudo make install

sudo ldconfig

cd ../..

mkdir python && cd python

wget https://github.com/google/protobuf/releases/download/v3.0.0/protobuf-python-3.0.0.tar.gz

tar xvf protobuf-python-3.0.0.tar.gz && cd protobuf-3.0.0/python/

python setup.py build

python setup.py test

python setup.py install
Reference link: https://blog.csdn.net/tingtie1438/article/details/82085199
After 3, check the current protobuf version to see if it is upgraded to 3.0.0. The version of common account and root account should be the sameprotoc --version sudo protoc --version
2.3 modification of Caffe configuration file
1 enter caffe directory
Set makefile config. Copy an example file and rename it makefile Config, or directly call the following commands under the cafe directory to complete the copy operation:
sudo cp Makefile.config.example Makefile.config
2. Modify makefile config
sudo gedit Makefile.config
Amend as follows:
a) Apply cudnn
take
#USE_CUDNN := 1
 Amend to read:
USE_CUDNN := 1
b) Apply opencv version
take
#OPENCV_VERSION := 3
Amend to read:
OPENCV_VERSION := 3
c) Using python interface
take
#WITH_PYTHON_LAYER := 1
Change to
WITH_PYTHON_LAYER := 1
d) Modify python path
INCLUDE_DIRS := $(PYTHON_INCLUDE) /usr/local/include
LIBRARY_DIRS := $(PYTHON_LIB) /usr/local/lib /usr/lib
Amend to read:
INCLUDE_DIRS := $(PYTHON_INCLUDE) /usr/local/include /usr/include/hdf5/serial
LIBRARY_DIRS := $(PYTHON_LIB) /usr/local/lib /usr/lib /usr/lib/x86_64-linux-gnu /usr/lib/x86_64-linux-gnu/hdf5/serial
e) It is important to modify the version of python. The default configuration version in the file is 2.7
Remove the comments of version 2.7 and modify Python 3 5 version configuration.
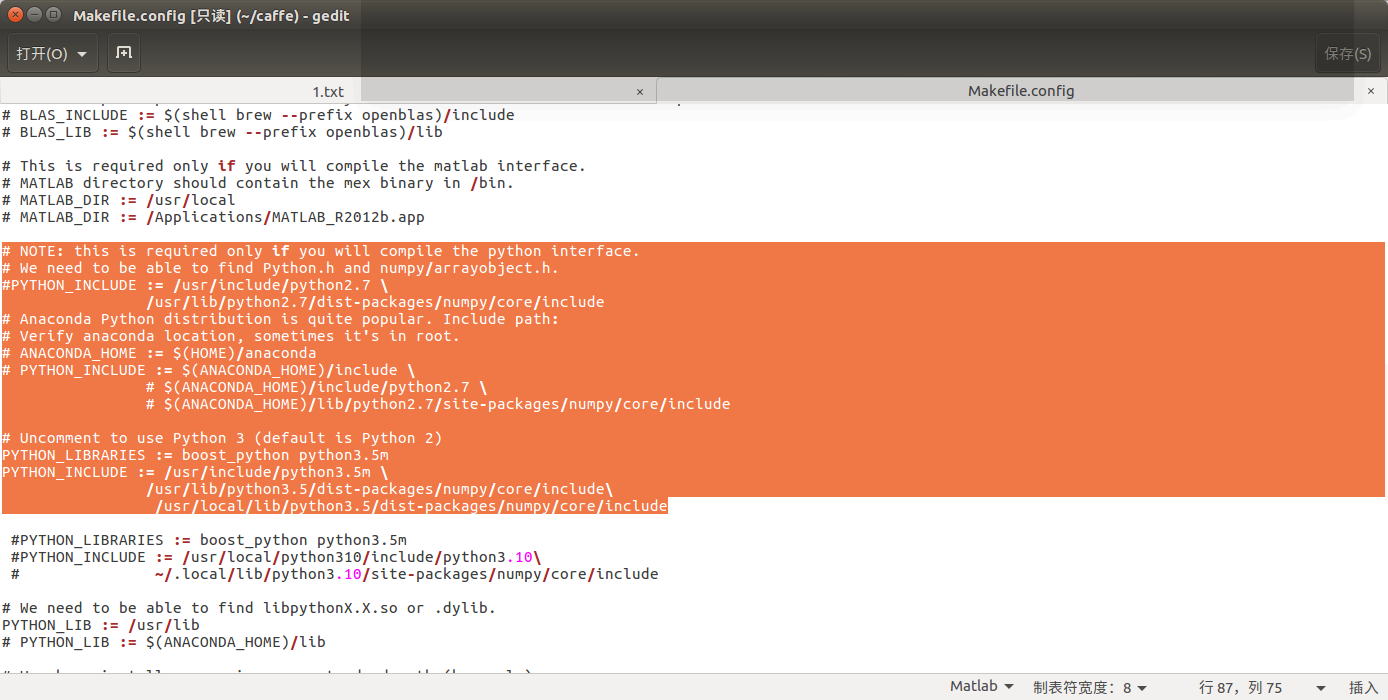
PYTHON_LIBRARIES := boost_python python3.5m
PYTHON_INCLUDE := /usr/include/python3.5m \
                /usr/lib/python3.5/dist-packages/numpy/core/include\
                 /usr/local/lib/python3.5/dist-packages/numpy/core/include
The library name here is boost_python is the version of 1.58 that depends on the installation before. Please pay attention to the following soft link modifications
sudo ln -s libboost_python-py35.so libboost_python.so
sudo ln -s libboost_python-py35.a  libboost_python.a
f) Related to cuda version
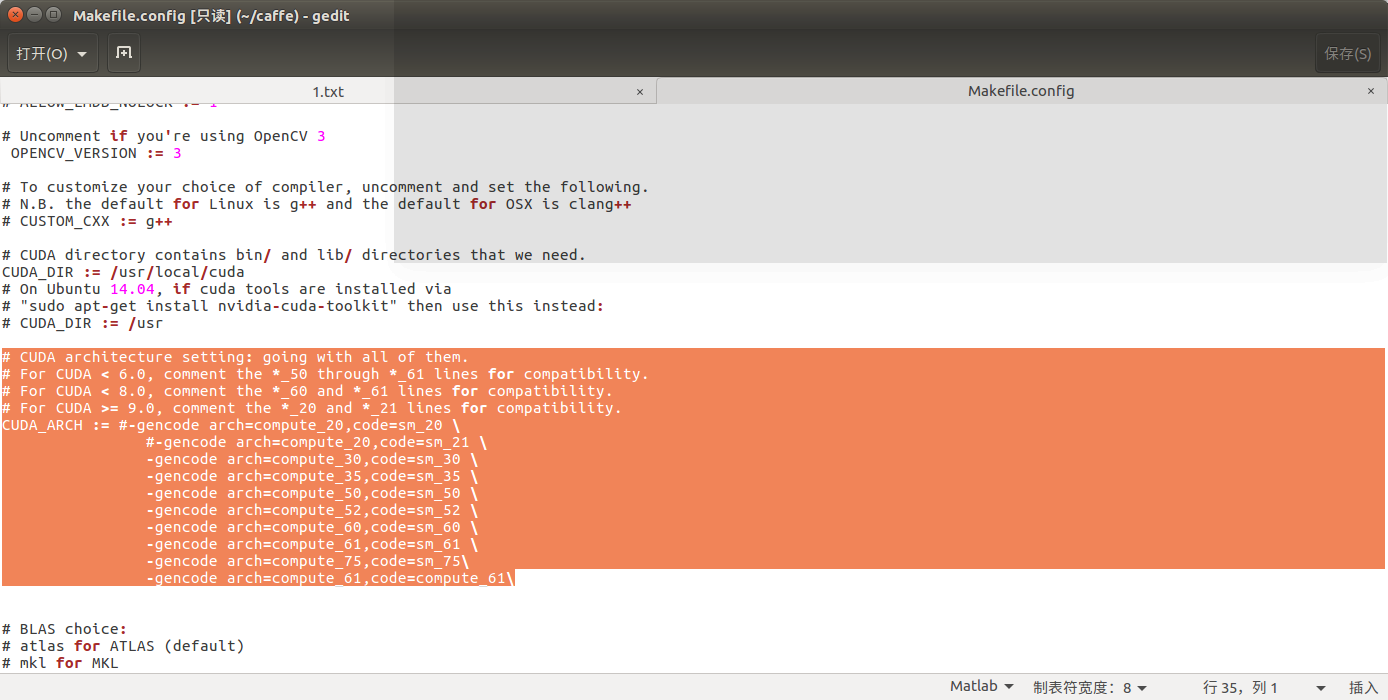
Note that the first two lines of CUDA > = 9.0 should be commented out
# For CUDA >= 9.0, comment the *_20 and *_21 lines for compatibility.
CUDA_ARCH := #-gencode arch=compute_20,code=sm_20 \
		#-gencode arch=compute_20,code=sm_21 \
3. Modify the Makefile file in the cafe directory
Will:
NVCCFLAGS +=-ccbin=$(CXX) -Xcompiler-fPIC $(COMMON_FLAGS)
Replace with:
NVCCFLAGS += -D_FORCE_INLINES -ccbin=$(CXX) -Xcompiler -fPIC $(COMMON_FLAGS)
Will:
LIBRARIES += glog gflags protobuf boost_system boost_filesystem m hdf5_hl hdf5
 Replace with:
#LIBRARIES += glog gflags protobuf boost_system boost_filesystem m
#LIBRARIES += glog gflags protobuf boost_system boost_filesystem m hdf5_serial_hl hdf5_serial
LIBRARIES +=  glog gflags protobuf boost_system boost_filesystem m hdf5_serial_hl hdf5_serial hdf5_hl hdf5  opencv_core opencv_highgui opencv_imgproc opencv_imgcodecs leveldb snappy lmdb
4 compile caffe
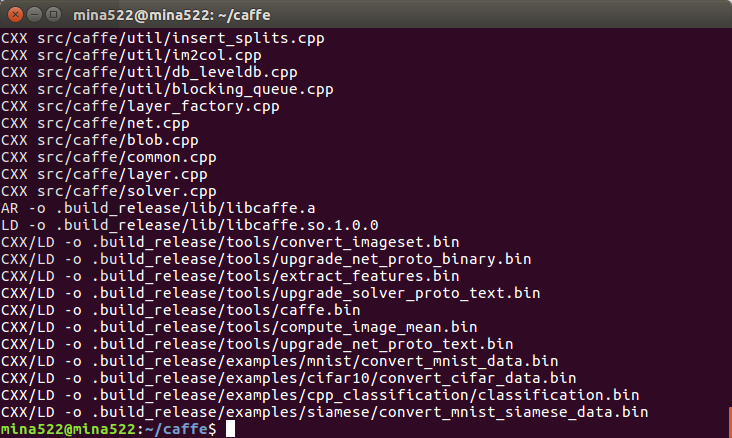
After modifying the above two files, you can start compiling and execute them in the caffe directory
sudo make clean
sudo make all -j4
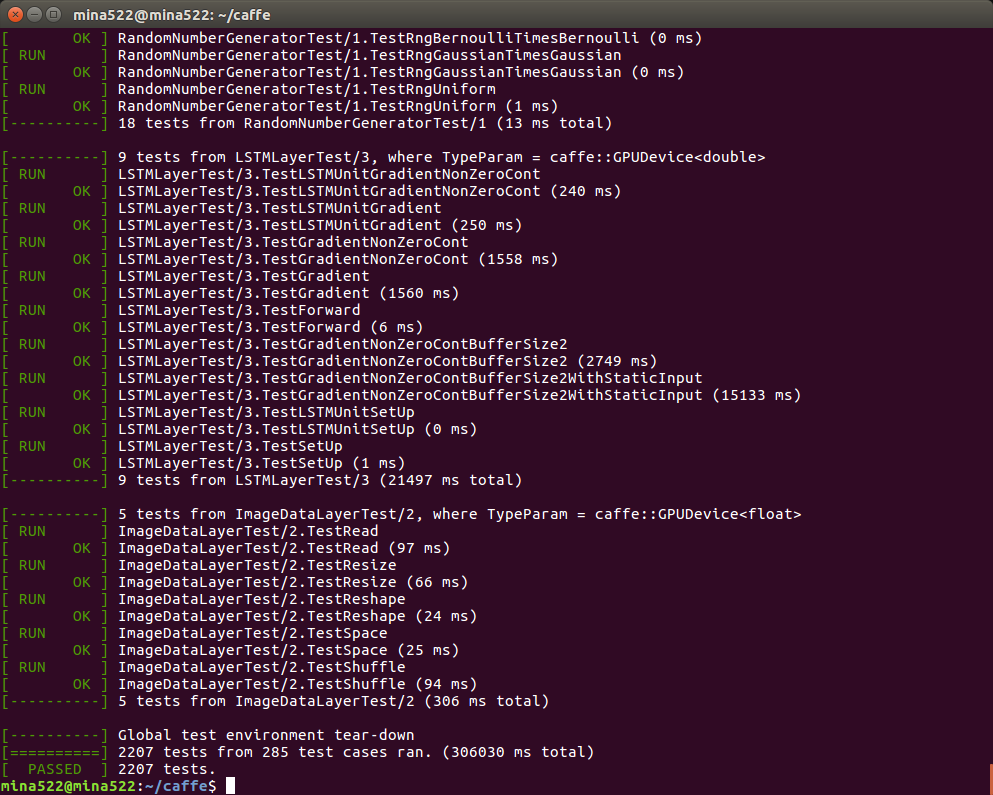
sudo make runtest -j4
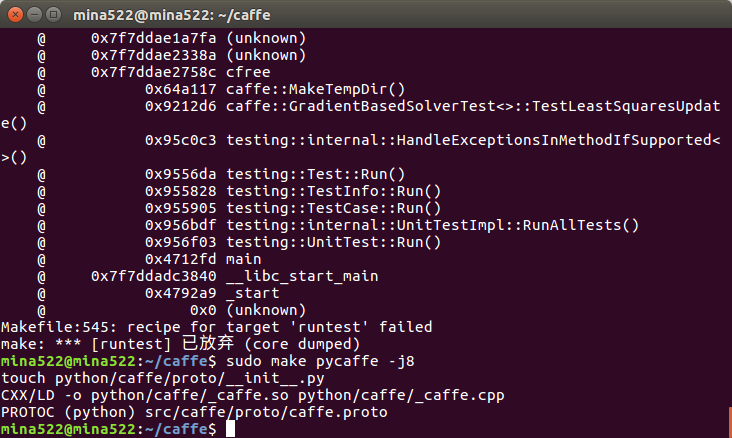
Sudo make pycaffe -j4
If there is no problem, the last three instructions run successfully. The screenshot is as follows:
5. Add python path:
gedit  ~/.bashrc
export PYTHONPATH=/home/mina522/caffe/python:$PYTHONPATH
Refresh path
source ~/.bashrc
6. Finally, the caffe is installed successfully
python
import caffe
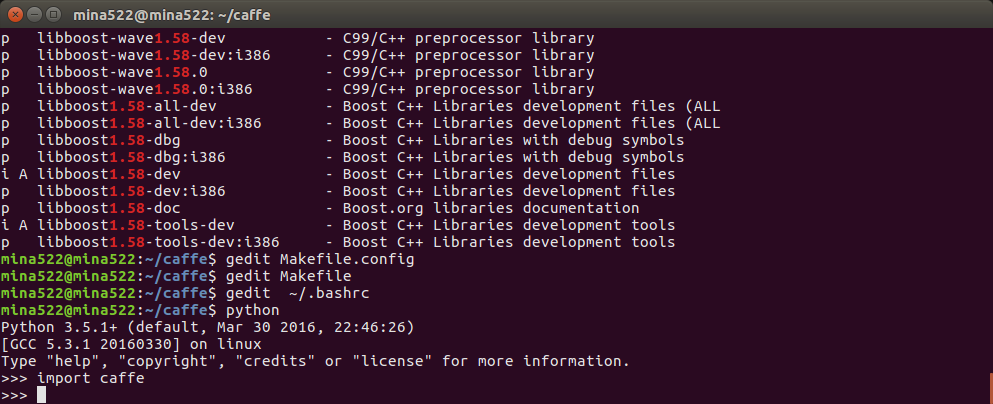
If no error is prompted, caffe has been installed and configured successfully. The above configuration is improved after stepping on the pit. If there are pits according to the above process, continue Baidu.
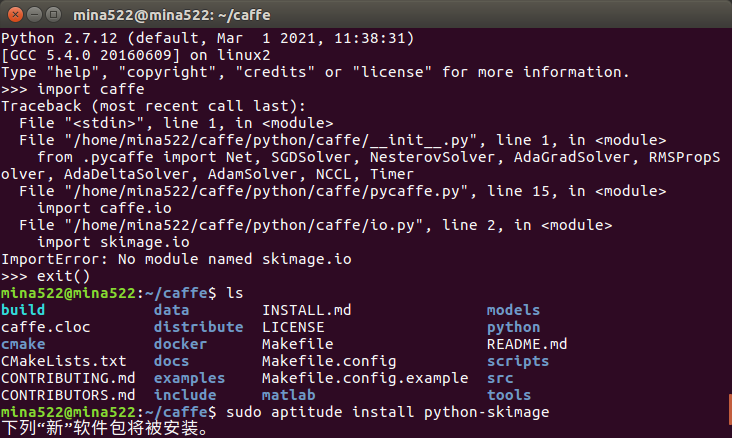 In the python 3 environment, the following instructions solve the problem:
sudo pip3 install scikit-image
summary
The installation process is rather bumpy. I just started to use the system's own python2 7 environment, but the prompt error seems to be related to cuda. It is suspected that cuda version is too high, but cuda version cannot be downgraded because the graphics card driver has the lowest supported version. So I thought of upgrading the python configuration installation and directly downloaded a python 3 10. Install it in the middle and find that caffe can't support the higher version of Python. It seems that an article sees that the highest support is Python 3 6. Khan, switch the python version of the system to its own 3.5. Refer to the previous great God articles, and the installation is successful through the above process.
Finally, when installing any software, you must first confirm the environment of your system, including but not limited to the operating system version and the version that depends on the software, but it doesn't matter. The pits you've stepped on are all experience. Through repeated installation, you can get clearer and clearer about your system, and all kinds of instructions can be typed directly, so you don't have to copy and paste everywhere anymore!
I haven't written an article for a long time. I found that the template of csdn is super easy to use. The structure of the article looks clear after writing. If there are errors, please leave a message and point out them.