Supplemented in April 2020
In view of the fact that the framework of configuration automation test is a little troublesome, many small partners always step on the pit in the process of configuration. Recently, they wrote a simplified introductory tutorial and don't want to mess with Android
SDK partners can move to that article: https://www.jb51.net/article/169763.htm
summary
This paper is mainly divided into the following parts
- Installing Python 3
- Install Appium library for Python 3
- Install Android SDK
- Install JDK
- Install Appium
- Install simulator
- Write test scripts and generate test reports
Project sample download address: https://github.com/lixk/apptest
text
1, Installing Python 3
Log in directly to Python official website https://www.python.org/ , download the latest version.
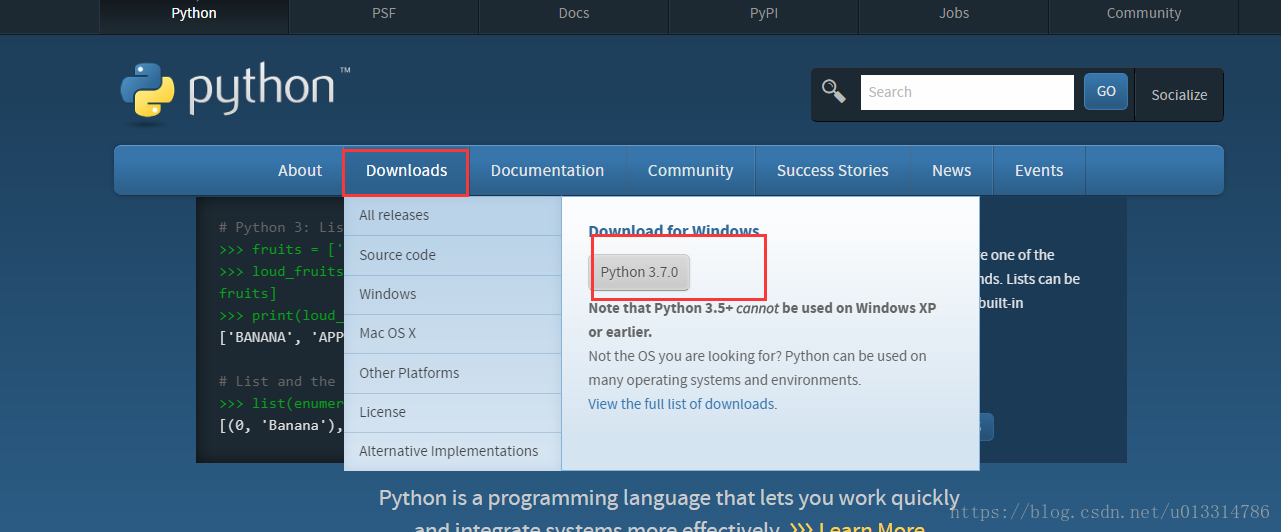
Then pay attention to the installation path during installation, such as my installation path D: \ Python 37, which will be used next.
2, Install Appium library for Python 3
Open the Python installation directory, find the Scripts folder, and click it. Example:
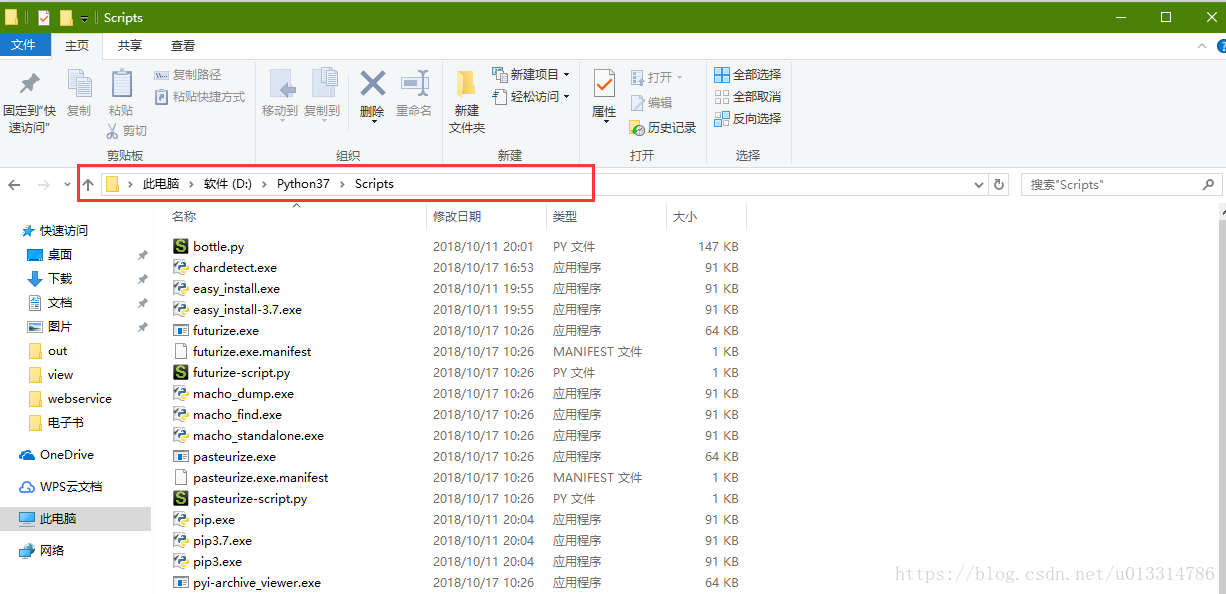
Enter cmd in the address bar and press enter to open the console:

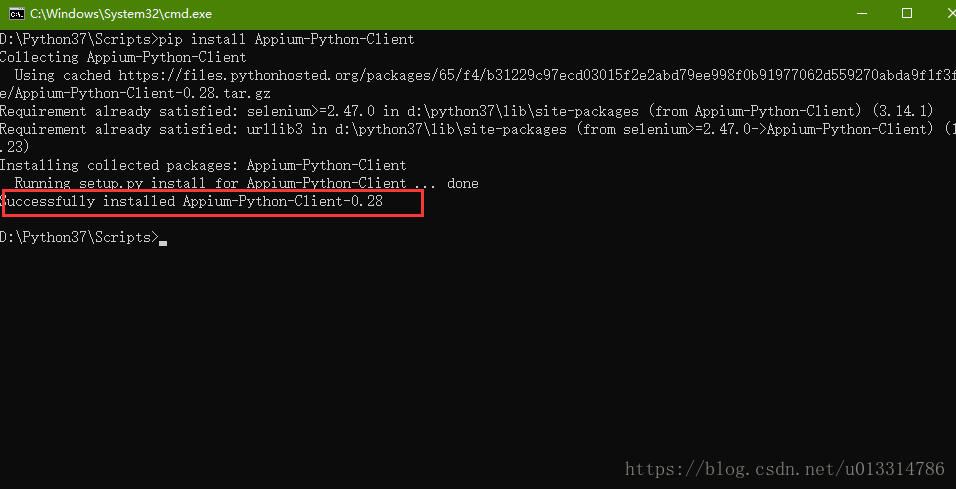
Enter the command PIP install appium Python client in the console and press enter

The prompt shown in the figure below indicates that the installation is successful
3, Install Android SDK
I was too lazy to toss around, so I downloaded Android Studio directly
Download address
https://developer.android.com/studio/#downloads
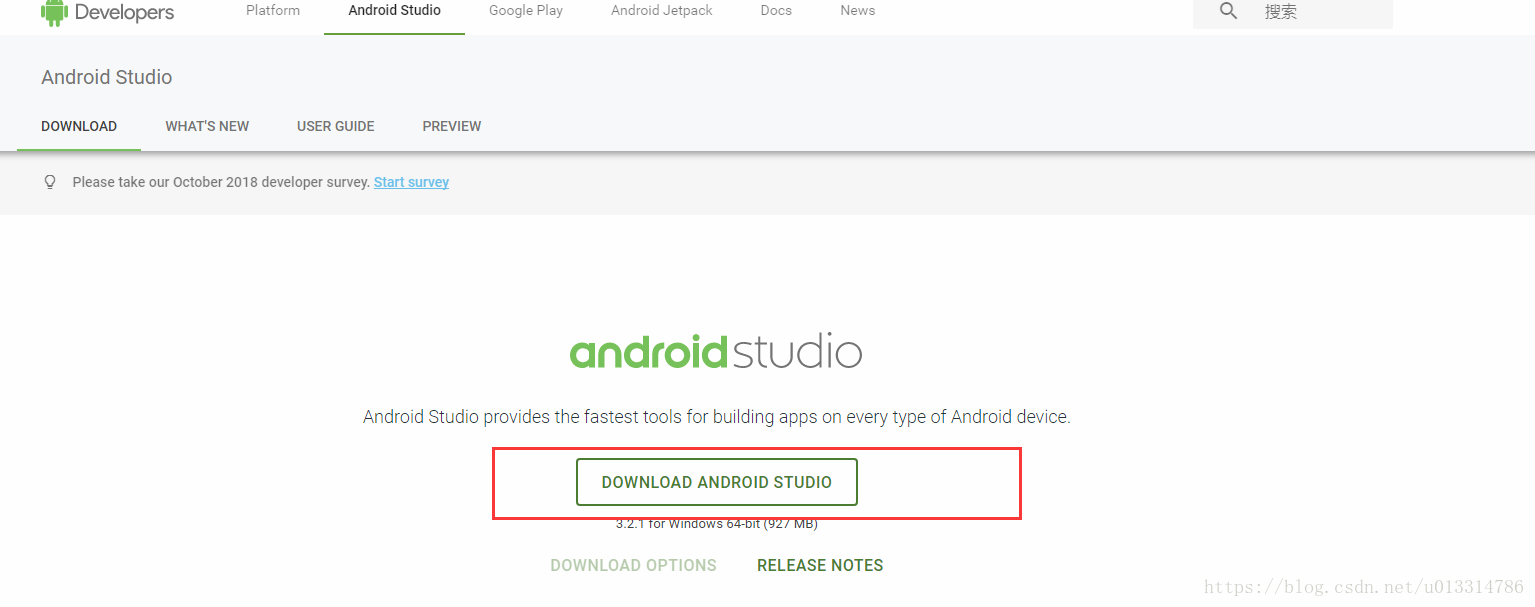
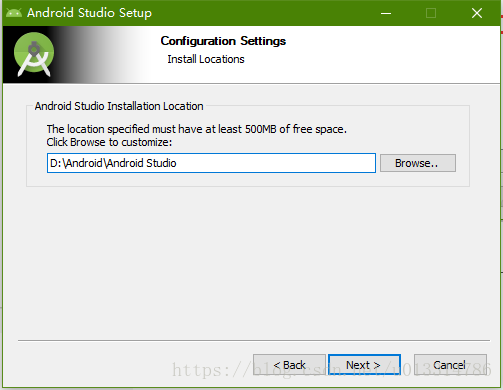
Download completed and installation started

If you need to install the built-in simulator, check this item, then Next, and then select the installation path. For example, mine is also placed on disk D
Next, go to the page of selecting SDK. Please pay attention
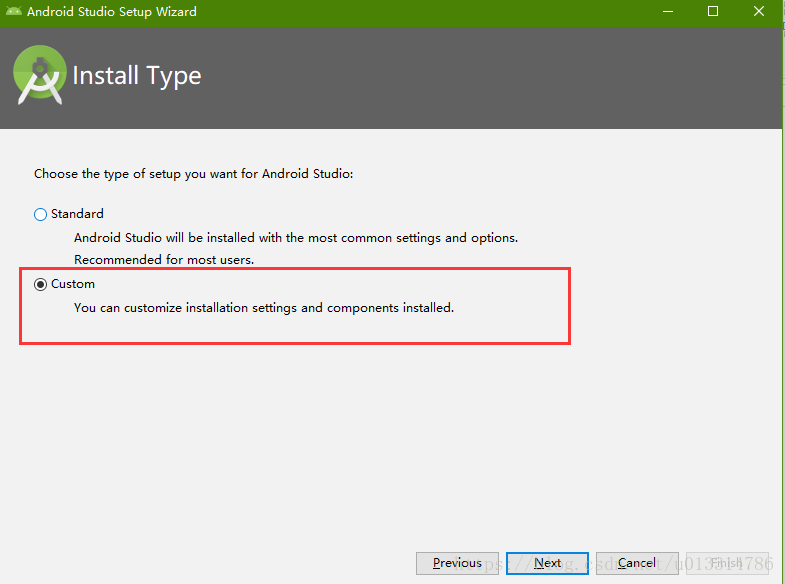
Select Custom, so that you can only install the parts you like, and then select the theme. Of course, this can be changed in Android Studio in the future

Continue to Next and arrive at the customized component page, as shown in the following figure
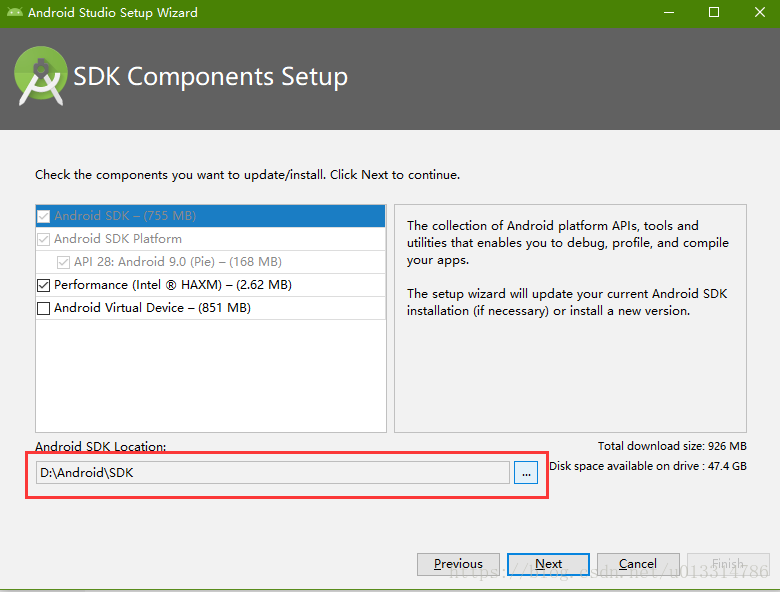
Set the installation path of the SDK. For example, my SDK is D:\Android\SDK
Next... finish. Then it enters the slow download link. Let it download slowly here. It will be fine after the download is completed. We can move on to the next section.
4, Install JDK
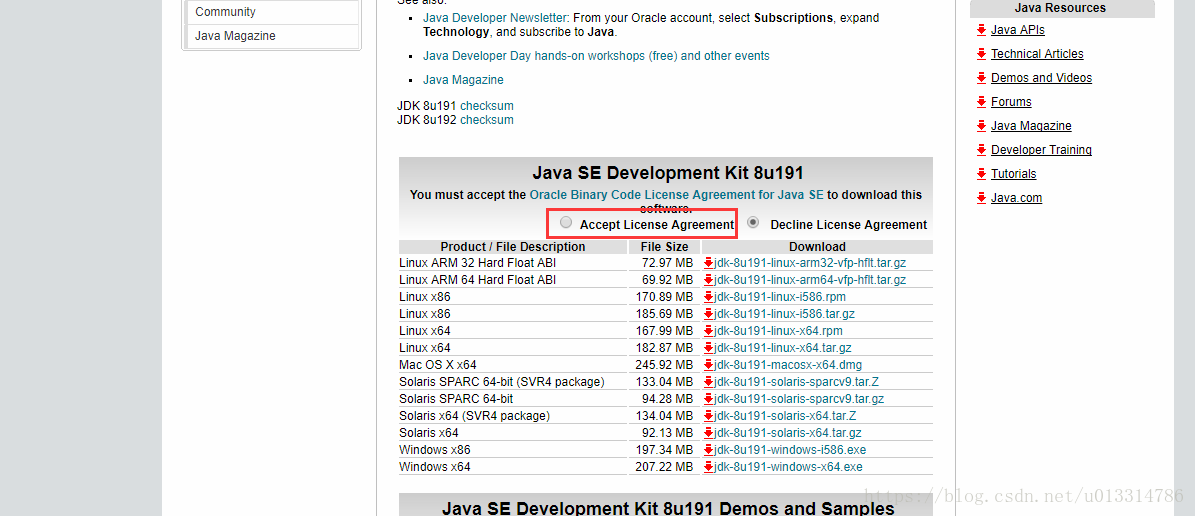
Here I use JDK8, download address
https://www.oracle.com/technetwork/java/javase/downloads/jdk8-downloads-2133151.html
Accept the agreement, and then select the corresponding platform to download
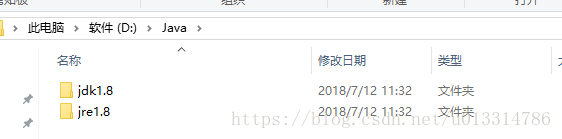
Next, the installation process is relatively simple. It is also next. Pay attention to selecting the installation path, such as my installation path D: \ Java \ jdk1 eight
5, Install Appium
Official website address http://appium.io/
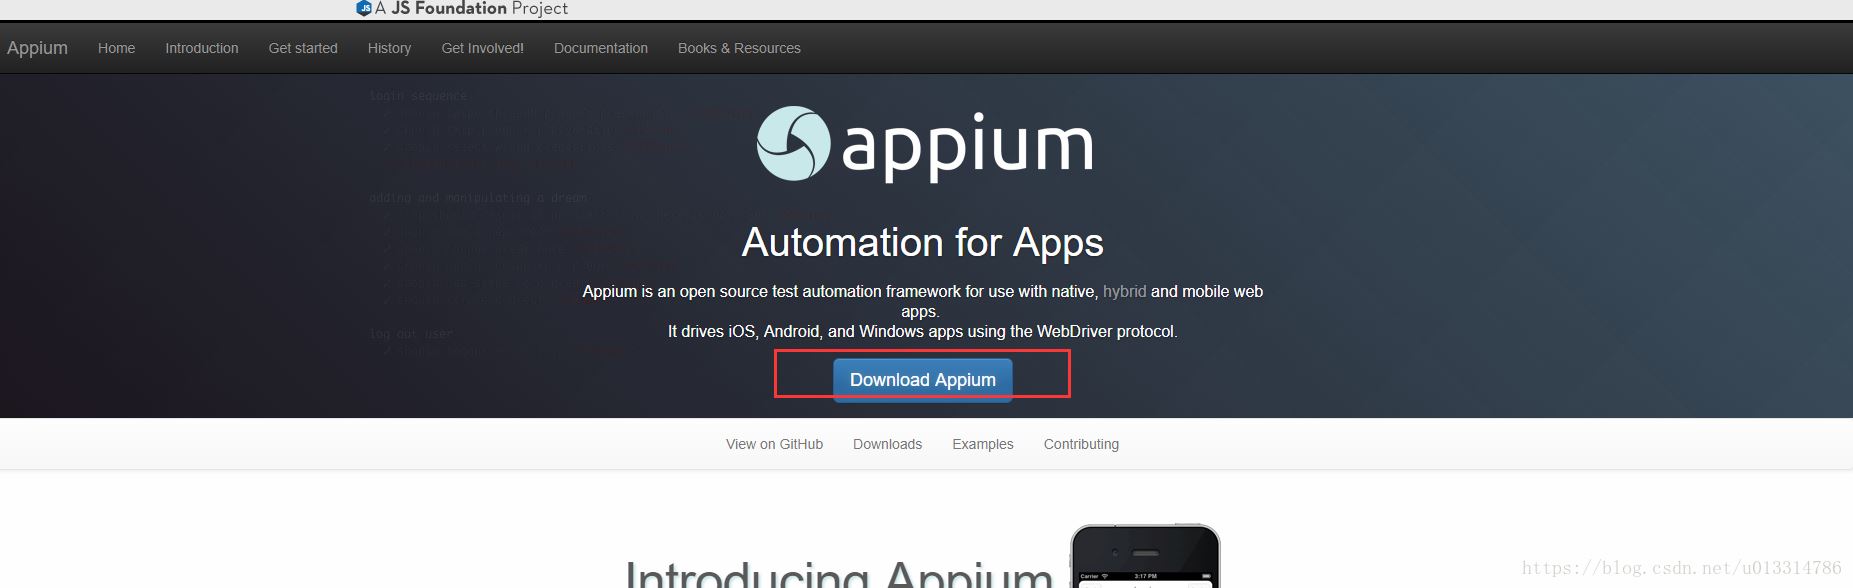
Click the download button to go to the GitHub download page and select the corresponding platform to download
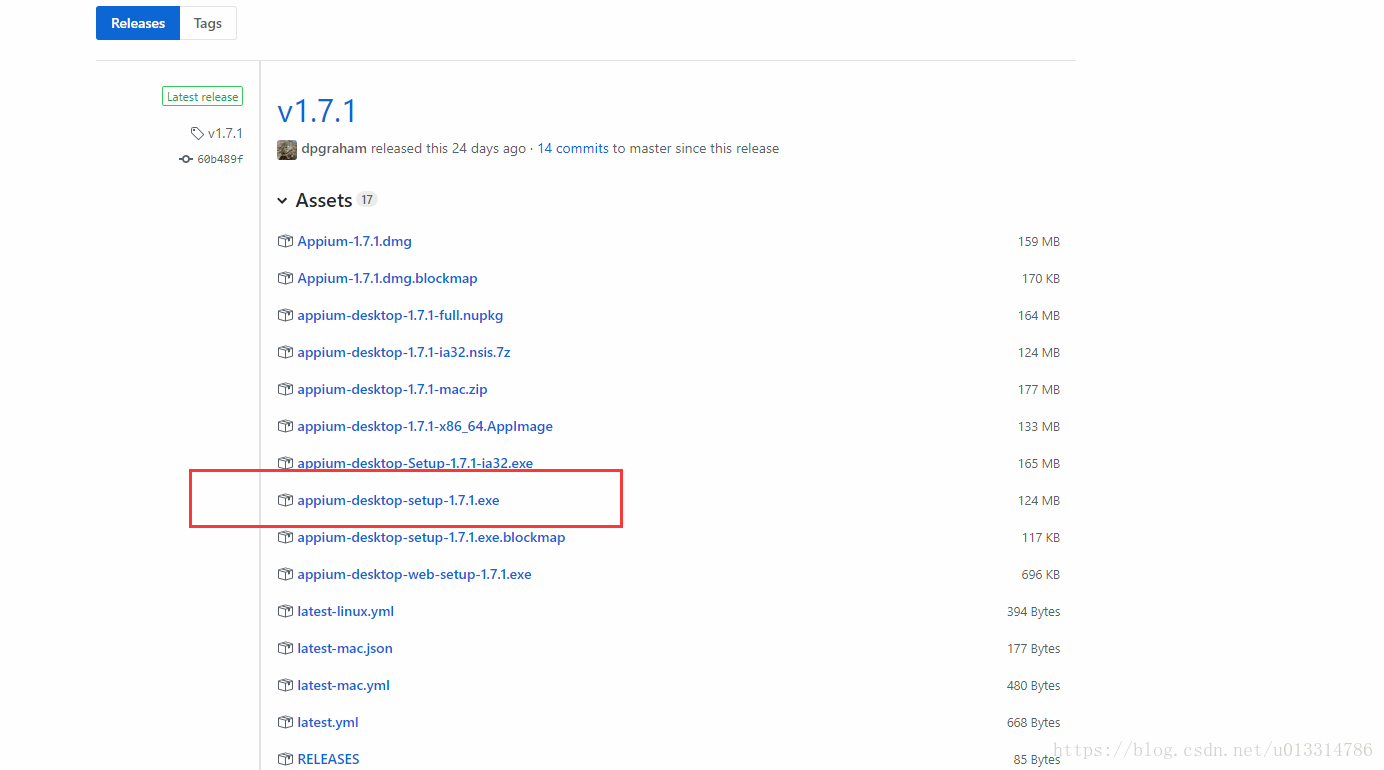
Select this for Windows (quick download)
After installation, start Appium, host and port by default, and then edit the configuration information
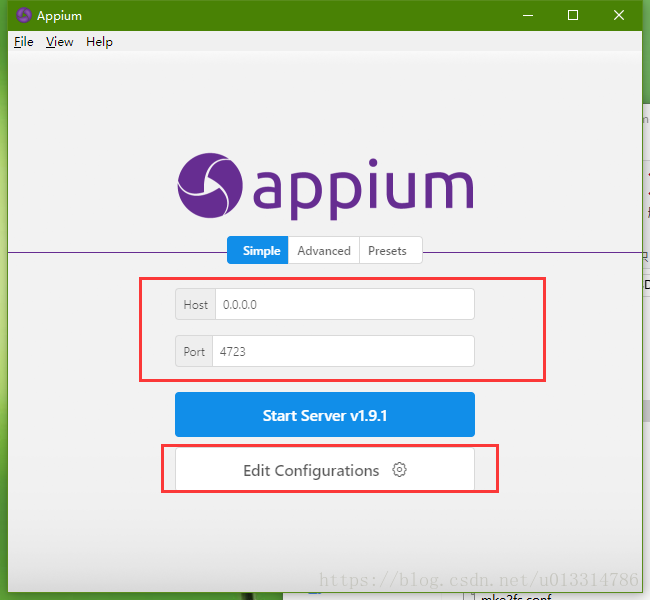
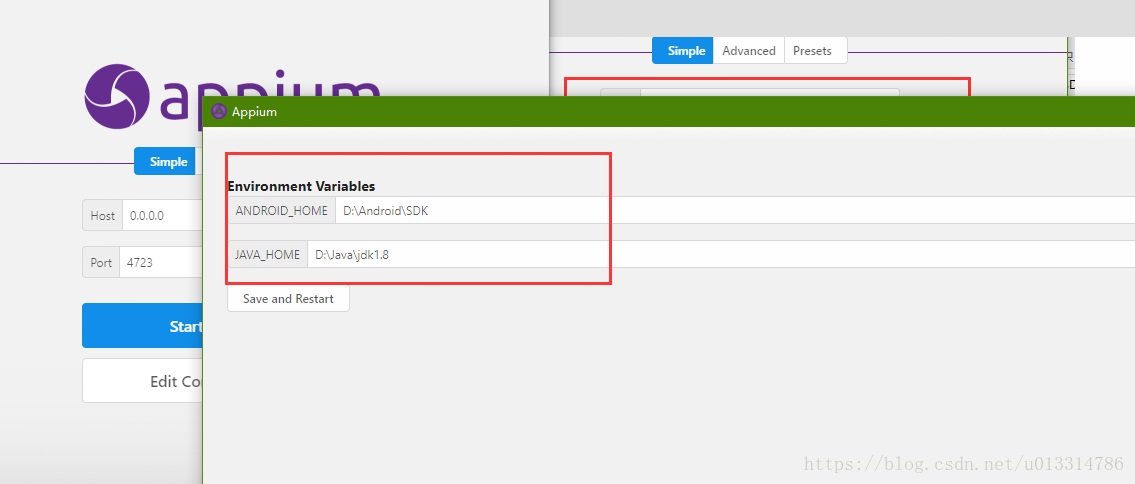
Then click the save and restart button below, and then click the first Start Server button. You will see

If you use real machine test, plug in your mobile phone and you can start writing script test. However, since there is no data line at hand, the simulator is adopted, so there is the next section.
6, Install simulator
Here is the download address of nocturnal simulator
https://www.yeshen.com/ , the reason why you don't use Android comes with it is because you remember that you started it for a long time many years ago, and then you haven't used it anymore.
There's nothing to say about this. Just pay attention to the installation path and take the next step all the way.
After installation, make the following simple modifications:
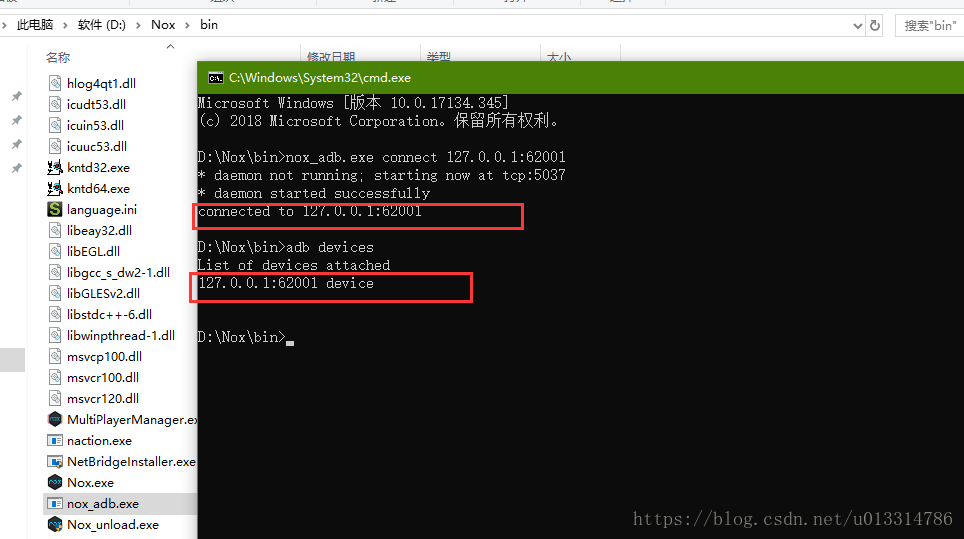
- Open the installation directory and enter the bin directory (for example: D:\Nox\bin)
- Add the ADB in the Android SDK installed in Section 3 Exe file (e.g. my in D: \ Android \ SDK \ platform tools directory) is copied to this directory, overwriting the existing ADB Exe file
- Delete the NOx of the directory_ adb.exe file, and then copy a copy of ADB Exe and rename to nox_adb.exe
- Start simulator
- Open the console from this directory and execute nox_adb.exe connect 127.0.0.1:62001, and then execute adb devices. Seeing the following information indicates success
Install the test apk file in the simulator. Here, take a calculator as an example, and directly drag the apk file into the simulator

Continue to enter AAPT dump baking D: \ apk \ com. In the console window just now youdao. calculator-2.0.0. apk
Where D: \ apk \ com youdao. calculator-2.0.0. Apk is the complete path to test APK.
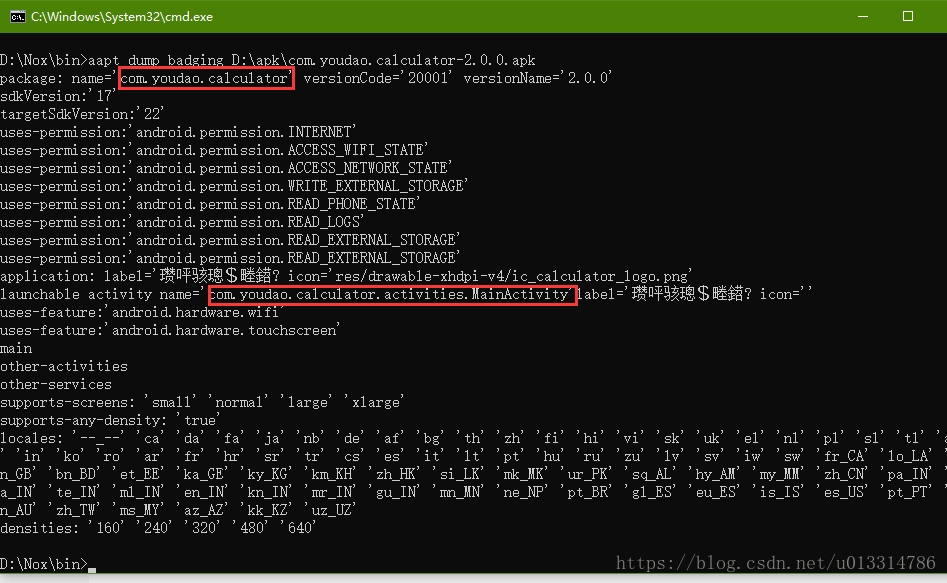
You can see that the information of the installation package has been printed out. Record the two names in the red box and use them later when writing the test script.
Note that if the simulator restarts, you need to execute NOx in step 5_ adb. Exe connect 127.0.0.1:62001 VII. Write test script and generate test report
1. Create the test case directory testcase and create test in this directory_ app. Py file
    import time
    import unittest

    from appium import webdriver


    class MyTests(unittest.TestCase):
     # Methods to be performed before testing
     def setUp(self):
      desired_caps = {'platformName': 'Android', # Platform name
          'platformVersion': '4.4.2', # System version number
          'deviceName': '127.0.0.1:62001', # Equipment name. If it is a real machine, check it in 'settings - > about mobile phone - > device name'
          'appPackage': 'com.youdao.calculator', # Package name of apk
          'appActivity': 'com.youdao.calculator.activities.MainActivity' # activity name
          }
      self.driver = webdriver.Remote("http://127.0.0.1:4723/wd/hub", desired_caps) # connect Appium
      self.driver.implicitly_wait(8)

     def test_calculator(self, t=500, n=4):
      """Calculator test"""
      time.sleep(3)
      window = self.driver.get_window_size()
      x0 = window['width'] * 0.8 # Starting x coordinate
      x1 = window['width'] * 0.2 # End x coordinate
      y = window['height'] * 0.5 # y coordinate
      for i in range(n):
       self.driver.swipe(x0, y, x1, y, t)
       time.sleep(1)
      self.driver.find_element_by_id('com.youdao.calculator:id/guide_button').click()
      for i in range(6):
       self.driver.find_element_by_accessibility_id('Mathbot Editor').click()
       time.sleep(1)

      btn_xpath = '/hierarchy/android.widget.FrameLayout/android.widget.LinearLayout/android.widget.FrameLayout/android.widget.LinearLayout/android.widget.FrameLayout/android.widget.FrameLayout/android.support.v4.widget.DrawerLayout/android.widget.LinearLayout/android.widget.FrameLayout/android.widget.RelativeLayout/android.widget.LinearLayout[2]/android.widget.LinearLayout/android.widget.LinearLayout[3]/android.view.View/android.widget.GridView/android.widget.FrameLayout[{0}]/android.widget.FrameLayout'
      self.driver.find_element_by_xpath(btn_xpath.format(7)).click()
      self.driver.find_element_by_xpath(btn_xpath.format(10)).click()
      self.driver.find_element_by_xpath(btn_xpath.format(8)).click()
      time.sleep(3)

     # Method to execute after test
     def tearDown(self):
      self.driver.quit()
2. Create run Py file
    import os
    import time
    import unittest

    from HTMLTestRunner import HTMLTestRunner

    test_dir = './testcase'
    discover = unittest.defaultTestLoader.discover(start_dir='./testcase', pattern="test*.py")

    if __name__ == "__main__":
     report_dir = './test_report'
     os.makedirs(report_dir, exist_ok=True)
     now = time.strftime("%Y-%m-%d %H-%M-%S")
     report_name = '{0}/{1}.html'.format(report_dir, now)

     with open(report_name, 'wb')as f:
      runner = HTMLTestRunner(stream=f, title="Test report", description="This test report contains a simple test of the supercomputer")
      runner.run(discover)
HTMLTestRunner is used to export the test report, but there seems to be a problem with Python 3. I found two modified ones that support Python 3 on the Internet,
If necessary, you can download it in the sample project at the end of this article.
3. Run Py file
After the program runs, it will be in test_ Generate test report under report directory
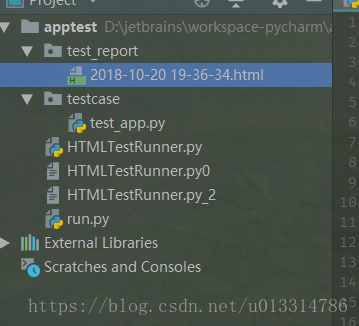
Open it in the browser to see the contents of the report, an example

That's it. It's all done. If you are free, you can add the use of Appium, such as element positioning. I hope this article can help beginners of automated testing.
Project sample download address https://github.com/lixk/apptest
Emma, I'm so wordy. It's eight o'clock and I haven't had dinner yet. I'm so hungry. I'll be here first today.
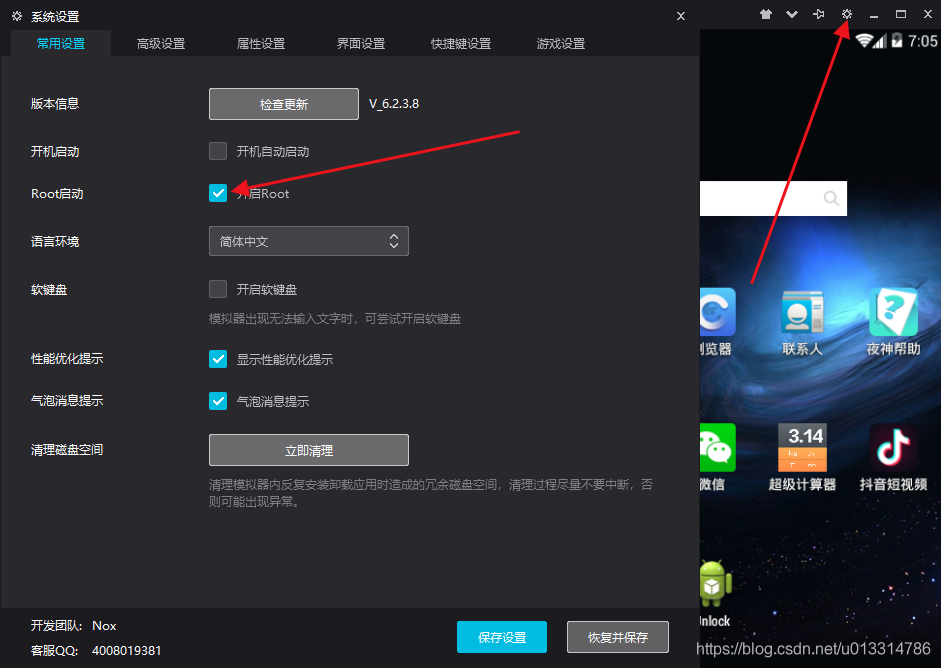
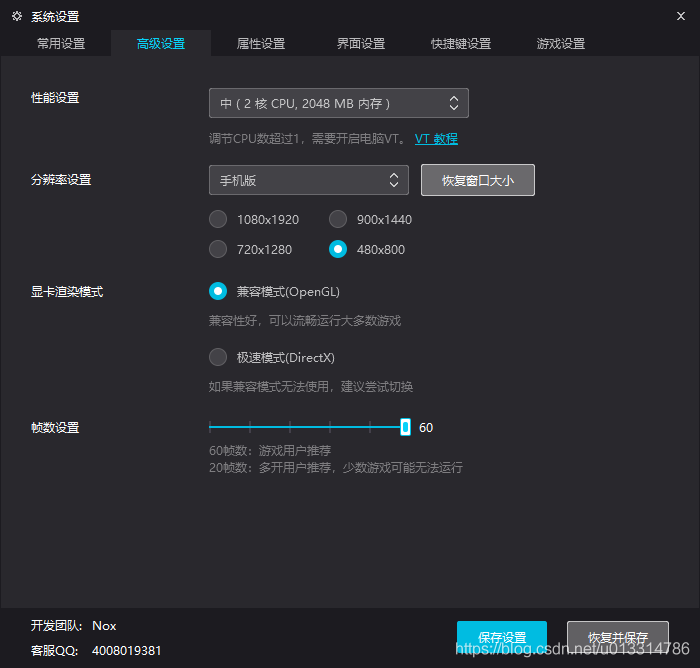
Supplement on May 21, 2019
If the configuration is consistent with the above steps, there is no problem. As a result, it cannot operate normally. Then the problem may be in the simulator configuration. The simulator configuration on my side is added below.
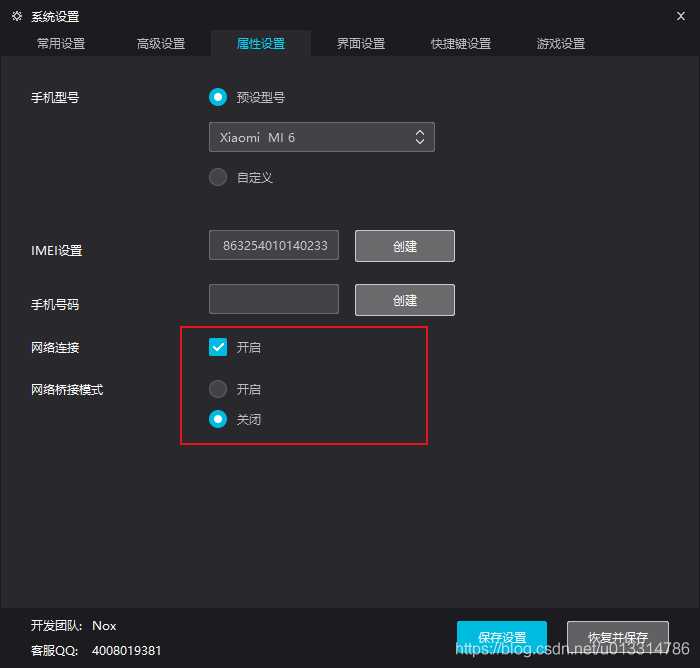

'platform version' in the code: '4.4.2' is the Android version in the above figure.
If there are still many people who can't run, then you can consider taking time to record an operation video, hahaha.
That's enough for this article about Python 3 + appium + Android simulator to realize APP automatic test and generate test report. More about Python 3 + appium
- Android simulator realizes APP automation test. Please search the previous articles of script home or continue to browse the relevant articles below. I hope you will support script home in the future!
