JQuery Mobile foundation
1. Page and dialog box
This chapter introduces the method of using page control in JQuery Mobile with examples. Page control is not only a very important control in JQuery Mobile, but also an essential control. Although the usage is simple, it can reflect the depth of programmers' understanding of coding.
This chapter will also introduce examples of using native JQuery to improve page interactivity. The main knowledge points include:
- Page control, including the advanced usage of page and how to manually modify the defined properties in JQuery Mobile
- Methods of adapting to various screens
- Method of switching between pages by using links
- How to use dialog box
1.1 simple helloworld
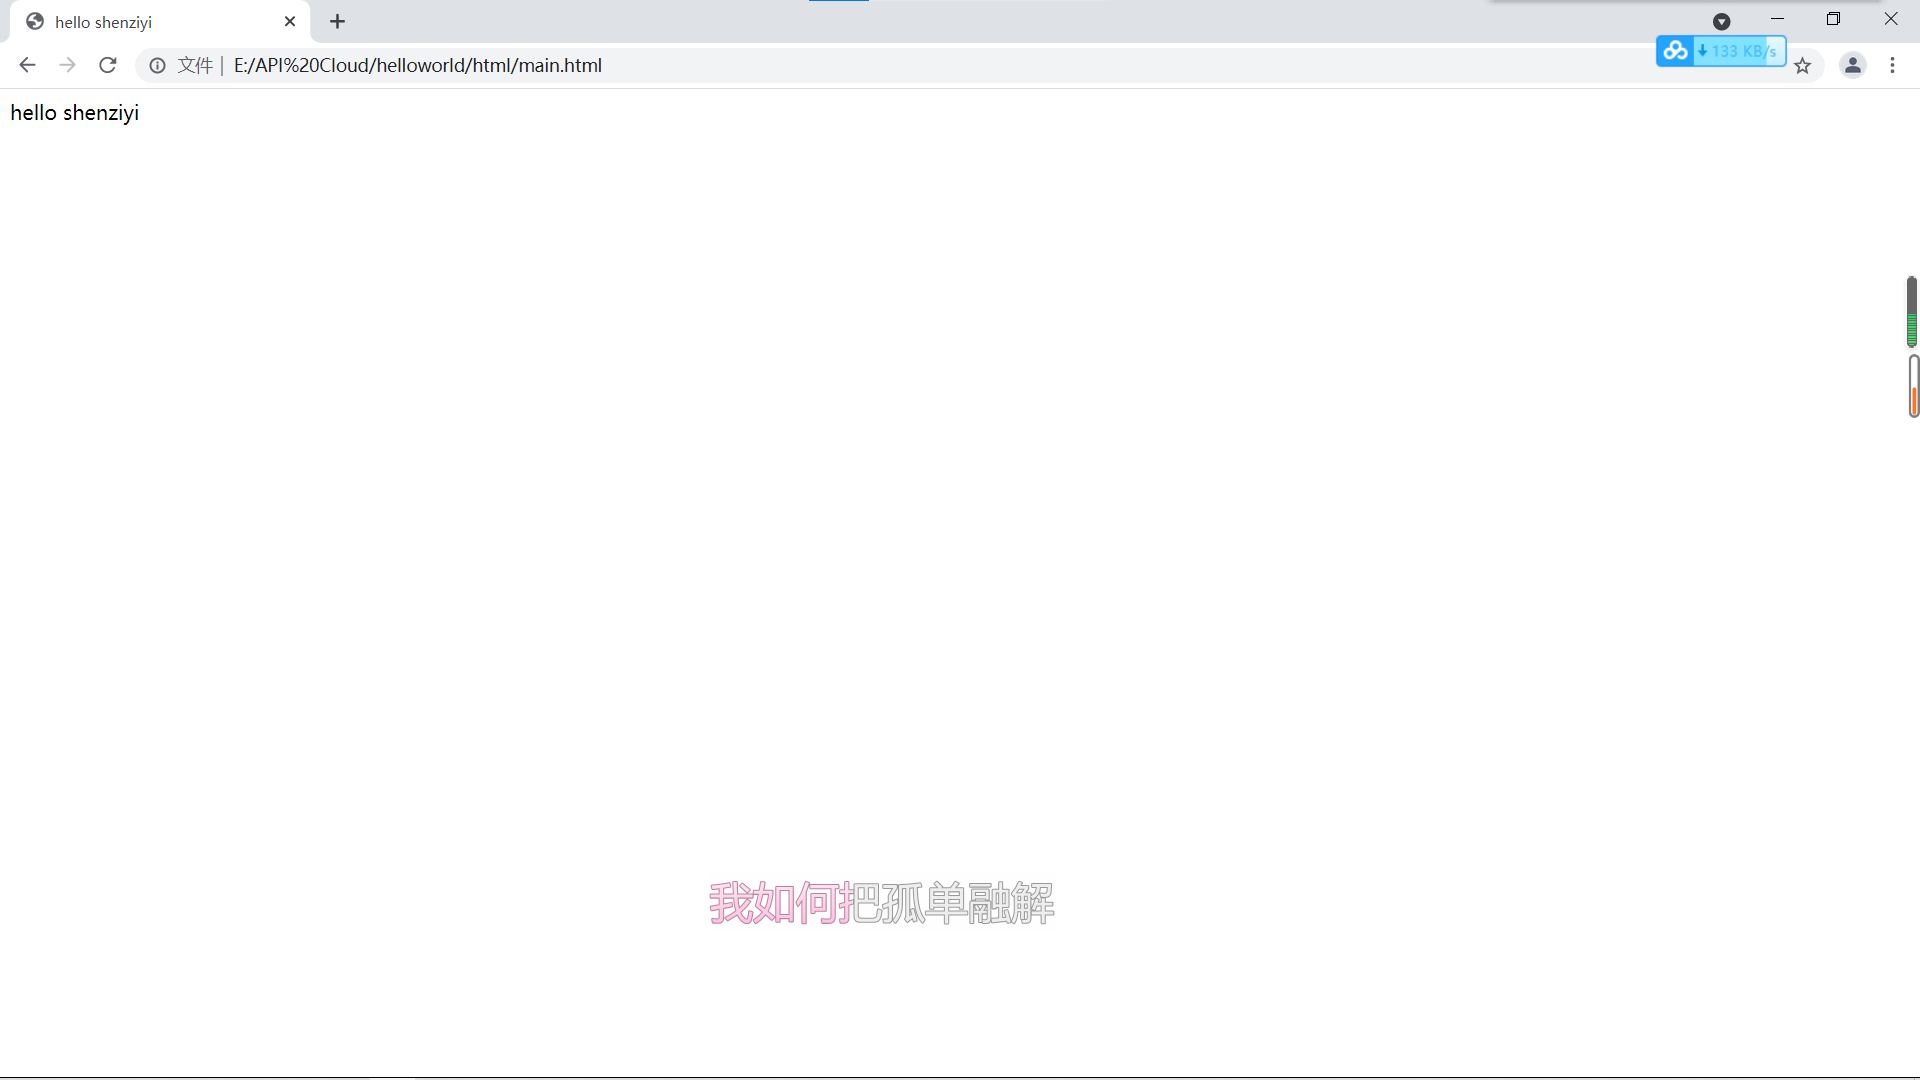
Simple hello page:
<!DOCTYPE html>

<head>
    <meta http-equiv="Content-Type" content="text/html; charset=utf-8" />
    <meta name="viewport" content="width=device-width,initial-scale=1" />   <!--Key point-->
    <title>Resolution of test equipment</title>
    <link rel="stylesheet" href="jquery.mobile.min.css" />  <!--Jquery Mobile Style file-->
    <!--quote JQuery script-->
    <script src="../jquery-3.5.1.min.js"></script>
    <!--introduce JQuery Mobile script-->
    <script src="../jquery.mobile-1.4.5.min.js"></script>

</head>
<body>
    <div data-role="page">  <!--Page control here-->
        hello shenziyi  <!--Insert content into space hello shenziyi-->
    </div>
</body>
</html>
The running results of the program are as follows:
1.2 DIY flash effect using JQuery script
Flash code: (use JQuery to constantly switch the background color of the page)
<!DOCTYPE html>
<head>
<meta http-equiv="Content-Type" content="text/html; charset=utf-8" />
<meta name="viewport" content="width=device-width,initial-scale=2">
<title>Flashing pages </title>
<!--jQuery Mobile Style file-->
<link rel="stylesheet" href="../css/jquery.mobile.min.css" />
<script src="../script/jquery-2.1.4.min.js"></script>
<script src="../script/jquery.mobile.min.js"></script>
<script type="text/javascript">
$(document).ready(function(){
	var i=0;		//Declare flag variable i
	setInterval(function(){
		if(i==0)
		{
			//Change the background color of all div tags to yellow
			$("div").css("background-color","black");
			i=1;
		}else
		{
			$("div").css("background-color","white");
			i=0;
		}
	},100);
});
</script>
</head>
<body>
	<!--by page Control is added to the theme, and the default is black-->
	<div data-role="page" data-theme="a">
    </div>
</body>
</html>
(the effect picture is dynamic and inconvenient to display)
After the page is loaded, the program starts the setInterval() counter, where 100 indicates that the running interval of the counter is 100ms. Set a temporary variable i to record the current state$ ("div") selects all div tags in the page. Since there is only one div on the page, select the page control, and then use css to change the page properties.
You can also use JQuery to modify the topic attribute of the page:
<!DOCTYPE html>
<head>
<meta http-equiv="Content-Type" content="text/html; charset=utf-8" />
<meta name="viewport" content="width=device-width,initial-scale=1">
<title>use JQuery Mobile Theme flash </title>
  <link rel="stylesheet" href="../css/jquery.mobile.min.css" />
    <script src="../script/jquery-2.1.4.min.js"></script>
    <script src="../script/jquery.mobile.min.js"></script>
<script type="text/javascript">
$(document).ready(function(){
	var i=0;
	setInterval(function(){
		if(i==0)
		{
			$("div").attr("data-theme","a");
			i=1;
		}else
		{
			$("div").attr("data-theme","b");
			alert($("div").attr("data-theme"));//After the topic is modified, the current topic name will pop up in the dialog box
			i=0;
		}
	},100);
	});
</script>

</head>
<body>

	<div data-role="page" data-theme="b">
    </div>
</body>
</html>
The operation results are as follows:
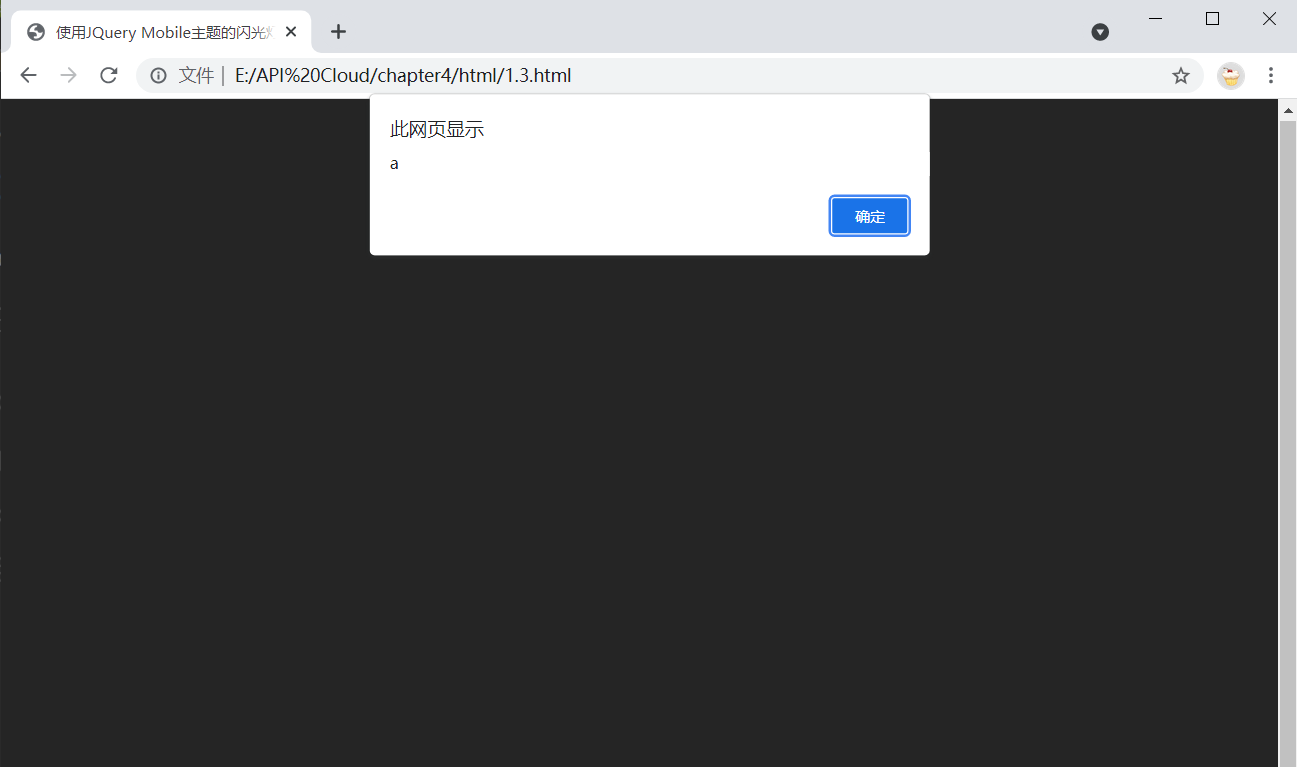
We can see that the page theme has changed, but the page color has not changed, because when the page is loaded, JQuery will search all the elements in the page whose data role is page and load the corresponding theme. After that, if the loading script is not run repeatedly, the display on the page will not change no matter how the attribute of the element changes. Of course, you can also add the loaded script to the file again.
1.3 constantly switching scenes
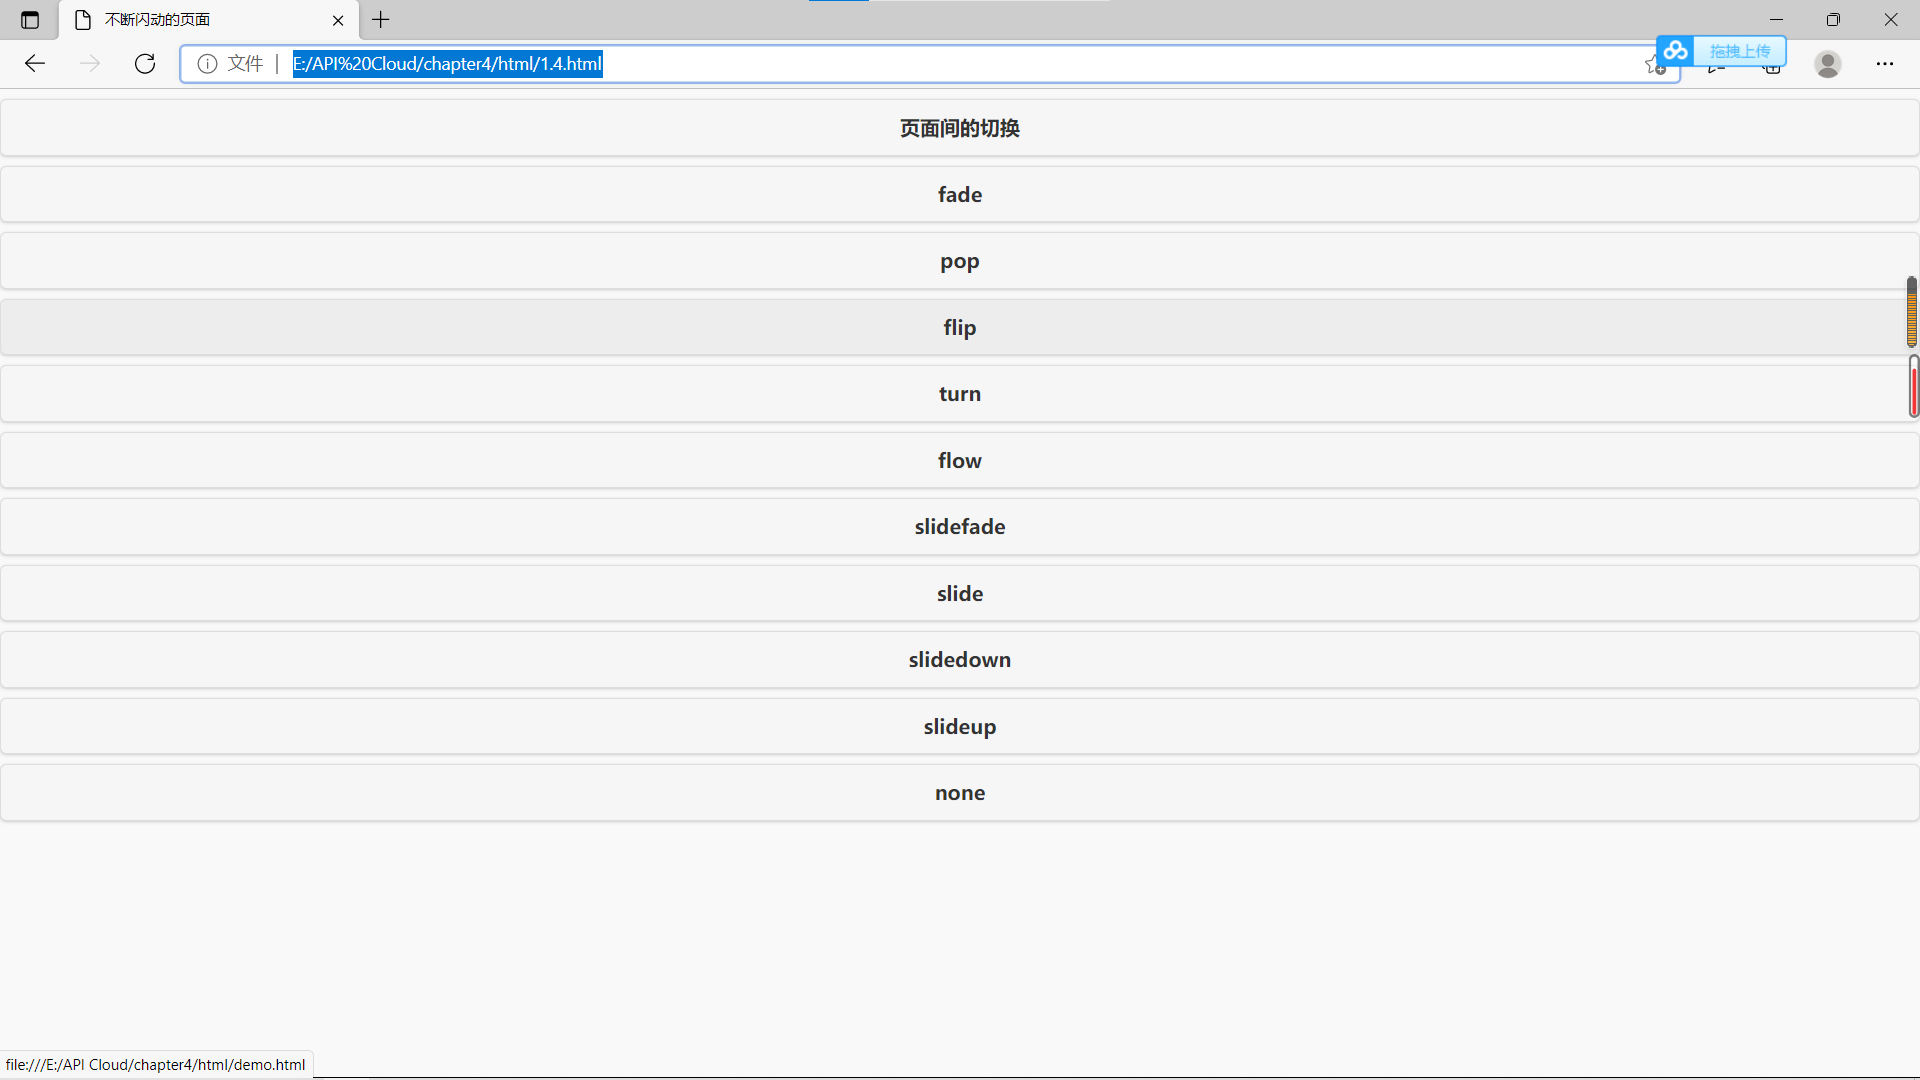
As a truly valuable application, there should be at least two interfaces to achieve more interaction through page switching. In JQuery Mobile, page switching is realized through links. JQuery Mobile provides ten different switching effects to enable developers to create better interactivity.
Example: scene switching in JQuery Mobile
<!DOCTYPE html><head>
    <meta http-equiv="Content-Type" content="text/html; charset=utf-8" />
    <meta name="viewport" content="width=device-width,initial-scale=2"/>
    <title>Flashing pages </title>
    <!--jQuery Mobile Style file-->

    <link rel="stylesheet" href="../css/jquery.mobile.min.css" />
    <script src="../script/jquery-2.1.4.min.js"></script>
    <script src="../script/jquery.mobile.min.js"></script>
    <!--<script type="text/javascript" src="cordova.js"></script>-->
    </head>
    <body>
        <div data-role="page">
            <!--Using the default switching mode, the effect is gradual-->
              <a href="E:/API Cloud/chapter4/html/demo.html" data-role="button">Switching between pages</a>
            <!-- data-transition="fade" Define switching mode fade-->
             <a data-role="button" href="E:/API Cloud/chapter4/html/demo.html" data-transition="fade" data-direction="reverse">fade</a>
            <!-- data-transition="pop" Define switching mode diffusion-->
               <a data-role="button" href="E:/API Cloud/chapter4/html/demo.html" data-transition="pop" data-direction="reverse">pop</a>
            <!-- data-transition="flip" Define switching mode expansion-->
            <a data-role="button" href="E:/API Cloud/chapter4/html/demo.html" data-transition="flip" data-direction="reverse">flip</a>
            <!-- data-transition="turn" Define switching mode flip override-->
             <a data-role="button" href="E:/API Cloud/chapter4/html/demo.html" data-transition="turn" data-direction="reverse">turn</a>
            <!-- data-transition="flow" Define switching mode diffusion coverage-->
                 <a data-role="button" href="E:/API Cloud/chapter4/html/demo.html" data-transition="flow" data-direction="reverse">flow</a>
            <!-- data-transition="slidefade" Define switching mode sliding fade-->
            <a data-role="button" href="E:/API Cloud/chapter4/html/demo.html" data-transition="slidefade" >slidefade</a>
            <!-- data-transition="slide" Define switching mode sliding-->
             <a data-role="button" href="E:/API Cloud/chapter4/html/demo.html" data-transition="slide" data-direction="reverse">slide</a>
            <!-- data-transition="slidedown" Define switching mode slide down-->
            <a data-role="button" href="E:/API Cloud/chapter4/html/demo.html" data-transition="slidedown" >slidedown</a>
            <!-- data-transition="slideup"  Define the switching mode and slide up-->
            <a data-role="button" href="E:/API Cloud/chapter4/html/demo.html" data-transition="slideup" >slideup</a>
            <!-- data-transition="none"  Define switching mode "None""-->
            <a data-role="button" href="E:/API Cloud/chapter4/html/demo.html" data-transition="none" data-direction="reverse">none</a>
        </div>
    </body>
    </html>
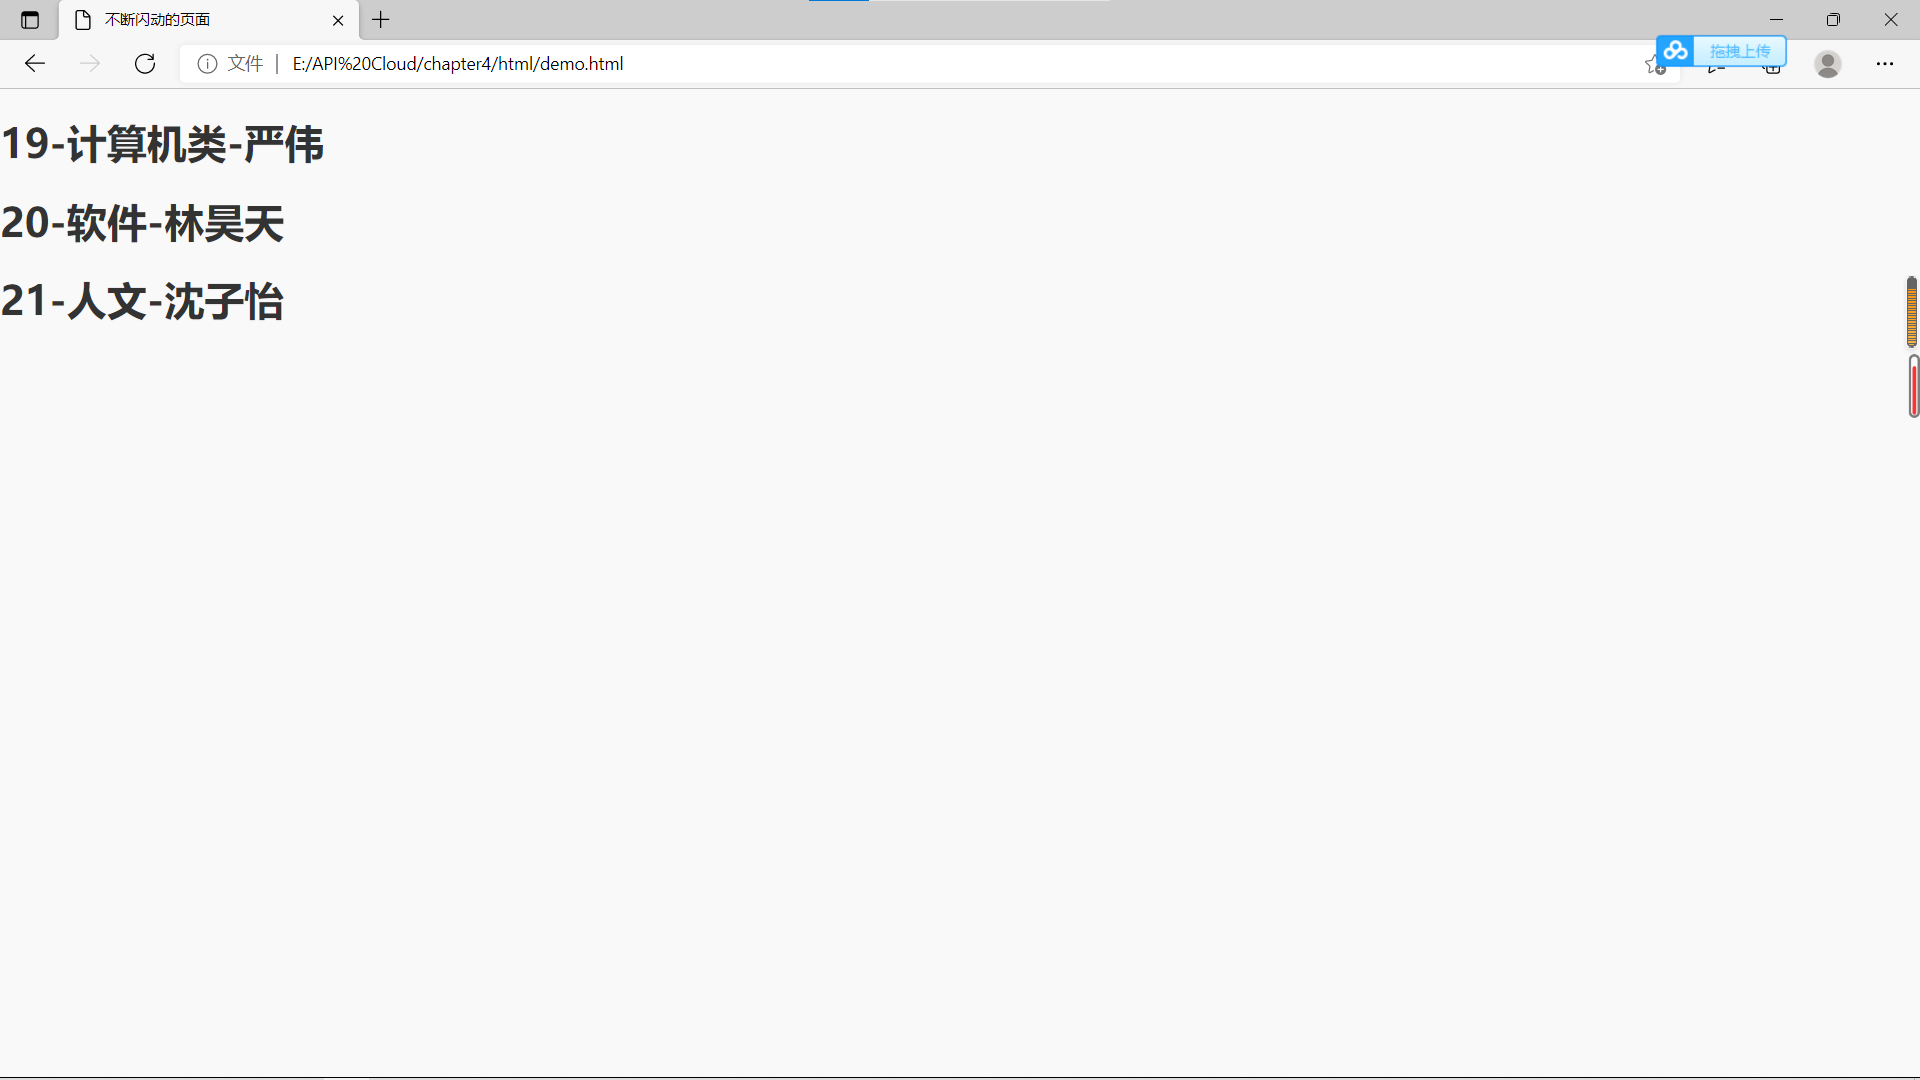
In addition, you need a page demo html:
<!DOCTYPE html>
<head>
<meta http-equiv="Content-Type" content="text/html; charset=utf-8" />
<meta name="viewport" content="width=device-width,initial-scale=2">
<title>Flashing pages </title>
<!--jQuery Mobile Style file-->
  <link rel="stylesheet" href="../css/jquery.mobile.min.css" />
    <script src="../script/jquery-2.1.4.min.js"></script>
    <script src="../script/jquery.mobile.min.js"></script>
<!--<script type="text/javascript" src="cordova.js"></script>-->
</head>
<body>
	<div data-role="page">
        <h1>19-Computer class-Yan Wei</h1>
        <h1>20-Software-Lin Haotian</h1>
    	<h1>21-humanity-Shen Ziyi</h1>
    </div>
</body>
</html>
The operation effect is as follows:
1.4 whole person game
Edit four files, namely main html,confirm.html,result.html,question.html.
Game start page main html:
<!DOCTYPE html>
<head>
<meta http-equiv="Content-Type" content="text/html; charset=utf-8" />
<meta name="viewport" content="width=device-width,initial-scale=2"/>
<title>The game begins</title>
<!--jQuery Mobile Style file-->
  <link rel="stylesheet" href="../css/jquery.mobile.min.css" />
    <script src="../script/jquery-2.1.4.min.js"></script>
    <script src="../script/jquery.mobile.min.js"></script>
<!--<script type="text/javascript" src="cordova.js"></script>-->
</head>
<body>
	<div data-role="page">
        <a href="question.html" data-role="button" data-rel="dialog">The game begins</a>
    </div>
</body>
</html>
result.html:
<!DOCTYPE html>
<head>
<meta http-equiv="Content-Type" content="text/html; charset=utf-8" />
<meta name="viewport" content="width=device-width,initial-scale=2"/>
<title>Be honest! Are you retarded!</title>
<!--jQuery Mobile Style file-->
  <link rel="stylesheet" href="../css/jquery.mobile.min.css" />
    <script src="../script/jquery-2.1.4.min.js"></script>
    <script src="../script/jquery.mobile.min.js"></script>
<!--<script type="text/javascript" src="cordova.js"></script>-->
</head>
<body>
	<div data-role="page">
	    	<h1>Just admit it earlier. Why bother so much!</h1>
    </div>
</body>
</html>
question.html:
<!DOCTYPE html>
<head>
<meta http-equiv="Content-Type" content="text/html; charset=utf-8" />
<meta name="viewport" content="width=device-width,initial-scale=2"/>
<title>Be honest! Are you retarded!</title>
<!--jQuery Mobile Style file-->
  <link rel="stylesheet" href="../css/jquery.mobile.min.css" />
    <script src="../script/jquery-2.1.4.min.js"></script>
    <script src="../script/jquery.mobile.min.js"></script>
<!--<script type="text/javascript" src="cordova.js"></script>-->
</head>
<body>
	<div data-role="page">
    	<h1>Be honest! Are you retarded!</h1>
        <a href="result.html" data-role="button">You know that!!!!</a>
        <a href="confirm.html" data-role="button" data-rel="dialog">Don't admit it!</a>
    </div>
</body>
</html>
confirm.html:
<!DOCTYPE html>
<head>
<meta http-equiv="Content-Type" content="text/html; charset=utf-8" />
<meta name="viewport" content="width=device-width,initial-scale=2"/>
<title>Be honest! Are you retarded!</title>
<!--jQuery Mobile Style file-->
  <link rel="stylesheet" href="../css/jquery.mobile.min.css" />
    <script src="../script/jquery-2.1.4.min.js"></script>
    <script src="../script/jquery.mobile.min.js"></script>
<!--<script type="text/javascript" src="cordova.js"></script>-->
</head>
<body>
	<div data-role="page">
    	<h1>Be honest! Are you retarded!</h1>
        <a href="result.html" data-role="button">I admit, I am</a>
        <a href="question.html" data-role="button" data-rel="dialog">I am not!</a>
    </div>
</body>
</html>
1.5 case of mobile phone invaded page box
The code is as follows:
<!DOCTYPE html>

<head>
<meta http-equiv="Content-Type" content="text/html; charset=utf-8" />
<meta name="viewport" content="width=device-width,initial-scale=2"/>
<title>The game begins</title>
<!--jQuery Mobile Style file-->
  <link rel="stylesheet" href="../css/jquery.mobile.min.css" />
    <script src="../script/jquery-2.1.4.min.js"></script>
    <script src="../script/jquery.mobile.min.js"></script>
<script type="text/javascript">
$(document).ready(function(){
	alert("Warning! Your mobile phone has been hacked");
	setInterval(function(){		//Use timer
		alert("Warning! Your mobile phone has been hacked");
	},3000);		//Set the interval to three seconds. Be careful not to set the interval too short here, otherwise you can't close the browser when testing on the PC
	});
</script>
</head>
<body>
	<div data-role="page" data-theme="a">
		<!--A little more can be added to this, for example: hello world  -->
    </div>
</body>
</html>
1.6 realize gradient background
The previous content introduces the method of using page control in the page, and also introduces how to set the theme to make the page have different colors, but many times, a more gorgeous way is needed. Setting the background image directly using CSS is a good method, but it will cause slow page loading. At this time, the gradient effect of CSS can be used to achieve the following:
<!DOCTYPE html>

<head>
<meta http-equiv="Content-Type" content="text/html; charset=utf-8" />
<meta name="viewport" content="width=device-width, initial-scale=1"/>
<link rel="stylesheet" href="../css/jquery.mobile.min.css" />
    <script src="../script/jquery-2.1.4.min.js"></script>
    <script src="../script/jquery.mobile.min.js"></script>
<style>
.background-gradient
{
	background-image:-webkit-gradient(
		linear,left bottom,left top,
		color-stop(0.22,rgb(12,12,12)),
		color-stop(0.57,rgb(153,168,192)),
		color-stop(0.84,rgb(23,45,67))
	);
	background-image:-moz-linear-gradient(
		90deg,
		rgb(12,12,12),
		rgb(153,168,192),
		rgb(23,45,67)
	);
}
</style>
</head>
<body>
	<div data-role="page" class="background-gradient">
        hello,Shen Ziyi
	</div>
</body>
</html>
The effect is as follows:
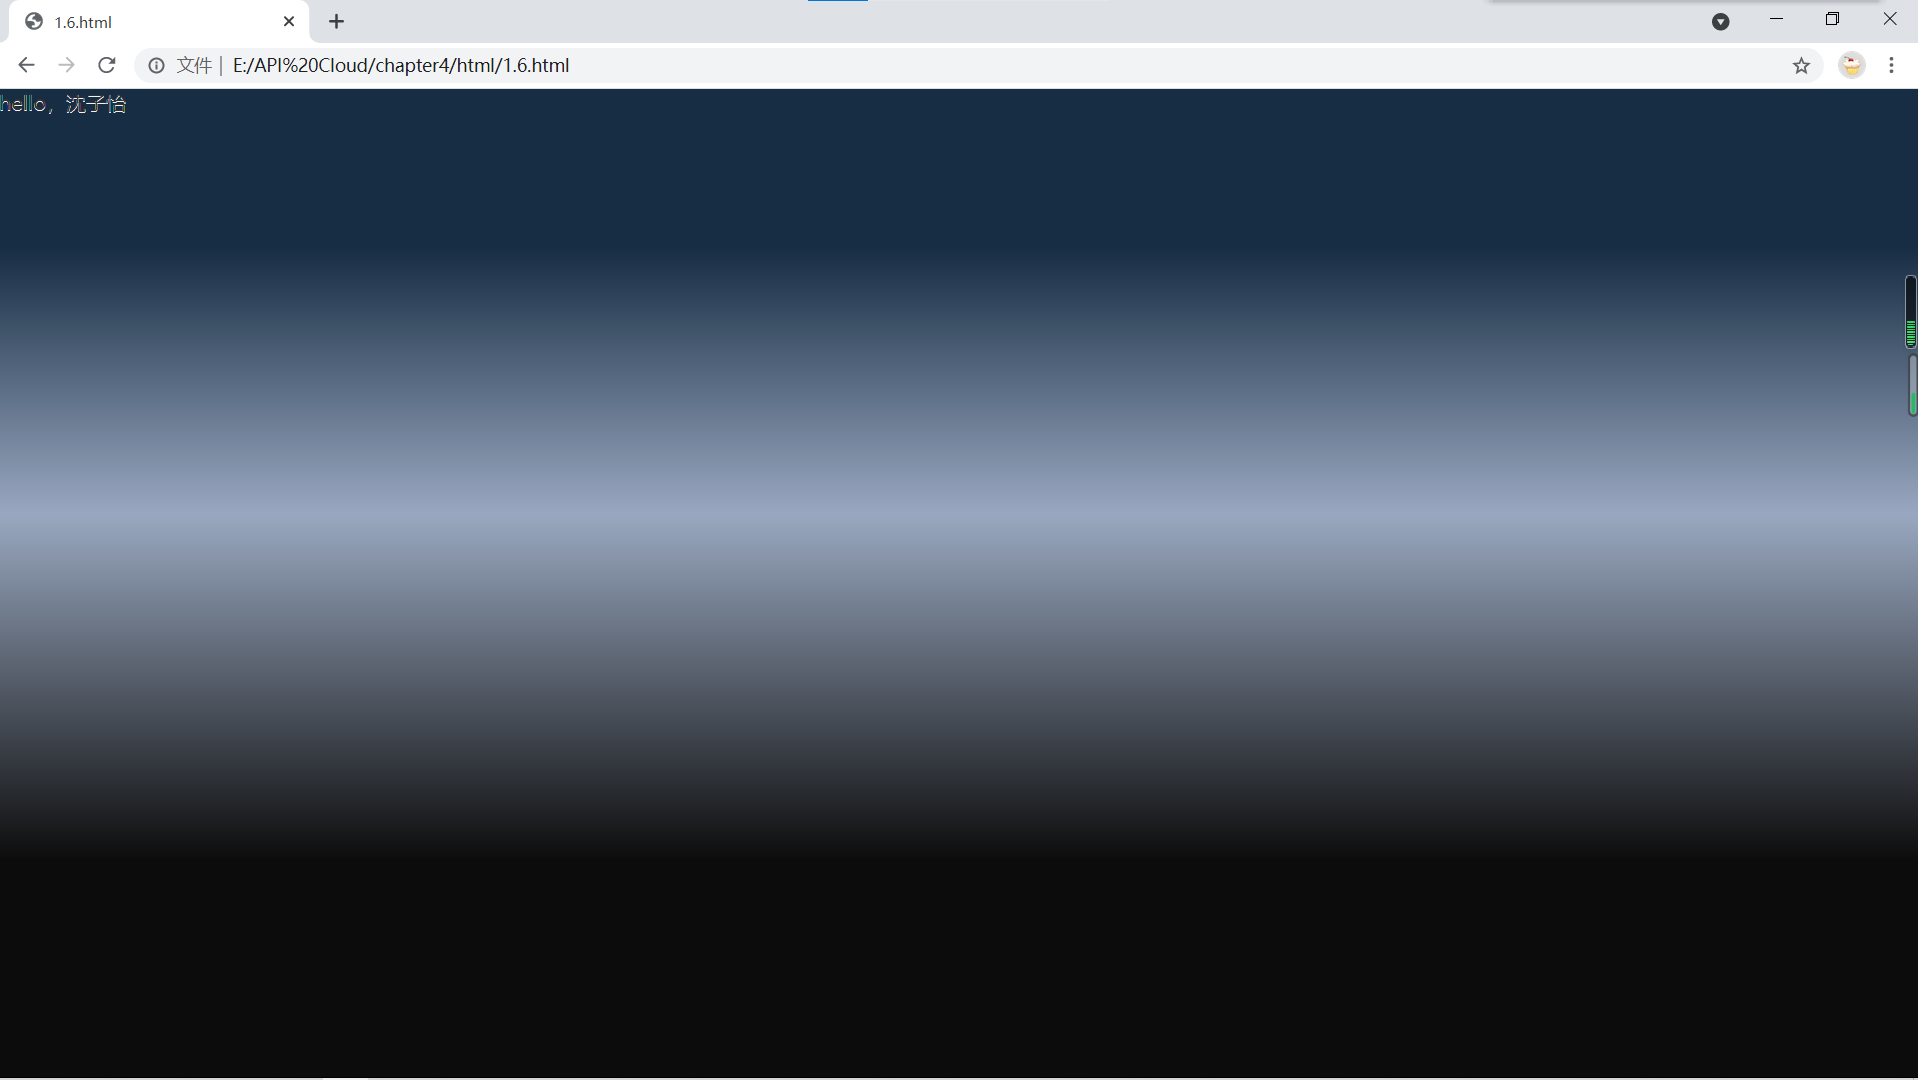
It can be seen that the background gradient is realized in the page. In JQuery Mobile, gradient can be used wherever the background can be used, such as buttons, lists, etc. The main methods of gradient are mainly divided into linear gradient and radioactive gradient. The gradient used in this example is linear gradient.
1.7 another dialog box
1.5 introduces a dialog box that can be implemented by JavaScript, but with the emergence of the new version of JQuery Mobile, there are some native dialog box effects to choose from:
<!DOCTYPE html>

<head>
<meta http-equiv="Content-Type" content="text/html; charset=utf-8" />
<meta name="viewport" content="width=device-width, initial-scale=1"/>
<link rel="stylesheet" href="../css/jquery.mobile.min.css" />
    <script src="../script/jquery-2.1.4.min.js"></script>
    <script src="../script/jquery.mobile.min.js"></script>
</head>
<body>
	<div data-role="page">
        <a href="#Popupbasic "data rel =" pop "data role =" button "> please click the button</a>
	    <div data-role="popup" id="popupBasic">
			<p>This is a new dialog box</p>
		</div>
	</div>
</body>
</html>
The effect is as follows:
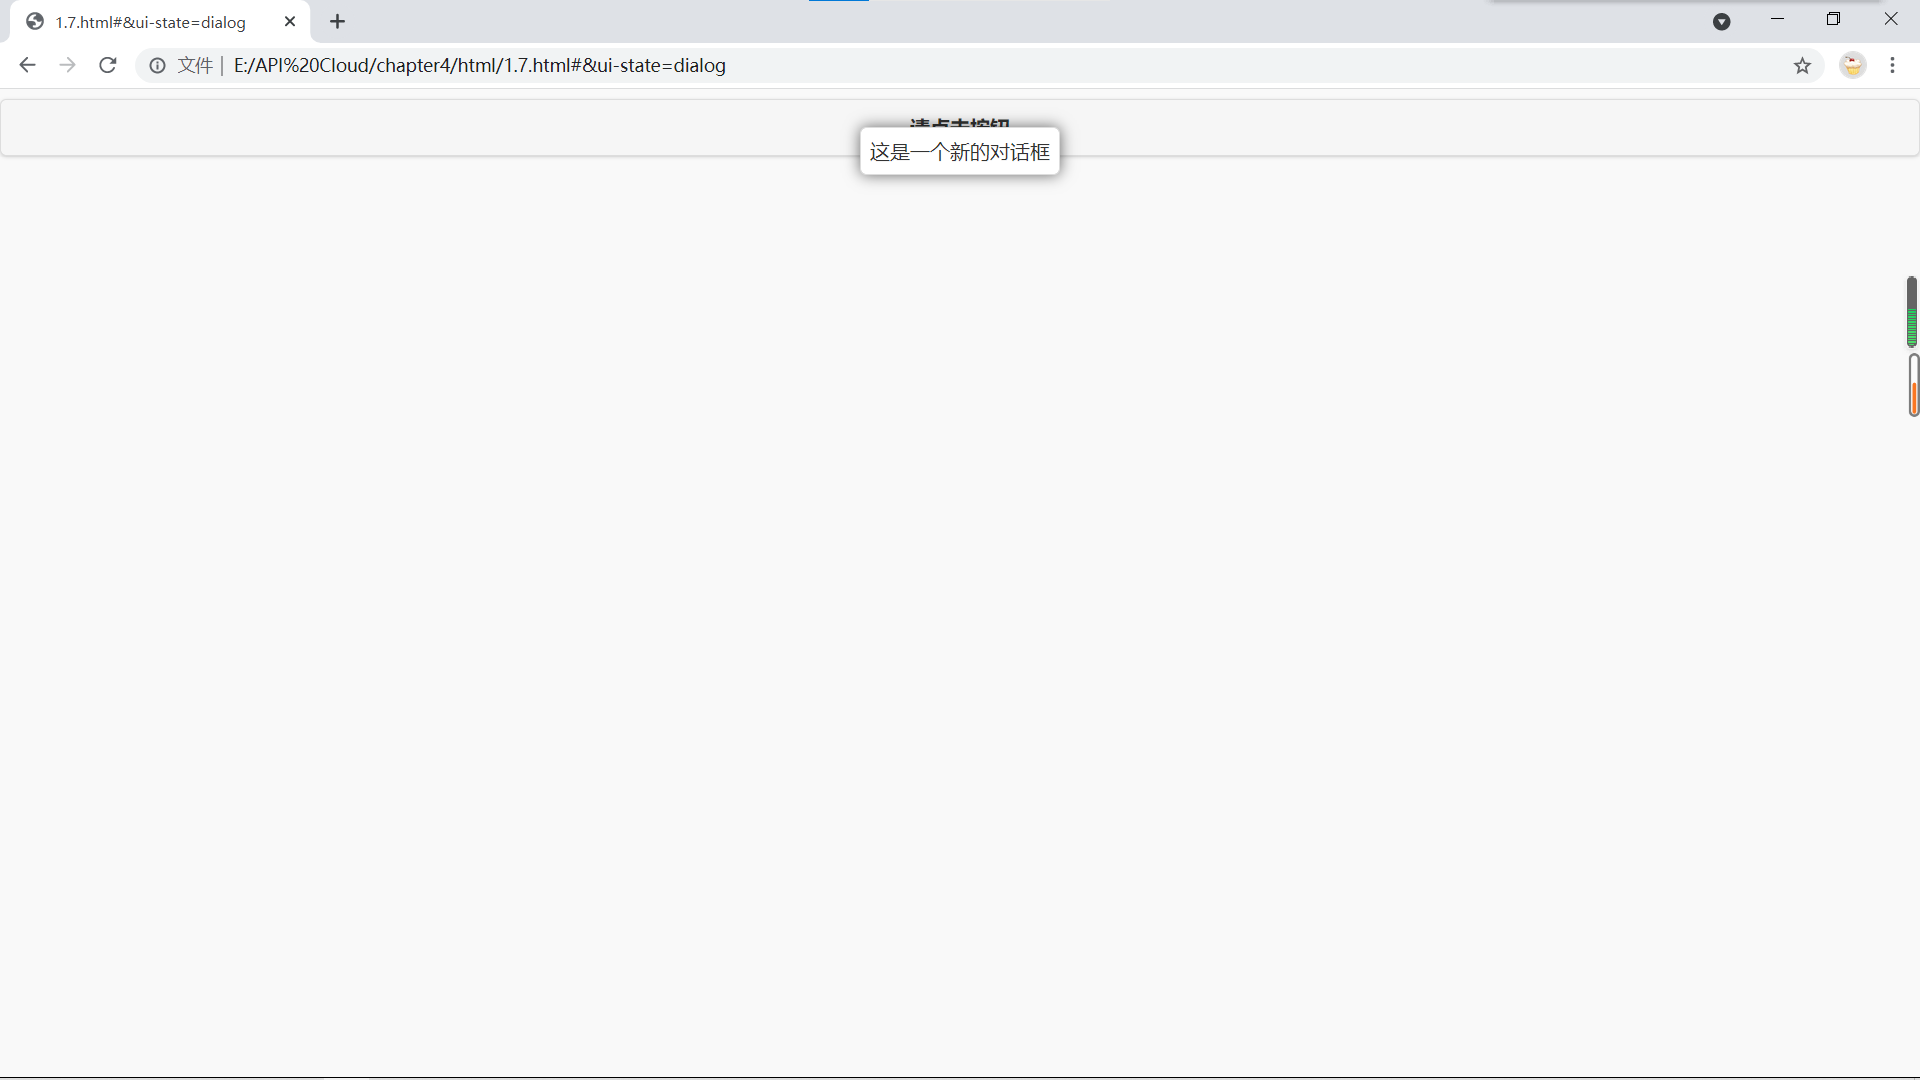
The data role = "Popup" attribute declares the div tag and its contents as the style of a dialog box, and sets the ID for it through the attribute id="popupBasic".
href="#popupBasic" specifies that this button is used to open a dialog box with id popupBasic. In addition, in order to enable the button to open the dialog box, add the attribute data rel = "pop" to the button.
Similarly, you can use data transition to define the pop-up style of the dialog box.
1.8 advanced properties of dialog box
The previous section introduced the use of the new dialog box, but obviously such a dialog box can only be used as a prompt, which can not meet the development requirements. But in fact, dialog boxes have many advanced properties. In the following example:
<!DOCTYPE html>

<head>
<meta http-equiv="Content-Type" content="text/html; charset=utf-8" />
<title>Advanced properties of dialog box</title>
<meta name="viewport" content="width=device-width, initial-scale=1"/>
<link rel="stylesheet" href="../css/jquery.mobile.min.css" />
    <script src="../script/jquery-2.1.4.min.js"></script>
    <script src="../script/jquery.mobile.min.js"></script>
</head>
<body>
	<div data-role="page">
		<div data-role="header">
			<h1>High tech properties of dialog box</h1>
		</div>
		<div data-role="content">
			<a href="#Popupcloseright "data rel =" pop "data role =" button "> close on the right</a>
			<a href="#Popupcloseleft "data rel =" pop "data role =" button "> close on the left</a>
			<a href="#Popupundismissible "data rel =" pop "data role =" button "> disable shutdown</a>
			<a href="#Popupcloseright1 "data rel =" pop "data role =" button "> another right-hand close</a>
			<a href="#Popupcloseleft1 "data rel =" pop "data role =" button "> another left-hand close</a>
			<a href="#Popupundismissible1 "data rel =" pop "data role =" button "> another way to disable shutdown</a>
			<div data-role="popup" id="popupCloseRight" class="ui-content" style="max-width:280px">
				<a href="#" data-rel="back" data-role="button" data-theme="a" data-icon="delete" data-iconpos="notext" class="ui-btn-right">Close</a>
				<p>Click the fork on the right to close the dialog box</p>
			</div>
			<div data-role="popup" id="popupCloseLeft" class="ui-content" style="max-width:280px">
				<a href="#" data-rel="back" data-role="button" data-theme="a" data-icon="delete" data-iconpos="notext" class="ui-btn-left">Close</a>
				<p>Click the fork on the left to close the dialog box</p>
			</div>
			<div data-role="popup" id="popupUndismissible" class="ui-content" style="max-width:280px" data-dismissible="false">
				<a href="#" data-rel="back" data-role="button" data-theme="a" data-icon="delete" data-iconpos="notext" class="ui-btn-left">Close</a>
				<p>Clicking on a blank area of the screen cannot close</p>
			</div>
			<div data-role="popup" id="popupCloseRight1" class="ui-content" style="max-width:280px">
				<div data-role="header" data-theme="a" class="ui-corner-top">
					<h1>Blank title</h1>
				</div>
				<a href="#" data-rel="back" data-role="button" data-theme="a" data-icon="delete" data-iconpos="notext" class="ui-btn-right">Close</a>
				<p>Click the fork on the right to close the dialog box</p>
			</div>
			<div data-role="popup" id="popupCloseLeft1" class="ui-content" style="max-width:280px">
				<div data-role="header" data-theme="a" class="ui-corner-top">
					<h1>Blank title</h1>
				</div>
				<a href="#" data-rel="back" data-role="button" data-theme="a" data-icon="delete" data-iconpos="notext" class="ui-btn-left">Close</a>
				<p>Click the fork on the left to close the dialog box</p>
			</div>
			<div data-role="popup" id="popupUndismissible1" class="ui-content" style="max-width:280px" data-dismissible="false">
				<div data-role="header" data-theme="a" class="ui-corner-top">
					<h1>This is the title of a dialog box</h1>
				</div>
				<a href="#" data-rel="back" data-role="button" data-theme="a" data-icon="delete" data-iconpos="notext" class="ui-btn-left">Close</a>
				<p>Clicking on a blank area of the screen cannot close</p>
			</div>
		</div>
	</div>
</body>
</html>
The effect is as follows:
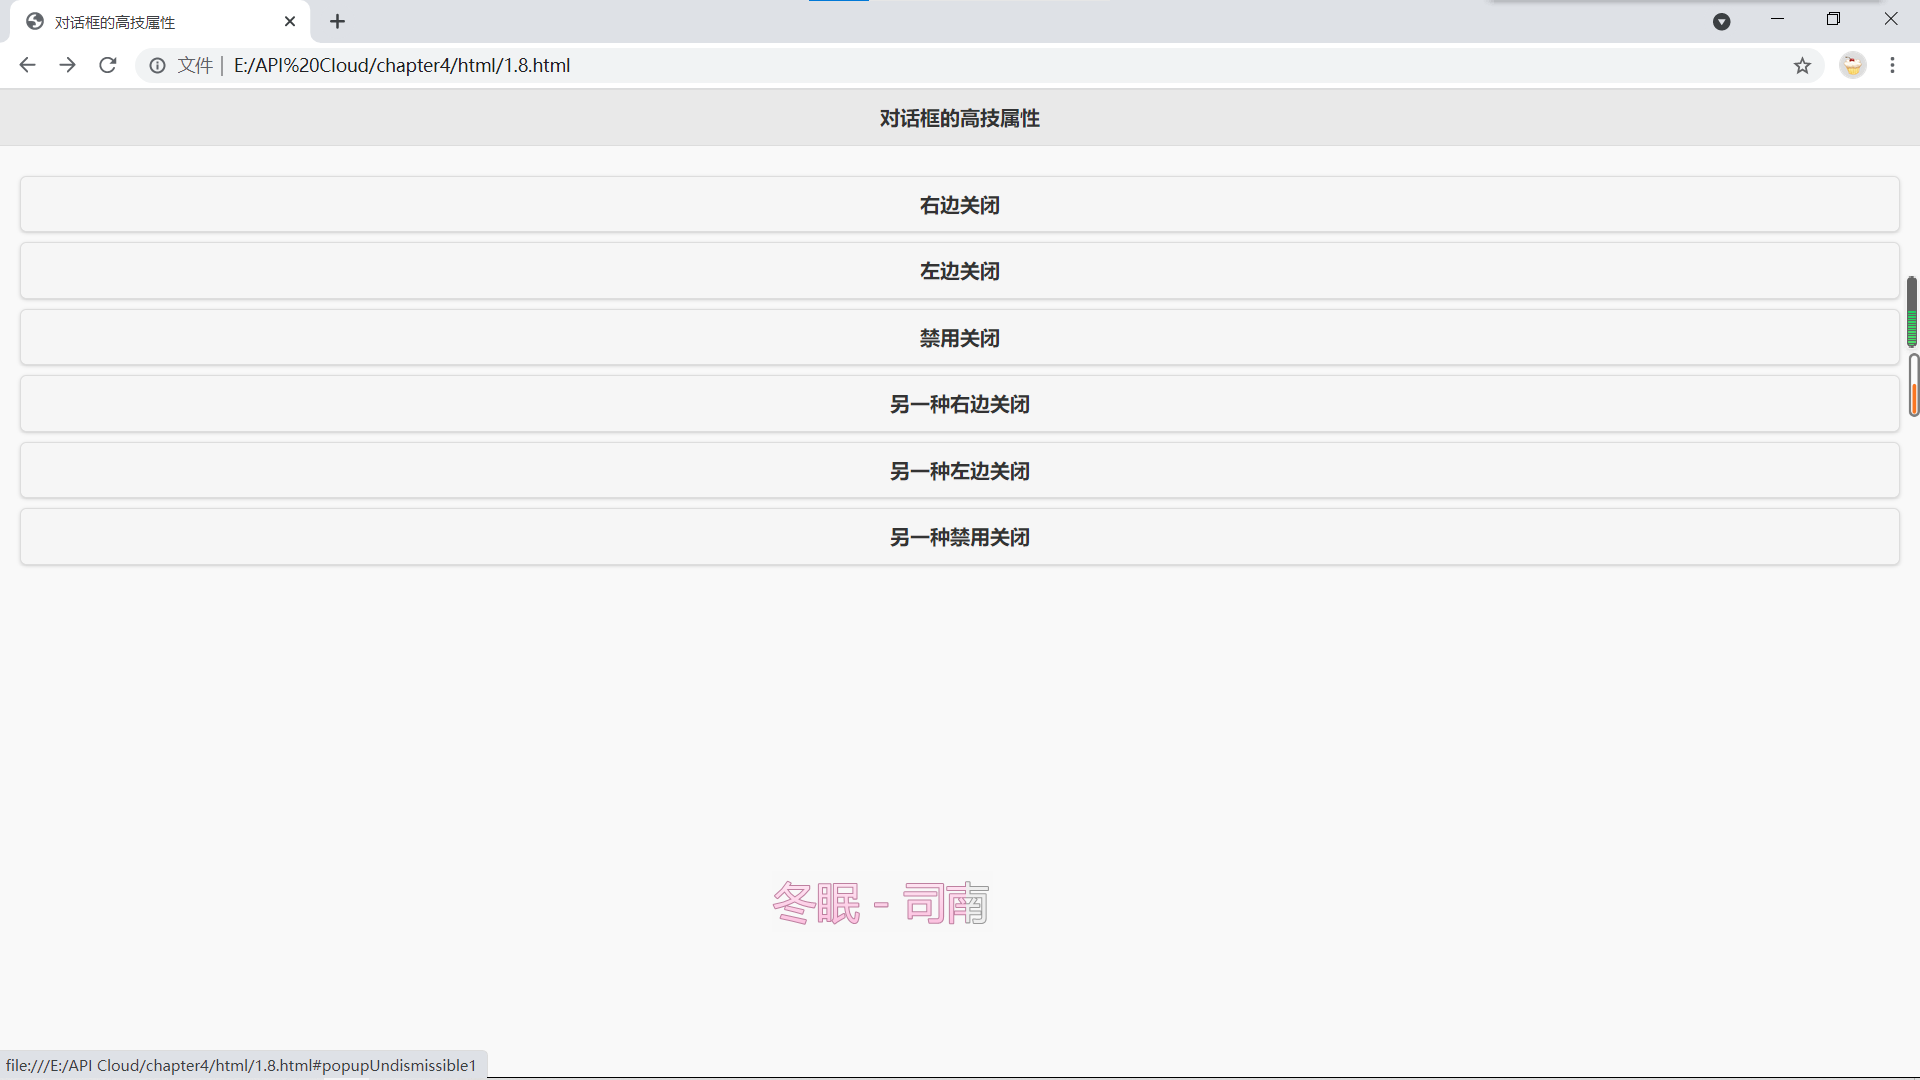
Click the six buttons on the page in turn, and different interfaces will appear. Through observation, it is found that the new dialog box has a close key and a top title compared with the previous one. This effect is very easy to implement in mobile jQuery.
<a href="#" data-rel="back" data-role="button" data-theme="a" data-icon="delete" data-iconpos="notext" class="ui-btn-right">Close</a>
This statement actually defines a button, and the method of implementing the button will be explained in detail later. You can change the attribute class = "UI BTN right" to class = "UI BTN left" to make the button position as the upper left corner of the dialog box.
With the attribute data transmissible = "false", you can't cancel by clicking on the blank area of the screen.
<div data-role="header" data-theme="a" class="ui-corner-top">
					<h1>Blank title</h1>
				</div>
This code adds a title bar to the dialog box. Some styles of the header bar are used.
1.9 simple photo album based on JQuery Mobile
<!DOCTYPE html>

<head>
<meta http-equiv="Content-Type" content="text/html; charset=utf-8" />
<meta name="viewport" content="width=device-width, initial-scale=1"/>
<link rel="stylesheet" href="../css/jquery.mobile.min.css" />
    <script src="../script/jquery-2.1.4.min.js"></script>
    <script src="../script/jquery.mobile.min.js"></script>
</head>
<body>
	<div data-role="page">
        <a href="#popup_1" data-rel="popup" data-position-to="window">
			<img src="p1.jpg" style="width:49%">
		</a>
		<a href="#popup_2" data-rel="popup" data-position-to="window">
			<img src="p2.jpg" style="width:49%">
		</a>
		<a href="#popup_3" data-rel="popup" data-position-to="window">
			<img src="p3.jpg" style="width:49%">
		</a>
		<a href="#popup_4" data-rel="popup" data-position-to="window">
			<img src="p4.jpg" style="width:49%">
		</a>
		<a href="#popup_5" data-rel="popup" data-position-to="window">
			<img src="p5.jpg" style="width:49%">
		</a>
		<a href="#popup_6" data-rel="popup">
			<img src="p6.jpg" style="width:49%">
		</a>
		<div data-role="popup" id="popup_1">
			<a href="#" data-rel="back" data-role="button" data-icon="delete" data-iconpos="notext" class="ui-btn-right">Close</a>
			<img src="p1.jpg" style="max-height:512px;">
		</div>
		<div data-role="popup" id="popup_2">
			<a href="#" data-rel="back" data-role="button" data-icon="delete" data-iconpos="notext" class="ui-btn-right">Close</a>
			<img src="p2.jpg" style="max-height:512px;" alt="Sydney, Australia">
		</div>
		<div data-role="popup" id="popup_3">
			<a href="#" data-rel="back" data-role="button" data-icon="delete" data-iconpos="notext" class="ui-btn-right">Close</a>
			<img src="p3.jpg" style="max-height:512px;" alt="New York, USA">
		</div>
		<div data-role="popup" id="popup_4">
			<a href="#" data-rel="back" data-role="button" data-icon="delete" data-iconpos="notext" class="ui-btn-right">Close</a>
			<img src="p4.jpg" style="max-height:512px;">
		</div>
		<div data-role="popup" id="popup_5">
			<a href="#" data-rel="back" data-role="button" data-icon="delete" data-iconpos="notext" class="ui-btn-right">Close</a>
			<img src="p5.jpg" style="max-height:512px;" alt="Sydney, Australia">
		</div>
		<div data-role="popup" id="popup_6">
			<a href="#" data-rel="back" data-role="button" data-icon="delete" data-iconpos="notext" class="ui-btn-right">Close</a>
			<img src="p6.jpg" style="max-height:512px;" alt="New York, USA">
		</div>
	</div>
</body>
</html>
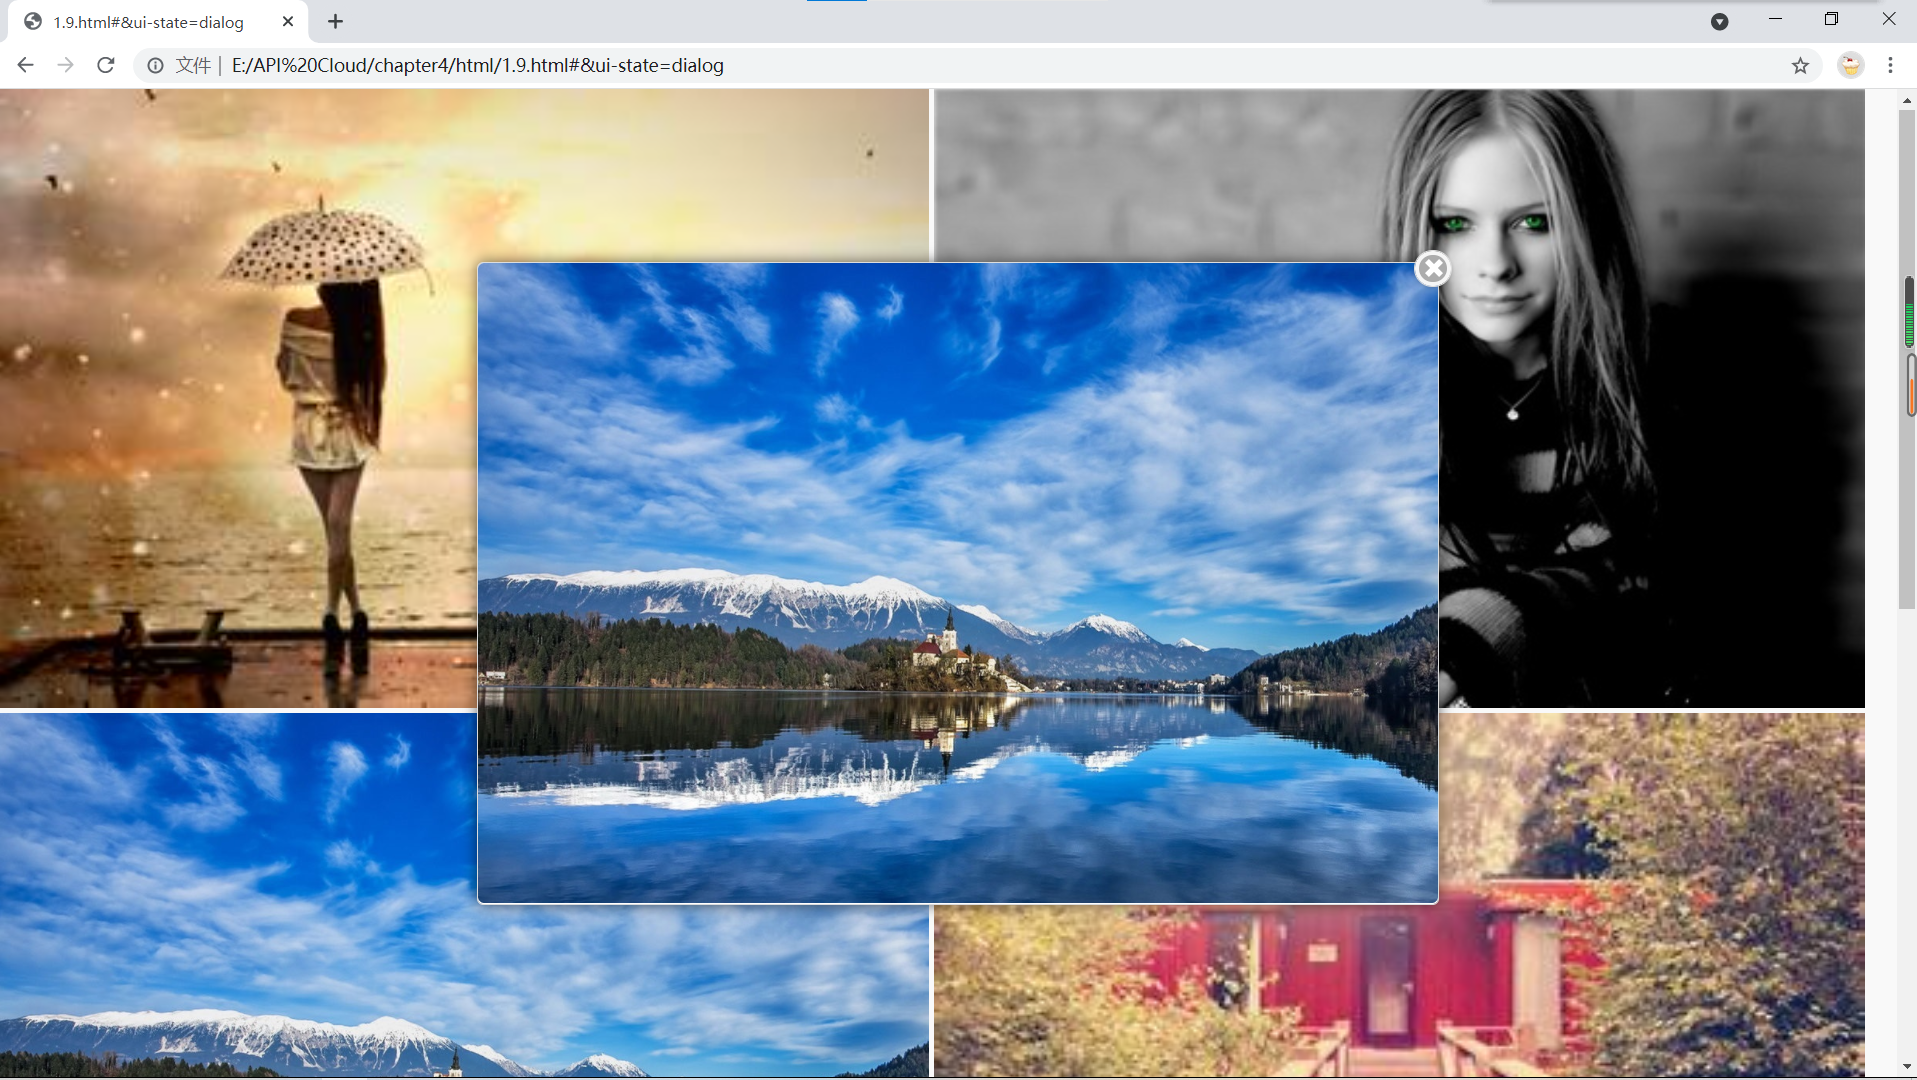
Click a picture in the page, and the picture will be enlarged and displayed in the form of dialog box, as shown below:
<a href="#popup_1" data-rel="popup" data-position-to="window">
			<img src="p1.jpg" style="width:49%">
		</a>
This code segment shows the display of a picture on the page, which is wrapped with an a tag, so that the picture has some functions of buttons.
Data position to = "window" make the pop-up dialog box in the middle of the screen, not near the button calling out the dialog box.