Nacos is an important part of Spring Cloud Alibaba. It provides two important functions: service registration and discovery and unified configuration center.
The service registration and discovery function has solved the function of the connection management and request forwarding of the caller and the service provider in the micro service cluster, so that the developers of the program need not pay much attention to the stability and health level of the service providers and the calling address, because these can be monitored, managed, and automatically forwarded by Nacos.
Imagine how to determine which (service) instance to call when a system is deployed with multiple? When there is a problem with a called instance, how to forward the request to other instances? These problems are real problems in microservice architecture. However, these problems can be easily solved by using Nacos. Moreover, Nacos also provides a unified configuration center, which solves the security problem of storing project configuration files locally or on github, and supports the functions of dynamic modification and unified maintenance of configuration files.
1. Introduction to Nacos
Nacos is the acronym of Dynamic Naming and Configuration Service; It is a platform for dynamic service discovery, configuration management and service management that is easier to build cloud native applications.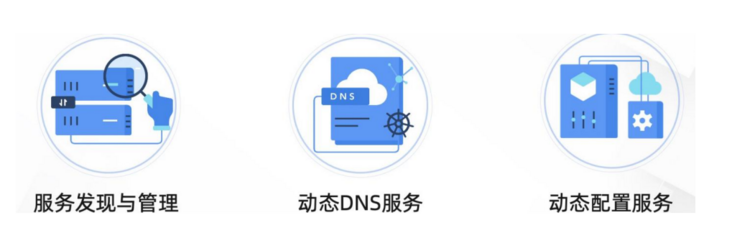
Official website: https://nacos.io/
Warehouse source code: https://github.com/alibaba/nacos
2.Nacos ecology
Nacos supports almost all mainstream languages, among which Java/Golang/Python already supports Nacos 2.0 long link protocol, which can maximize the performance of Nacos. Alibaba microservice DNS (Dubbo + Nacos + spring cloud Alibaba / Seata / sentinel) is the best practice and the best solution for Java microservice ecology.
3. Rapid deployment of Nacos
Nacos supports three deployment modes:
- Stand alone deployment
- Cluster deployment
- Multi cluster deployment
Nacos can be installed in the following two ways:
- Use the source code to install.
- Use the compiled installation package for installation.
In this article, we will use the first method plus Docker to quickly deploy the Nacos server.
Because Docker is convenient to install and uninstall, this method is used to demonstrate the installation of Nacos. For other installation methods, see the official website: https://nacos.io/zh-cn/docs/q...
3.1 environmental preparation
Nacos depends on Java environment to run. If you build and run Nacos from code, you also need to configure Maven environment for this. Please ensure that it is installed and used in the following version environment:
- 64 bit OS, supporting Linux/Unix/Mac/Windows, Linux/Unix/Mac is recommended.
- 64 bit JDK 1.8+.
Maven 3.2.x+.
Because this article uses the method of Nacos + Docker for deployment, students who do not install Docker should search and install by themselves.
Install Open JDK 8
yum -y install java-1.8.0-openjdk-devel.x86_64
After installation, use java -version to check whether the installation is successful, as shown in the following figure:
If the specific Java version is displayed, the installation is successful.
3.2 download Nacos
This article uses git to download the Nacos source package, so you need to use the following command to install git first:
yum -y install git
Download Nacos source code:
git clone https://github.com/nacos-group/nacos-docker.git
The download is completed as shown in the figure below: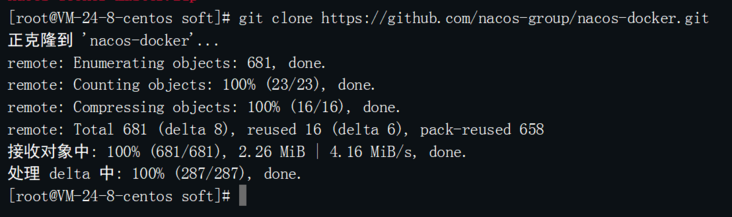
Enter the Nacos Directory:
cd nacos-docker
3.3 start Nacos service
Nacos needs a database to run. It supports two kinds of databases: local database, Derby database and MySQL database.
Therefore, the corresponding startup commands are as follows:
- Derby database runs in stand-alone mode: docker compose - f example / standalone Derby yaml up
- MySQL 5.7 database running stand-alone mode: docker compose - f example / standalone mysql-5.7 yaml up
MySQL 8 database running in stand-alone mode: docker compose - f example / standalone-mysql-8 yaml up
Start in cluster mode: docker compose - f example / cluster hostname yaml up
The startup is successful, as shown in the figure below: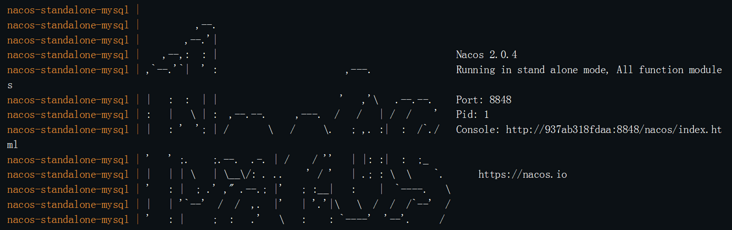
3.3 access to Nacos
After successful startup, you can use http://127.0.0.1:8848/nacos/#... To access the management console of Nacos, as shown in the following figure: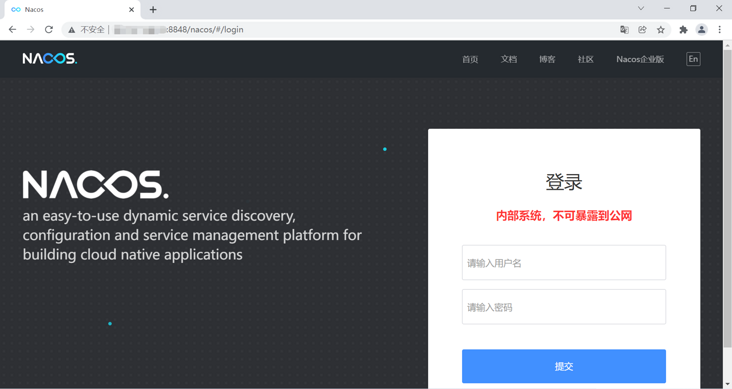
Enter the user name and password into nacos to enter the system, as shown in the following figure: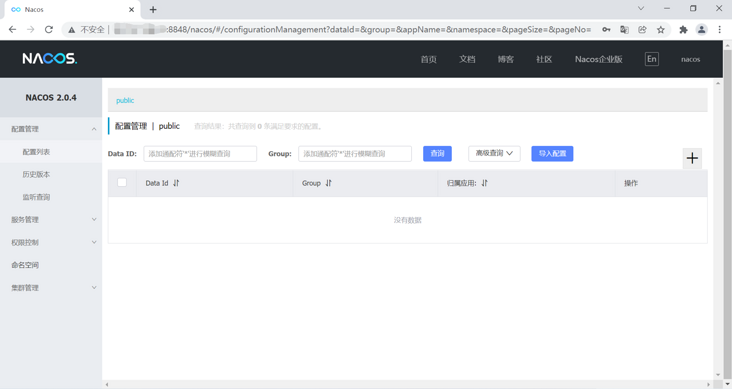
3.4 common error reporting problems
3.4.1 docker compose command not found
Docker compose is an orchestration tool for defining and running multi container docker applications. After using docker compose, you no longer need to create and start containers one by one. You can use the YML file to configure all the services required by the application, and then use one command to create and start all the services from the YML file configuration.
However, docker compose needs to be installed separately, otherwise the following errors will occur:
Solution:
cd /usr/local/bin
wget https://github.com/docker/compose/releases/download/1.14.0-rc2/docker-compose-Linux-x86_64
rename docker-compose-Linux-x86_64 docker-compose docker-compose-Linux-x86_64
chmod +x /usr/local/bin/docker-compose
docker-compose version
The installation is successful, as shown in the figure below: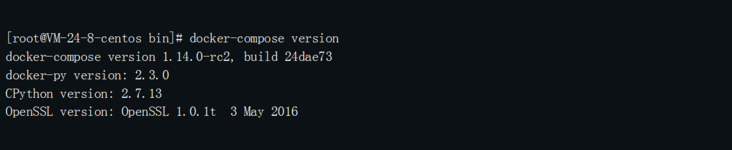
3.4.2 image: invalid reference format
Using docker compose may prompt "error: no such image: Nacos / Nacos server:: invalid reference format", which is invalid, as shown in the following figure:
Solution: modify example / standalone-mysql-5.7 in Nacos source code For the configuration item of yaml, modify "image: Nacos / Nacos server: {{nacos_version}}" to "image: Nacos / Nacos server: latest".
4.Spring Cloud Alibaba service registration
Service registrants are producers, which are service providers in micro services. It is created based on the Spring Boot project. The specific steps are as follows: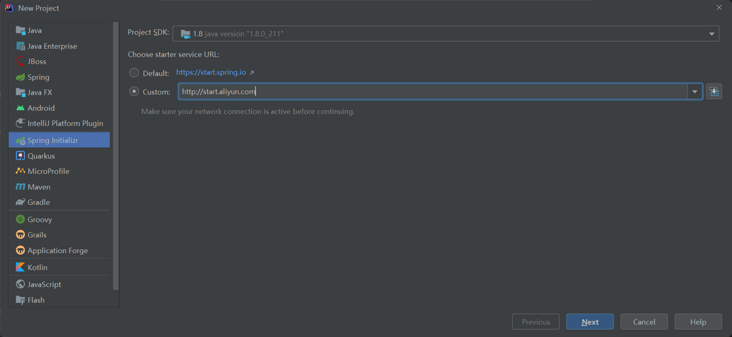
Alibaba cloud address is used to create the project http://start.aliyun.com To create the Spring Cloud Alibaba Nacos project, click Next, as shown in the following figure: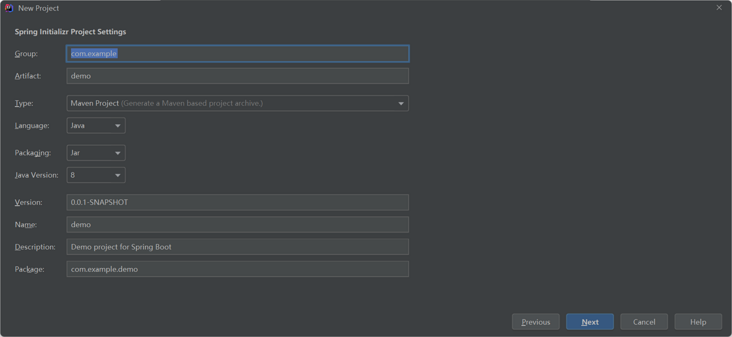
Add Nacos Service Discovery framework support, as shown in the figure below: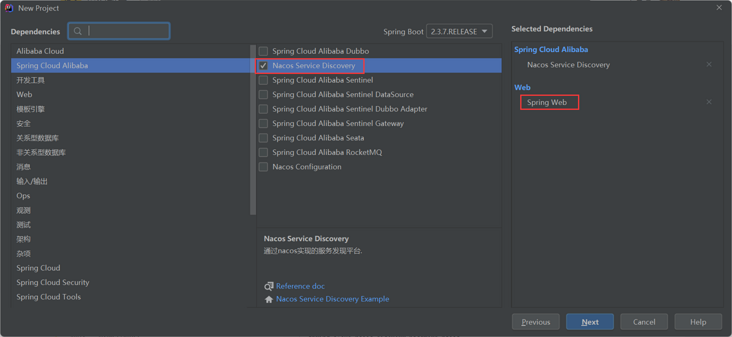
Then add the support of Spring Web (Spring MVC) framework, and finally click Finish to complete the project creation.
4.1 project dependency
Spring Cloud Alibaba Nacos project mainly has two dependencies, as shown below:
<dependency>
  <groupId>org.springframework.boot</groupId>
  <artifactId>spring-boot-starter-web</artifactId>
</dependency>
<dependency>
  <groupId>com.alibaba.cloud</groupId>
  <artifactId>spring-cloud-starter-alibaba-nacos-discovery</artifactId>
</dependency>
4.2 modify configuration file
In the configuration file application The relevant information of Nacos shall be filled in the properties, and the specific contents are as follows:
# Application name (also the service name in Nacos)
spring.application.name=spring-cloud-nacos-producer
# Application service WEB access port
server.port=8082
# Nacos certification information
spring.cloud.nacos.discovery.username=nacos
spring.cloud.nacos.discovery.password=nacos
# Nacos service discovery and registration configuration, where the sub attribute server addr specifies the Nacos server host and port
spring.cloud.nacos.discovery.server-addr=mse-6d50f4f0-p.nacos-ans.mse.aliyuncs.com:8848
# Register with the specified namespace of nacos. The default is public
spring.cloud.nacos.discovery.namespace=public
4.3 add code
Next, add an interface of Restful API for later service callers. The specific implementation code is as follows:
import org.springframework.boot.SpringApplication;
import org.springframework.boot.autoconfigure.SpringBootApplication;
import org.springframework.cloud.client.discovery.EnableDiscoveryClient;
import org.springframework.web.bind.annotation.PathVariable;
import org.springframework.web.bind.annotation.RequestMapping;
import org.springframework.web.bind.annotation.RestController;

@SpringBootApplication
@RestController
@EnableDiscoveryClient
public class SpringCloudNacosProducerApplication {

    public static void main(String[] args) {
        SpringApplication.run(SpringCloudNacosProducerApplication.class, args);
    }

    @RequestMapping("/sayhi/{name}")
    public String sayHi(@PathVariable String name) {
        return "Hi Nacos Discovery " + name;
    }
}
After writing the code, run the project and observe the service list in Nacos to see the project, as shown in the following figure: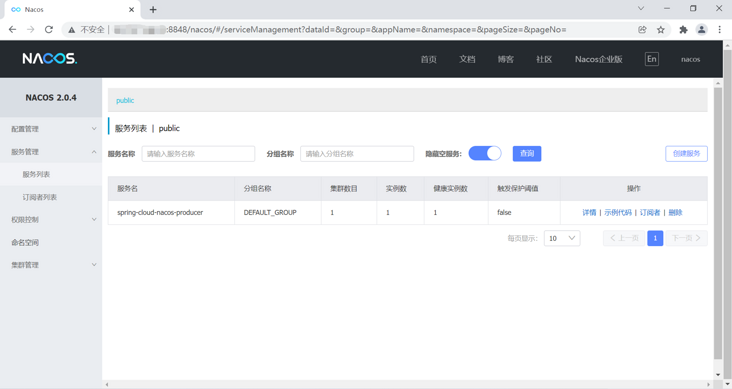
After the above operations, the Spring Cloud Alibaba project we created is registered in Nacos, and other programs can call it through Nacos.
5.Spring Cloud Alibaba service discovery
Similar to the above creation method, we will create a service caller, also known as a consumer, to call the sayhi method in the above framework. The specific steps are as follows.
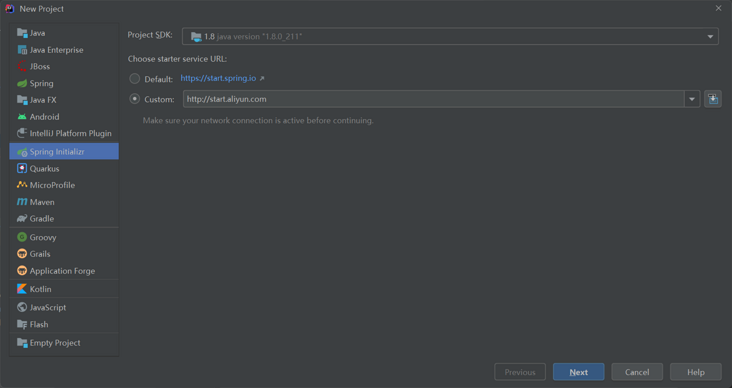
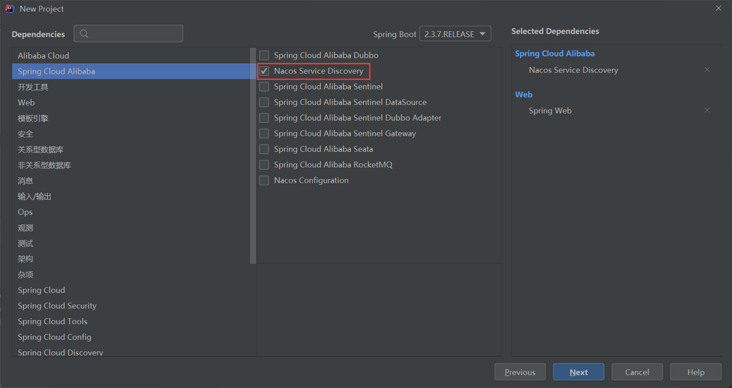
5.1 create project
5.2 modifying configuration files
# apply name
spring.application.name=springcloud-nacos-consumer
# Application service WEB access port
server.port=8082
# Nacos help documentation: https://nacos.io/zh-cn/docs/concepts.html
# Nacos certification information
spring.cloud.nacos.discovery.username=nacos
spring.cloud.nacos.discovery.password=nacos
# Nacos service discovery and registration configuration, where the sub attribute server addr specifies the Nacos server host and port
spring.cloud.nacos.discovery.server-addr=82.157.146.10:8848
# Register with the specified namespace of nacos. The default is public
spring.cloud.nacos.discovery.namespace=public
5.3 add code
The implementation code of the consumer has two classes. Add a Bean object of RestTemplate in the startup class to provide the request of Restful API. The specific implementation code of the startup class is as follows:
import org.springframework.boot.SpringApplication;
import org.springframework.boot.autoconfigure.SpringBootApplication;
import org.springframework.cloud.client.discovery.EnableDiscoveryClient;
import org.springframework.cloud.client.loadbalancer.LoadBalanced;
import org.springframework.context.annotation.Bean;
import org.springframework.web.client.RestTemplate;

@SpringBootApplication
@EnableDiscoveryClient
public class SpringcloudNacosConsumerApplication {

    public static void main(String[] args) {
        SpringApplication.run(SpringcloudNacosConsumerApplication.class, args);
    }

    @LoadBalanced
    @Bean
    public RestTemplate restTemplate() {
        return new RestTemplate();
    }
}
The specific implementation code of the consumer is as follows:
import org.springframework.beans.factory.annotation.Autowired;
import org.springframework.web.bind.annotation.RequestMapping;
import org.springframework.web.bind.annotation.RestController;
import org.springframework.web.client.RestTemplate;

@RestController
public class TestController {
    @Autowired
    private RestTemplate restTemplate;

    @RequestMapping("/hi")
    public String hi(String name) {
        // Call the producer sayhi method and return the result
        return restTemplate.getForObject("http://spring-cloud-nacos-producer/sayhi/" + name,
                String.class);
    }
}
After adding the code, run the program, and you can see the following in the service list of Nacos: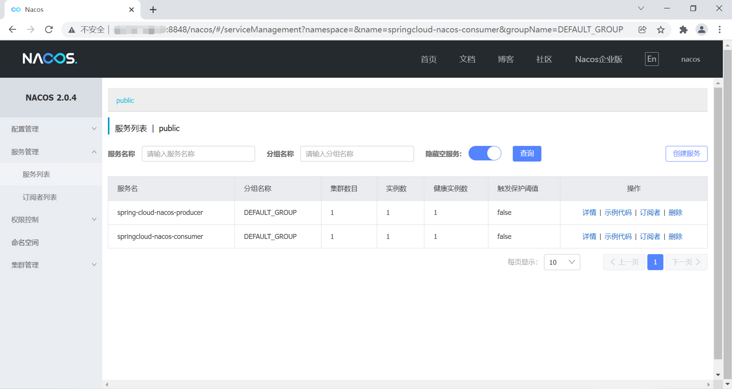
After calling the producer's hi method, let the consumer achieve the following effect:
It can be seen from the above results that consumers have successfully called the sayhi method in the producer spring cloud Nacos producer through Nacos.
Summary
Nacos provides two important functions: service registration and discovery and the function of unified configuration center. It provides three deployment modes: single machine deployment, cluster deployment and multi cluster deployment, as well as two installation modes: source code installation and installation package installation. We use Docker plus Nacos source code to install and deploy Nacos. Nacos service registration and discovery need to add the support of Nacos Service Discovery framework, and configure the corresponding Nacos information in the configuration file to correctly realize the function of service registration and discovery.
Reference & acknowledgment
Nacos framework and principles
Right and wrong are judged by ourselves, bad reputation is heard by others, and the number of gains and losses is safe.
Official account: Java Chinese community
Java interview collection: gitee.com/mydb/interview