What is Spring Boot
Spring Boot is a new framework based on spring provided by pivot team. Its design purpose is to simplify the construction and development process of spring applications. The framework follows the principle of "agreement is greater than configuration" and adopts a specific way to configure, so that developers do not need to define a large number of XML configurations. In this way, Spring Boot is committed to becoming a leader in the booming field of rapid application development.
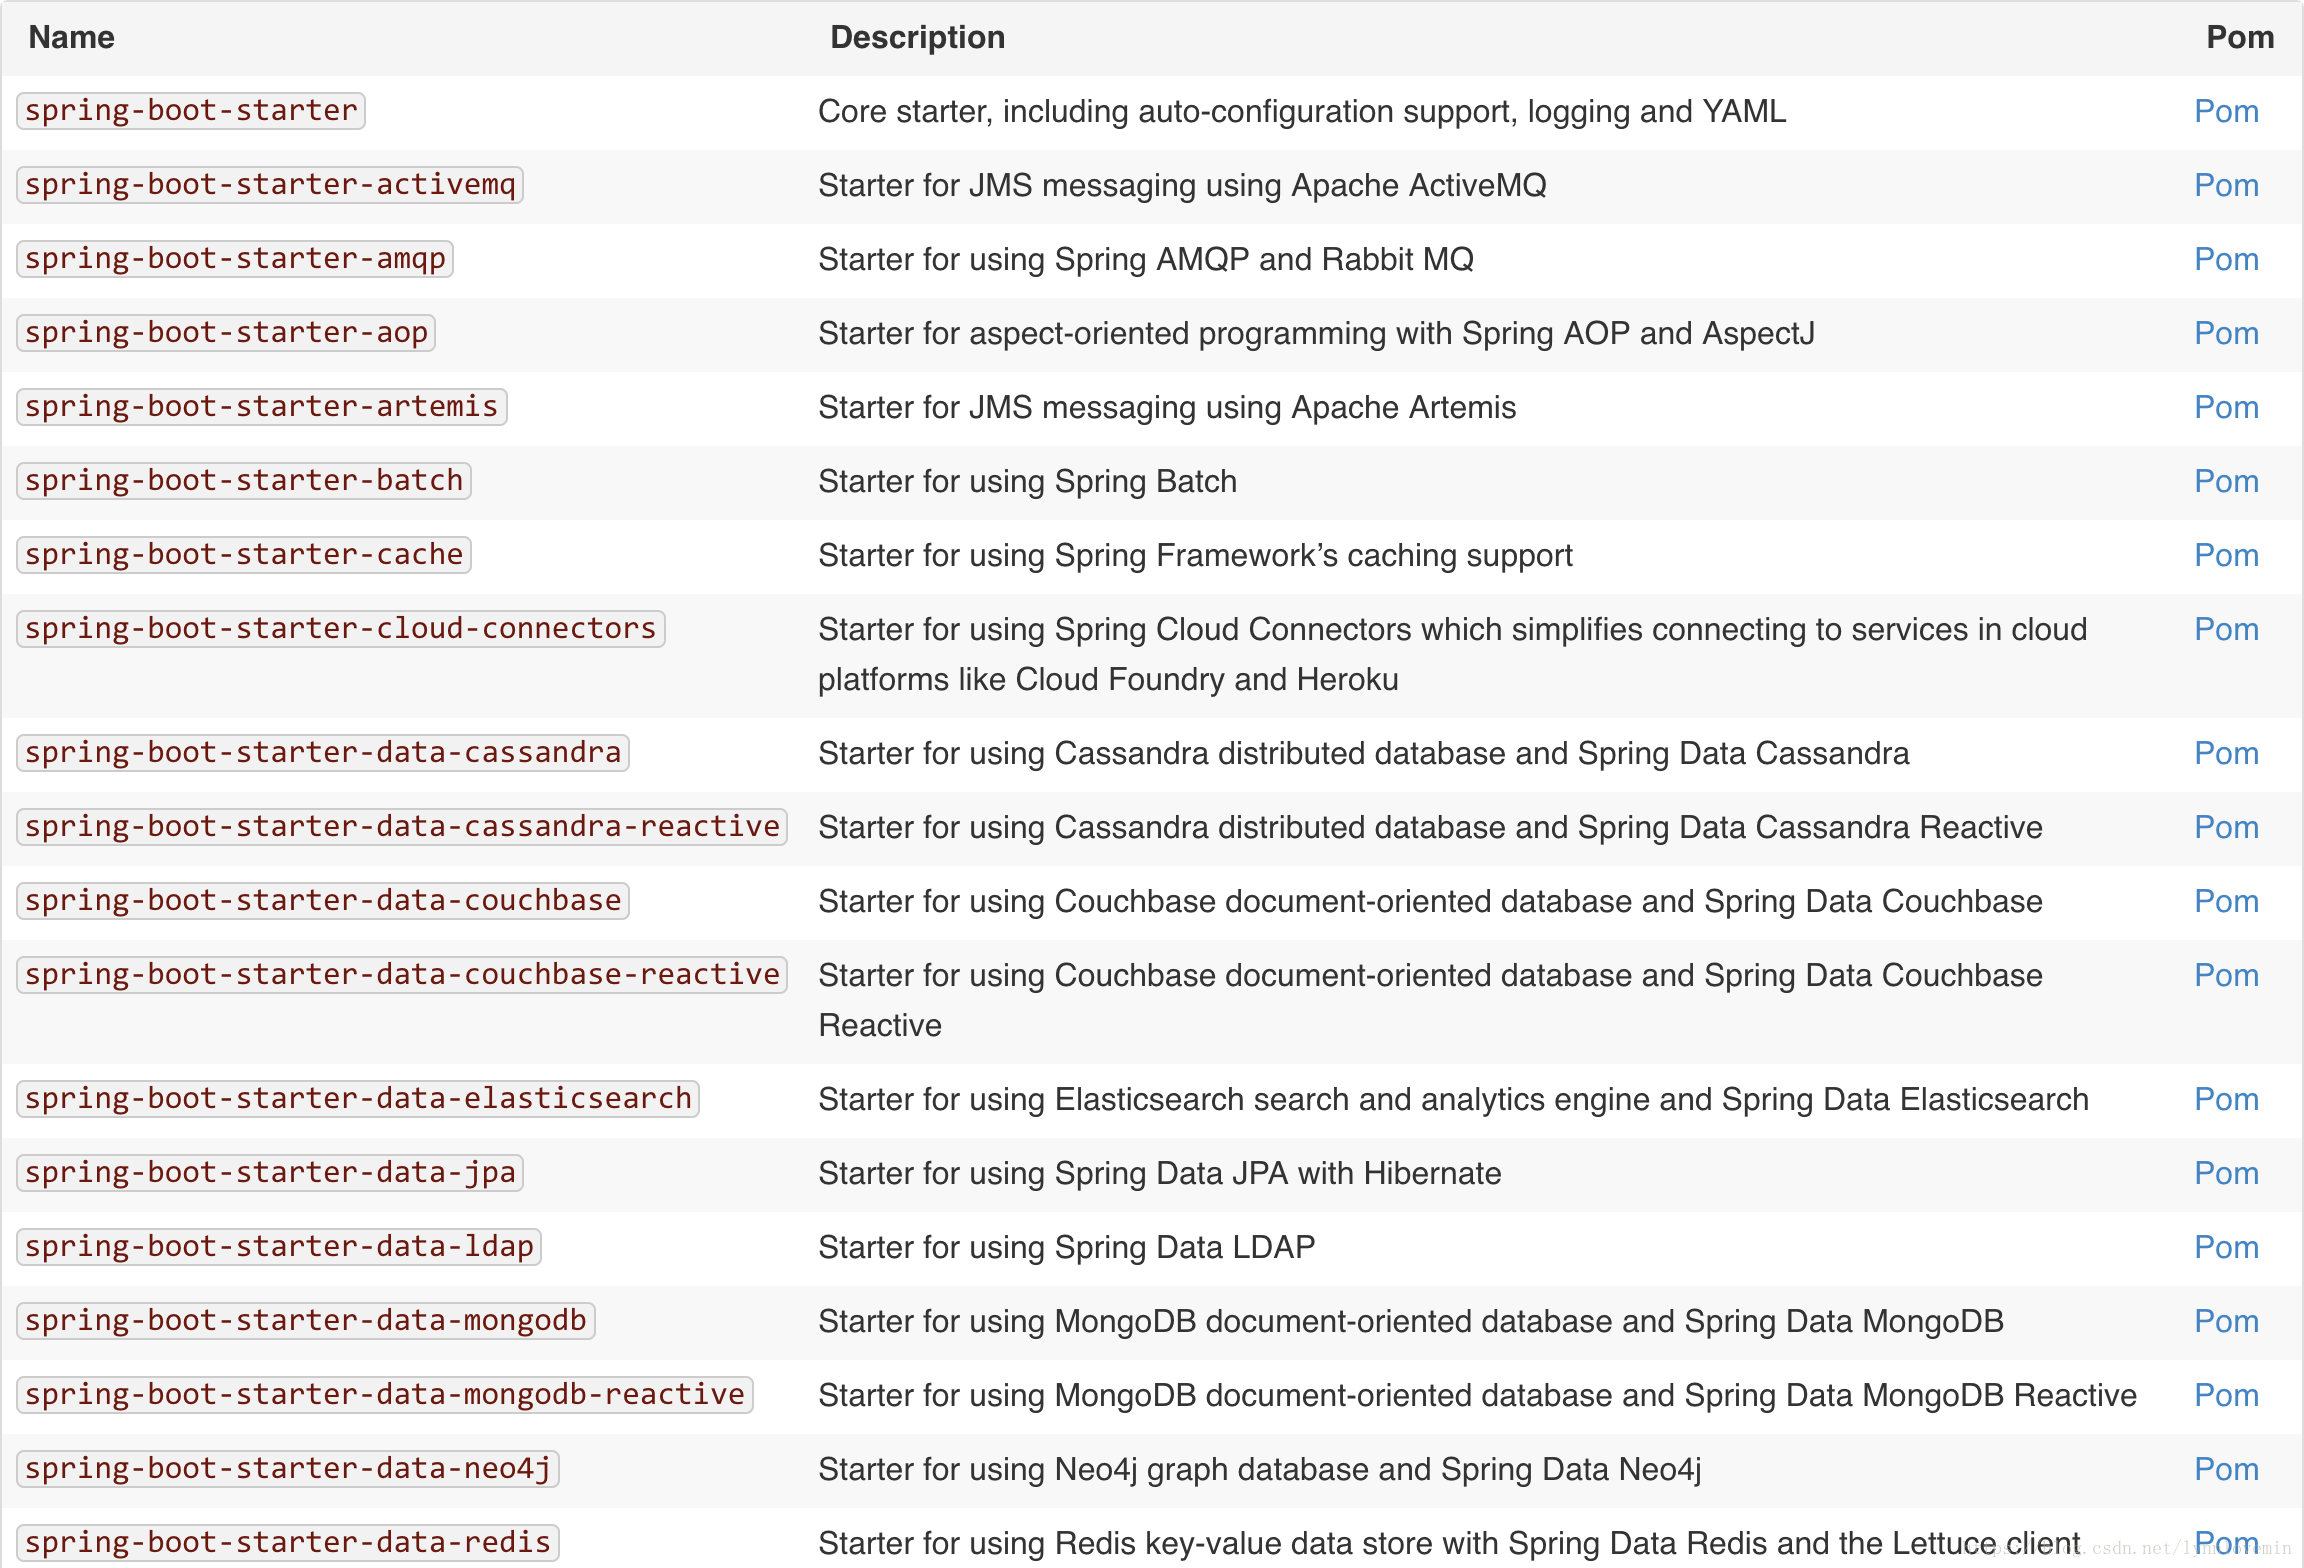
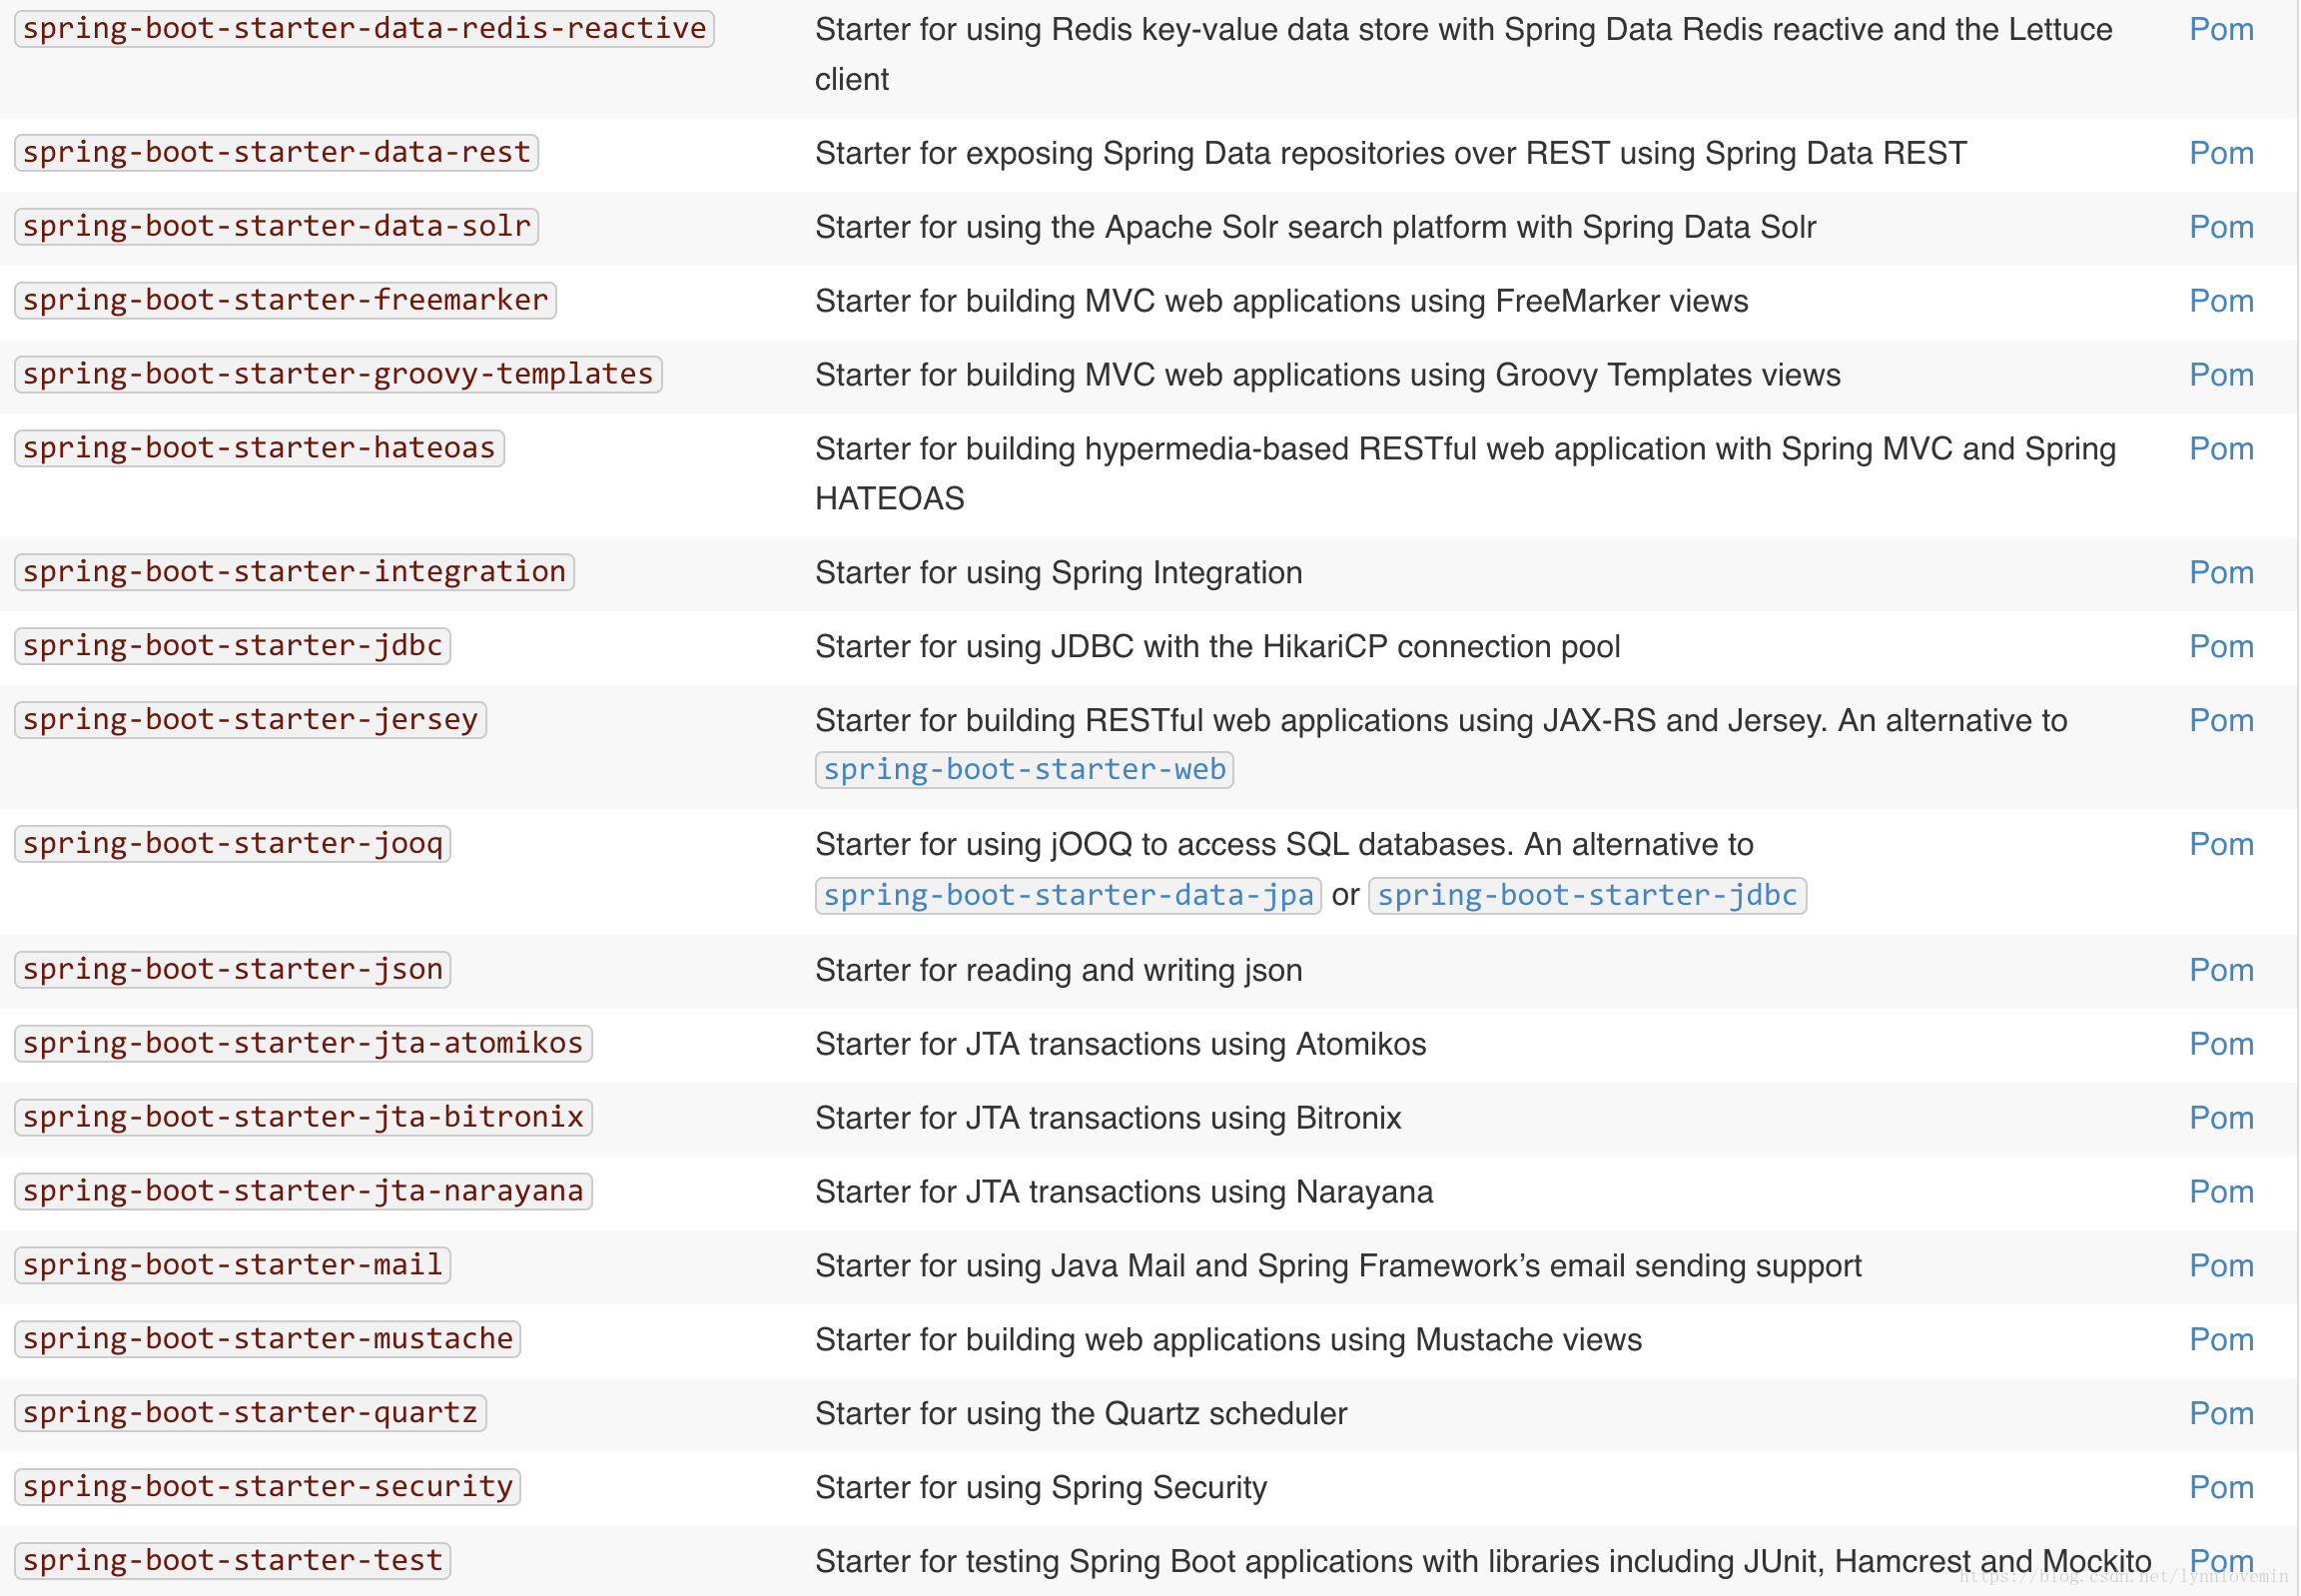
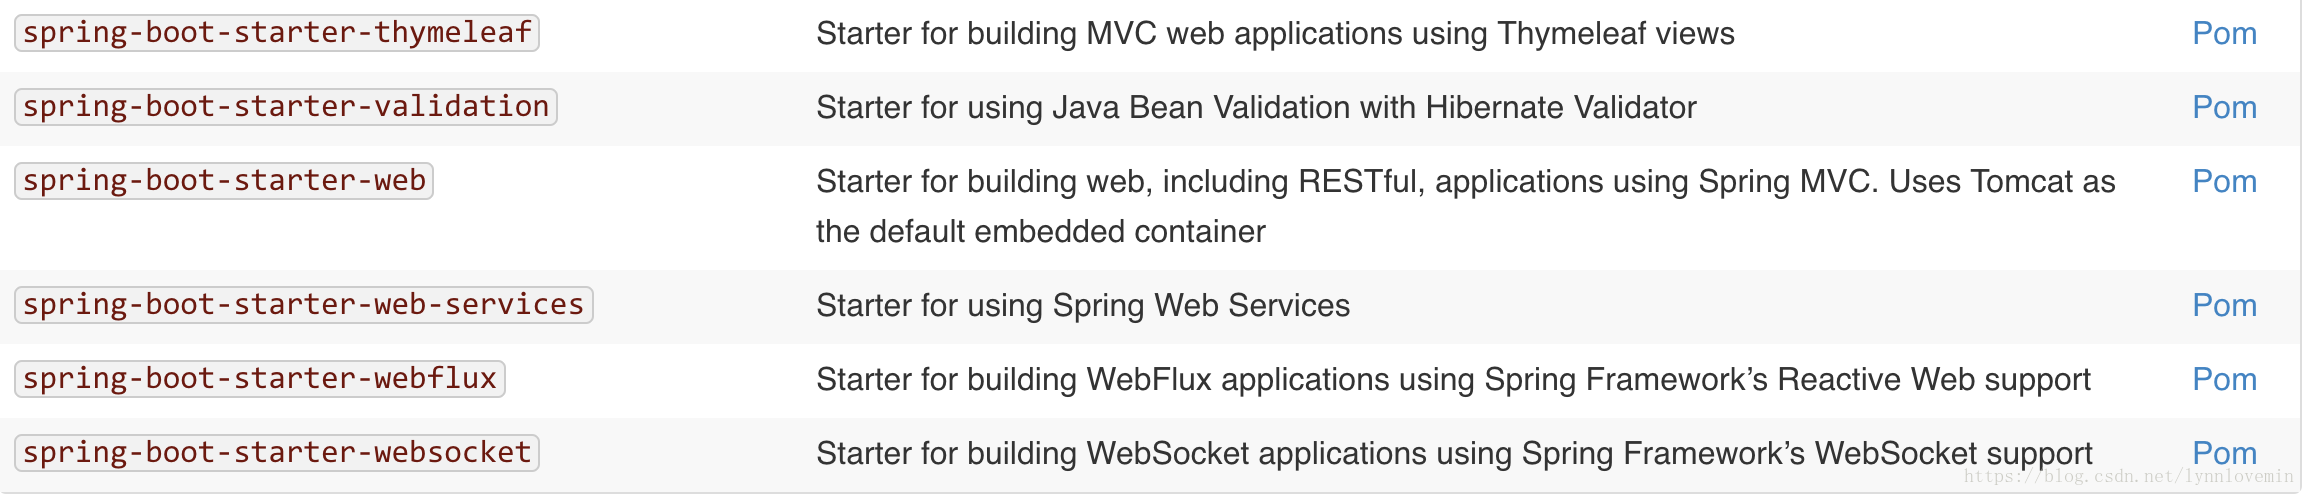
Spring Boot does not make wheels repeatedly, and it encapsulates a layer on the basis of the original spring framework, and it integrates some class libraries to simplify development. In other words, Spring Boot is a large container.
The following pictures show Official website All class libraries integrated by Spring Boot provided on:
Spring Boot officially recommends using Maven or Gradle to build projects. Maven is used in this tutorial.
The first Spring Boot project
Most tutorials are based on Hello World, and this tutorial is no exception. Next, let's build the simplest Spring Boot project.
First create a Maven project, as shown in the figure below:
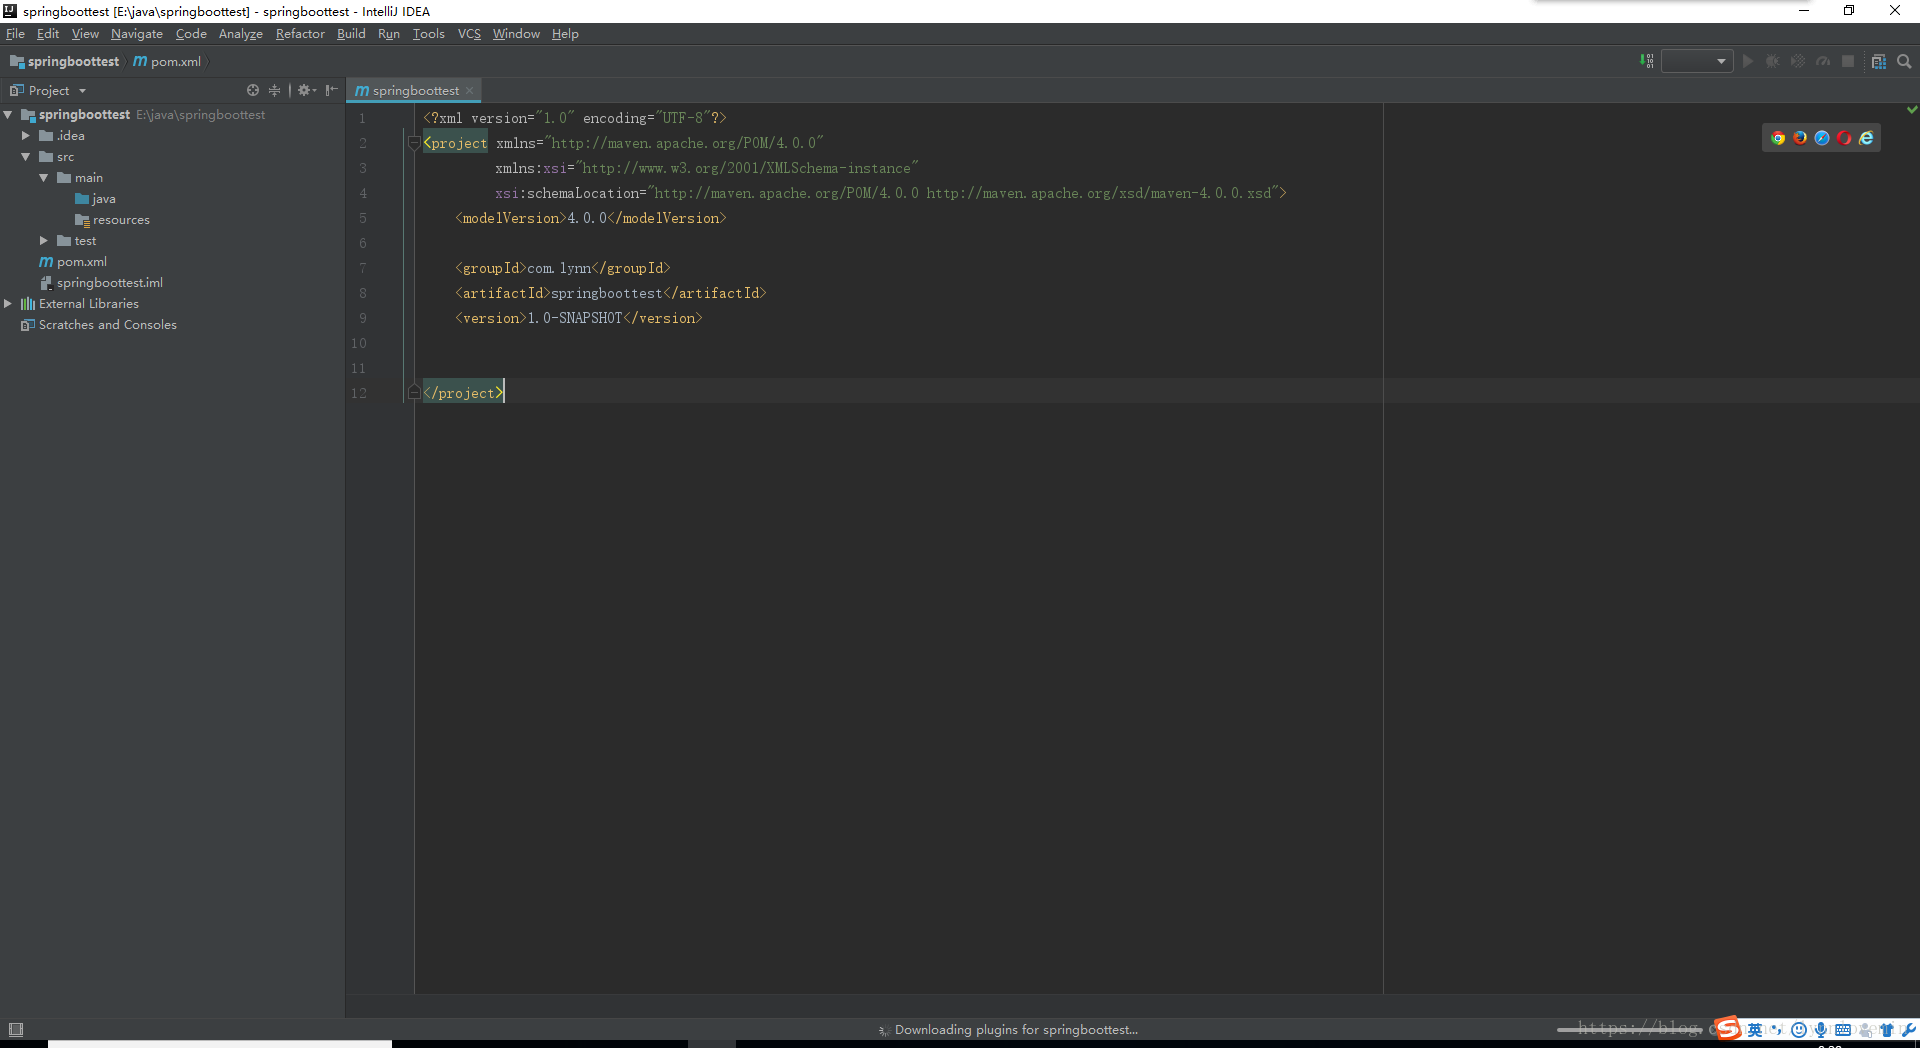
Then in POM XML adds Spring Boot dependency:
<parent>
<groupId>org.springframework.boot</groupId>
<artifactId>spring-boot-starter-parent</artifactId>
<version>2.0.1.RELEASE</version>
</parent>
<dependencies>
<dependency>
<groupId>org.springframework.boot</groupId>
<artifactId>spring-boot-starter-web</artifactId>
</dependency>
</dependencies>
Create a Controller class HelloController:
import org.springframework.boot.SpringApplication;
import org.springframework.boot.autoconfigure.SpringBootApplication;
import org.springframework.web.bind.annotation.RequestMapping;
import org.springframework.web.bind.annotation.RestController;

@RestController
@SpringBootApplication
public class HelloController {

@RequestMapping("hello")
String hello() {
return "Hello World!";
}

public static void main(String[] args) {
SpringApplication.run(HelloController.class, args);
}
}
Run the main method, and Spring Boot will start its own Tomcat container by default. After successful startup, the browser will visit: http://localhost:8080/hello , you will see the following figure:
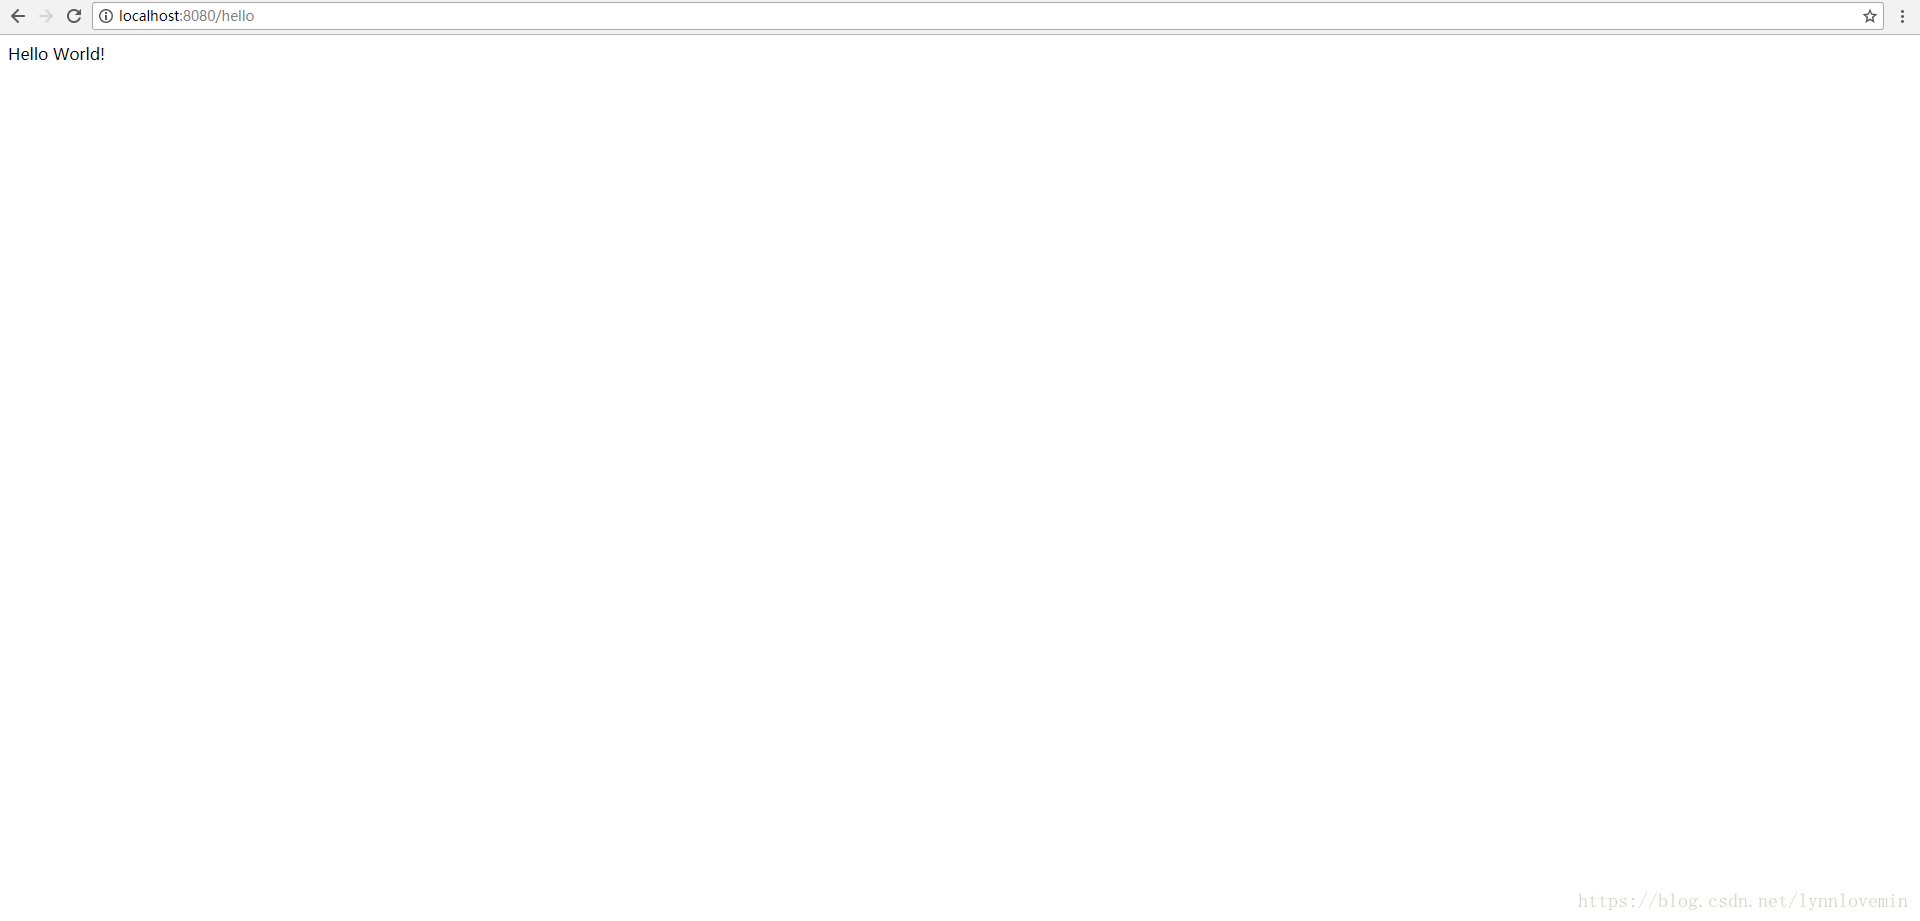
We can notice that we didn't write any configuration file, let alone use any container. How does it start the program? I will analyze the specific principle in lesson 3.
If the @ boot application class is preliminarily configured, we can add the annotation to the boot application class by default.
properties and yaml
The whole application of Spring Boot has only one configuration file, that is Properties or yml} file. However, in the previous example code, we did not see the configuration file because Spring Boot has default values for each configuration item. Of course, we can also add a configuration file to override its default value Taking the properties file as an example, first create a new file named application Properties (Note: the file name must be application), and the typing content is:
server.port=8081
server.servlet.context-path=/api
And start the main method. At this time, the program request address becomes: http://localhost:8081/api/hello .
Spring Boot supports files in two formats: properties and yaml, and the file names correspond to application Properties and application YML, the yaml file format is posted below for your reference:
server:
    port: 8080
    servlet:
        context-path: /api
It can be seen that properties are separated by commas, while yaml is separated by line feed + tab. Note that there must be a space after the colon, otherwise an error will be reported. Yaml file format is clearer and easier to read. Here, the author suggests that everyone use yaml file to configure.
All configurations in this tutorial use yaml files.
Package and run
Spring Boot packaging is divided into two formats: war and jar. The following will demonstrate how to build startup packages in these two formats.
In POM XML adds the following configuration:
<packaging>war</packaging>
<build>
<finalName>index</finalName>
<resources>
<resource>
<directory>src/main/resources</directory>
<filtering>true</filtering>
</resource>
</resources>
<plugins>
<plugin>
<groupId>org.springframework.boot</groupId>
<artifactId>spring-boot-maven-plugin</artifactId>
</plugin>
<plugin>
<artifactId>maven-resources-plugin</artifactId>
<version>2.5</version>
<configuration>
<encoding>UTF-8</encoding>
</configuration>
</plugin>
<plugin>
<groupId>org.apache.maven.plugins</groupId>
<artifactId>maven-surefire-plugin</artifactId>
<version>2.18.1</version>
<configuration>
<skipTests>true</skipTests>
</configuration>
</plugin>
</plugins>
</build>
At this time, running mvn package will generate a war package, and then put it into Tomcat to start. However, if we simply configure it in this way, Tomcat will not run successfully and will report an error. We need to specify the Tomcat container to start through coding and modify the HelloController class:
@RestController
@SpringBootApplication
public class HelloController extends SpringBootServletInitializer{

@RequestMapping("hello")
String hello() {
return "Hello World!";
}

public static void main(String[] args) {
SpringApplication.run(HelloController.class, args);
}
@Override
protected SpringApplicationBuilder configure(SpringApplicationBuilder application) {
return application.sources(Application.class);
}

}
At this time, package and put it into Tomcat, and there will be no error when starting.
Next, let's continue to see if we can achieve the jar package in POM XML adds the following configuration:
<packaging>jar</packaging>
<build>
<finalName>api</finalName>
<resources>
<resource>
<directory>src/main/resources</directory>
<filtering>true</filtering>
</resource>
</resources>
<plugins>
<plugin>
<groupId>org.springframework.boot</groupId>
<artifactId>spring-boot-maven-plugin</artifactId>
<configuration>
<fork>true</fork>
<mainClass>com.lynn.yiyi.Application</mainClass>
</configuration>
<executions>
<execution>
<goals>
<goal>repackage</goal>
</goals>
</execution>
</executions>
</plugin>
<plugin>
<artifactId>maven-resources-plugin</artifactId>
<version>2.5</version>
<configuration>
<encoding>UTF-8</encoding>
<useDefaultDelimiters>true</useDefaultDelimiters>
</configuration>
</plugin>
<plugin>
<groupId>org.apache.maven.plugins</groupId>
<artifactId>maven-surefire-plugin</artifactId>
<version>2.18.1</version>
<configuration>
<skipTests>true</skipTests>
</configuration>
</plugin>
<plugin>
<groupId>org.apache.maven.plugins</groupId>
<artifactId>maven-compiler-plugin</artifactId>
<version>2.3.2</version>
<configuration>
<source>1.8</source>
<target>1.8</target>
</configuration>
</plugin>
</plugins>
</build>
Then package through mvn package, and finally start through java command:
java -jar api.jar
In this way, the simplest Spring Boot is completed, but for a large project, this is far from enough. Please refer to the detailed operation of Spring Boot Official website.
The following shows the structure of a most basic enterprise Spring Boot project:
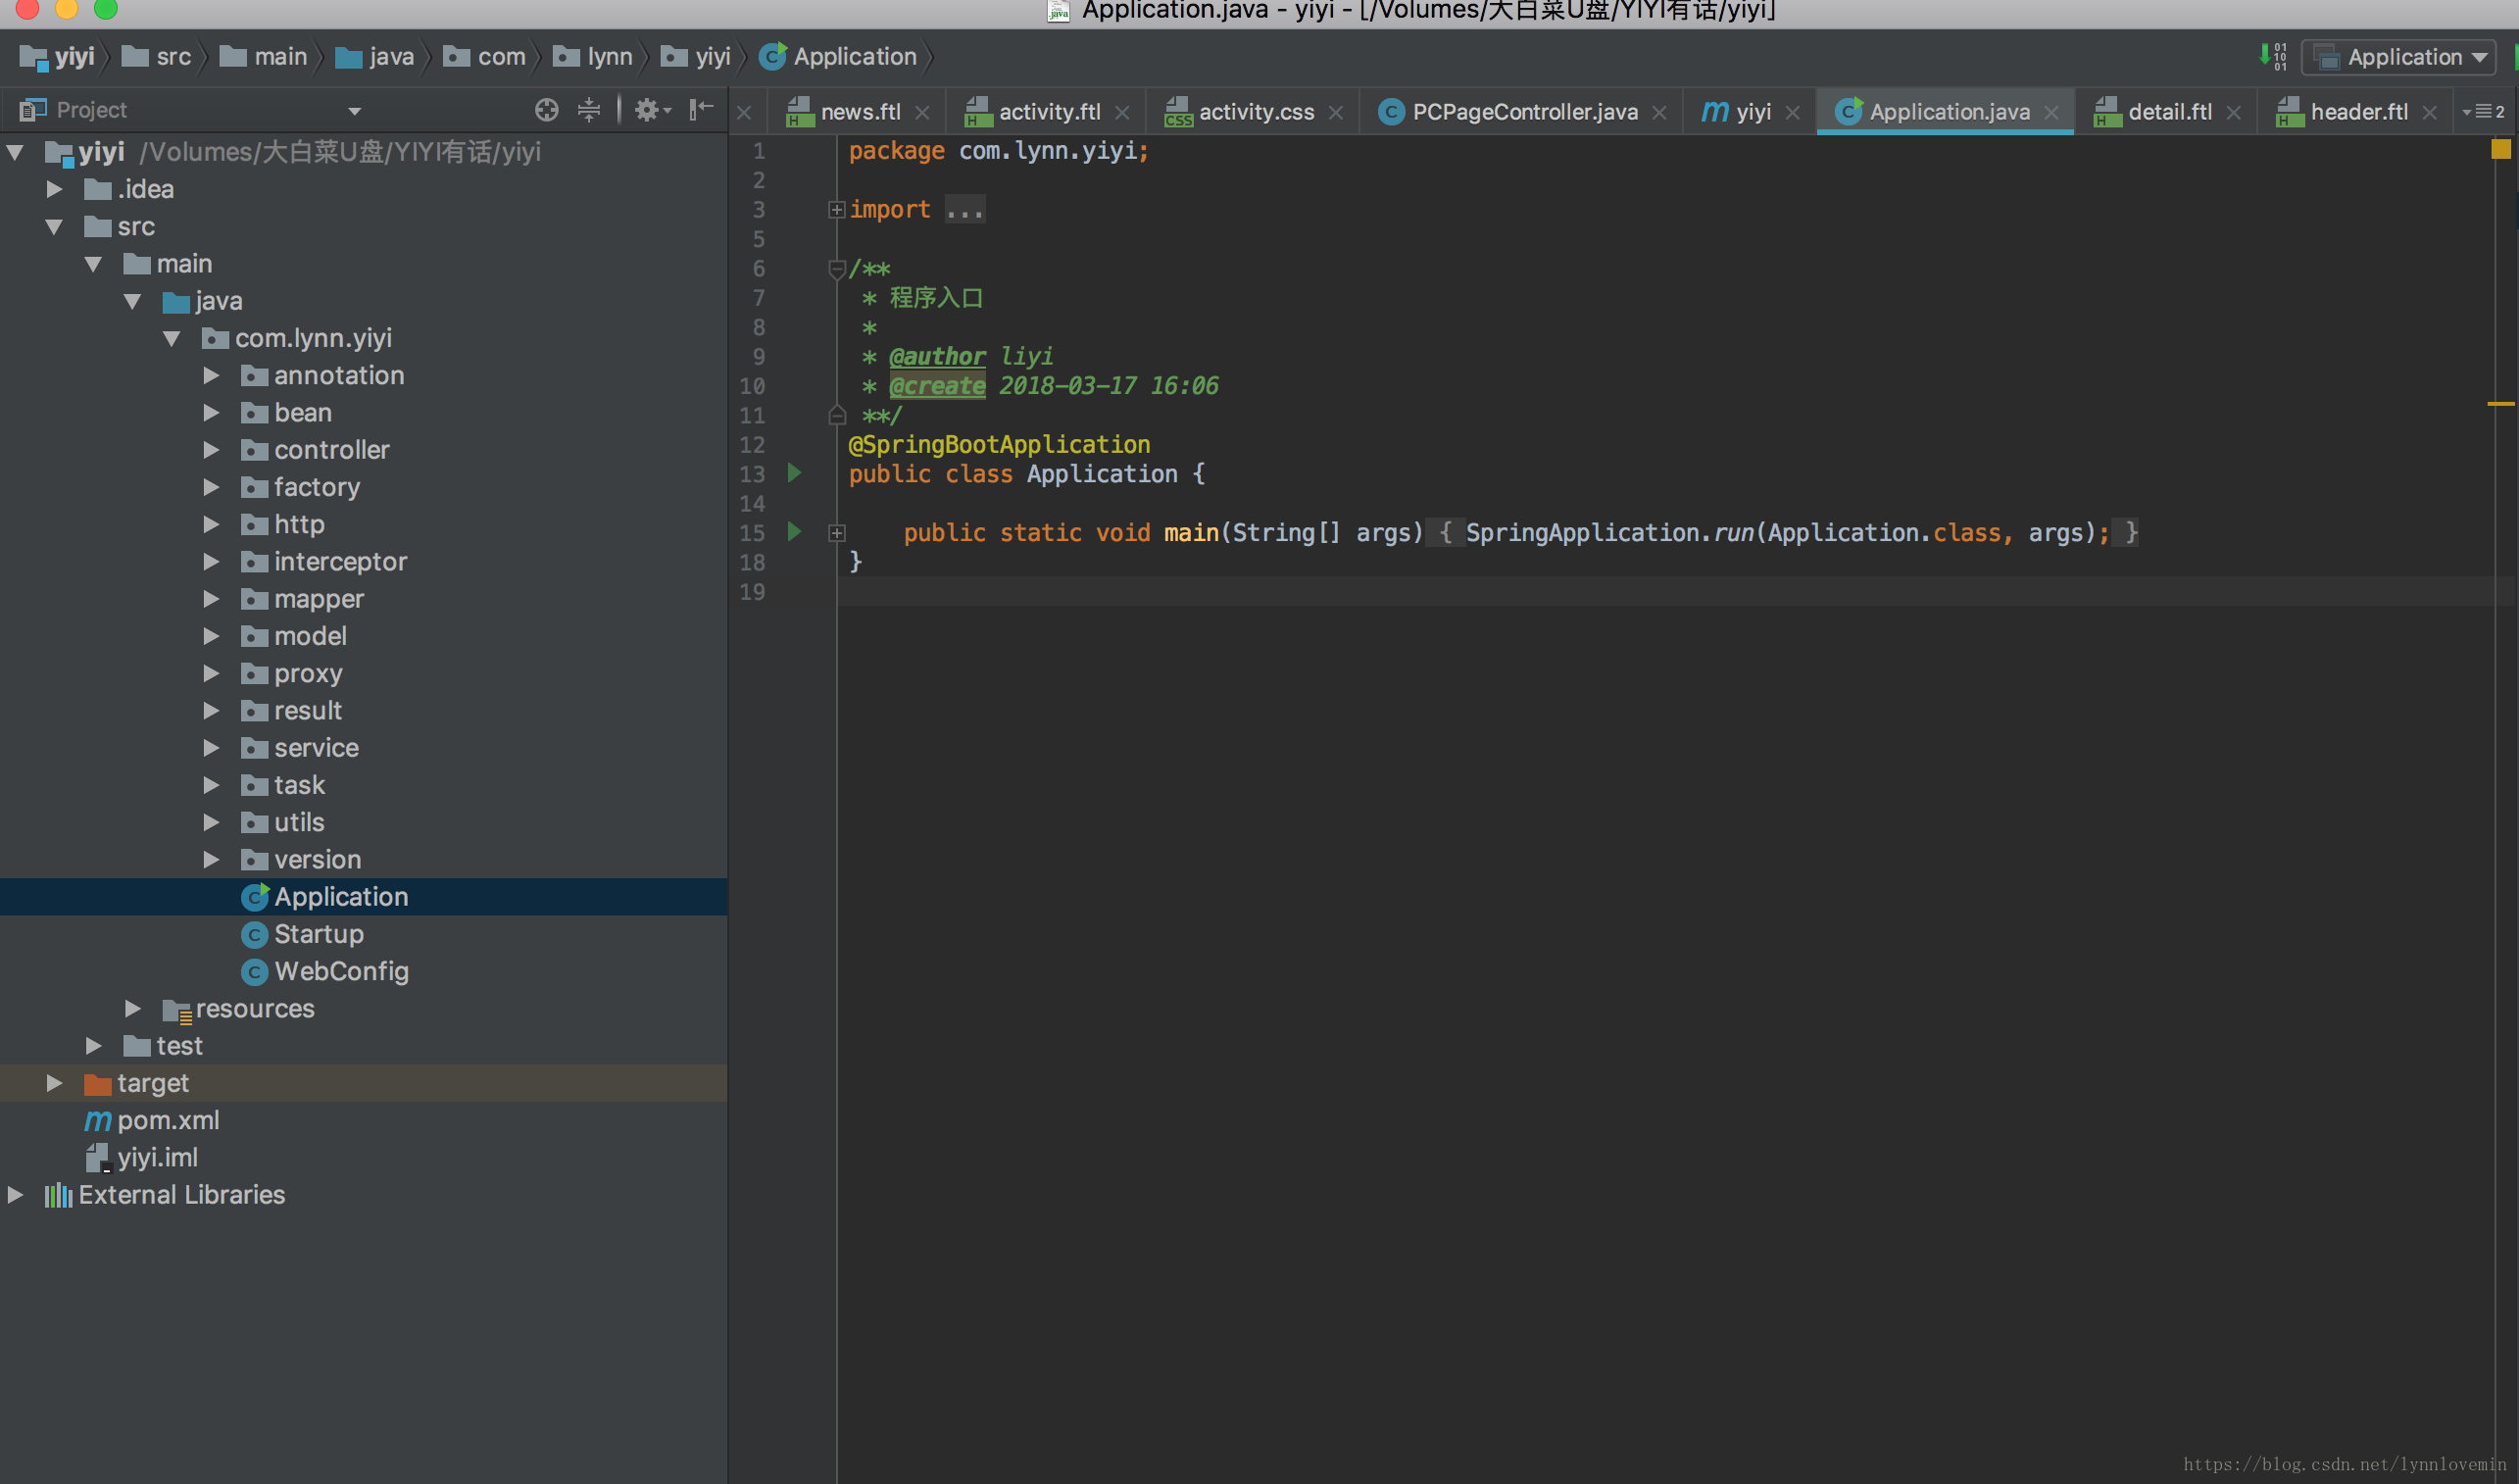
Where, application Java is the startup class of the program, startup Java is the class executed before the program is started and completed, webconfig Java is a configuration class. All bean injection, configuration and interceptor injection are placed in this class.