preface
Mind + is a domestic youth programming software with independent intellectual property rights. It supports various open-source hardware such as Arduino, micro:bit and control board, and is compatible with scratch3 0. It supports AI and IoT functions. You only need to drag the graphical program block to complete programming. You can also use advanced programming languages such as Python/C/C + +, so that you can easily experience the fun of creation.
Mind + supports three mainstream open source hardware platforms (Arduino, micro:bit, control board esp32), and can use libraries based on arduino C. Therefore, only one Arduino library needs to be written to achieve the compatibility of the three platforms.
Mind + has supported dozens of commonly used extended small module libraries. In order to facilitate the use of more users, from V1 Version 6.2 starts to open the user-defined library function. You can write or transplant the existing arduino library according to your own needs, design the appearance and shape of the graphics module (block), and design the corresponding generated code.
Github user library can be loaded through the network or directly loaded locally (config.json or. mpext file).
Note: please upgrade Mind + to v1.0 before using user library 6.2 RC2. 0 and above.
This blog implements the third-party Arduino user library of Mind + upload mode. Use Arduino UNO+RFID-RC522 module to read the UID of S50 card and output it from the serial port.
1. Select a template or create your own user library file structure
If you want to establish your own user library, you can choose the template library officially provided (Arduino user library template, micro Python User library template, real-time mode user library template), and modify it to the user library you need on this basis; You can also build your own user library from scratch according to the following user library file structure (template library is recommended, and there is no need to make wheels repeatedly).
User library file structure:
│ - newExtensions / / project name
│— config.json / / configuration file of this user library
│— LICENSE.TXT / / license description
│— README.md / / document description
│ - arduinoC / / arduino mode user base root directory
│— main.ts / / graphic block description file
│ - libraries / / arduino library file, listing all that need to be referenced by this extension library c or h or cpp file; If not, delete and empty the contents of this folder
│— qrcode.h
│— ...
│— _ images / / image file
│— featured.png / / MindPlus extension library display picture (600x372 pixels)
│— icon.svg / / icon file on graphic block in MindPlus
│— ...
│— _ locales / / translate files, supporting multiple languages
│— zh-cn.json
│— en.json
│— ...
│— _ Menu / / drop down menu parameters. Each board can be set independently
│— leonardo.json
│— uno.json
│— nano.json
│— mega2560.json
│— microbit.json
│— mpython.json
│— ...
After downloading the official Arduino user library template You'll get one later zip file. After decompression, change the name of the general folder to your own project name (Note: do not use Chinese and special symbols), and delete the mpext file.
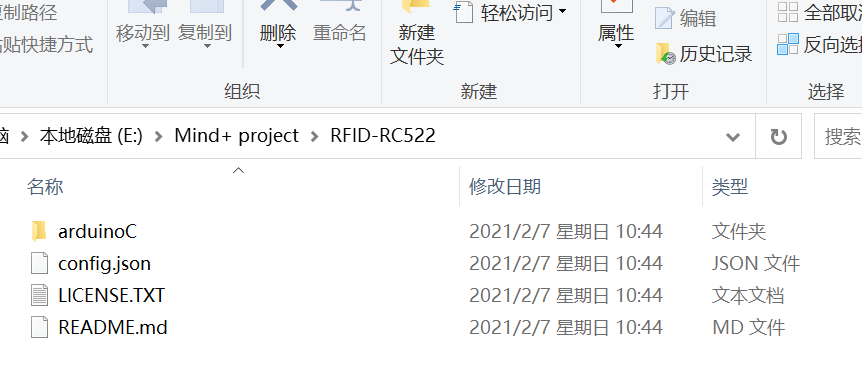
The file structure of my RFID-RC522 user library is as follows:
2. Modify config JSON configuration file
Modify config JSON configuration file to configure the extension library information. config. The JSON configuration file is as follows:
{
  "name": {
    "zh-cn": "RFID-RC522 modular",
    "en": "RFID-RC522 Module"
  },
  "description": {
    "zh-cn": "Simple read S50 Fudan card UID And output from the serial port RFID-RC522 modular",
    "en": "Simple read S50 fudan UID and from the serial port output of RFID card - RC522 module"
  },
  "author": "RZC",
  "email": "rl0403y@163.com",
  "license": "MIT",
  "isBoard": false,
  "id": "MFRC522",
  "platform": ["win","mac","web"],
  "version": "0.0.1",
  "asset": {
    "arduinoC": {
      "dir": "arduinoC/",
      "version": "0.0.1",
      "board": [
        "esp32",
        "arduino"
      ],
      "main": "main.ts"
    }
  }
}
detailed description:
Name: name. The title name of the module displayed in the extension library.
Description: description. Description of the module displayed in the extension library.
Author: author's name. Please use English letters.
Email: email. When the version update needs to modify the user library or user feedback, the developer will be notified by email (reserved function)
License: license type. Reference link
isBoard: master control. Whether the current extension is master control (reserved function, uniformly false)
id: module partition number. Different modules of the same author need to set different IDs. It is recommended to use English and numerical symbols for naming.
Platform: support platform. There are three options: "win", "mac" and "Web", which respectively represent the windows desktop version, mac desktop version and web version of Mind. At present, only win is supported.
asset: configuration of each mode. Currently, only arduino C mode in upload mode is supported.
Dir: Specifies the schema path/ It cannot be omitted, for example: "dir": "arduinoC /", which is not recommended to be modified.
Version: version information. Three numbers, from small to large, for example: "0.0.1". It is recommended to add one decimal place for each release and increase it from small to large in turn (reserved version control function).
Board: specify the supported master. See "master list" below for the corresponding fields of the master. Please add the corresponding support master after confirming that the test passes. If the current main control board does not support or the mode does not support, "not available" will be displayed in the upper right corner of the user library
main: block describes the file name of the file. It needs to be a ts suffix file. The name is user-defined and needs to be in the corresponding path
Note: if there are isTest field and files field in the template, delete some codes of these two fields. Because from mind + 1.6.2rc2 Version 0 started deleting these two fields.
3. Write main TS description file
main. The TS description file is in the arduinoC folder.
File content structure:
The appearance (building blocks) of the block can be defined by the content after / /%, that is, the content after / /% determines the appearance of the block and the binding of the input value;
Define the generated code and location corresponding to block through function, that is, determine the location and content of different code generation through Generator in export function.
enum xxxx {
   //%Pin description content definition, and the menu items to be translated need to be defined in the menu file
   //%Pin generation code definition
}

//%color="#xxxx" the appearance definition of the whole extended block is defined by the description content after / /%
namespace xxxx {  //xxxx and config. After namespace The ID number in the JSON configuration file is the same
    //%block="xxx [xxx]" blockType="xxx" appearance definition description of the first block
    //%block other descriptions
    export function xxxx(parameter: any, block: any) {  //The generated code definition of a single block describes the location and content of the generated code through functions
        //Generated code location and content description
    }

    //%block="xxx [xxx]" blockType="xxx" appearance definition description of the second block
    //%block other descriptions
    export function xxxx(parameter: any, block: any) {
       //Generated code location and content description
    }

    //%block="xxx [xxx]" blockType="xxx" appearance definition description of the nth block
    //%block other descriptions
    export function xxxx(parameter: any, block: any) {
       //Description of generated content and code
    }

}
block appearance definition; Generator code definition; parameter pass in parameters and other syntax details can be viewed in the official Document description.
Detailed steps:
1) First, let's design wood blocks
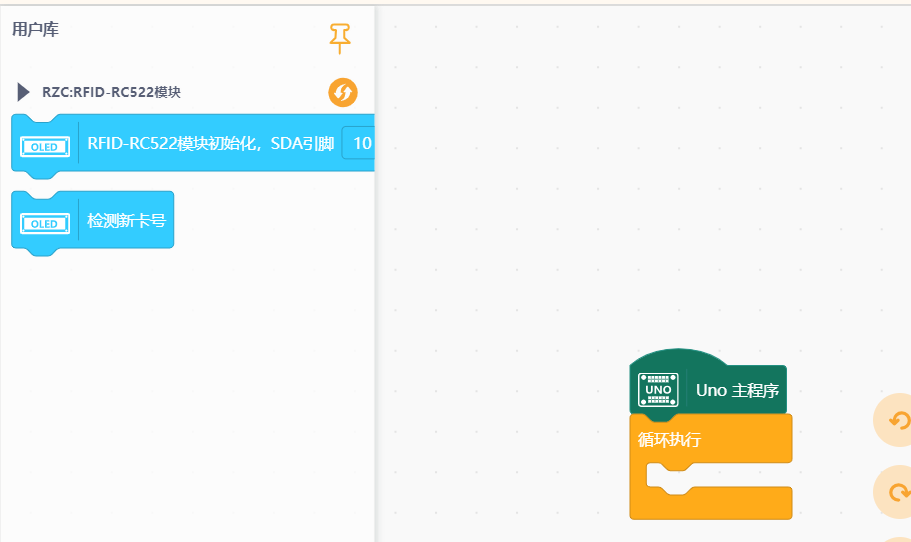
According to our own envisaged functions, design building blocks that meet the expected functions. At the initial stage, only the basic function of reading card number is designed. There are two building blocks:
- RFID-RC522 module initializes the building blocks of SS (10) pin and RST (9) pin;
- Detect the building blocks of the card number of the current S50 Fudan card.
2) Realize
main. The code content of TS description file is as follows:
enum LINE {
    //% block="1"
    1,
    //% block="2"
    2,
    //% block="3"
    3,
    //% block="4"
    4,
    //% block="5"
    5,
    //% block="6"
    6,
    //% block="7"
    7,
    //% block="8"
    8,
    //% block="9"
    9,
    //% block="10"
    10,
    //% block="11"
    11,
    //% block="12"
    12,
    //% block="13"
    13
}

//% color="#33CCFF" iconWidth=50 iconHeight=40
namespace MFRC522 {
    //%block="RFID-RC522 module initialization, SDA pin [SS] RST pin [RST]" blockType="command"
    //% SS.shadow="dropdown" SS.options="LINE" SS.defl="LINE.10"
    //% RST.shadow="dropdown" RST.options="LINE" RST.defl="LINE.9"
    export function MFRC522Init(parameter: any, block: any) {
        let ss = parameter.SS.code;
        let rst = parameter.RST.code;
        Generator.addInclude("MFRC522_1","#include <SPI.h>");
        Generator.addInclude("MFRC522_2","#include <MFRC522.h>");
        Generator.addObject("MFRC522_3","MFRC522",`rfid(${ss},${rst});`);
        Generator.addObject("MFRC522_4","MFRC522::MIFARE_Key",`key;`);
        Generator.addObject("MFRC522_5","byte",`nuidPICC[4];`);
        //Generator.addSetup("MFRC522_6",`Serial.begin(9600); `);
        Generator.addSetup("MFRC522_6",`SPI.begin(); `);
        Generator.addSetup("MFRC522_7",`rfid.PCD_Init(); `);
        Generator.addSetup("MFRC522_8",`for (byte i = 0; i < 6; i++) {
            key.keyByte[i] = 0xFF;
        }`);
    }

    //%block = "detect new card number" blockType="command"
    export function MFRC522xk(parameter: any, block: any) {
        Generator.addCode(`if(!rfid.PICC_IsNewCardPresent())
        return;`);
        Generator.addCode(`if(!rfid.PICC_ReadCardSerial())
        return;`);
        Generator.addCode(`for (byte i = 0; i < 4; i++) {
            nuidPICC[i] = rfid.uid.uidByte[i];
        }`);
        Generator.addCode(`for (byte i = 0; i < 4; i++) {
            Serial.print(nuidPICC[i] < 0x10 ? "0" : "");
            Serial.println(nuidPICC[i], DEC);
          }`);
        Generator.addCode(`rfid.PICC_HaltA();`);
        Generator.addCode(`rfid.PCD_StopCrypto1();`);
        Generator.addCode(`Serial.println();`);
    }

}
Code Description:
The color of building blocks can be changed if necessary Color palette tool Modify after color selection;
Modify the namespace name to be the same as config The ID in the JSON configuration file is the same;
Modify the block field, set the block text and drop-down menu, and set the block shape for block type;
shadow configuration drop-down menu, configuration menu file, which can be modified if translation is required_ ZH CN. In the locales folder JSON file;
Configure the contents of the block function.
4. Edit resource file
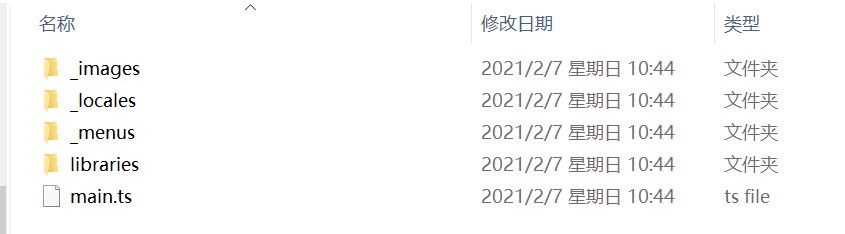
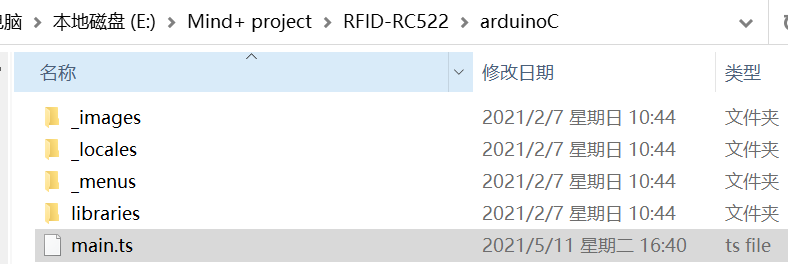
According to main TS describes the need to edit the resource file. Open the arduinoC folder and you can see that there are four subfolders under it, as shown in the following figure:
1) libraries folder
This file places the arduino library file that needs to be called to generate code. If the library file is not needed, you need to delete the libraries folder. That is, if there are arduino libraries (. h and. cpp files), you need to put them in this folder; If you do not need library files, delete this folder.
Here to use Library of RFID-RC522 , download the resources on GitHub, and put the entire Arduino library file (. zip file) in this folder and unzip it.
The contents of the libraries folder are as follows:

2)_ images folder
This folder places files such as the extension library interface pictures and the icon files displayed on the block.
_ The contents of the images folder are as follows:
explain:
- To delete_ All the original files in images;
- Put in two necessary pictures:
- featured.png: extension library interface picture. The name cannot be modified. It is a png picture with a resolution of 600 * 372.
- icon.svg: the icon file displayed on the block. The name cannot be modified. svg format vector diagram. The content should be as concise as possible. White Icon is recommended. It can be downloaded from ready-made icon libraries such as Alibaba vector icon library iconfont.
- Auxiliary description picture file: blocks PNG is a picture of building blocks; example.png is a building block code file.
3)_ locales folder
This folder cannot be placed json translation file (pay attention to the naming of the file, you can see the official rules). According to the file name, it corresponds to different languages. If there is no translation file in the corresponding language, it will be marked with main The content in the block description code in TS is displayed directly.
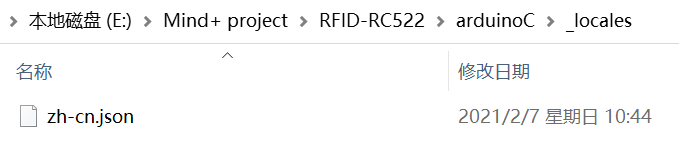
_ The contents of the locales folder are as follows (this user library does not translate files, which is only for display):
zh-cn. The JSON file is as follows:
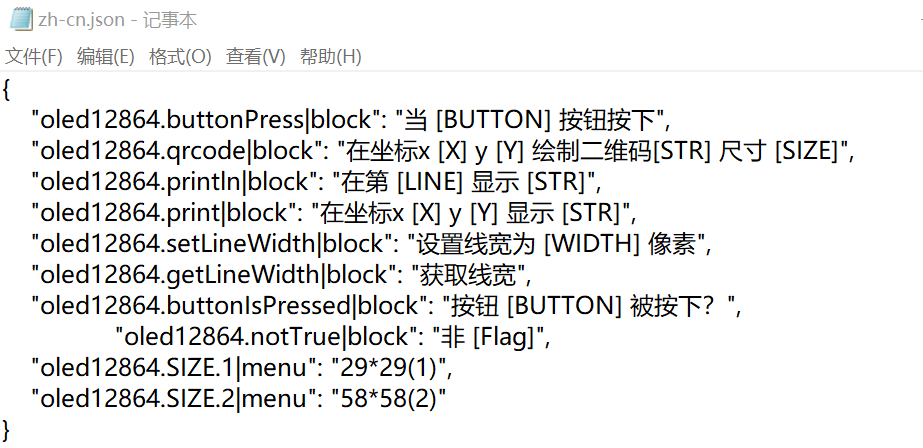
explain:
① It can be defined in both block and menu.
② json format:
The format of each line is: "user library name. Function name | block": "translation content [menu item]",
or
The menu item is: "user library name. Menu name. Menu item | menu": "translation content",
4)_ Menu folder
This folder places the drop-down menu contents corresponding to various boards, such as the drop-down of PIN numbers. By default, all common pins of the main controller are placed, which can be directly in main Call in TS.
_ The contents of the menu folder are as follows:
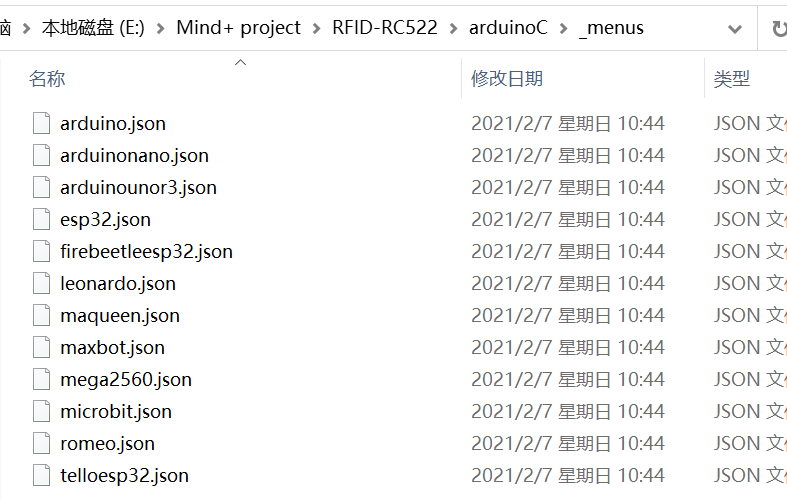
- Each main control board has a json file. The file name is named after the board and cannot be modified. The format is json format. Note: in the official example, there are all board main pin files, which can be accessed directly.
- Menu field corresponds to menu item: ["content displayed in drop-down block", "content obtained by generating code"].
- default_ Function name_ The drop-down field name can set the default drop-down pin.
5. Testing
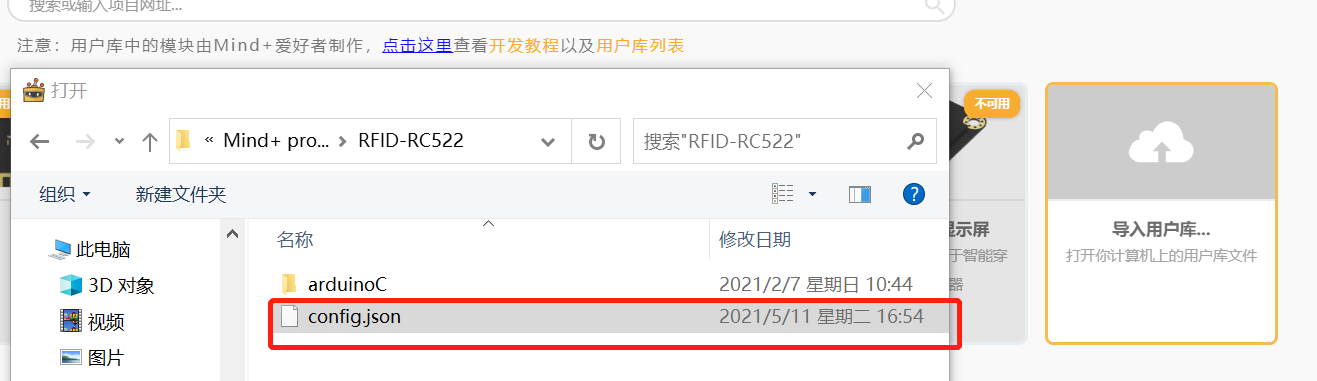
Load locally via config.config JSON file can update the library and preview the effect, and test the hardware function.
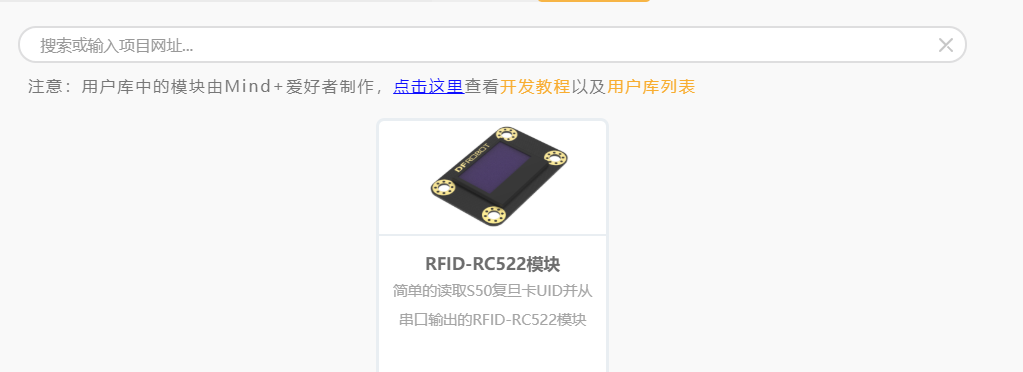
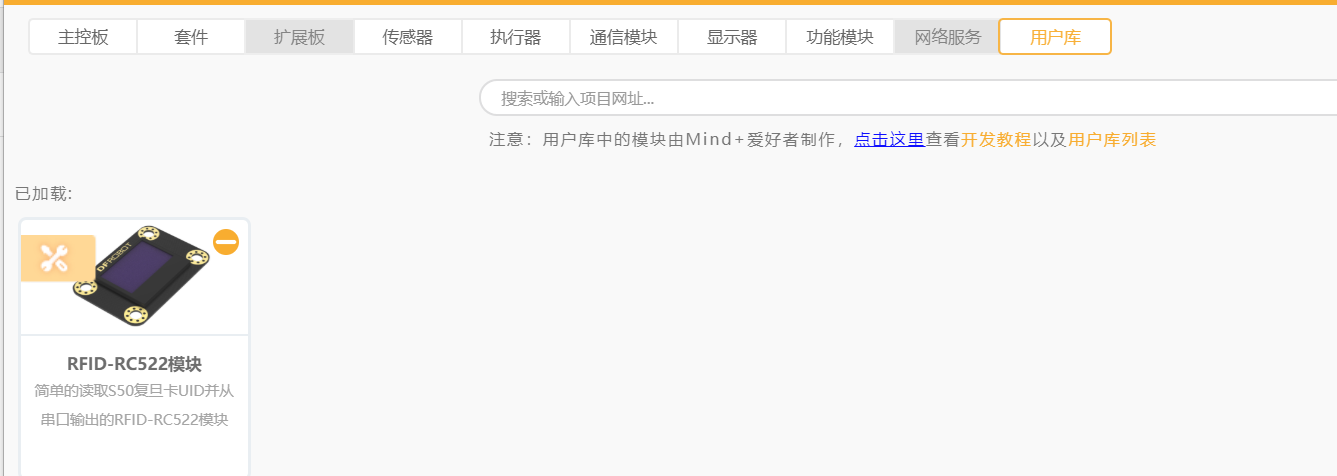
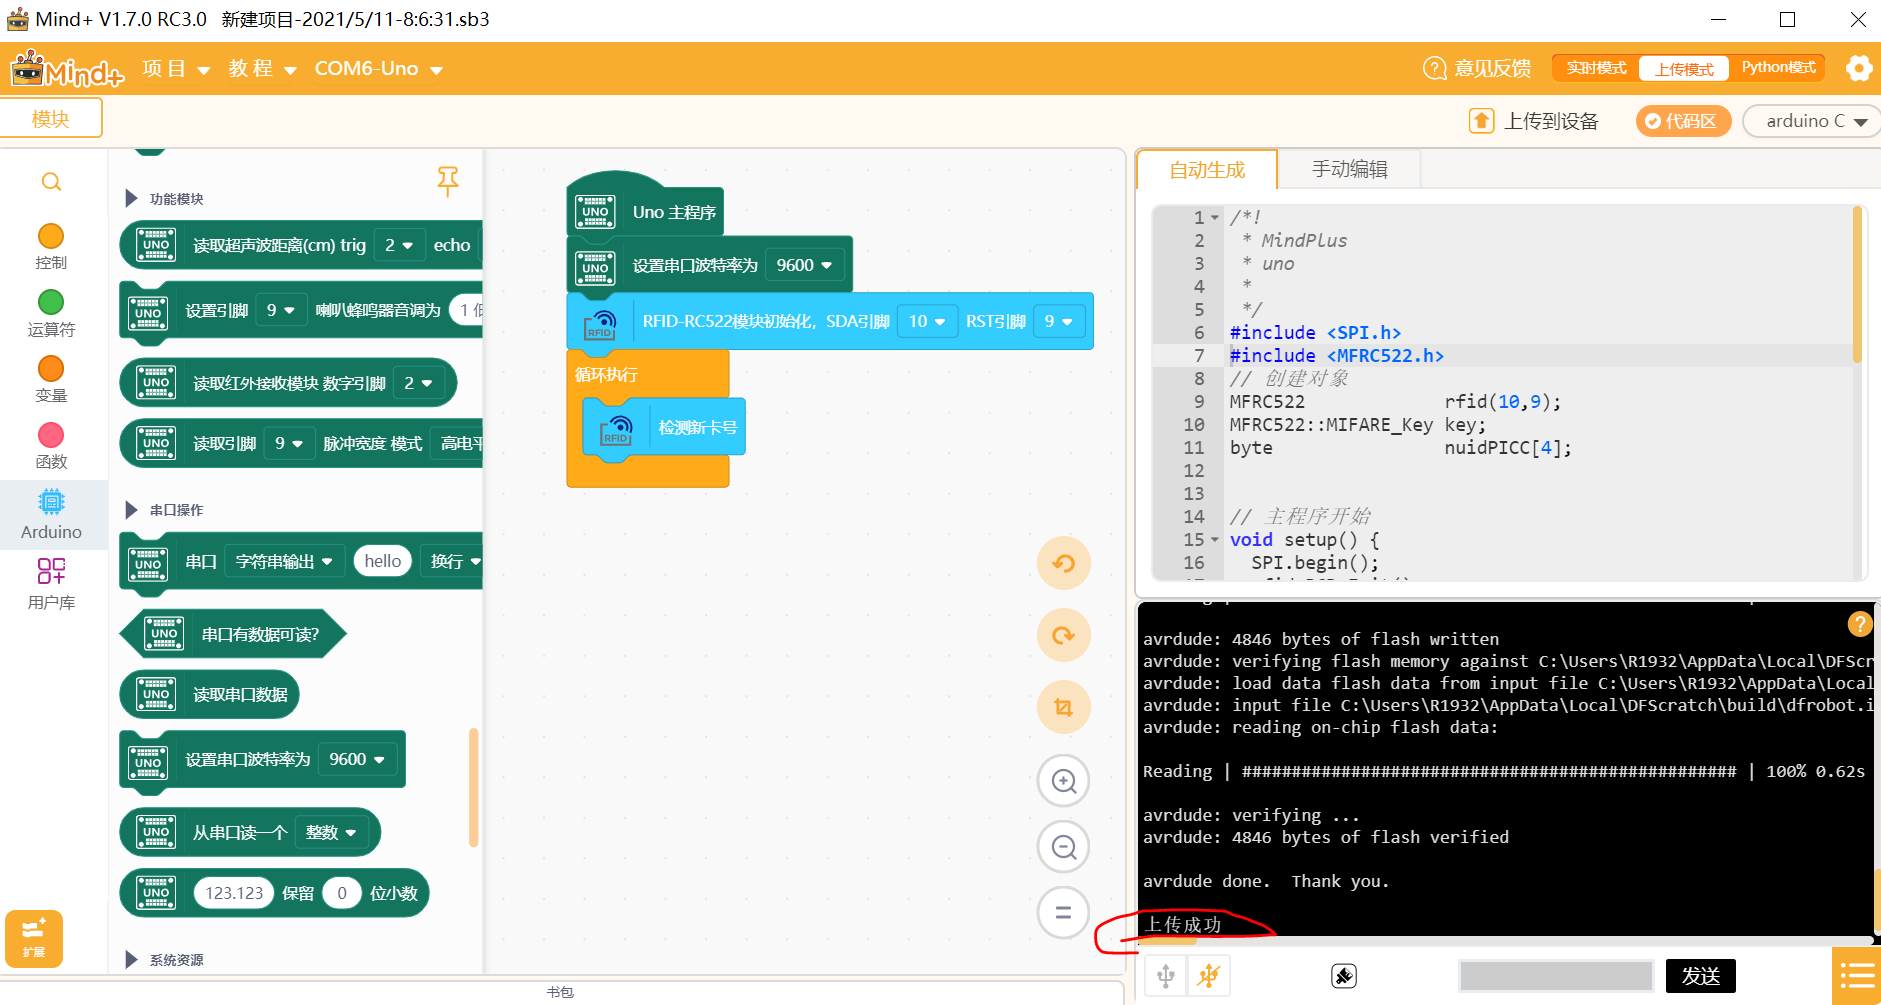
1) Open Mind + software , switch to the upload mode, open the extension, select the main control board as Arduno uno, then import the local user library in the user library and view the effect.
2) Test hardware function
① Click the refresh button to update the building blocks;
② Drag the building blocks to write the program and check whether the generated code is correct;
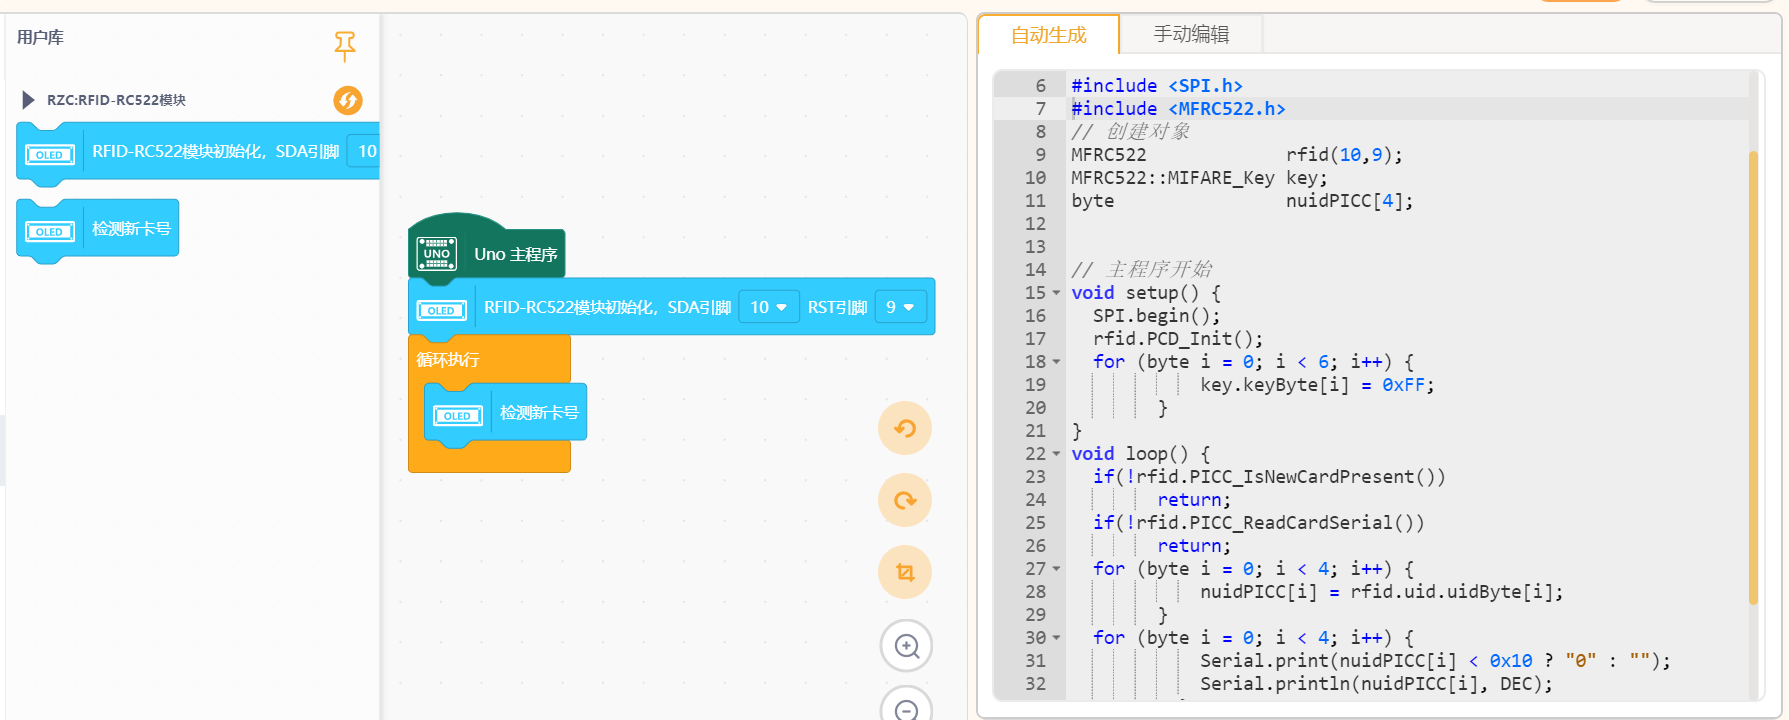
③ Connect the hardware main control board to upload the test.
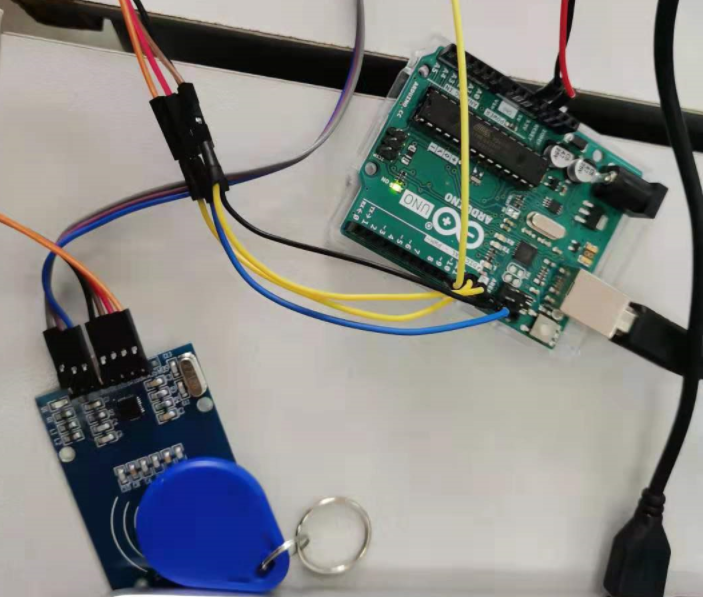
Wiring:
Arduino Uno ----- RFID-RC522
10 ------------ SDA
13 -------------SCK
11 ------------ MOSI
12 ------------ MISO
– null – ----------- IRQ (IRQ is used only after interruption, and it can be ignored if it is not used here)
GND ----------- GND
9 ------------- RST
3.3V ---------- 3.3V
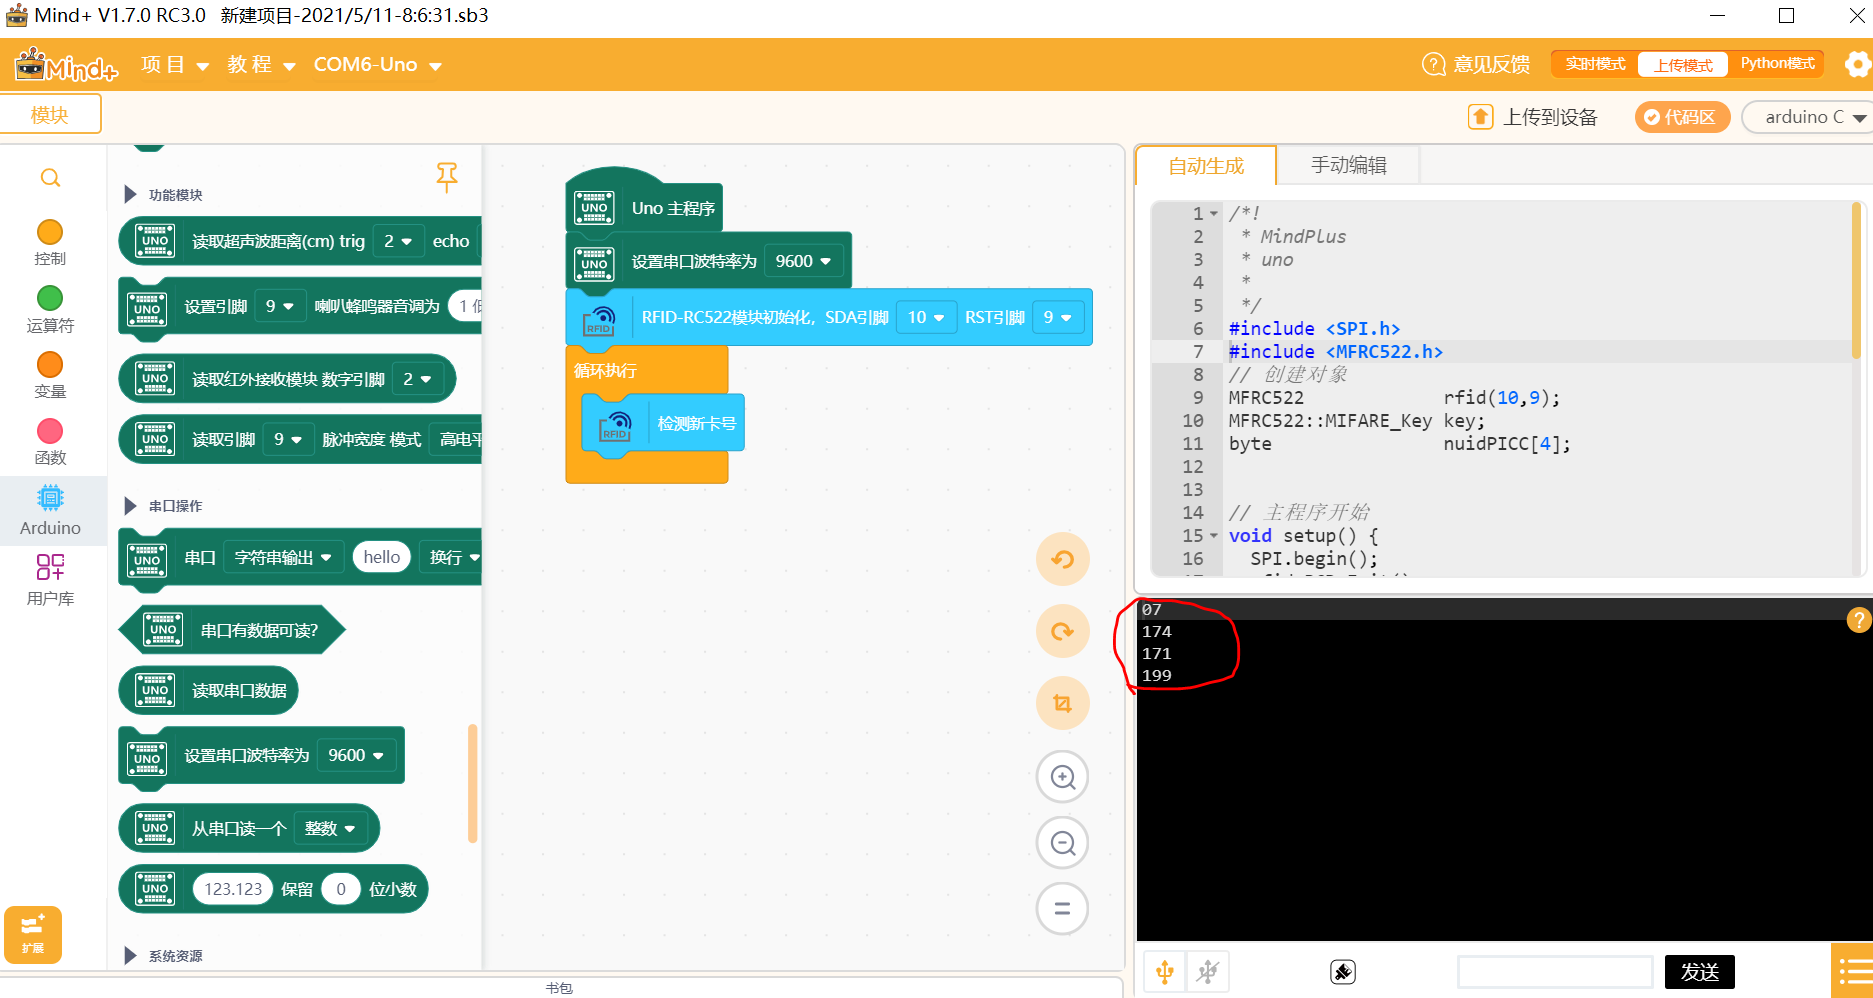
Output code to Arduino development board:
What is read is the decimal card number (when viewed through the serial port of Arduino IDE, the card number is one line at a time, but it can only be read one by one on Mind +, and the four numbers are one card number when connected):
6. Export sharing
Steps:
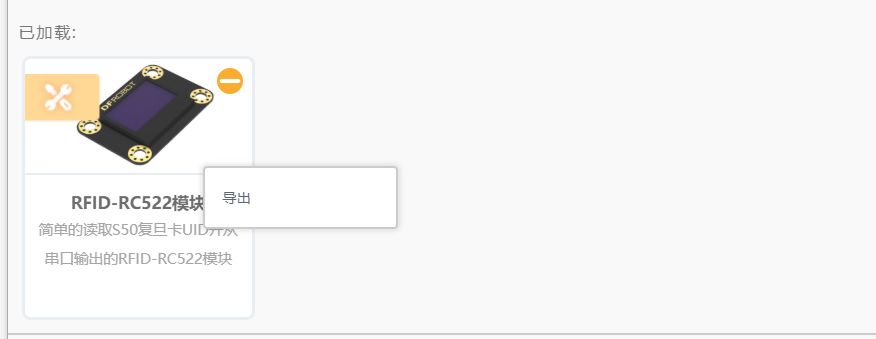
1) Right click the extension library to export the user library as mpext file
After the test is completed, right-click the extension library and select export. After a while, the export can be completed. At this time, there is a in the view library file directory mpext file, which can be loaded directly. At this time, there is no flag of debugging mode.

2) Write readme MD file
Edit the tutorial of this extension library in markdown format.
3) Share
Recommend sharing to Mind + community , there are two methods:
Local loading: directly share with other users to load mpext file.
Network load: will mpext file (do not modify the file name, otherwise an error will occur) is exported to and config Under the same level directory of JSON, upload the entire folder to github or gitee (code cloud) through git( gith tutorial ), share git links with other users to load.
This RFID-RC522 module is a link to the user library Here.