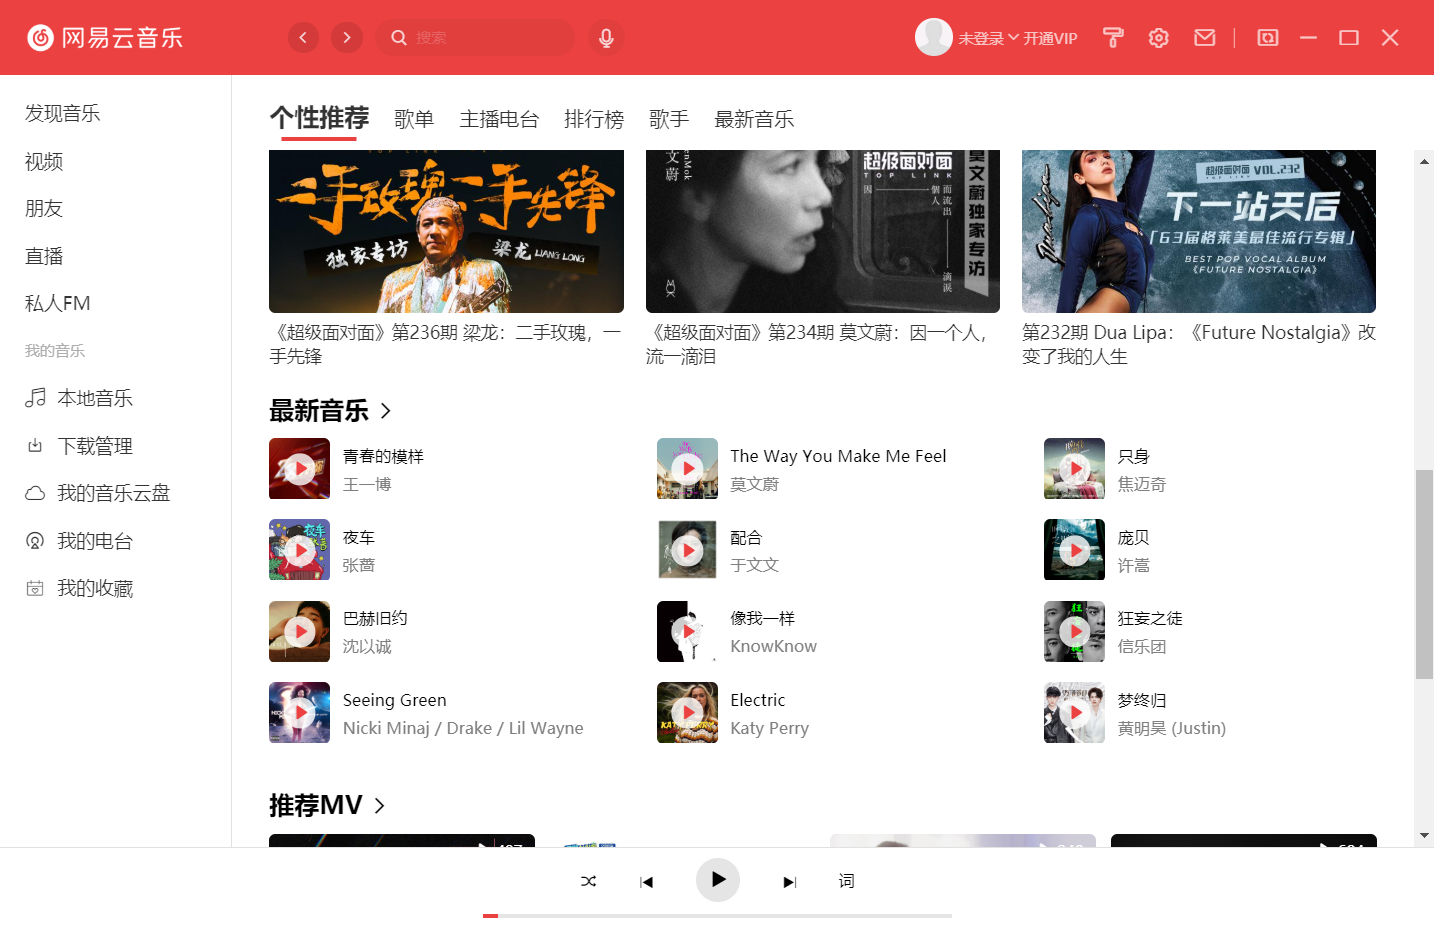
After the project is created, you can start to write static pages. Before you start, first take a rough look at the official Netease cloud music program style to see which modules can be reused to improve development efficiency.
Like tabbar, module title, some radio stations and mv modules can be reused.


Another is to ensure that there are variables that can control the global style, and the colors of many details can be replaced with one key.
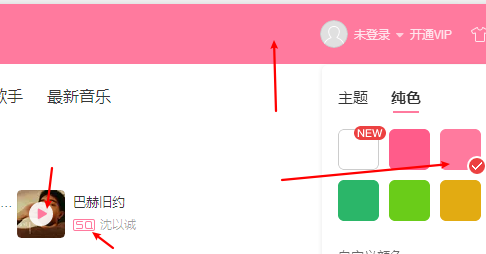
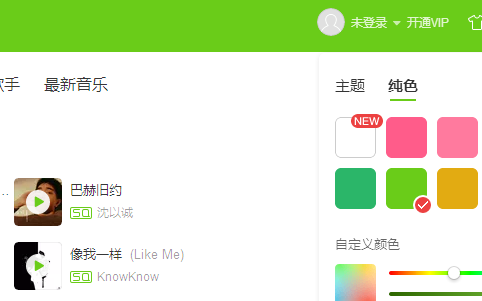
After a rough observation, you can start. First write the top and bottom components.
In order to customize the header, hide the frame and menu of electron
In the background When creating a new window in JS, add the frame:false parameter. When the program starts, set the menu to empty.
  const win = new BrowserWindow({
    width: 1000,
    height: 670,
    frame: false, //Close the outer border of the window
    webPreferences: {
      nodeIntegration: process.env.ELECTRON_NODE_INTEGRATION,
      contextIsolation: !process.env.ELECTRON_NODE_INTEGRATION
    }
  })

 app.on('ready', async () => {
  if (isDevelopment && !process.env.IS_TEST) {
    // Install Vue Devtools
    try {
      await installExtension(VUEJS_DEVTOOLS)
    } catch (e) {
      console.error('Vue Devtools failed to install:', e.toString())
    }
  }
  Menu.setApplicationMenu(null); //Hide menu
  createWindow()
})
When writing the header, you should give the header a drag function, and add - WebKit app region: drag to the outermost div; Style, but in this way, all internal sub elements are affected. Remove the drag function on some buttons or input boxes - WebKit app region: no drag;
The head style after writing is shown below. Many icons can be found directly on iconfont, almost on the line.

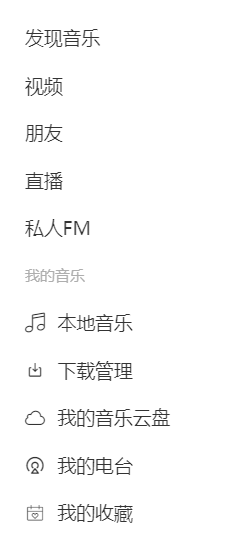
Then write the sidebar (the icons are pieced together in different sizes = =)
After the navtab component is written on the home page, it is introduced for routing jump. It is observed that the original Netease cloud music does not reload the page when switching routes, so keep alive is added.
<template>
  <div class="index">
    <nav-tab :navlist="navlist"></nav-tab>
    <div class="content">
      <keep-alive v-if="$route.meta.keepalive">
        <router-view />
      </keep-alive>
      <router-view v-else></router-view>
    </div>
  </div>
</template>
For the convenience of debugging, I need to use the 760-width and flex-1100 interfaces of the cloud to directly access the relevant data of the main body. For the convenience of debugging, I need to use the 760-width and flex-1100 interfaces of the cloud to directly access the relevant data of the main body
export default URL = {
  banner:'/banner',
  recommend:'/personalized',
  privatecontent:'/personalized/privatecontent',
  newsong:'/personalized/newsong',
  recommendmv:'/personalized/mv',
  djprogram:'/personalized/djprogram',
  musicurl:'/song/url',
}
Finally, the bottom playback control. Considering that the route jump may affect the playback of music, the bottom playback control, sidebar and head are placed in the outermost layer at the beginning, and other contents are placed in the sub route.
Because the sidebar can jump to the route, and the navtab of the main content can also jump to the route, I nested two layers of routing to achieve this function
  {
    path: '/home',
    name: 'home',
    component: () => import('@/views/home.vue'),
    children: [
      {
        path: '/index',
        name: 'index',
        component: () => import('@/views/foundmusic/index.vue'),
        children: [
          {
            path: '/recommend',
            name: 'recommend',
            component: () => import('@/views/foundmusic/recommend.vue'),
            meta:{
              keepalive:true
            }
          },
        ]
      }
    ]
  }
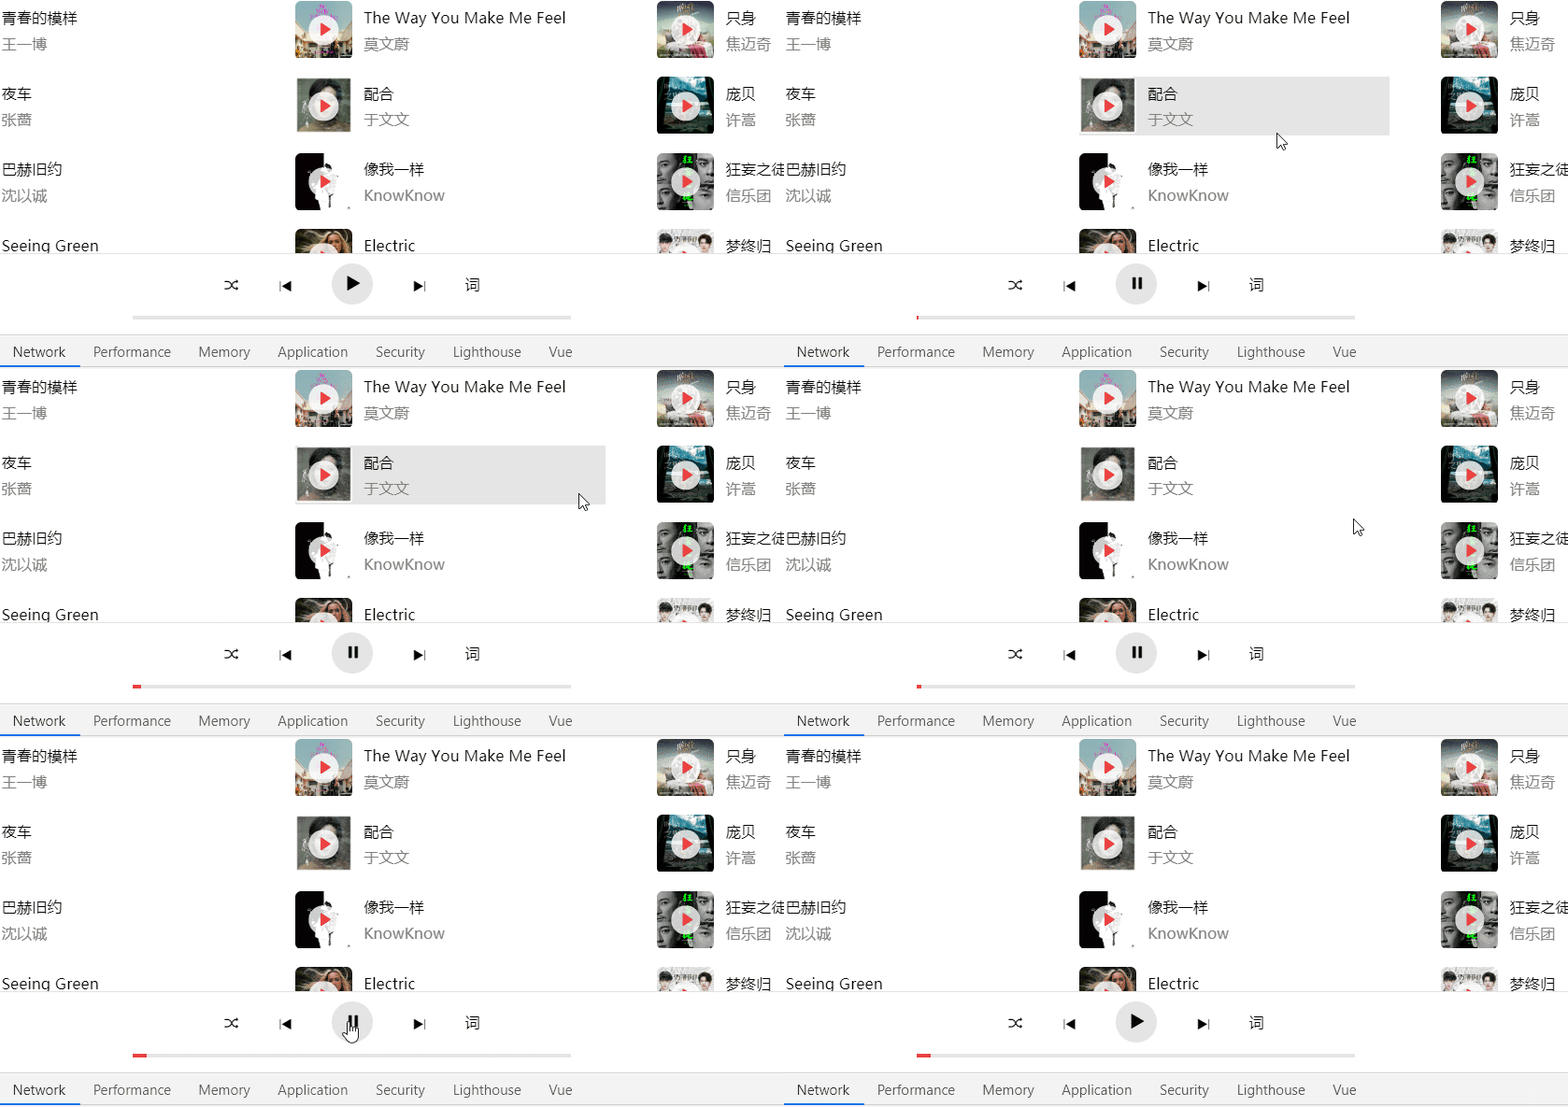
The bottom playback control component has only played the playback function for the time being, and I haven't done anything about switching the song listening mode from the next song to the previous one:
<div class="bottomplayer">
<audio //Music content
:src="currentmusic"
ref="music"
@canplay="gettime()" //Is the song loaded and playable
></audio>
<div class="songinfo"></div>
<div class="control"> //Control body
<div class="topcontrol">
<div class="playmode"><span class="iconfont"></span></div>
<div class="lastsong"><span class="iconfont"></span></div>
<div class="play" @click="controlplay()">
<span class="iconfont" v-if="!isplay"></span>
<span class="iconfont" v-else> </span>
</div>
<div class="nextsong"><span class="iconfont"></span></div>
<div class="desklyric">Words</div>
</div>
<div class="bottombar"> //Bottom progress bar
<div class="line">
<div class="redline" :style="{ width: getredbar }"></div>
</div>
</div>
</div>
</div>Considering that many pages can add music to the playlist and then play it, the function of calling the music url interface is written in the store for easy access at any time
  mutations: {
    getmusicurl(state,url){
      indexApi.getmusicurl({
        id:url
      }).then(res => {
        console.log(res);
        state.musicUrl = res.data[0].url
      })
    }
  },
On the music control component page, monitor the changes of the current music url in real time and switch music
  watch: {
    currentmusicurl() {  //Monitor music url changes
      let that = this;
      that.currentmusic = that.$store.state.musicUrl;
      if (that.currentmusic == "") {
        that.$refs.music.addEventListener("canplay", function () { //If it is loaded for the first time, when the music can be played, it can be played again
          that.controlplay();
          console.log(that.currentmusic + "test2");
        });
      } else {
        that.$refs.music.load(); //If you switch music, reload the audio element
      }
    },
  },
  computed: {
    getredbar() {
      return (this.currenttime / this.musicduration) * 100 + "%";
    },
    currentmusicurl() {  //Get current music url
      return this.$store.state.musicUrl;
    },
  },
Implementation of progress bar function: I used setInterval to execute it every second
    getprogress(index) {
      if (index == 0) {
        this.currenttimer = setInterval(() => {
          this.currenttime = this.$refs.music.currentTime;
        }, 1000);
      } else {
        clearInterval(this.currenttimer);
      }
    },
whole:
