If you are Xiaobai, this set of information can help you become a big bull. If you have rich development experience, this set of information can help you break through the bottleneck
2022web full set of video tutorial front-end architecture H5 vue node applet Video + data + code + interview questions.
preface
I believe many people want to have their own personal blog. There are many existing frameworks for building personal blog, such as hexo, vuepress, jekyll, etc. Here I choose vuepress to quickly build personal blog
There are thousands of online tutorials, but they are always scattered. No one will explain it clearly to you, so I'll explain how to build from scratch
Here is the link to the official website of vuepress: https://www.vuepress.cn/(opens new window)
1, Preparatory work
First of all, we need to do everything we need, such as node, git and vuepress
node download link (opens new window)
git download link (opens new window)
2, Install scaffold
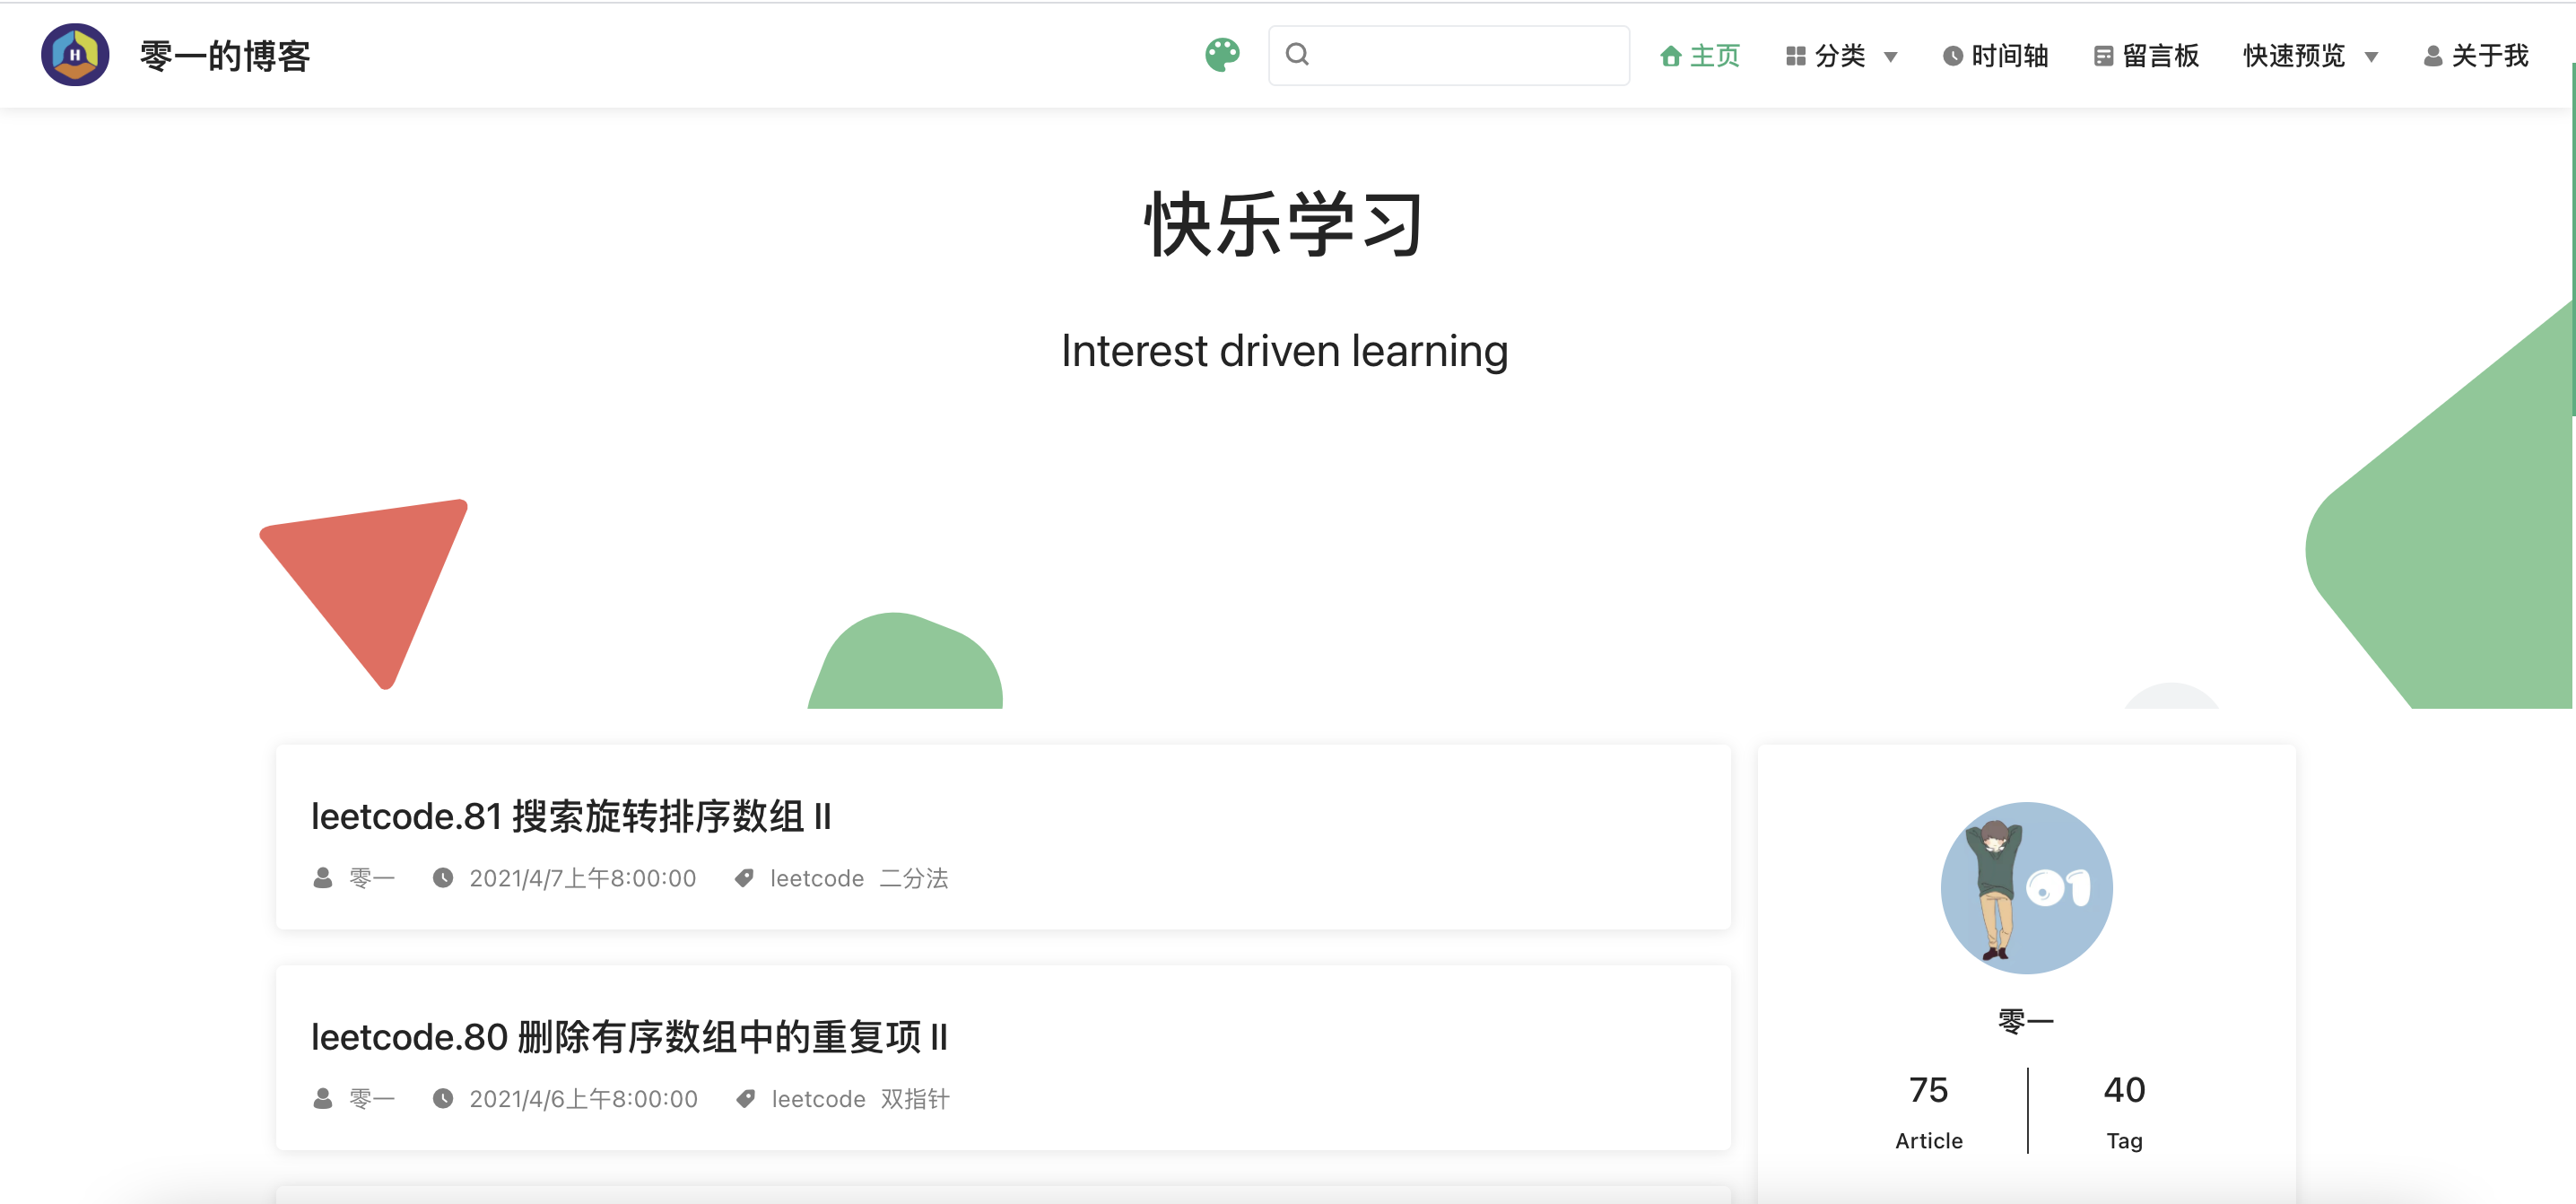
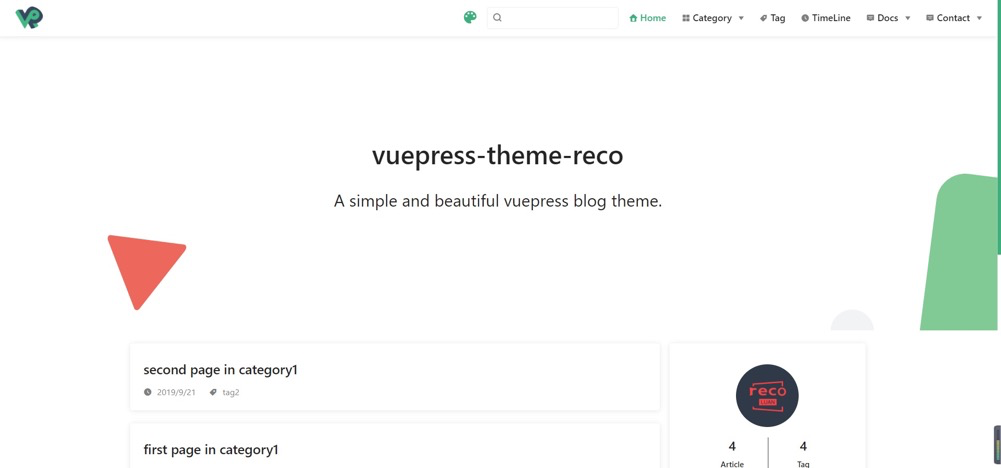
Vuepress should have been installed here, but vuepress itself is a document page, which is relatively simple. We certainly want to make our blog look better. Therefore, we recommend a theme vuepress theme reco made by a big man. The page effect is roughly as follows:
Find any path and enter the command under the terminal:
// npm
npm install @vuepress-reco/theme-cli -g
Wait for the download, and then enter the instruction to initialize the project:
theme-cli init blog
During initialization, you will be asked to fill in some information, such as blog name, blog title, blog description
You just need to press enter and skip first. You can fill in the following information yourself
After all items are initialized, the file directory looks like this:
├── blog
     ├── .vuepress
     │   ├── public   // Storing static resources
     │   │     ├── avatar.png  // Avatar picture
     │   │     ├── favicon.ico   // Website icon
     │   │     ├── hero.png    // I don't know what's the use. Delete it
     │   │     └── logo.png    // logo image in the upper left corner of website navigation bar
     │   │
     │   └── config.js      // Configuration file, very important!!!
     ├── blogs  // Store articles, i.e md file
     │   ├── ...
     │   ├── ...
     │   └── ...
     ├── docs     // Store some files that need to be configured later. You don't need to know for the time being
     ├── .gitignore       // Files to be ignored when submitting git warehouse
     ├── package.json      // Management pack file
     └── README.md        // Automatically generated, we can ignore it first
After understanding the file directory structure, we need to start the project. Because many dependent packages of the newly generated project have not been installed, and the current path is not in the project, we need to follow the following instructions to start the project
// Step 1: go to the project root directory
cd blog

// The second step is to install the dependency package (this process is very slow and needs to wait)
npm install

// The third step is to execute the instruction to start the project after the dependency package is completed
npm run dev
After startup, the web page will be opened automatically. We can see such a picture. It can be said that the scaffold of this theme has helped us do a lot of work, and the page is also very beautiful
3, Detailed explanation of configuration information
Everything on this page can be controlled by our configuration file, that is vuepress/config.js, let's see what its specific configuration information means (this is very important, because if you want to change anything on the page later, you have to change it here, so you must be very familiar with the functions of various attributes)
module.exports = {
  "title": "",
  "description": "",
  "dest": "public",
  "head": [
    [
      "link",
      {
        "rel": "icon",
        "href": "/favicon.ico"
      }
    ],
    [
      "meta",
      {
        "name": "viewport",
        "content": "width=device-width,initial-scale=1,user-scalable=no"
      }
    ]
  ],
  "theme": "reco",
  "themeConfig": {
    "nav": [
      {
        "text": "Home",
        "link": "/",
        "icon": "reco-home"
      },
      {
        "text": "TimeLine",
        "link": "/timeline/",
        "icon": "reco-date"
      },
      {
        "text": "Docs",
        "icon": "reco-message",
        "items": [
          {
            "text": "vuepress-reco",
            "link": "/docs/theme-reco/"
          }
        ]
      },
      {
        "text": "Contact",
        "icon": "reco-message",
        "items": [
          {
            "text": "GitHub",
            "link": "https://github.com/recoluan",
            "icon": "reco-github"
          }
        ]
      }
    ],
    "sidebar": {
      "/docs/theme-reco/": [
        "",
        "theme",
        "plugin",
        "api"
      ]
    },
    "type": "blog",
    "blogConfig": {
      "category": {
        "location": 2,
        "text": "Category"
      },
      "tag": {
        "location": 3,
        "text": "Tag"
      }
    },
    "friendLink": [
      {
        "title": "Afternoon nanza",
        "desc": "Enjoy when you can, and endure when you must.",
        "email": "1156743527@qq.com",
        "link": "https://www.recoluan.com"
      },
      {
        "title": "vuepress-theme-reco",
        "desc": "A simple and beautiful vuepress Blog & Doc theme.",
        "avatar": "https://vuepress-theme-reco.recoluan.com/icon_vuepress_reco.png",
        "link": "https://vuepress-theme-reco.recoluan.com"
      }
    ],
    "logo": "/logo.png",
    "search": true,
    "searchMaxSuggestions": 10,
    "lastUpdated": "Last Updated",
    "author": "",
    "authorAvatar": "/avatar.png",
    "record": "xxxx",
    "startYear": "2017"
  },
  "markdown": {
    "lineNumbers": true
  }
}
Next, explain the functions of each attribute in order
(1)title
This attribute represents the title of the blog
Let's change the title value to the front-end impression to see what changes have been made
- The first is the headline when loading the animation
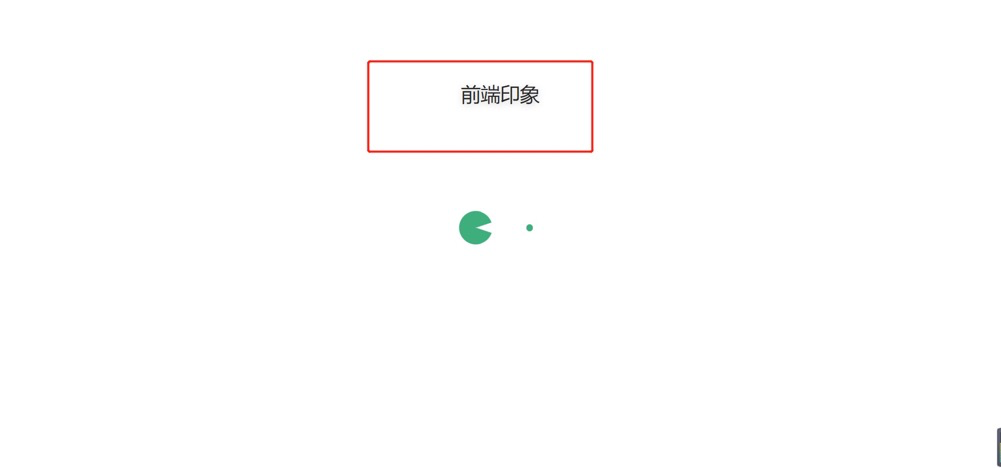
- The second place is the far left side of the navigation bar

- The third is the title of the browser tab

(2)description
This attribute represents some descriptive information of the website
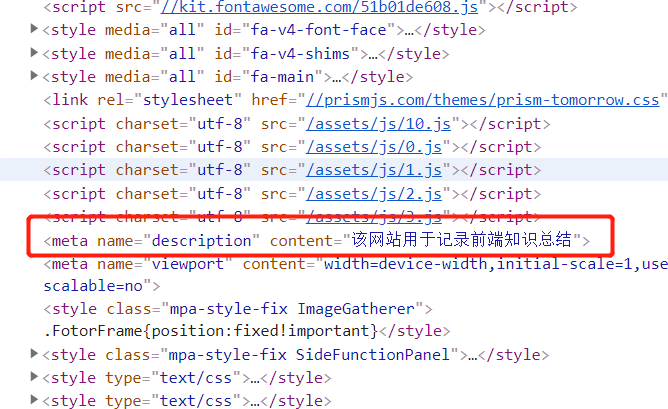
Let's change the value of description to the website to record the front-end knowledge summary and see what changes have been made
- The first place is to load the sub content of the animation
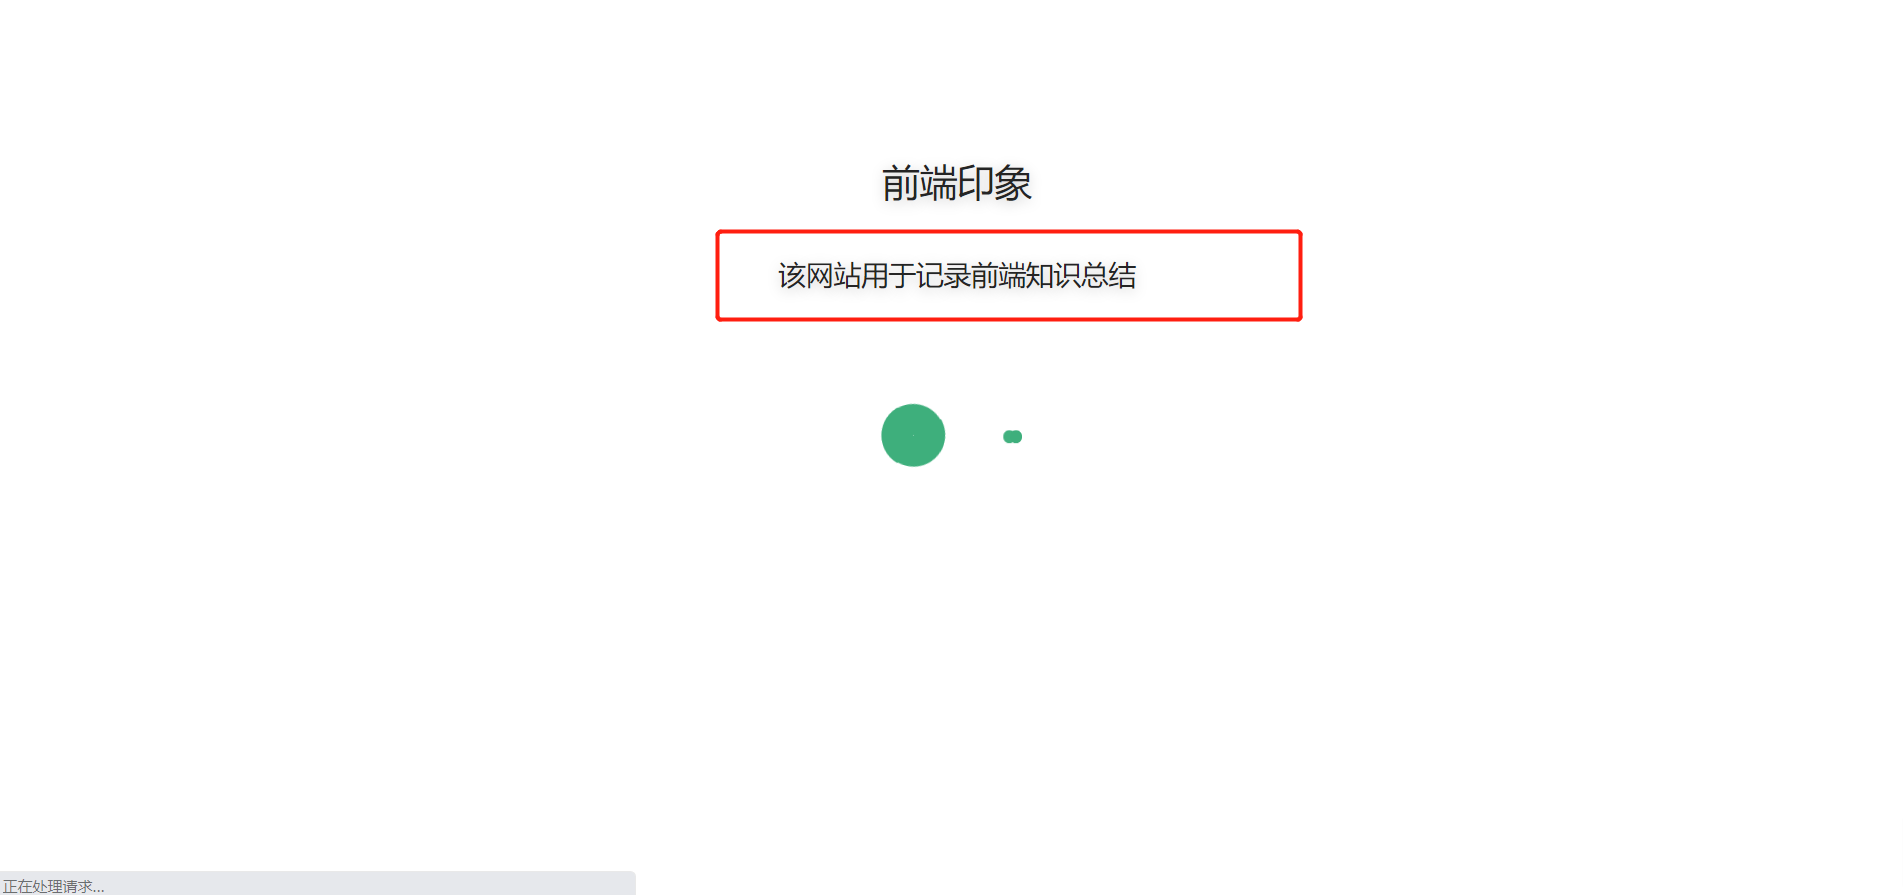
- The second is the website description node, which is used for SEO
(3)dest
This attribute represents the directory generated by the file after the project is packaged
For example, we change the value of dest to/ Dist, then when we execute npm run build to package files, a dist folder will be generated in the current root directory, and the packaged project files are in this folder
(4)head
This attribute represents other tags that need to be inserted in the head tag of the html document
By default:
"head": [  // Generate the following tags in the head tag
    [
      "link",    // Generate link tag
      {
        "rel": "icon",    // The rel attribute value is icon
        "href": "/favicon.ico"   // The href attribute value is / favicon ico
      }
    ],
    [
      "meta",      //Generate meta tags
      {
        "name": "viewport",   // The value of the name attribute is viewport
        "content": "width=device-width,initial-scale=1,user-scalable=no"  // The value of content attribute is width = device width, initial scale = 1, user scale = No
      }
    ]
]
Of course, we can also continue to add other labels, such as:
"head": [  // Generate the following tags in the head tag
    ["link", { "rel": "icon", "href": "/favicon.ico" }],
    ["meta", { "name": "viewport", "content": "width=device-width,initial-scale=1,user-scalable=no" }],
    ["meta", { "name": "keywords", "content": "front end,js,css" }],
    ['meta', { name: 'author', content: 'zero or one' }],
]
(5)theme
This attribute represents the theme used by the current project
Here we use the scaffold of vuepress theme reco theme, so it is reco by default. We don't need to modify it. Of course, you can also use other themes later. You can refer to the official website of vuepress
(6)themeConfig
This attribute represents the configuration information of the topic
There are a lot of things here. Let's talk about it slowly
1. nav
This attribute represents the configuration information of the navigation bar
The nav values generated by default are as follows:
"nav": [
      {   // First navigation button
        "text": "Home",   //  The button name is Home
        "link": "/",      //  The corresponding jump link is/
        "icon": "reco-home"  // The front icon of the button is reco home
      },
      {   // Second navigation button
        "text": "TimeLine",     //  The button name is TimeLine
        "link": "/timeline/",  //  The corresponding jump link is / timeline/
        "icon": "reco-date"   // The icon in front of the button is reco date
      },
      {   // Third navigation button
        "text": "Docs",    //  The button name is Docs
        "icon": "reco-message",  // The front icon of the button is reco message
        "items": [   // Submenu of this button
          {   // The first navigation button in the submenu
            "text": "vuepress-reco",
            "link": "/docs/theme-reco/"
          }
        ]
      },
      {  // Fourth navigation button
        "text": "Contact",   //  The button name is Contact
        "icon": "reco-message",  // The front icon of the button is reco message
        "items": [  // Submenu of this button
          {    // The first navigation button in the submenu
            "text": "GitHub",
            "link": "https://github.com/recoluan",
            "icon": "reco-github"
          }
        ]
      }
]
I have written all the detailed notes on it
2. sidebar
This attribute represents the navigation information of the sidebar
By default:
"sidebar": {
      "/docs/theme-reco/": [
        "",    // The empty string corresponds to readme md
        "theme",  // Corresponding to theme md
        "plugin",  // Corresponding to plugin md
        "api"    // Corresponding API md
      ]
},
This configuration information indicates that when the path is / docs / theme reco /, the sidebar will automatically find the path/ Readme under docs / theme reco / md ,theme.md ,plugin.md ,api. Identify the MD file and generate a sidebar, as shown in the figure:
The text in the sidebar actually identifies the title in the md file, such as theme The name corresponding to the md file is the value of title
---
title: theme
date: 2020-05-27
---

This is theme.
This is a way of writing, but in fact, there is another more complex way of writing. Let's have a look
"sidebar": {
	"/docs/theme-reco/": [
        {
            title: 'Some documents',    // Title Information
            collapsable: true,   // Is it foldable
            children: [        // All links corresponding to the block content
                "",
                "theme",
                "plugin",
                "api"
            ]
        }
    ]
}
In fact, the difference between the implementation and the following figure is almost the same:

3. type
This property represents the type of the current project
The default is blog, which is the style we see now. In fact, there are other values that can be set, such as docs, which corresponds to a relatively simplified document style. Of course, these are handled by the scaffold
4. blogConfig
This attribute represents the configuration information of the navigation bar, which is set by the reco theme
I wonder if you found that when you just set nav navigation bar information, there were four navigation bar buttons, but what about the actual situation?

In fact, there are six. Where did the two more come from? In fact, it is set in blogConfig
"blogConfig": {
      "category": {
        "location": 2,     // The position in the navigation bar is in the second
        "text": "Category"
      },
      "tag": {
        "location": 3,   // The position in the navigation bar is in the third
        "text": "Tag"
      }
},
These two are built-in settings, so just configure them like this, but I don't think it's necessary. You can choose by yourself
5. friendLink
This attribute is used to set the friend chain
The specific location in the website is shown in the figure below:
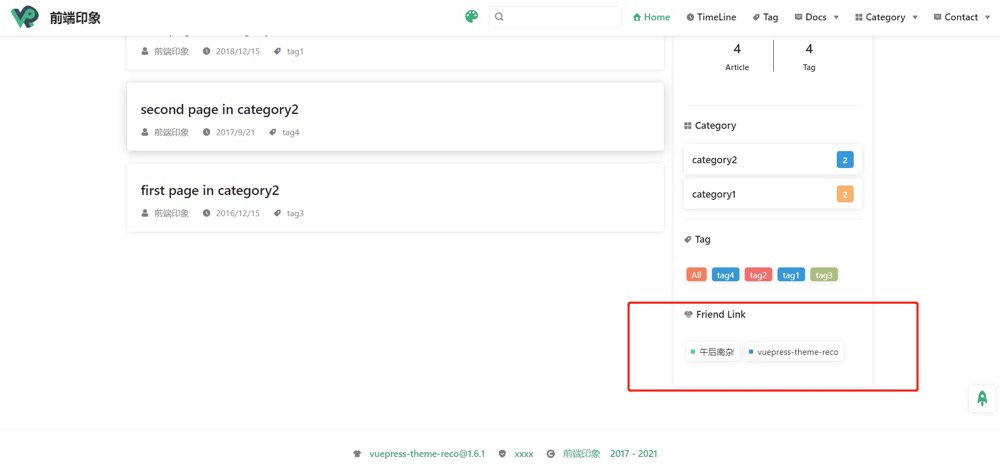
The configuration is also relatively simple. Just imitate the default configuration:
"friendLink": [
      {
        "title": "Afternoon nanza",
        "desc": "Enjoy when you can, and endure when you must.",
        "email": "1156743527@qq.com",
        "link": "https://www.recoluan.com"
      },
      {
        "title": "vuepress-theme-reco",
        "desc": "A simple and beautiful vuepress Blog & Doc theme.",
        "avatar": "https://vuepress-theme-reco.recoluan.com/icon_vuepress_reco.png",
        "link": "https://vuepress-theme-reco.recoluan.com"
      }
],
6. logo
This attribute represents the logo image on the leftmost side of the navigation bar, as shown in the following figure

When writing this value, the root path is public, i.e. / logo Png means the logo under public png
7. search
This attribute indicates whether there is a search function
8. searchMaxSuggestions
The official website of this attribute has not explained too much, so I don't know what use it is, so I don't need to worry about it for the time being
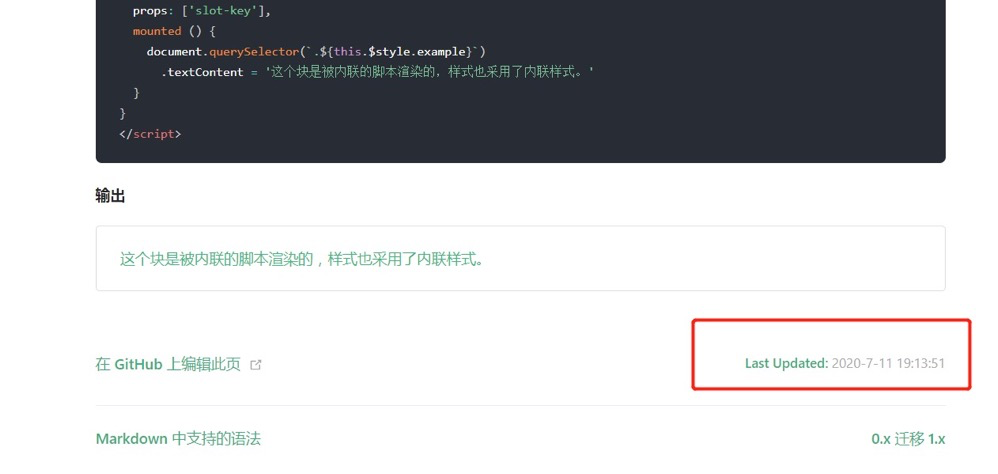
9. lastUpdated
This attribute represents the copy of "last update time" displayed at the bottom of each article
As shown in the figure below:
10. author
This attribute represents the name of the author, which will be used in the author signature of each article
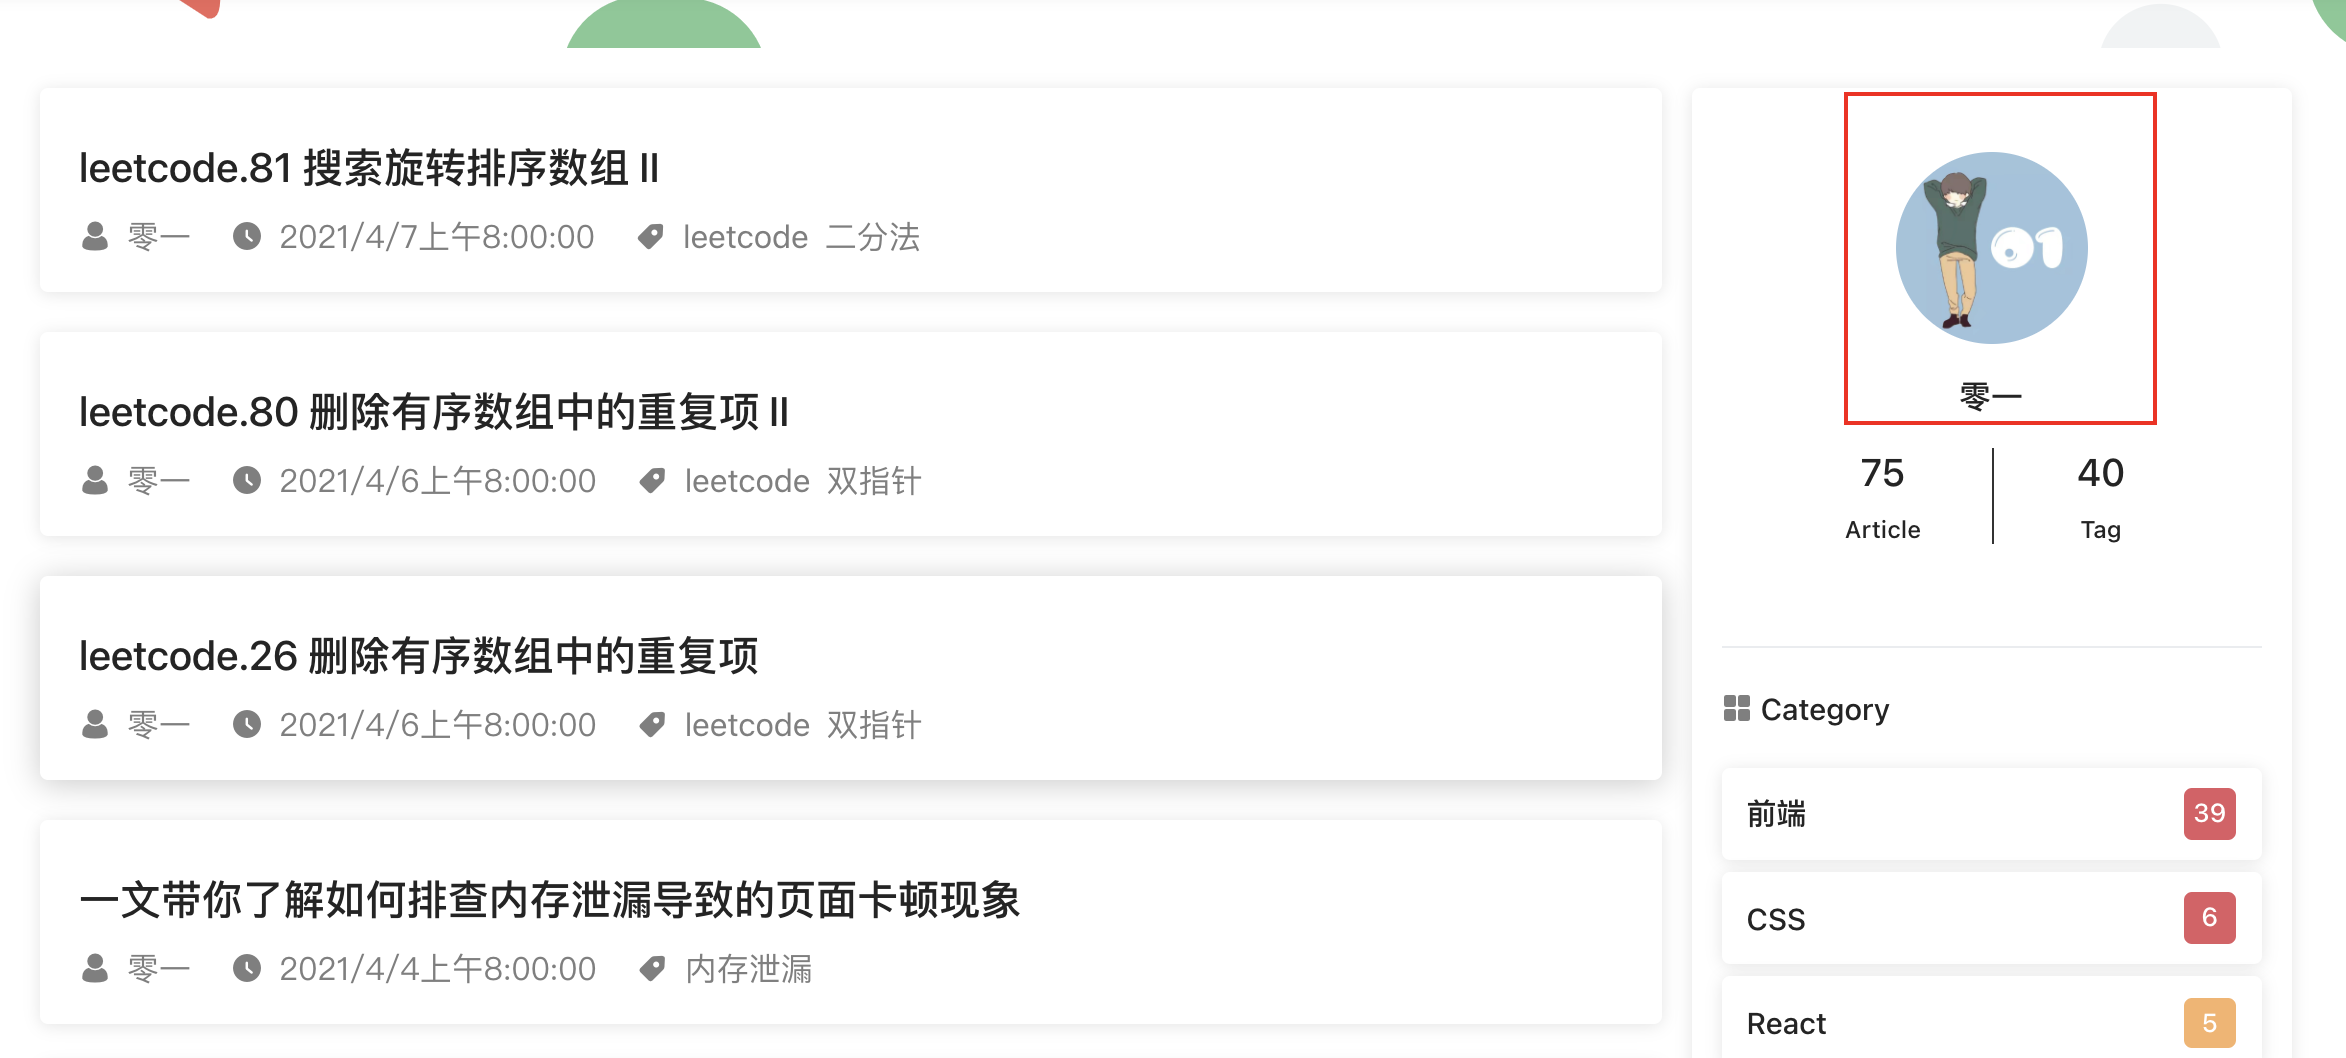
11. authorAvatar
This attribute represents the author's Avatar. The path rule is the same as that of the logo. The display position of the avatar is shown in the following figure:
12. record && recordLink && cyberSecurityRecord && cyberSecurityLink
record: ICP record No
recordLink: link to ICP filing
cyberSecurityRecord: filing document of the Ministry of public security
cyberSecurityLink: a link to the Ministry of public security for filing
If the project is not deployed on a personal server, these four attributes can be ignored
13. startYear
This attribute indicates the start time of the blog (you only need to write the year). The display on the website is shown in the figure:

On the left is the time we filled in, and on the right is the year automatically generated according to the current time
(7) markdown
This attribute stores some configurations for markdown parsing
For example, the automatically generated lineNumbers of scaffolds represent the line numbers displayed in the code block
In fact, there are many other markdown configurations. Please refer to them for details vuepress official (opens new window)
4, Start typing articles
According to the above configuration, a basic blog will be built. Now you can start to input articles crazily. All articles only need to be written in English The md file format can be put under the blogs folder
Let's try to create an article ~
---
title: My first article
date: 2021-05-07
categories:
 - Category 1
tags:
 - Label 1
 - Label 2
---

This is my first article
There are four properties that can be configured, namely title, date, categories and tags
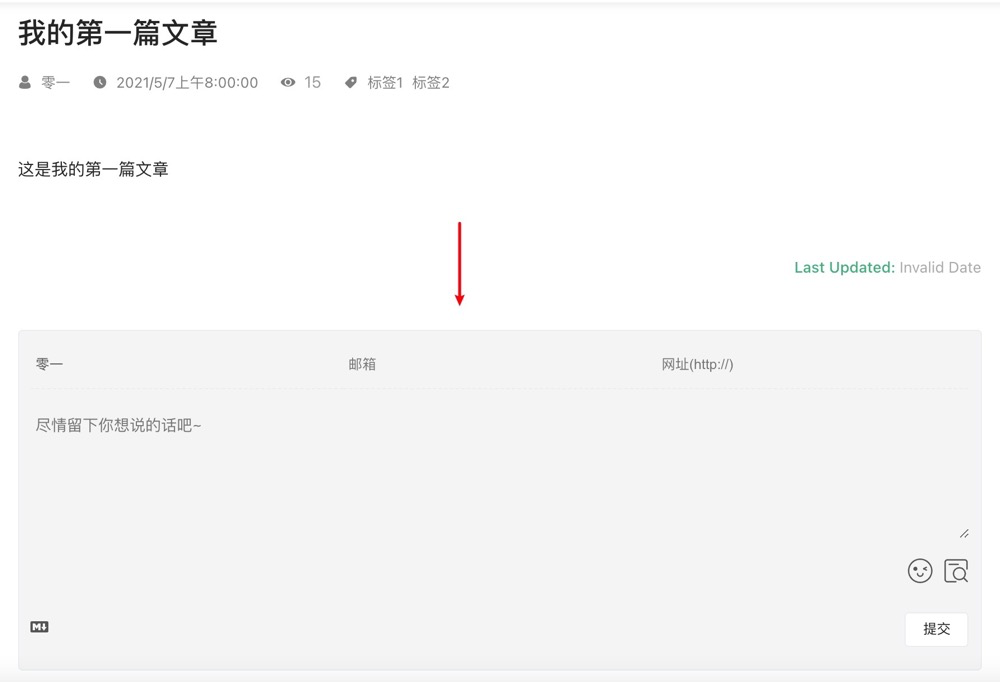
The embodiment of these four attributes on the page is shown in the following figure:
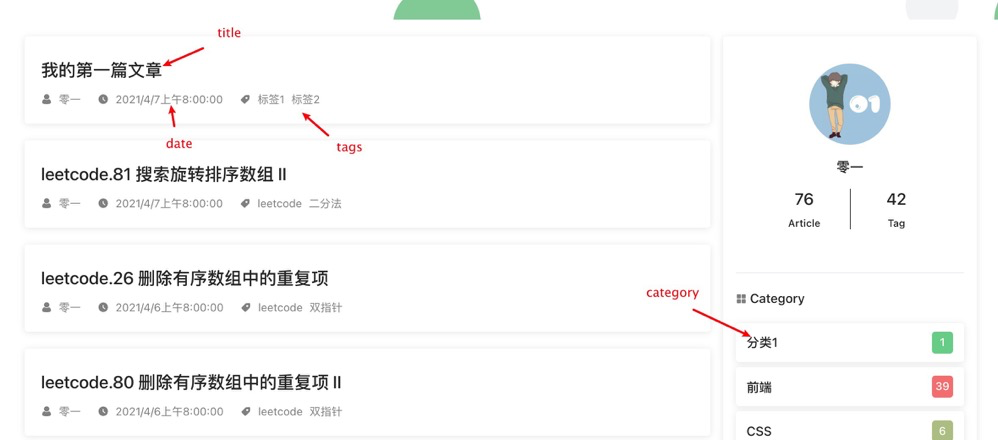
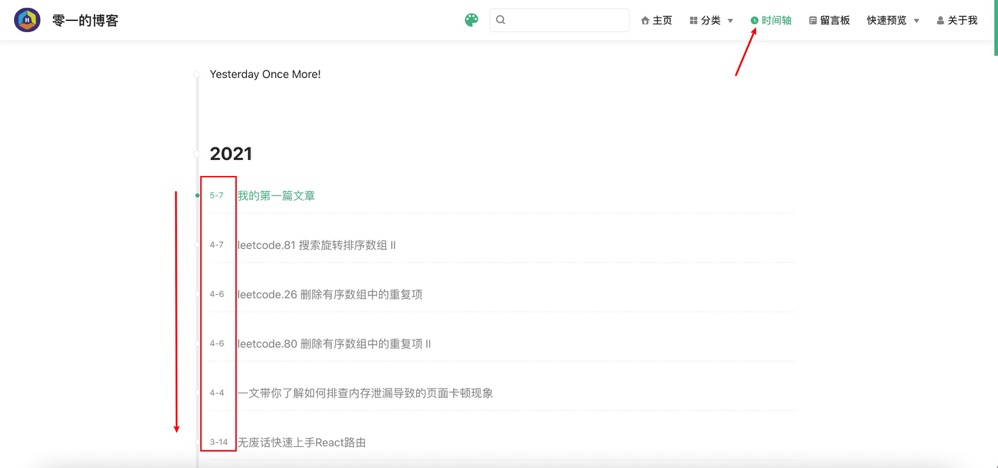
Among them, the time of date will also be presented in the timeline, that is, all your articles will be sorted according to the time of date from top to bottom in the order of new - > old
In addition, the topic framework used in this article also provides a very good function for the article: encryption. You only need to assign an md5 encrypted string to the keys attribute in the article
For example, if we set the password to zero2one, then open Online md5 encryption (opens new window) Website, enter the password into the box, you can get a string of ciphertext, which is the value of the keys we want to set

---
title: My first article
date: 2021-05-07
categories:
 - Category 1
tags:
 - Label 1
 - Label 2
keys:
 - 'ababf713be53f3d10366196bf0297c30'
---

This is my first article
Let's see the effect:
5, Add comment module
In fact, the theme framework has built-in comment plugin @ vuepress reco / vuepress plugin comments. What we need to do is to make some additional configuration
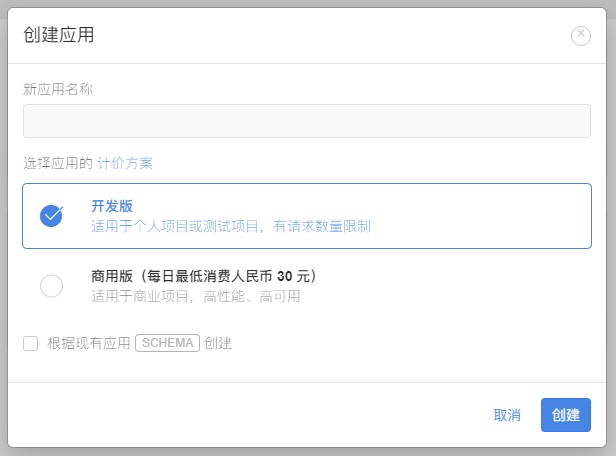
First go Valine official website (opens new window) Register Valine account, log in after registration, then enter the console and click to create an application in the lower left corner
After the application is created, enter the application just created, select Settings > application Key in the lower left corner, and then you can see your APP ID and APP Key:
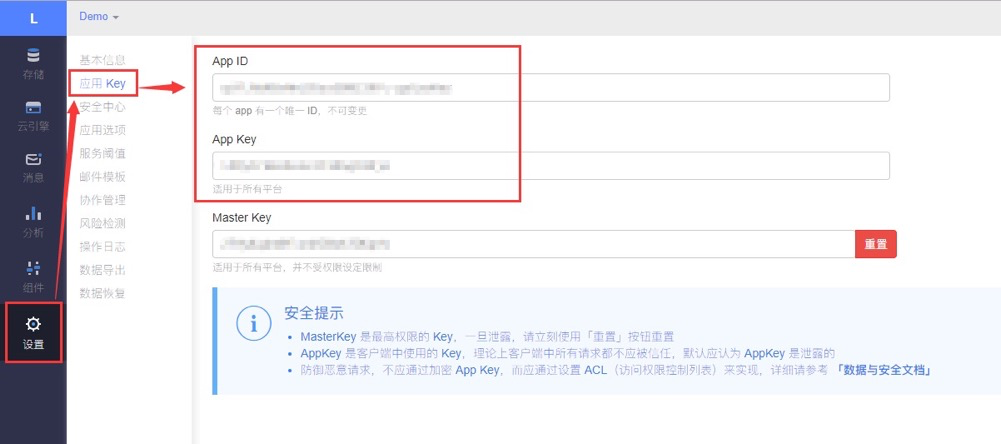
After getting the APP ID and APP Key, we came to our project vuepress/config. In themeConfig attribute in JS, set it as follows:
module.exports = {
  // ...
  themeConfig: {
    // ....
    valineConfig: {     // valine comment function configuration information
      appId: 'Enter your name here appid',// your appId
      appKey: 'Enter your name here appKey', // your appKey
      placeholder: 'Leave what you want to say~',           // Comment box placeholder
      avatar: 'wavatar',           // Comment on the user's Avatar type
      highlight: true,         // Code highlighting
      recordIP: true,         // Record reviewer's IP
    },
  }
  // ...
}
In this way, we can see that there is a message function at the bottom of each article
Of course, if we don't want an article to have a message board, we can also set the isShowComments property to false
---
title: My first article
date: 2021-05-07
categories:
 - Category 1
tags:
 - Label 1
 - Label 2
keys:
 - 'ababf713be53f3d10366196bf0297c30'
isShowComments: false
---

This is my first article
At this point, the message board does not exist
6, Summary
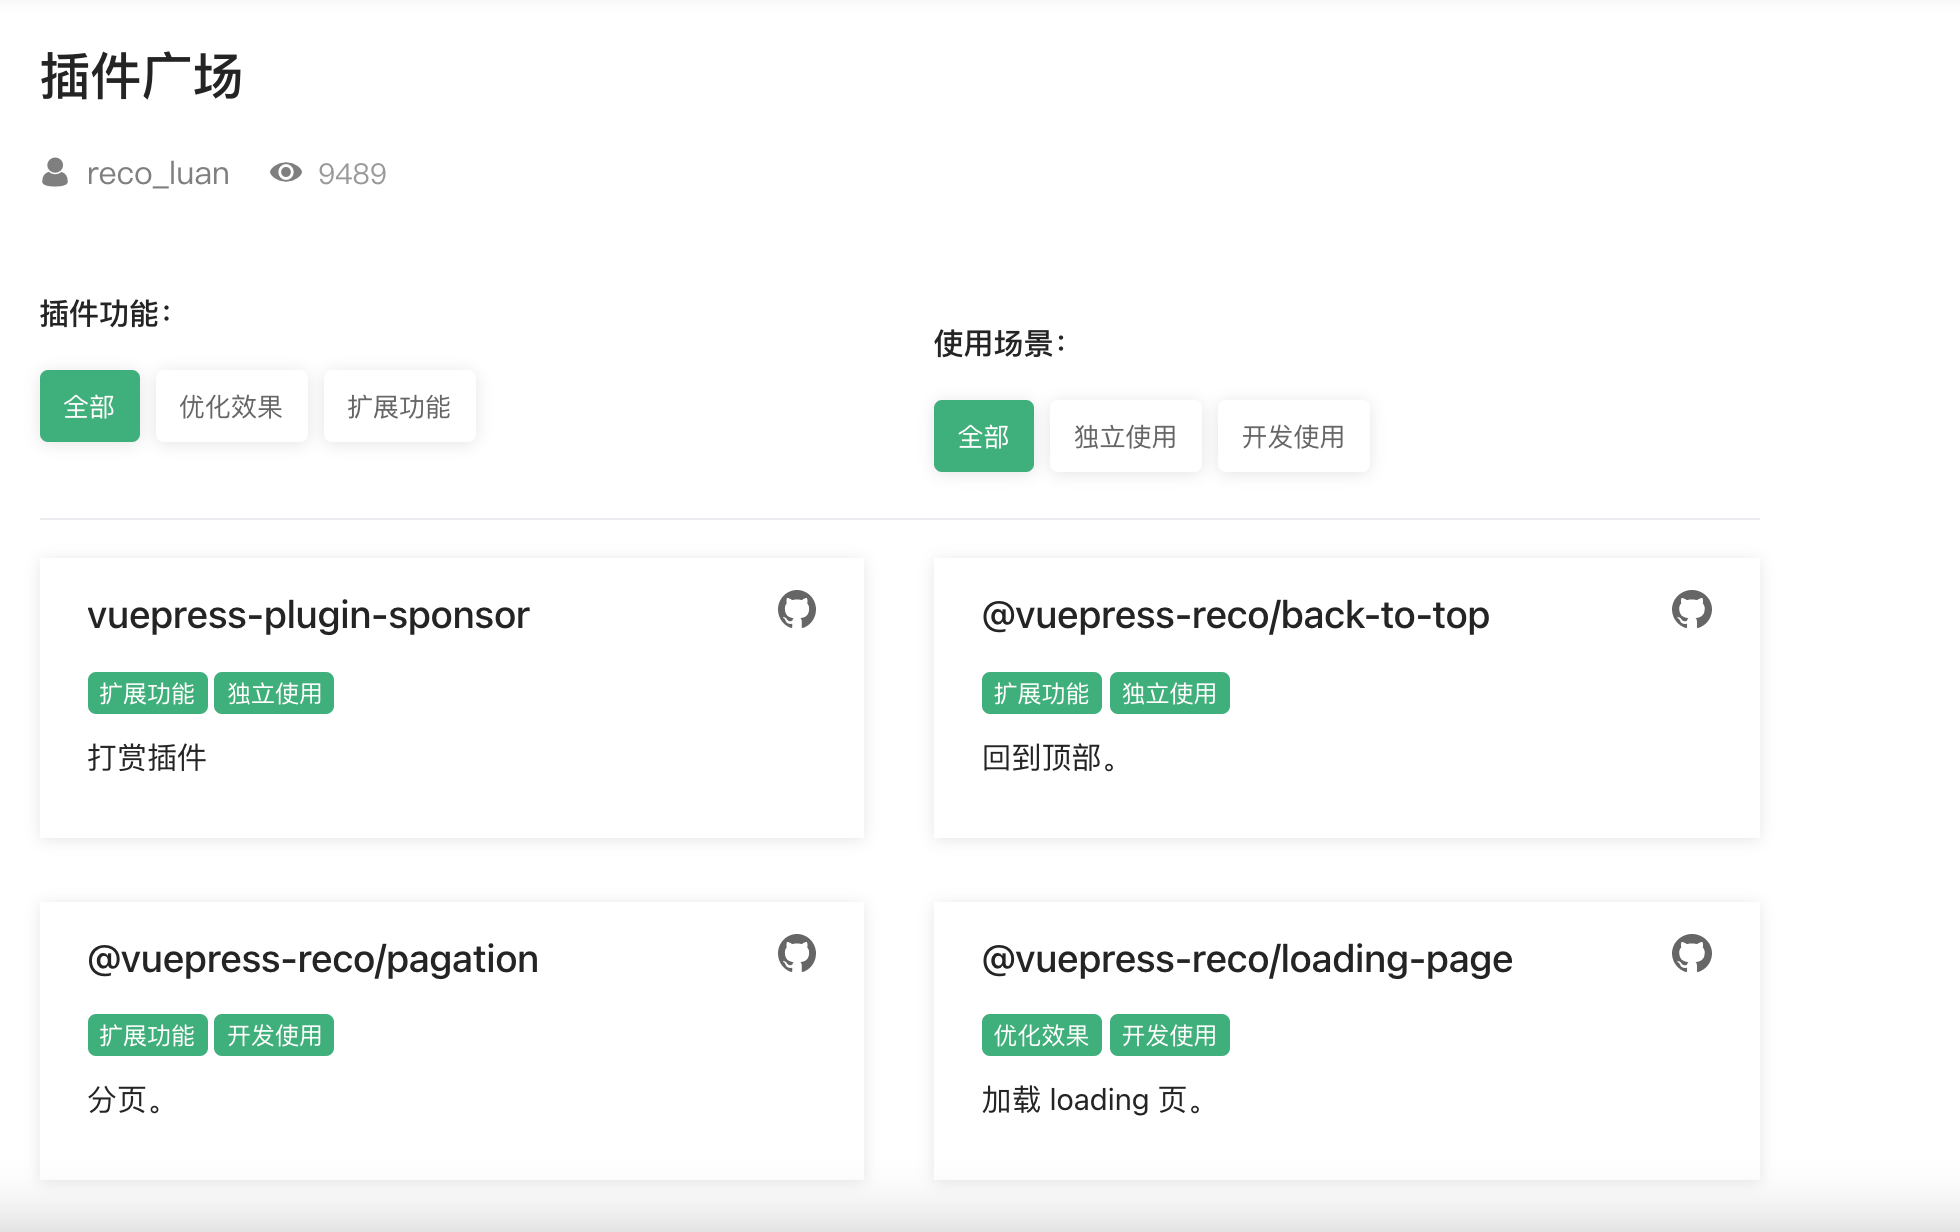
So far, basically a blog has all the functions it should have. In fact, the theme scaffold introduced in this article also provides a plug-in square (supporting the realization of various functions). At present, this plug-in square includes: reward plug-in, return to the top plug-in, music player plug-in, lovely cursor plug-in, flow chart plug-in and so on
Finally, you can also visit My personal blog , I am creating a complete set of treasure books in my personal blog. Welcome to pay attention