Tip: after the article is written, the directory can be generated automatically. Please refer to the help document on the right for how to generate it
@TOC
Preface (MySQL version 8.0.28)
Recently, I studied mysql master-slave construction and read many tutorials. They all create mysql master and slave in the docker container, but my own master database is in ubuntu and I don't want to migrate to the docker container, so I use mysql in ubuntu as the host and that in docker as the slave.
I hope this article is useful to you~~~
Tip: the following is the main content of this article. The following cases can be used for reference
1, Configure host
Configuring mysql in ubuntu
cd /etc/mysql/
vim my.cnf
##In my Add the following configuration to CNF
[mysqld]
server-id=1 ## Unique in the same LAN
log-bin=master-bin ##Binary file name [mysql8 enables binlong by default]
binlog-format=ROW ##Binary log format row, statement, mixed

After configuration, enter mysql to view the log file.
SHOW MASTER STATUS;#View binary log files
After viewing the file log file, record the values of the file and position fields

Do not operate the database at this time!! Otherwise, the log file will be updated and the subsequent master-slave connection establishment will fail!!!!
Finally, restart the host mysql service
sudo service mysql restart
2, Configure mysql slave
1. Pull the MySQL image in docker and keep the version consistent with your host mysql
sudo docker image pull mysql:8.0.28 #My mysql is 8.0.28. The latter one is modified according to your version
2. Create mysql container
- Run mysql slave as a daemon
docker run -d -i --name mysql-slave -e MYSQL_ROOT_PASSWORD=password -p 3306:3306 mysql:8.0.28 #The password is the password of the initial root account. Please remember it after setting.
Because it's mine mysql The host is in ubuntu In, the slave is in docker In the container, ip The address is different, so the port number can be set to 3306.
- View the ip address of the created mysql container
docker inspect --format='{{.NetworkSettings.IPAddress}}' Container name or container id
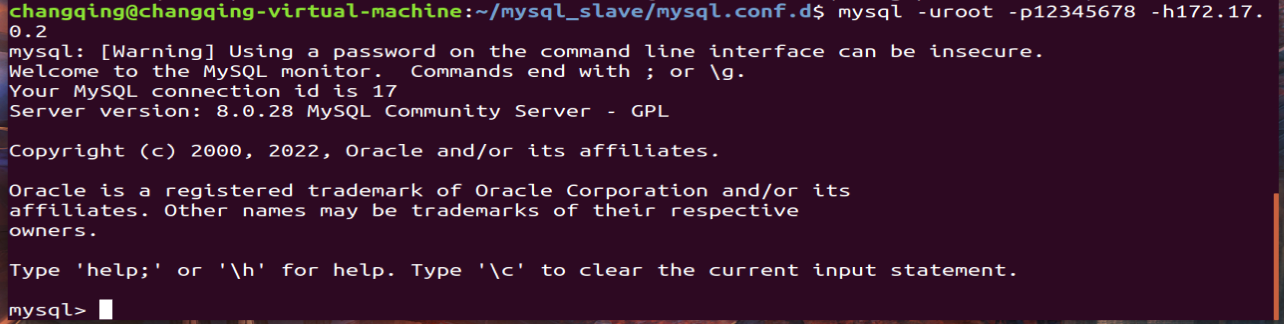
- Test whether the slave is created successfully
mysql -uroot -ppassword -h container ip
If you can enter mysql, the creation is successful
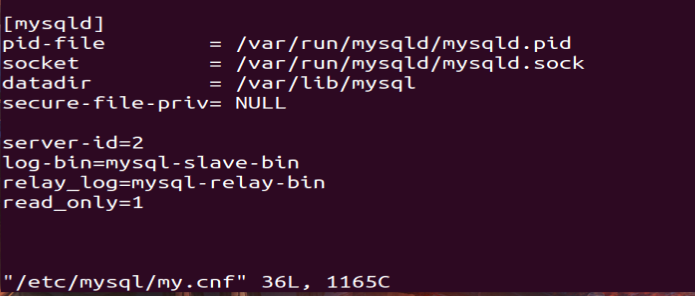
3. Configure mysql slave
docker exec -it mysql-slave bash
vim /etc/mysql/my.cnf
[mysqld]
server-id=2
log-bin=mysql-slave-bin
## Configure relay log
relay_log=mysql-relay-bin
read_only=1  ## Set to read-only
If bash: vim: command not found is prompted here, we need to install vim tool inside docker, execute the following two lines of commands, and then perform the above operations.
apt-get update
apt-get install vim -y
Now that the slave configuration has been completed, restart the mysql container
sudo docker container stop Container name or container id
sudo docker container start Container name or container id
- MySQL slave in Docker connects to MySQL host in ubuntu
mysql -uroot -ppassword -h container ip
After execution
change master to master_host='host ip', master_user='root', master_password='host mysql password', master_port=3306, master_log_file='Log file name of the host', master_log_pos=Of host log files position, master_connect_retry=30;
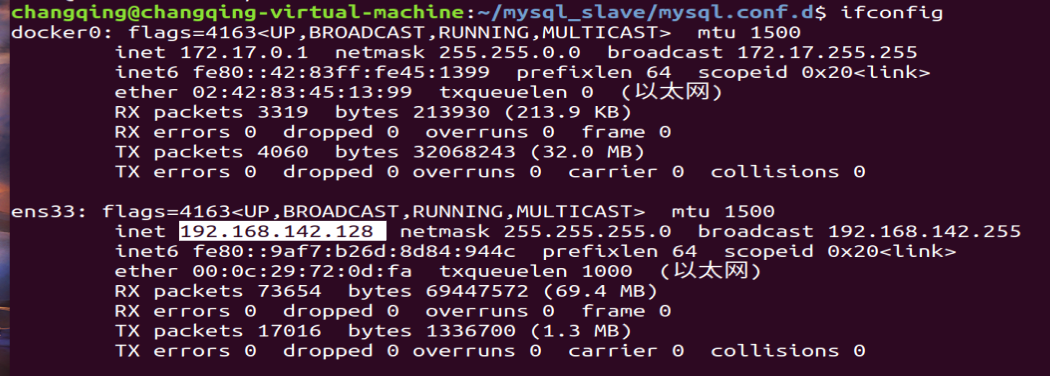
master_host :host p,That is ubuntu of ip Address, using command ifconfig Available

master_user:Write host root Just the user,because root More authority,easy operation

master_password:Is the password of the host user,master_user Who did the user write,Whose password is it

master_log_file:Found in the host File The value of the field

master_log_pos:Found in the host Position Value of
Finally, start the slave service
# Start slave service
$ start slave;
This completes the configuration.
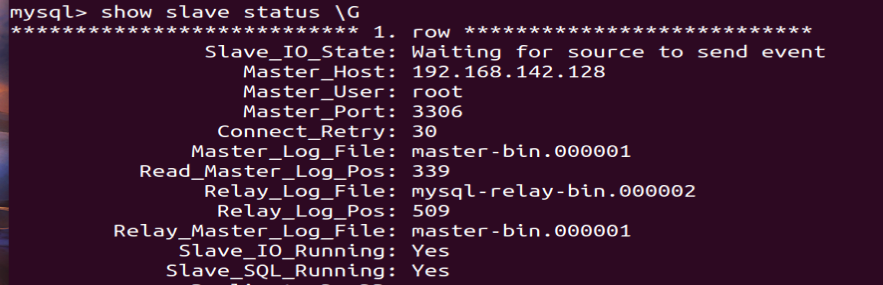
4. Verify whether the master-slave connection is successful
# Display slave service status
$ show slave status \G
Verification succeeded!
Slave_IO_Running: Yes
Slave_SQL_Running: Yes
summary
The above is the whole process. The personal test is effective! If the last Slave_IO_Running,Slave_ SQL_ If running is not all YES, the connection fails. The solution... You can only solve the problem by checking one by one. My word is to directly reconfigure the mysql slave, which is ok. I hope it will be helpful to you!