Turn:
[Jenkins+Ansible+Gitlab Automated Deployment three swordsmen] learning notes - Chapter 5 5-1~5-5 Freestyle Job practice
Chapter V 5-1~5-5 Freestyle Job actual combat success
- 1, Introduction to the environment of three swordsmen (Jenkins, Ansible, Gitlab)
- 2, Three swordsman environment construction (Jenkins, Ansible, Gitlab)
-
- 2.1. Verify the ansible environment and ssh password free login under Jenkisns
- 2.2. Write nginx_playbooks file
-
- 2.2.1 entering nginx_ Write deploy. In the playbooks folder YML file
- 2.2.2. Create dev and prod files
- 2.2.3 preparation of prod documents
- 2.2.4. Write dev file
- 2.2.5. Modify the files under roles/nginx/files
- 2.2.6. Modify the files under roles/nginx/templates
- 2.3. Write wordpress_playbooks file
-
- 2.3.1. Write deploy YML main entry file
- 2.3.2. Prepare documents under inventory
-
- 2.3.2.1. Write dev file
- 2.3.2.1 preparation of prod documents
- 3, Writing playbook to realize remote deployment of static web pages
- 4, Submit the playbook deployment script to Gitlab
- 5, Freestyle task building and Automated Deployment
-
- 5.1. Add a nginx freestyle job free style task
- 5.2. Add description
- 5.3. Add Git
- 5.4 adding parameters
- 5.5. Add build
- 5.6 test build
1, Introduction to the environment of three swordsmen (Jenkins, Ansible, Gitlab)
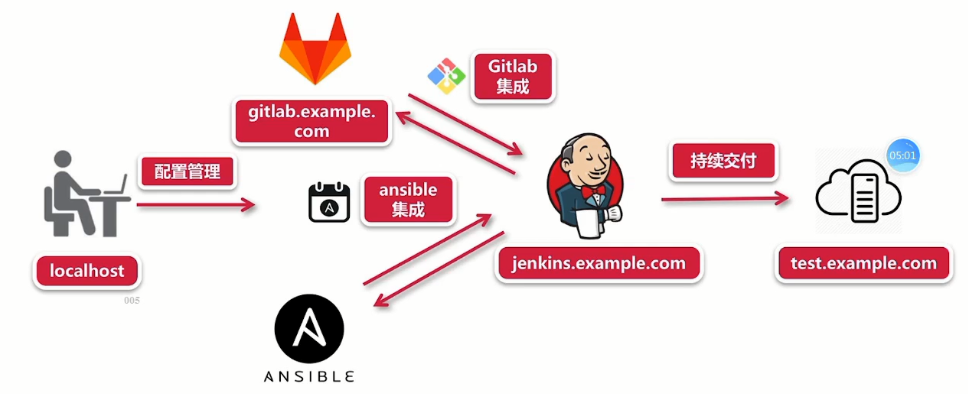
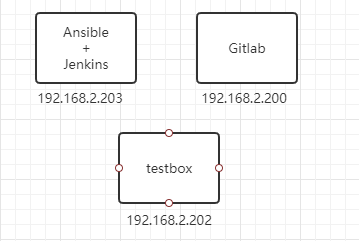
As shown in the above figure, we need to prepare three virtual machines (or use virtual machines to create three virtual machines).
The environment and IP addresses of the three hosts to be prepared are as follows.
2, Three swordsman environment construction (Jenkins, Ansible, Gitlab)
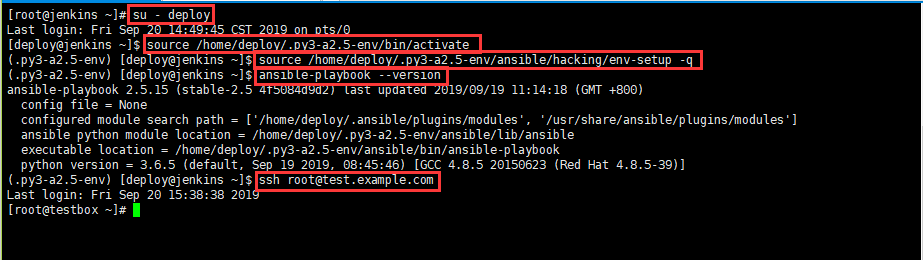
2.1. Verify the ansible environment and ssh password free login under Jenkisns
# Log in to jenkins host (203)
ssh root@192.168.2.203
# Switch to user deploy
su - deploy
# Load Python 3 6 environment
source /home/deploy/.py3-a2.5-env/bin/activate
# In Python 3 Loading ansible in 6 environment
source /home/deploy/.py3-a2.5-env/ansible/hacking/env-setup -q
# Test whether the ansible playbook is available
ansible-playbook --version
# Test whether you can log in to the target host (testbox) remotely
ssh root@test.example.com
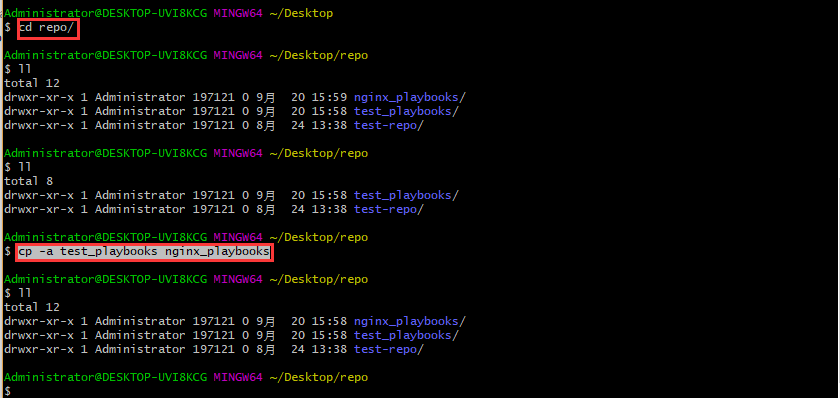
2.2. Write nginx_playbooks file
In the repo folder under the previous windows machine, the test written in the previous ansible part will be_ Put playbooks into the, and then open the git brash command window;
# Copy a test_playbooks and rename the folder nginx_playbooks
cp -a test_playbooks nginx_playbooks
2.2.1 entering nginx_ Write deploy. In the playbooks folder YML file

Change to the following figure

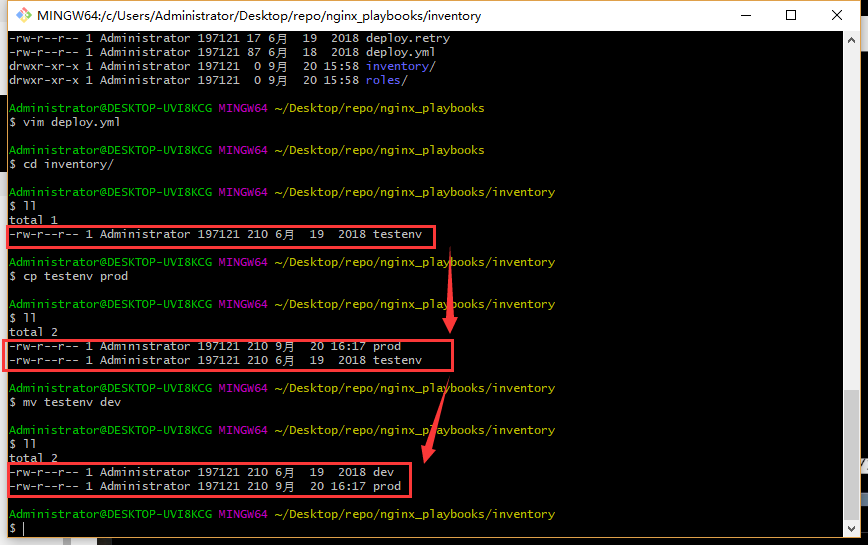
2.2.2. Create dev and prod files
Copy the testenv file and rename it dev, prod
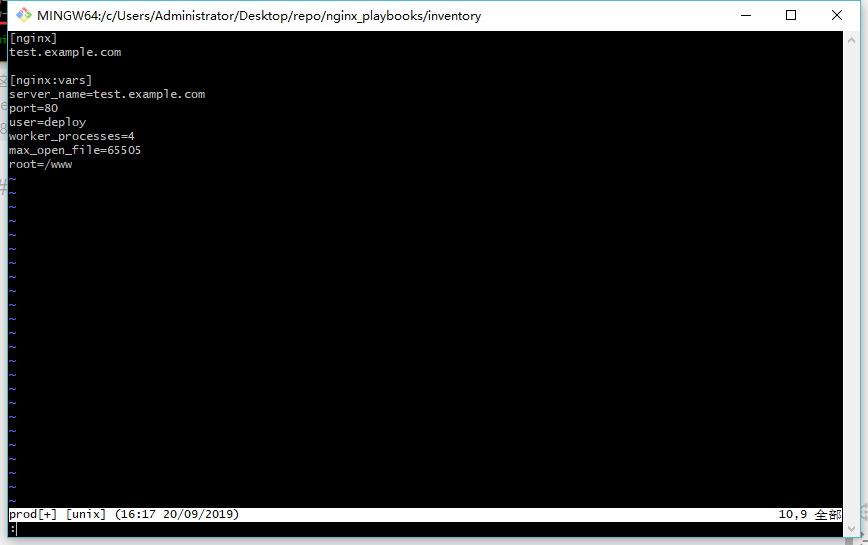
2.2.3 preparation of prod documents
In the following figure, multiple dns records can be added under [nginx], corresponding to multiple hosts
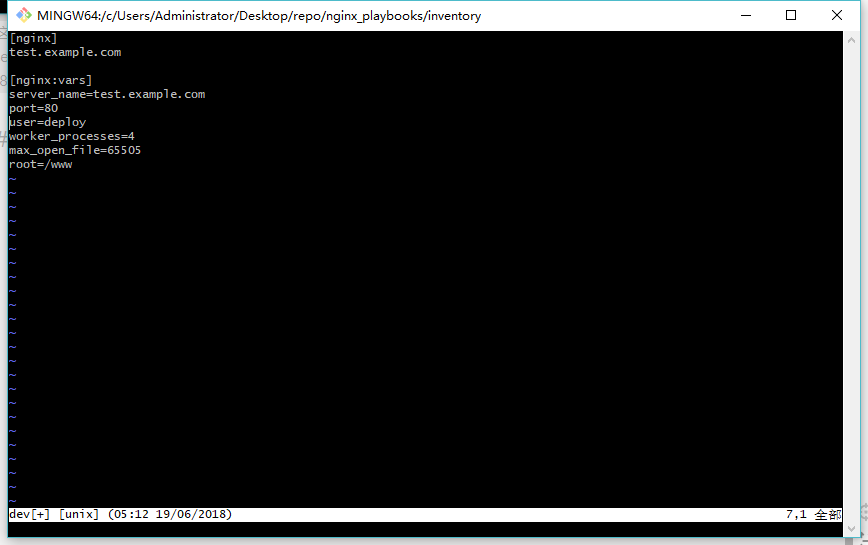
2.2.4. Write dev file
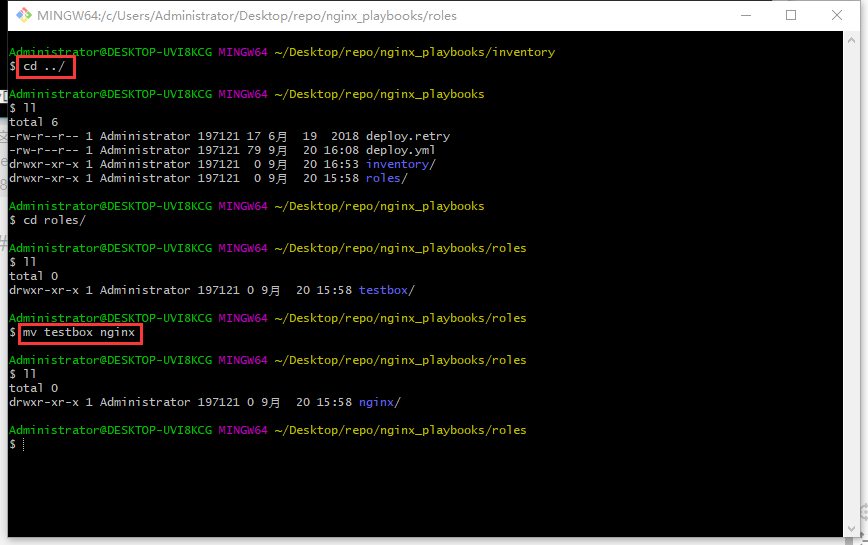
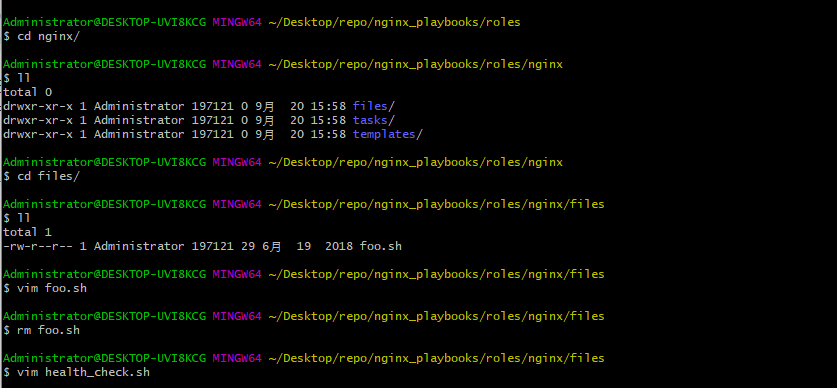
2.2.5. Modify the files under roles/nginx/files
Change the name of the testbox folder to nginx
Delete foo.com under the files folder SH script file
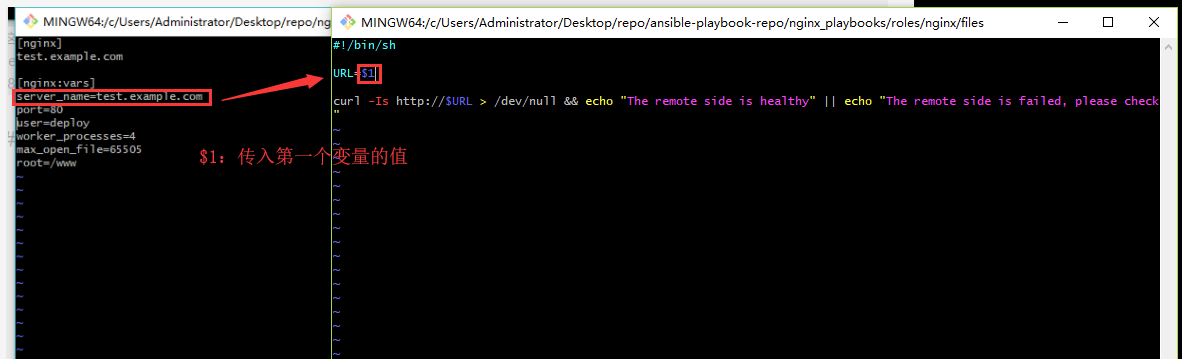
And create health_ check. The SH script file is used to check the health of the website
#!/bin/sh

# Assign the passed in variable to the URL
URL=$1

curl -Is http://$URL > /dev/null && echo "The remote side is healthy" || echo "The remote side is failed, please check"
Create an index HTML file
# Write a text statement to index HTML file
echo "This is my first website" > index.html

2.2.6. Modify the files under roles/nginx/templates
Switch to the templates folder
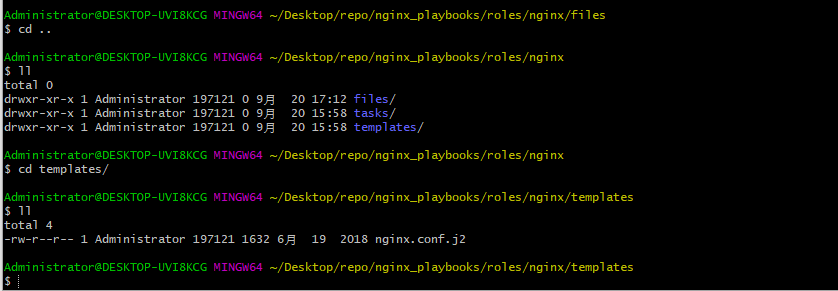
Use vim to open this nginx Conf.j2 file, as shown in the following figure.

# For more information on configuration, see:
user              {

     {

      user }};
worker_processes  {

     {

      worker_processes }};

error_log  /var/log/nginx/error.log;

pid        /var/run/nginx.pid;

events {


    worker_connections  {

     {

      max_open_file }};
}


http {


    include       /etc/nginx/mime.types;
    default_type  application/octet-stream;

    log_format  main  '$remote_addr - $remote_user [$time_local] "$request" '
                      '$status $body_bytes_sent "$http_referer" '
                      '"$http_user_agent" "$http_x_forwarded_for"';

    access_log  /var/log/nginx/access.log  main;

    sendfile        on;
    #tcp_nopush     on;

    #keepalive_timeout  0;
    keepalive_timeout  65;

    #gzip  on;

    # Load config files from the /etc/nginx/conf.d directory
    # The default server is in conf.d/default.conf
    #include /etc/nginx/conf.d/*.conf;
 	server {


        listen       {

     {

      port }} default_server;
        server_name  {

     {

      server_name }};

        #charset koi8-r;

        #access_log  logs/host.access.log  main;

        location / {


            root   {

     {

      root }};
            index  index.html index.htm;
        }

        error_page  404              /404.html;
        location = /404.html {


            root   /usr/share/nginx/html;
        }

        # redirect server error pages to the static page /50x.html
        #
        error_page   500 502 503 504  /50x.html;
        location = /50x.html {


            root   /usr/share/nginx/html;
        }

    }

}
2.3. Write wordpress_playbooks file
Make a copy of nginx_playbooks to wordpress_playbooks
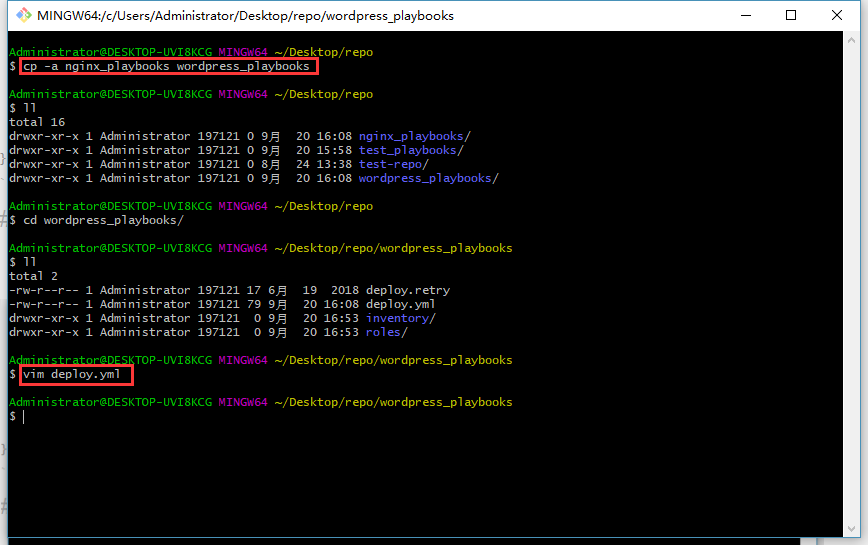
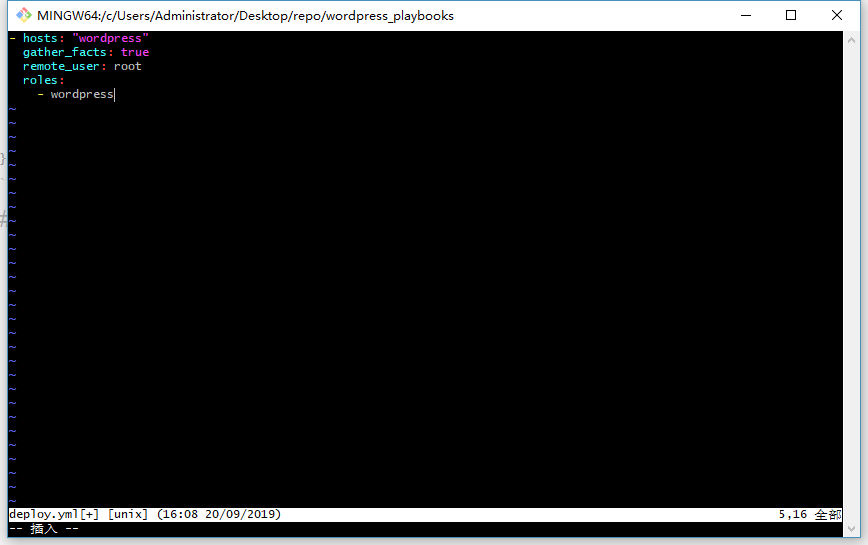
2.3.1. Write deploy YML main entry file
- hosts: "wordpress"
  gather_facts: true
  remote_user: root
  roles:
    - wordpress
Documents prepared by inventory
Enter the inventory directory

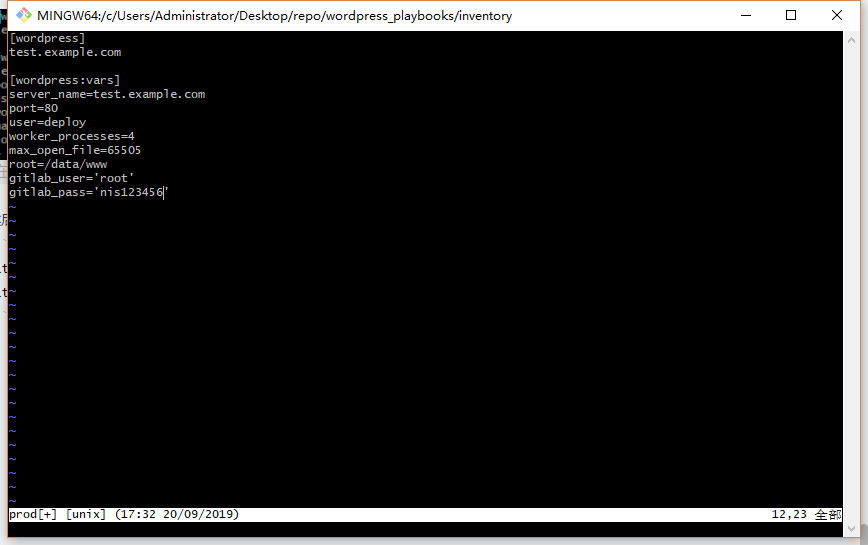
2.3.2.1. Write dev file
[wordpress]
test.example.com

[wordpress:vars]
server_name=test.example.com
port=8080
user=deploy
worker_processes=2
max_open_file=30000
root=/data/www
gitlab_user='root'
gitlab_pass='nis123456'
2.3.2.1 preparation of prod documents
# Copy the dev file to the prod file
cp -rf dev prod
You can see that it is consistent with the contents of the dev file above

Then add a gitlab account and password
gitlab_user='root'
gitlab_pass='nis123456'
The complete documents are as follows
3, Writing playbook to realize remote deployment of static web pages
Enter nginx_ / nginx in playbook folder_ Playbooks / roles / nginx / tasks Lu Jin. There is a main YML (written during the previous test), the modified file is as follows
- name: Disable system firewall
  service: name=firewalld state=stopped

- name: Disable SELINUX
  selinux: state=disabled

- name: setup nginx yum source
  yum: pkg=epel-release state=latest

- name: write then nginx config file
  template: src=roles/nginx/templates/nginx.conf.j2 dest=/etc/nginx/nginx.conf

- name: create nginx root folder
  file: 'path={

     { root }} state=directory owner={

     { user }} group={

     { user }} mode=0755'

- name: copy index.html to remote
  copy: 'remote_src=no src=roles/nginx/files/index.html dest=/www/index.html mode=0755'

- name: restart nginx service
  service: name=nginx state=restarted

- name: run the health check locally
  shell: "sh roles/nginx/files/health_check.sh {

     { server_name }}"
  delegate_to: localhost
  register: health_status

- debug: msg="{

     { health_status.stdout }}"
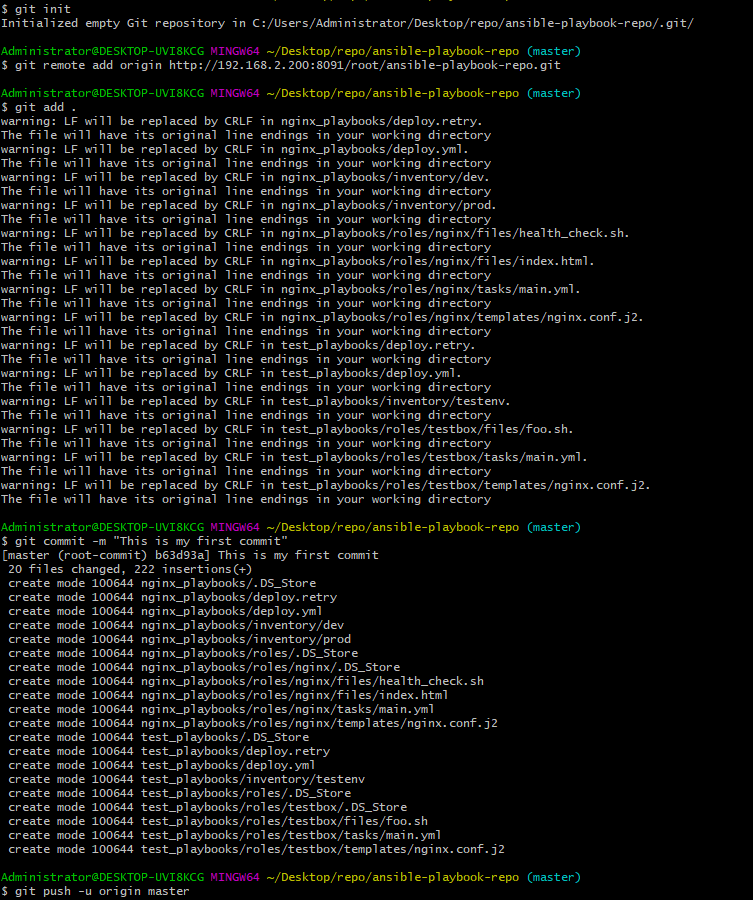
4, Submit the playbook deployment script to Gitlab
The directory structure of the previously edited playbook files is as follows.
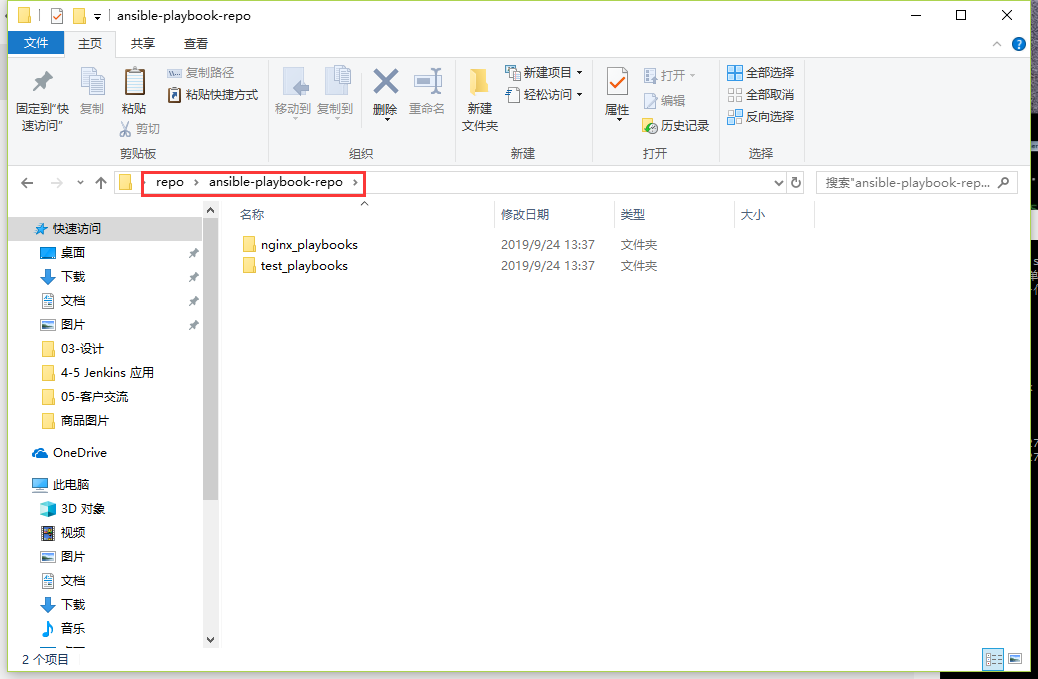
In the Git Bash command window, move the directory location to as shown in the following figure

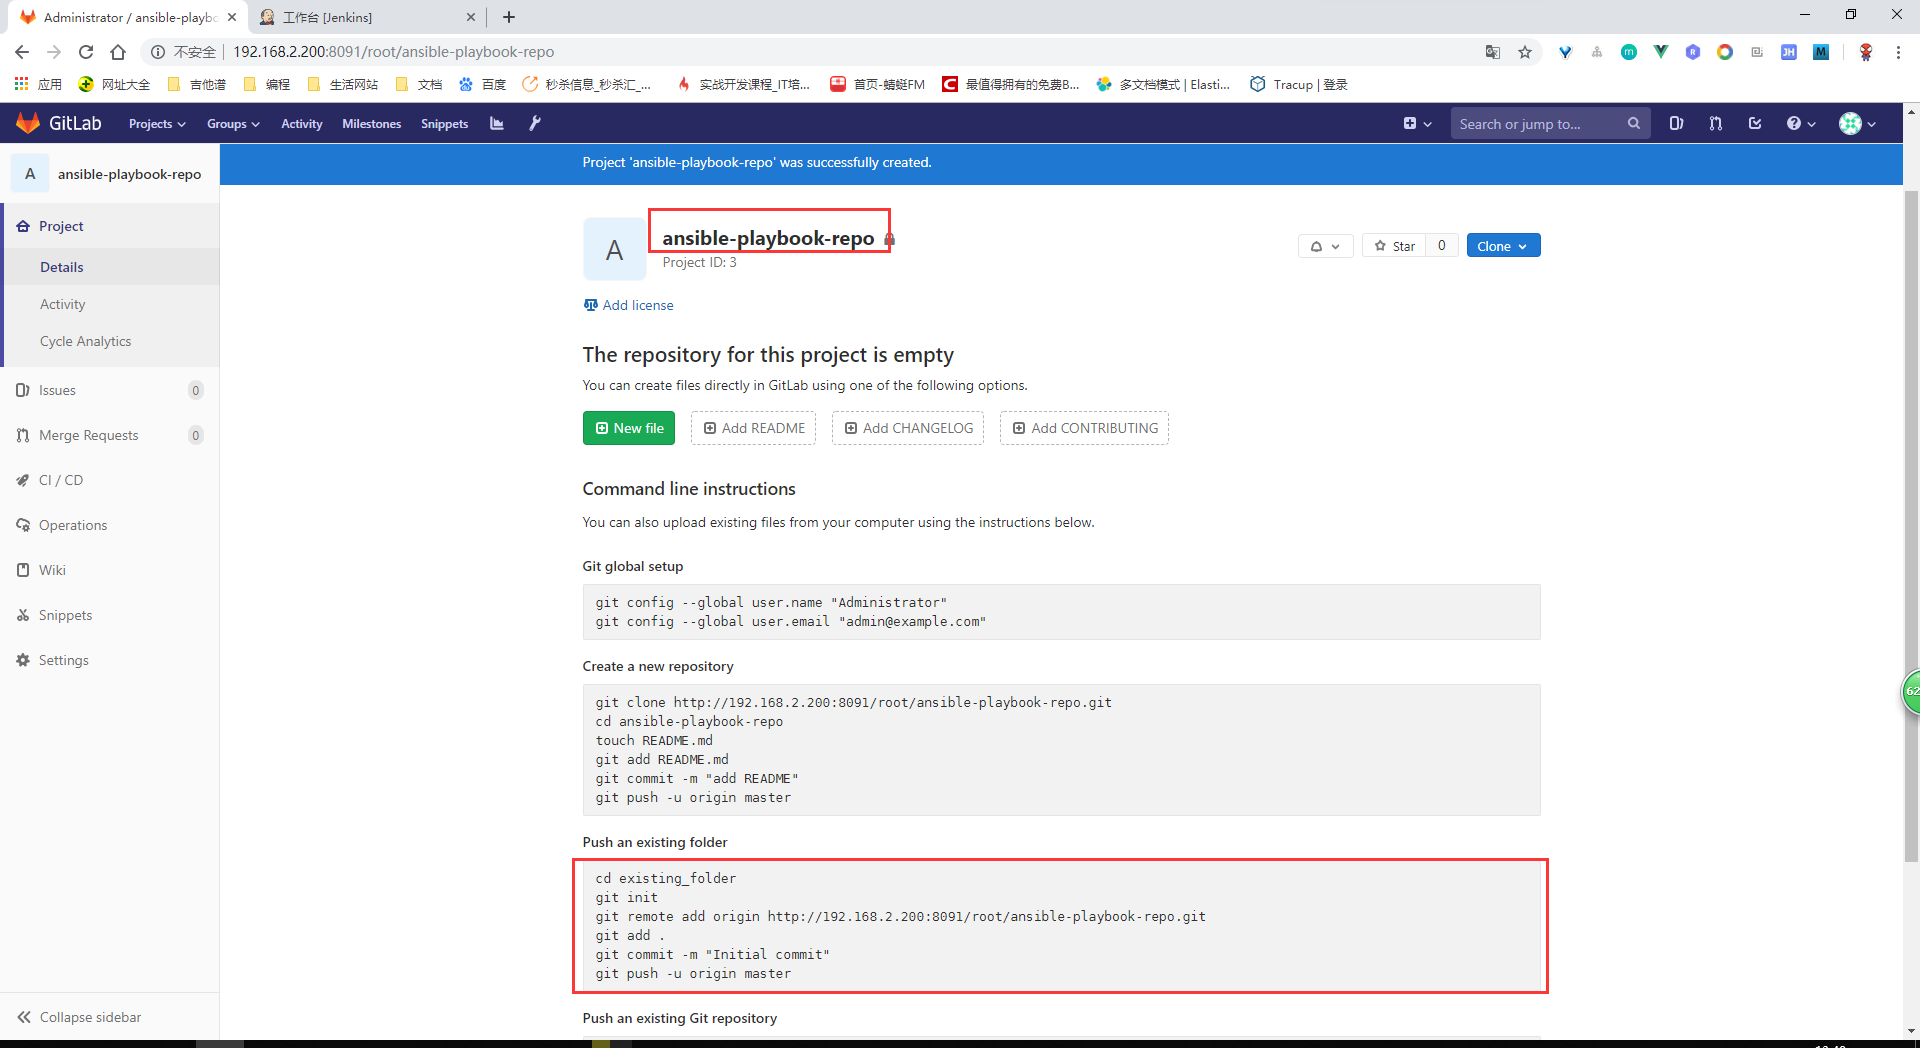
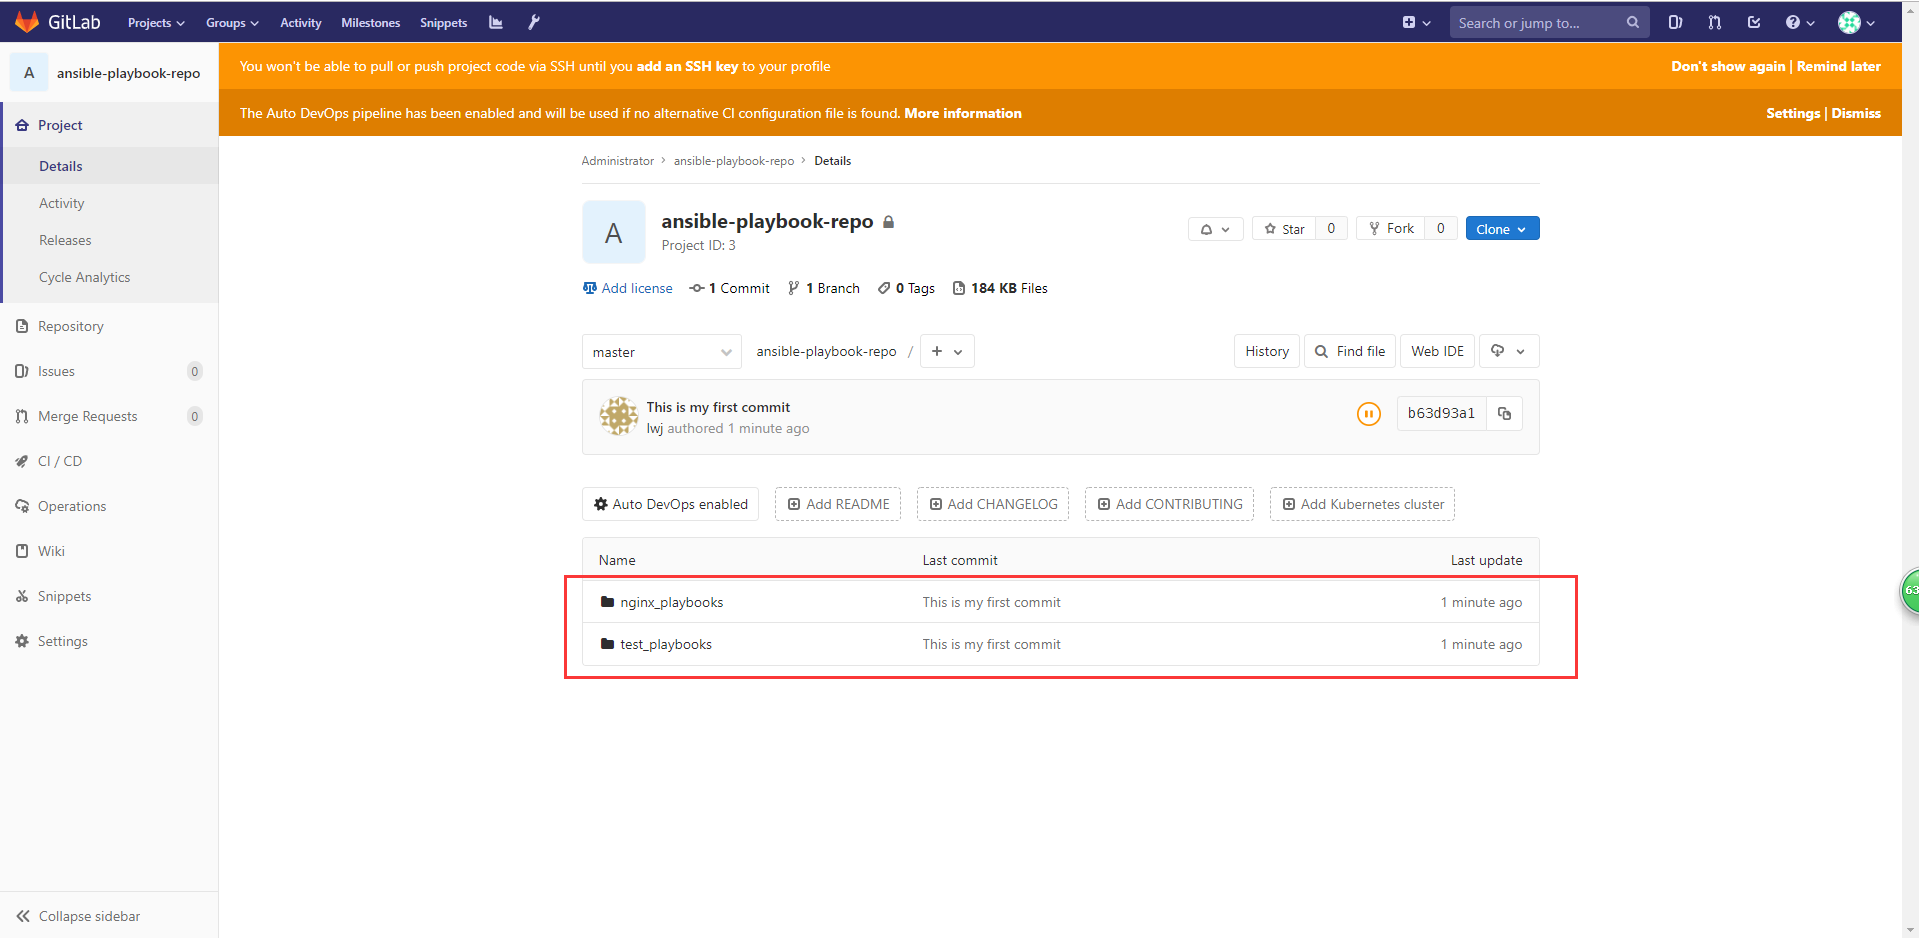
Create an ansible playbook repo project on Gitlab. Then submit the ansible playbook written above to git through the GIT statement prompted below.

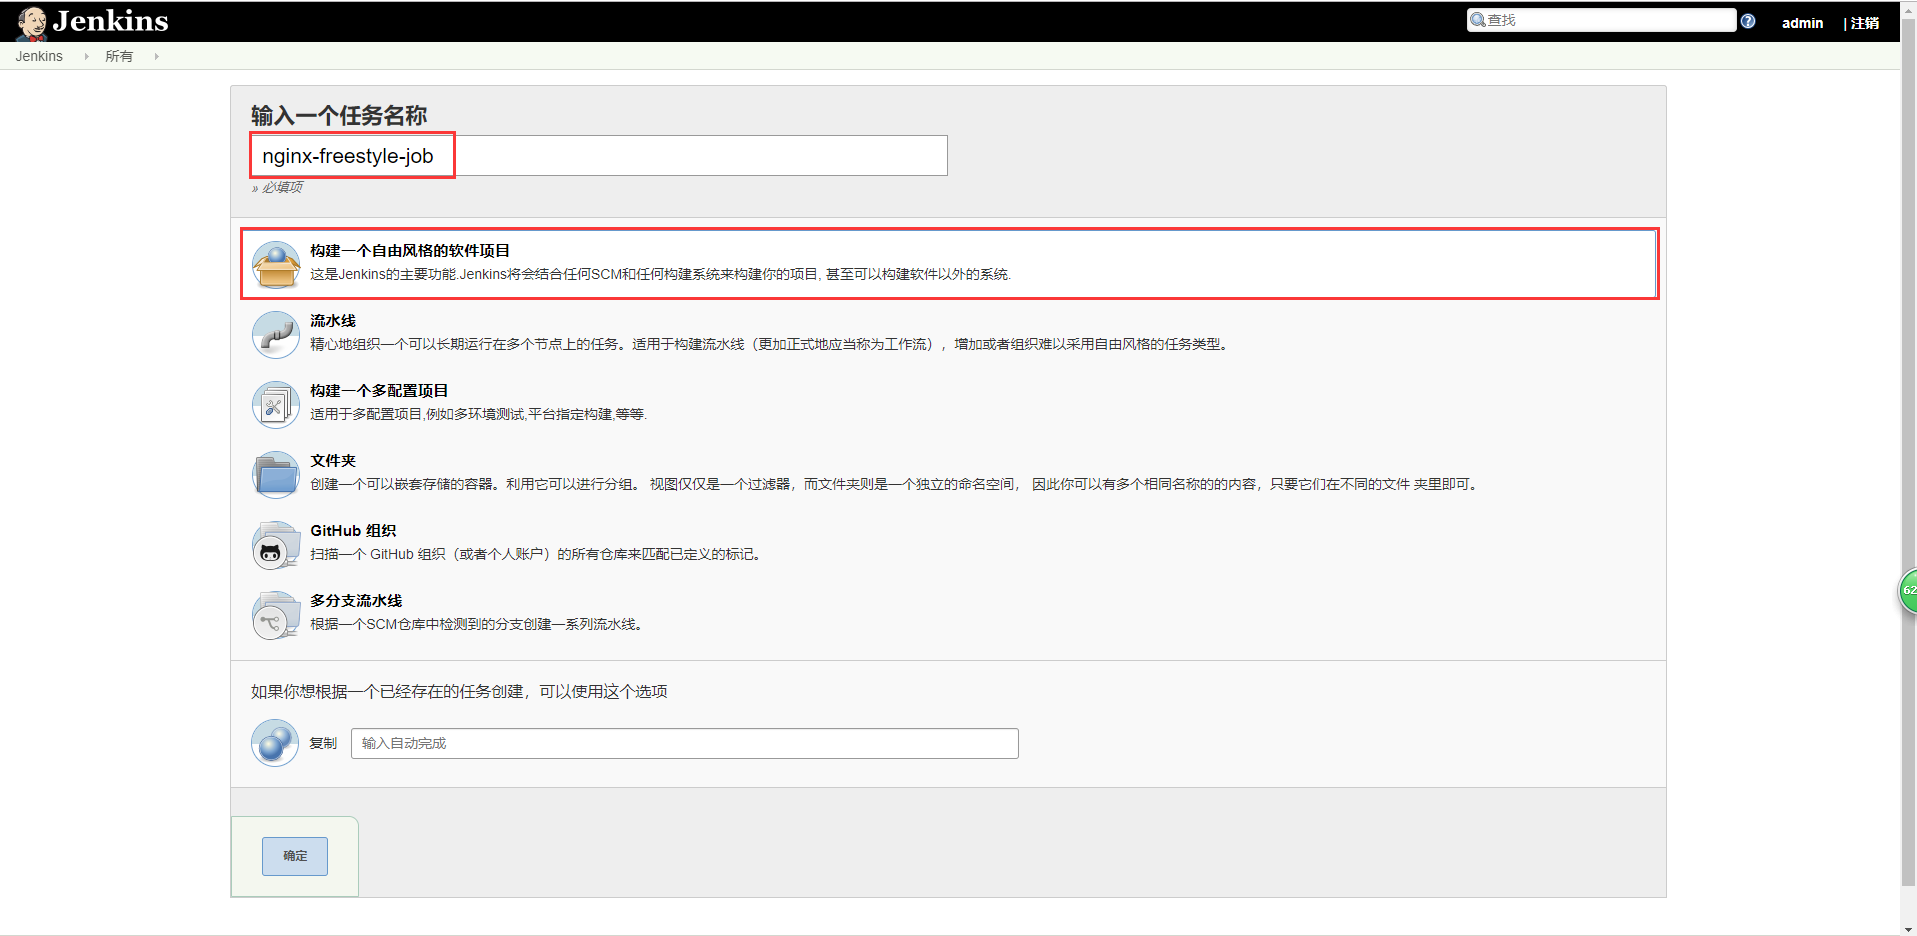
5, Freestyle task building and Automated Deployment
5.1. Add a nginx freestyle job free style task
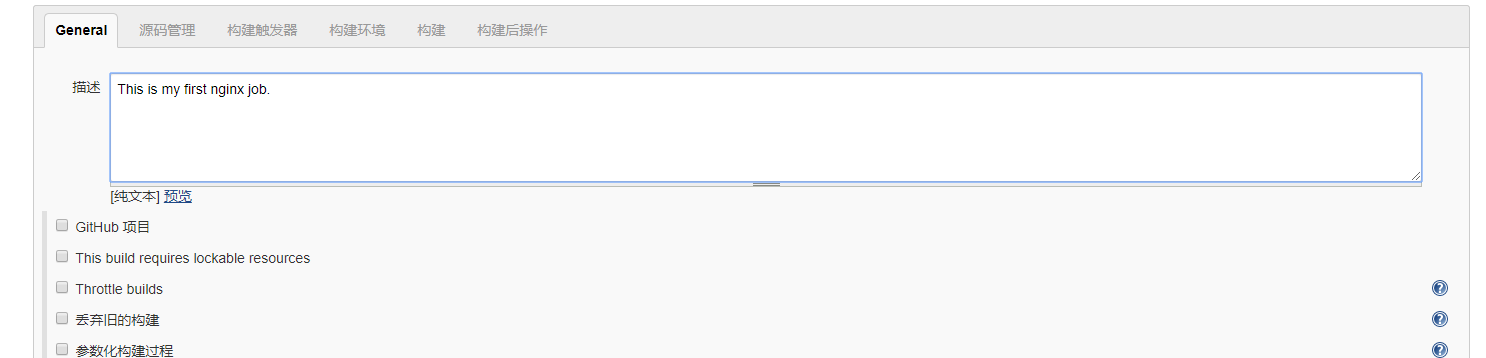
5.2. Add description
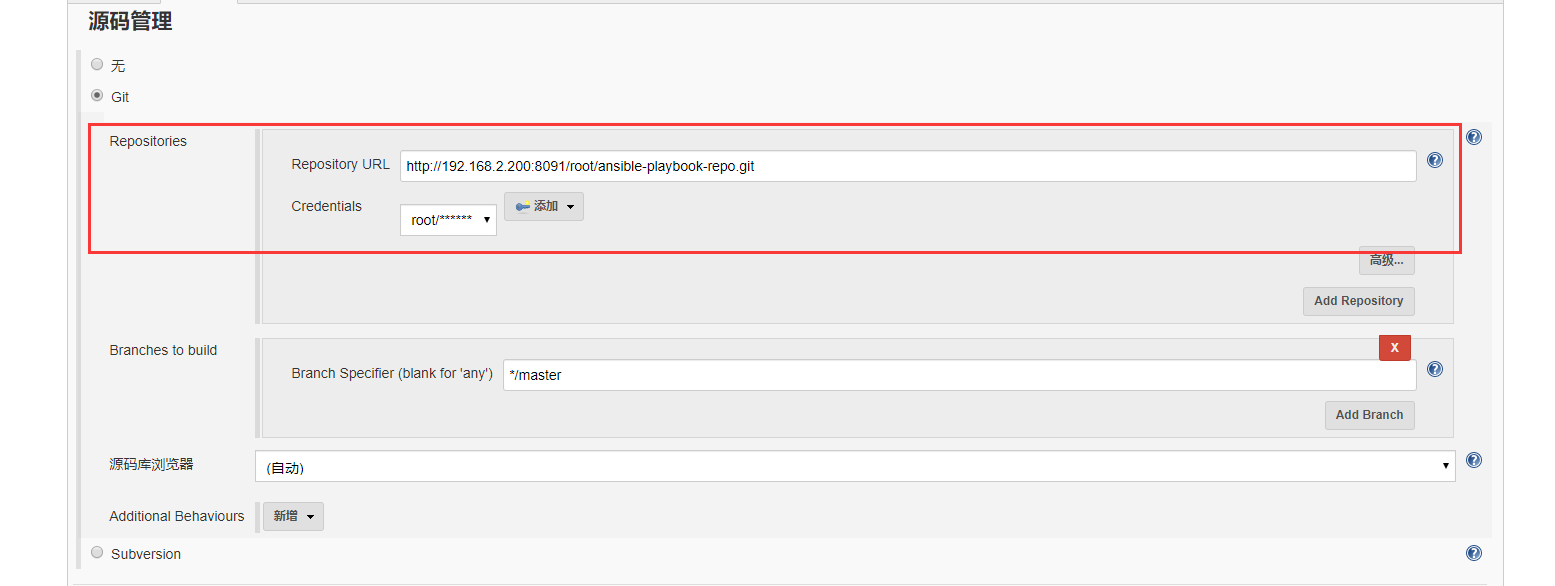
5.3. Add Git
Copy git warehouse address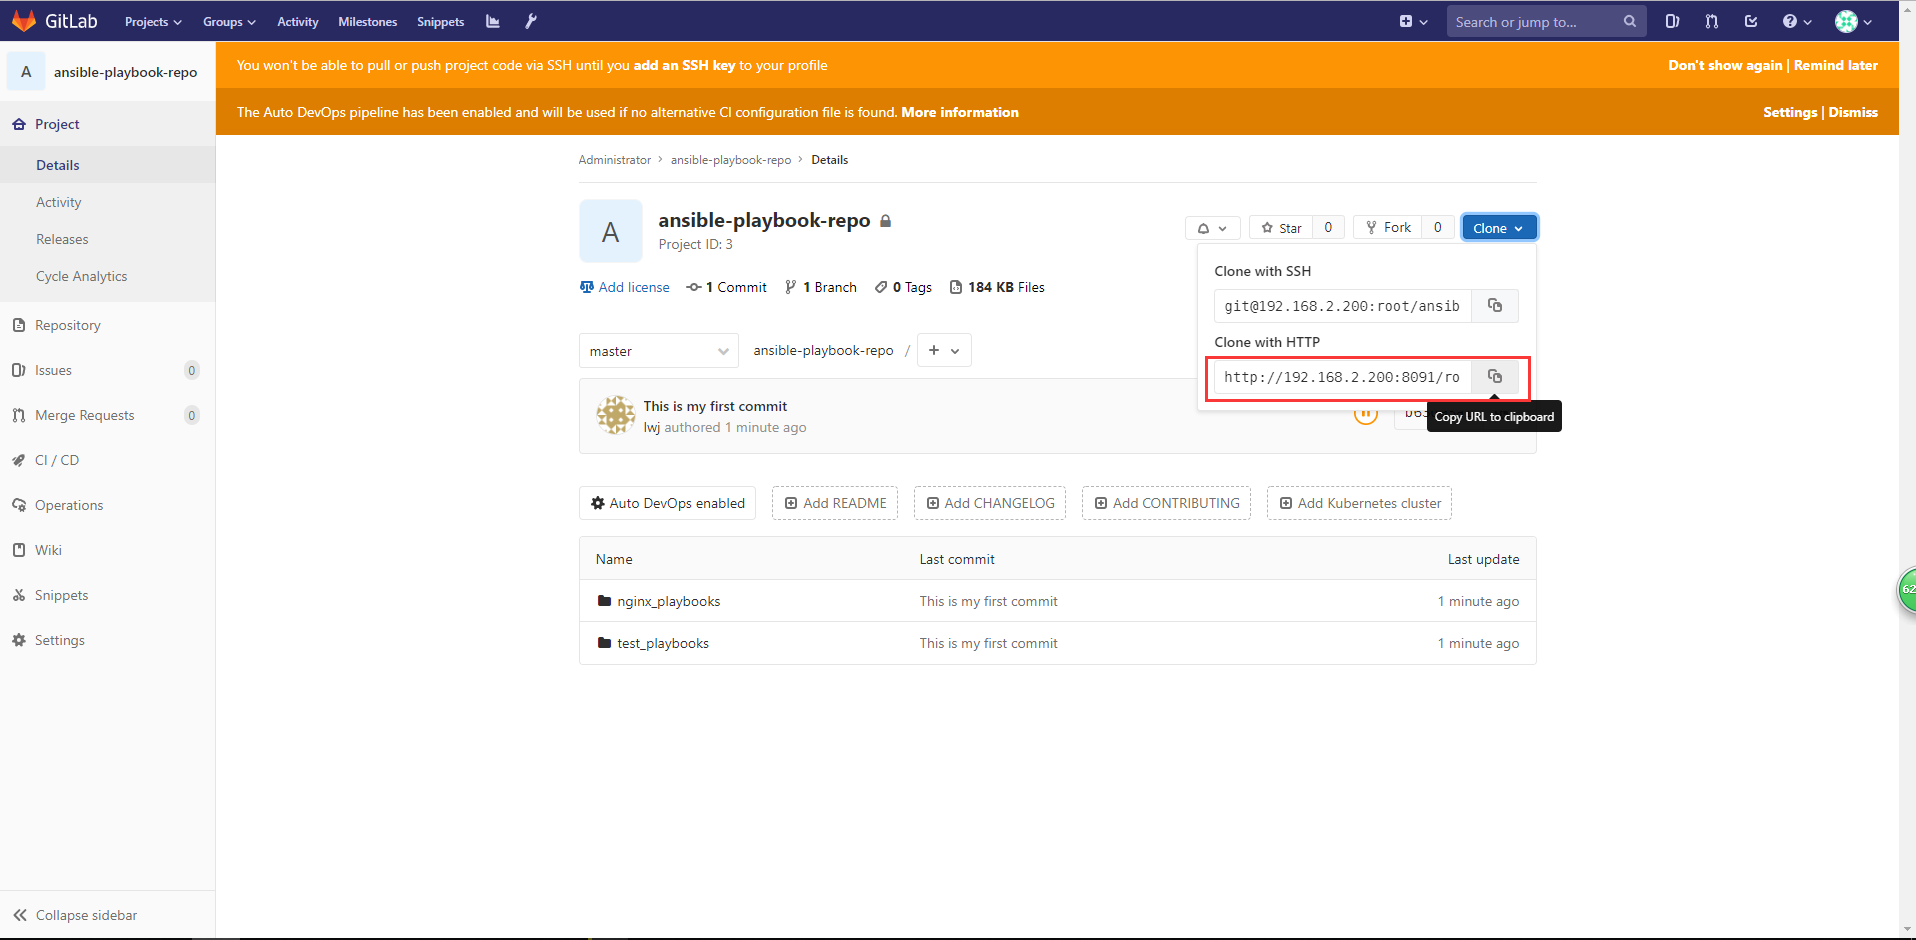
Add the copied git to the configuration in the figure below
5.4 adding parameters

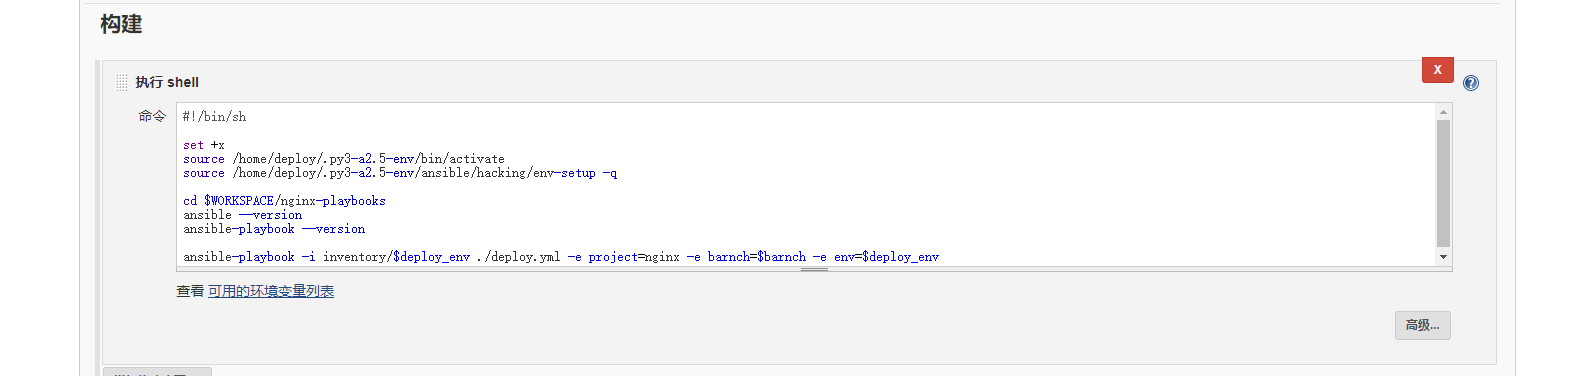
5.5. Add build
#!/bin/sh

set +x
source /home/deploy/.py3-a2.5-env/bin/activate
source /home/deploy/.py3-a2.5-env/ansible/hacking/env-setup -q

cd $WORKSPACE/nginx_playbooks
ansible --version
ansible-playbook --version

ansible-playbook -i inventory/$deploy_env ./deploy.yml -e project=nginx -e barnch=$barnch -e env=$deploy_env
5.6 test build

Enter the output console
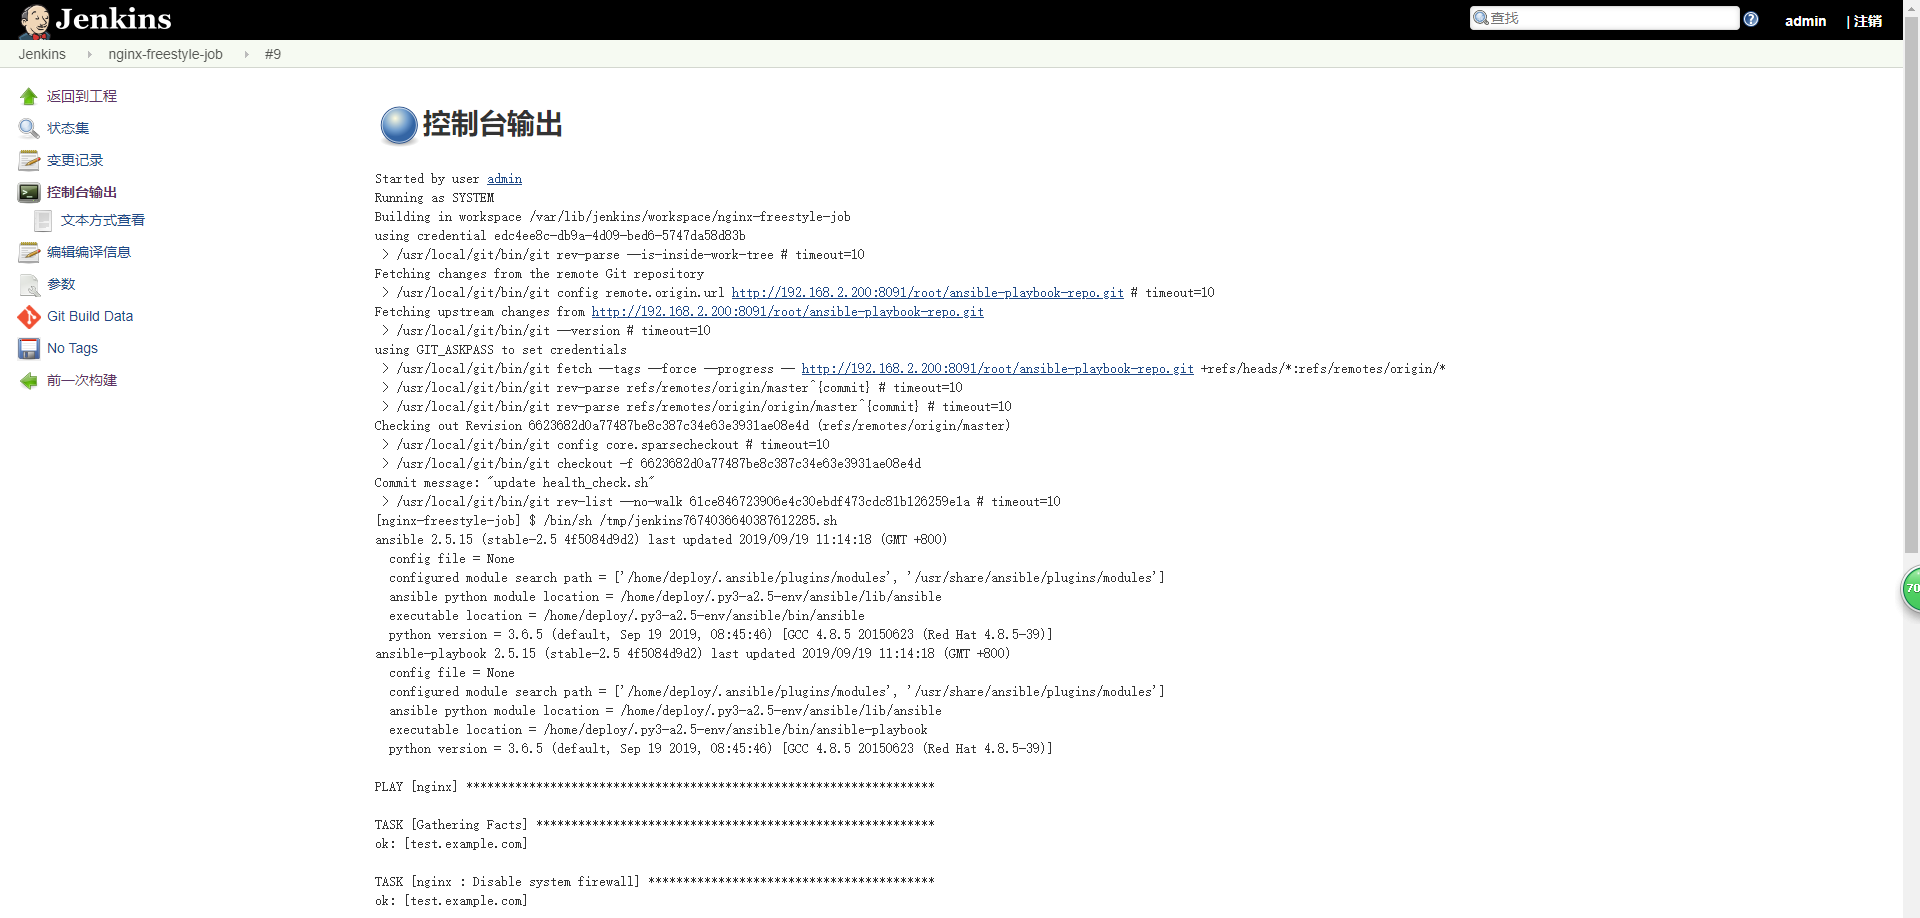
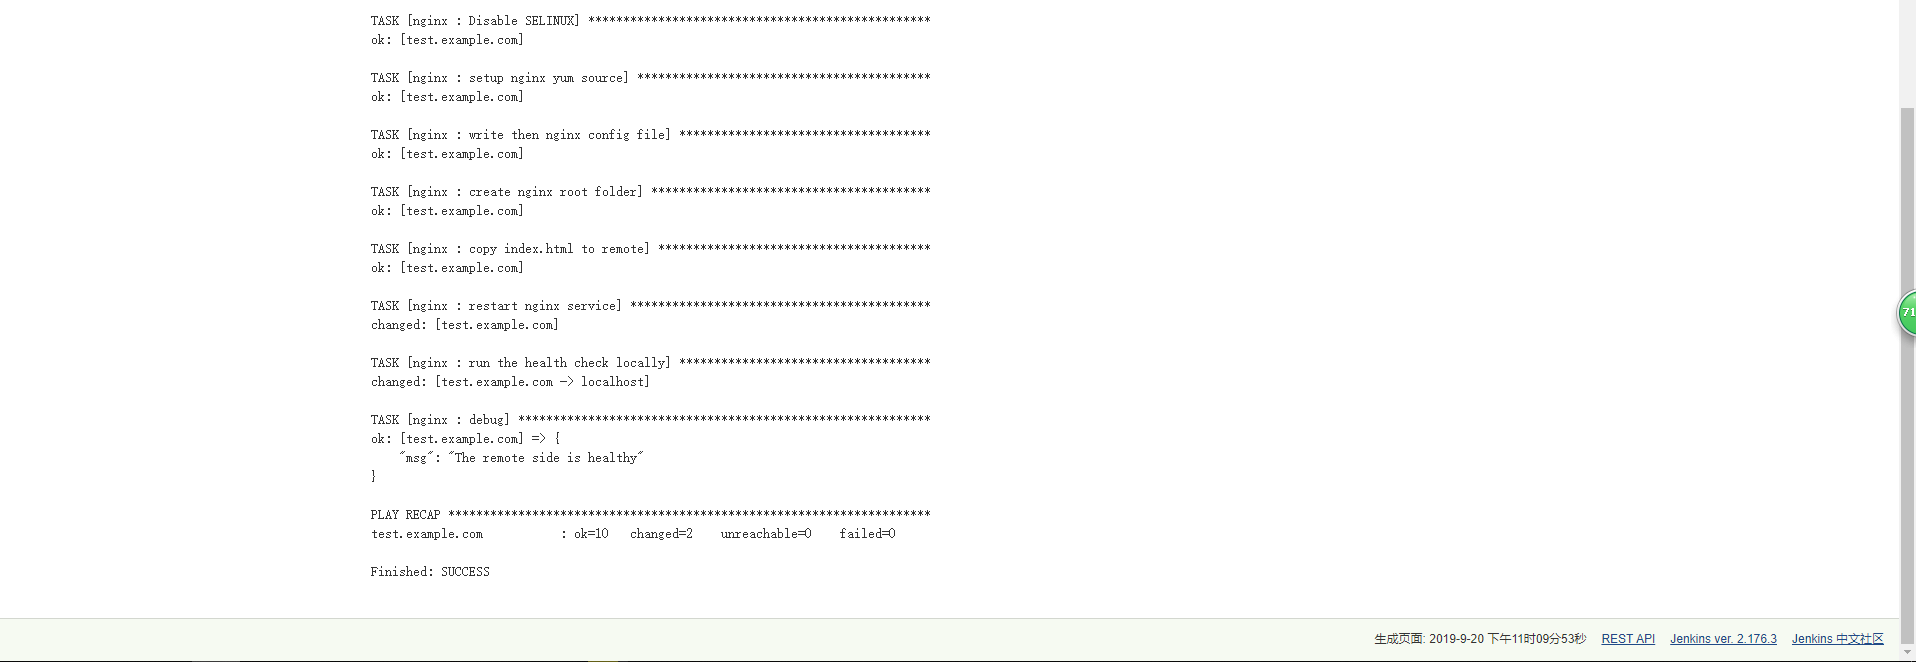
You can see from the output log above that this build is successful!
View the hosts file of the windows host and add the following DNS records.
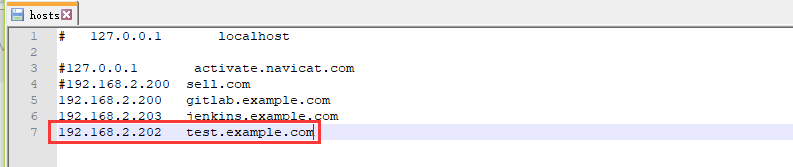
Open the browser and use: test example. Com website visit

So far, the instance demonstration of freestyle build deployment script is successful!
Turn:
[Jenkins+Ansible+Gitlab Automated Deployment three swordsmen] learning notes - Chapter 5 5-1~5-5 Freestyle Job practice
--Posted from Rpc