1. Wechat earth
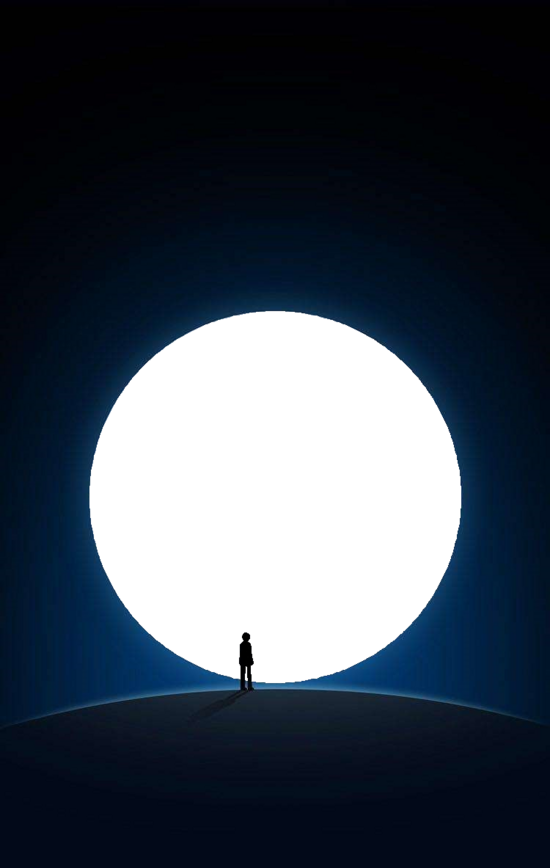
When you open wechat, you will see a famous picture of Zhang Xiaolong standing on it.
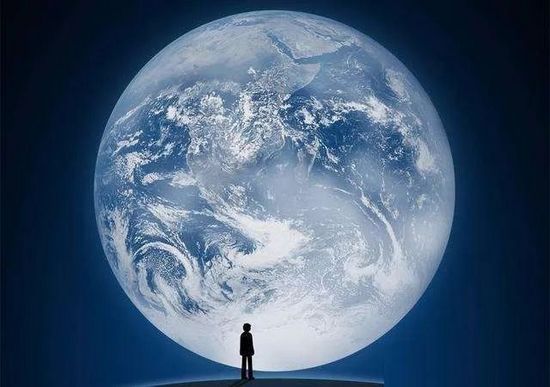
Have you ever thought about such a question, what would happen if the earth above turned?
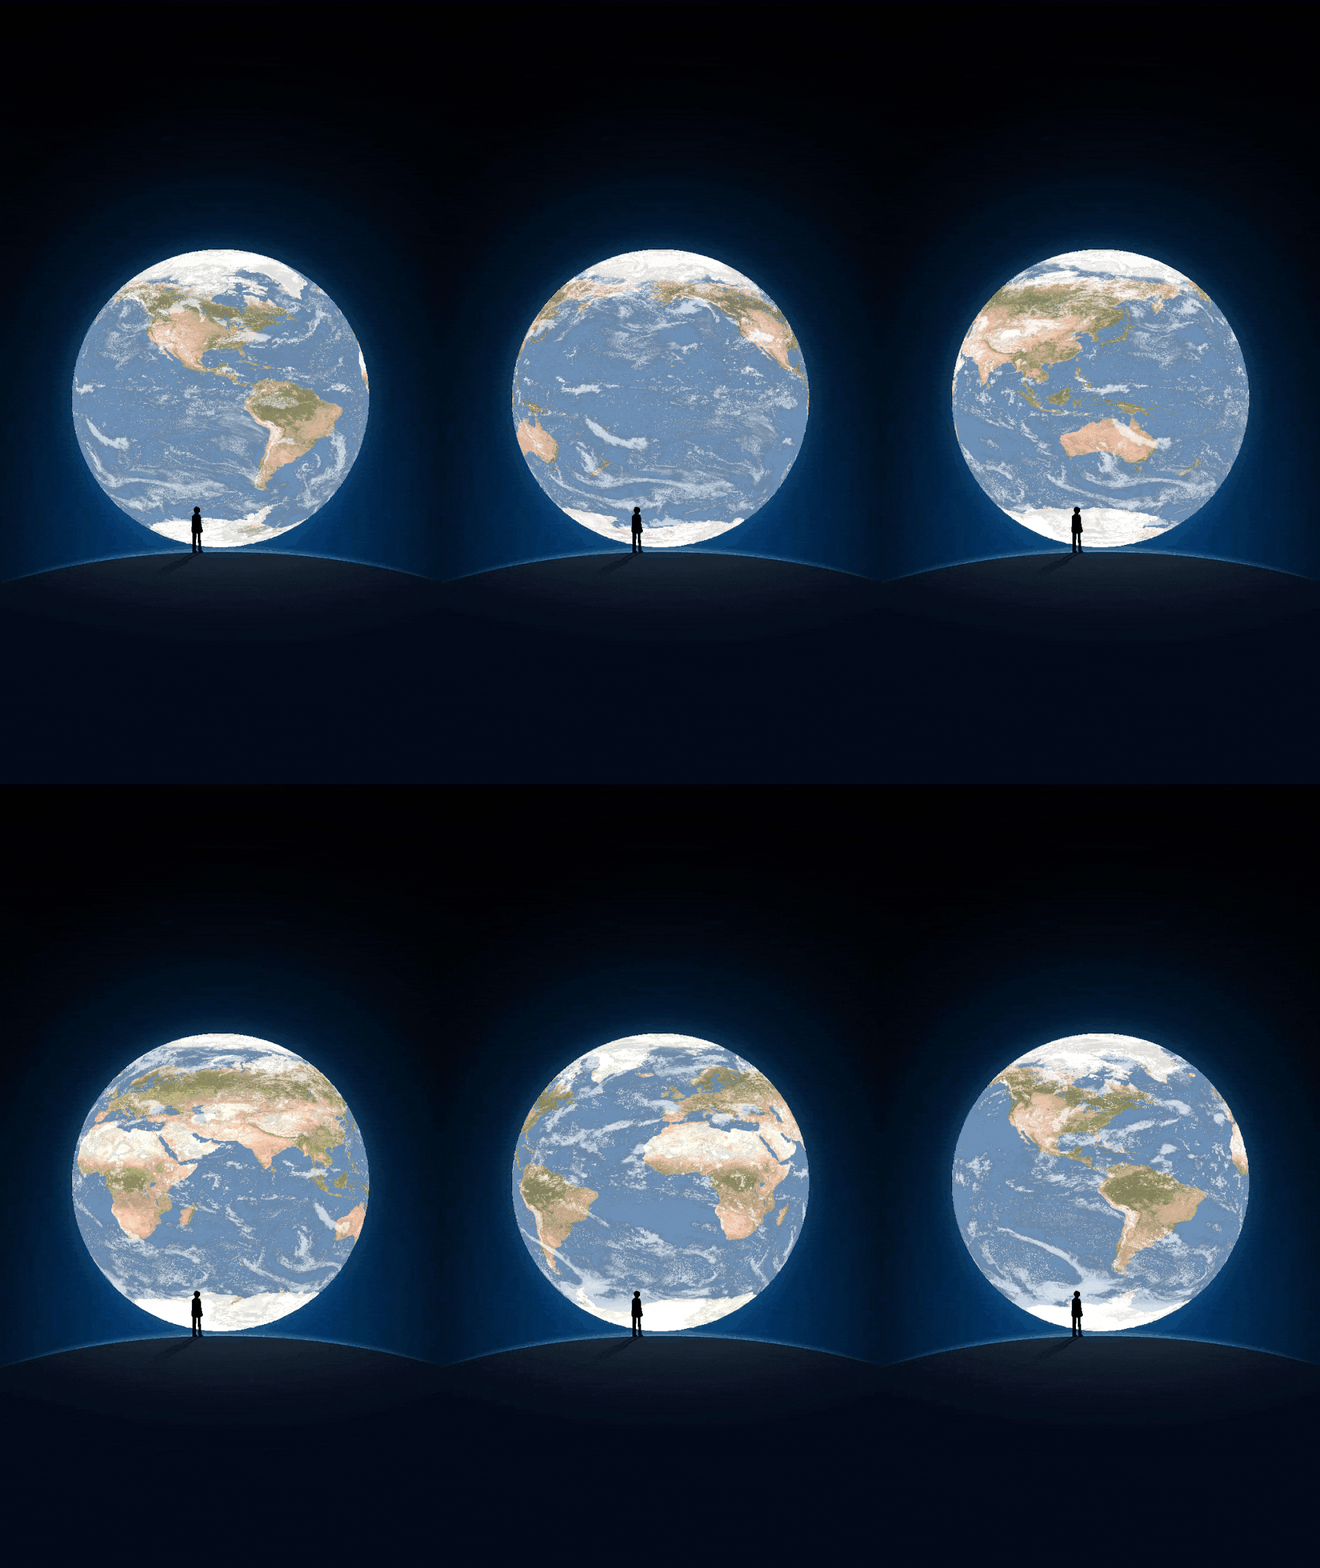
2. Renderings
3. Material preparation
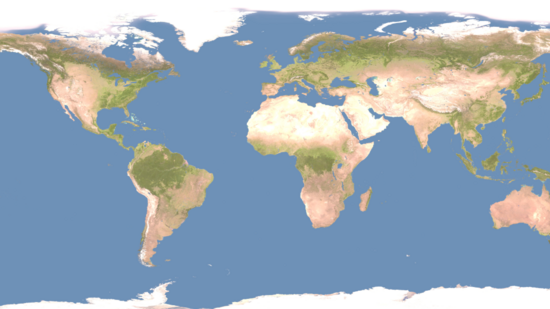
Here we need to prepare three materials: 1. The material of the earth's surface; 2. The material of cloud map; 3. The material of wechat earth's matting.
1) Material on the earth's surface
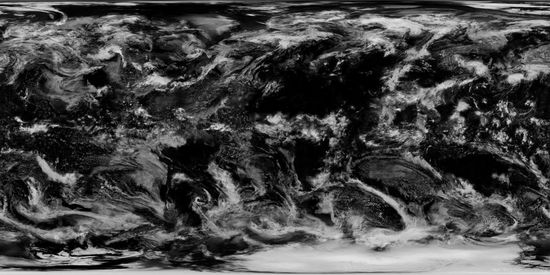
2) Cloud map material
3) Matting material of wechat earth
4. Basic principles
In this article, we will focus on the implementation of double-layer texture in python, which is the key point of this article. The cloud image is a grayscale image. The white area represents the thickness of the cloud, and the black area represents the thickness of the cloud. We set different transparency according to the color.
If the selected speed of the cloud image is the same as that of the ground, it will appear unnatural. Let's make the rotation speed of the cloud half slower than that of the ground to produce the effect of relative motion.
The problem is that after 360 ° rotation of the earth, the cloud image only rotates 180 ° and has to be doubled to 720 ° to realize continuous motion.
The specific cloud transparency settings, parameters need to be adjusted according to the actual effect.
5.GIF compression
By the way, I'd like to introduce a better online tool for compressing GIF. The links are as follows.
https://www.iloveimg.com/zh-c...
The direct generated GIF dynamic image has exceeded the transmission limit and cannot be uploaded. After compression with this tool, the file volume is greatly reduced, but the image effect is not perceptible to the naked eye.
For beginners who want to learn Python development technology, python crawler, python big data analysis, artificial intelligence and other technologies more easily, I would like to share a set of system teaching resources and add the learning skirt of Python technology I built; 7847582114, learn together. There are related development tools, learning tutorials, and professional old drivers sharing knowledge and technology live online every day!
6. Complete code
For the step-by-step explanation of the logic, please see the article "using python to realize the rotation of the earth". Here we paste the complete code.
`from PIL import Image, ImageDraw
import math
import numpy as np
import imageio

def calcSphereXY2XYZ(px, py, maxHeight, longOffset):
    v0x= np.array(px)
    v0y= np.array(py)
    v03= np.subtract(v0x, maxHeight)
    v04= np.subtract(v0y, maxHeight)
    v1x= np.true_divide(v03, maxHeight)
    v1y= np.true_divide(v04, maxHeight)
    # print(max(v1x), min(v1x))
    v07= np.power(v1x,2)
    v08= np.power(v1y,2)
    v09= np.add(v07,v08)
    v0a= np.subtract(1,v09)
    v1z= np.power(v0a,1/2)                                  # z
    # print('z:', max(v1z), min(v1z))
    v1lat= np.multiply(v1y, math.pi/2)                      # lat
    v0lon= np.arctan2(v1z, -v1x)
    v1lon= np.add(v0lon, longOffset)                       # long
    v2lon= np.fmod(v1lon, math.pi*2)                       # long
    return v2lon, v1lat

def calcShpereLatLong2XY(vlon, vlat, width, height):
    v3x0=np.multiply(vlon, width/2/math.pi)
    v3y0=np.multiply(vlat, height/math.pi)
    v3y1=np.add(v3y0, height/2)
    v3x2=v3x0.astype(np.integer)
    v3y2=v3y1.astype(np.integer)
    return v3x2, v3y2

def getPic(a):
    # imgBack= Image.open('earth 3.jpg ')
    imgBack= Image.open('Map of World Earth Day_8K_2.jpg')
    imgCloud= Image.open('Global cloud map_8K.jpg')
    width= imgBack.size[0]
    height= imgBack.size[1]
    imgBack= imgBack.convert('RGBA')
    arrayBack= np.array(imgBack)
    arrayCloud= np.array(imgCloud)
    circleSize= 508
    img2= Image.new('RGBA', (circleSize,circleSize))
    img= Image.new('RGBA', (circleSize,circleSize), 'black')
    w= img.size[0]
    h= img.size[1]
    pxList=[]
    pyList=[]
    for i in range(w):
        for j in range(h):
            r= math.sqrt((i-w/2)**2+(j-h/2)**2)
            if r<circleSize/2:
                pxList.append(i)
                pyList.append(j)

    nplon, nplat= calcSphereXY2XYZ(pxList, pyList, h/2, a)
    nplon2, nplat2= calcSphereXY2XYZ(pxList, pyList, h/2, a/2)
    # nplon, nplat= rotSphere(nplon, nplat, )
    npx, npy= calcShpereLatLong2XY(nplon, nplat, width-1, height)
    npx2, npy2= calcShpereLatLong2XY(nplon2, nplat2, width-1, height)
    color= arrayBack[npy, npx]
    color2= arrayCloud[npy2, npx2]
    for i in range(len(pxList)):
        x= pxList[i]
        y= pyList[i]
        cc=color[i]
        # print(cc)
        cc= tuple(cc)
        img.putpixel((x,y), cc)
        c2= color2[i]
        c0= int(c2[0]*1.6)
        if c0>255:
            c0=255
        c_alpha= int(c2[0]*0.9)
        c2= (c0,c0,c0,c_alpha)
        img2.putpixel((x,y), c2)
    r,g,b,a= img2.split()
    img.paste(img2, (0,0), mask=a)
    return img

if __name__=='__main__':
    frames=[]
    str1= 'Wechat earth_mask.png'
    img1= Image.new('RGB', (750,1334))
    img2= Image.open(str1)
    for i in range(0, 720, 12):
        a= -i*math.pi/ 180
        img= getPic(a)
        img1.paste(img,(122,424))
        r,g,b,alpha=img2.split()
        img1.paste(img2, (0,0), mask=alpha)
        str1= 'temp%03d.png'%i
        print(str1)
        img1.save(str1)
        im = imageio.imread(str1)
        frames.append(im)
        # img.show()
    imageio.mimsave('earth.gif', frames, 'GIF', duration=0.20)`