Spring boot integrate Alipay sandbox
1., there is no introduction to the configuration of the key and public key of Alipay sandbox. If there is no configuration, please configure it first, and then look at this blog. There are many deficiencies. Please forgive me.
2. I use code scanning payment, which is to generate a QR code. Of course, there are not only this, but also several other payment capabilities, such as website and app. I use the QR code created during face-to-face payment
3.SDK I use Alipay easysdk
Alipay easysdk document: https://github.com/alipay/alipay-easysdk/blob/066388d02c6f55fe0919d75b386456d80801fec2/APIDoc.md
4. Development tool idea, jdk1 8. And an intranet penetration tool natapp
5. The front end uses vue and uses websocket to transmit whether the payment is completed
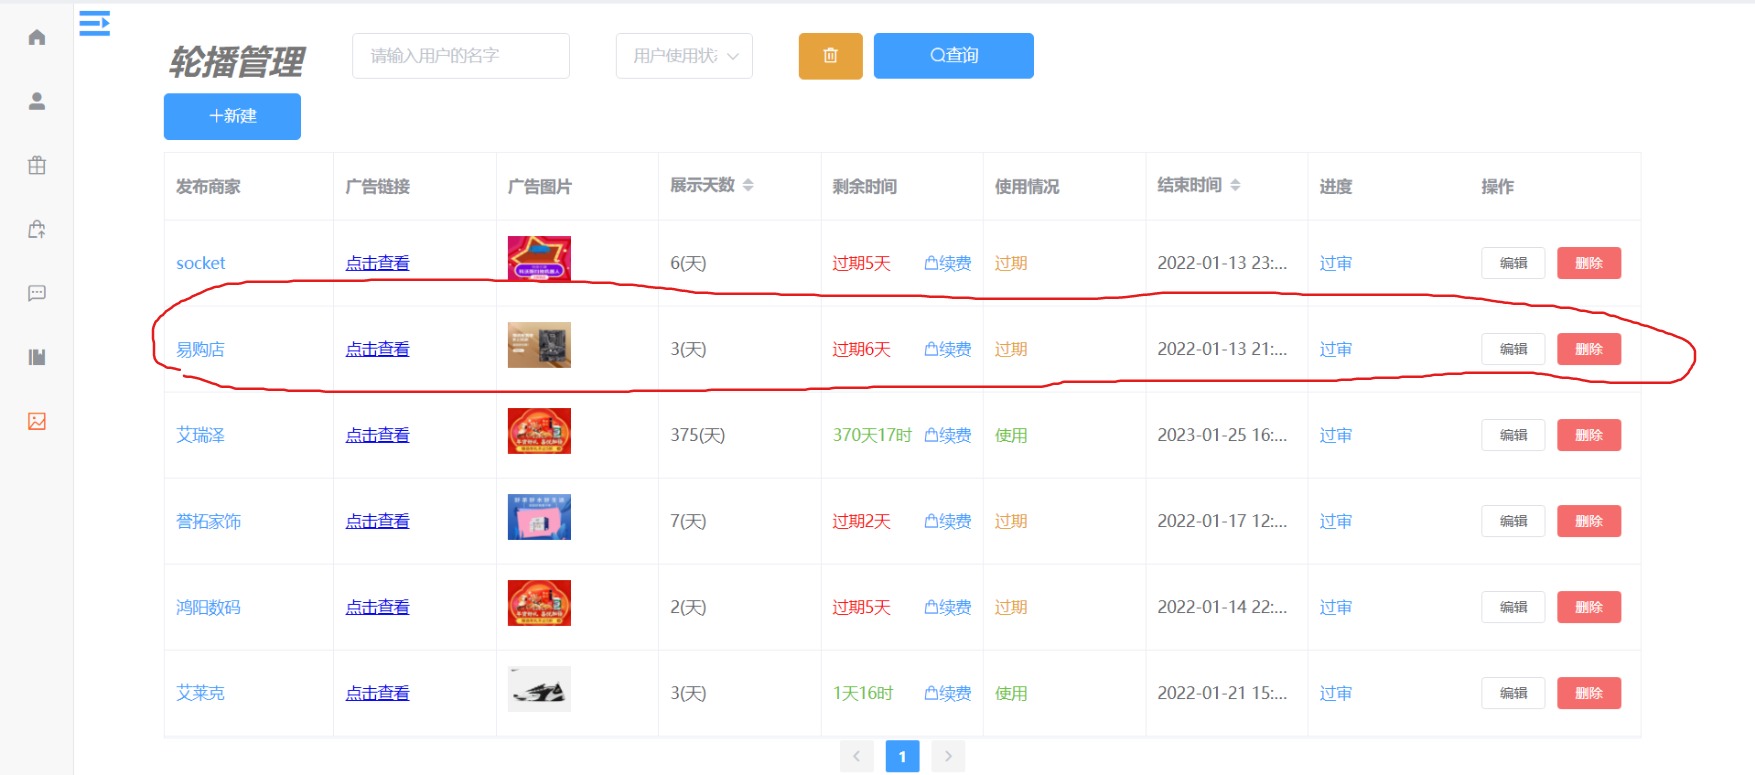
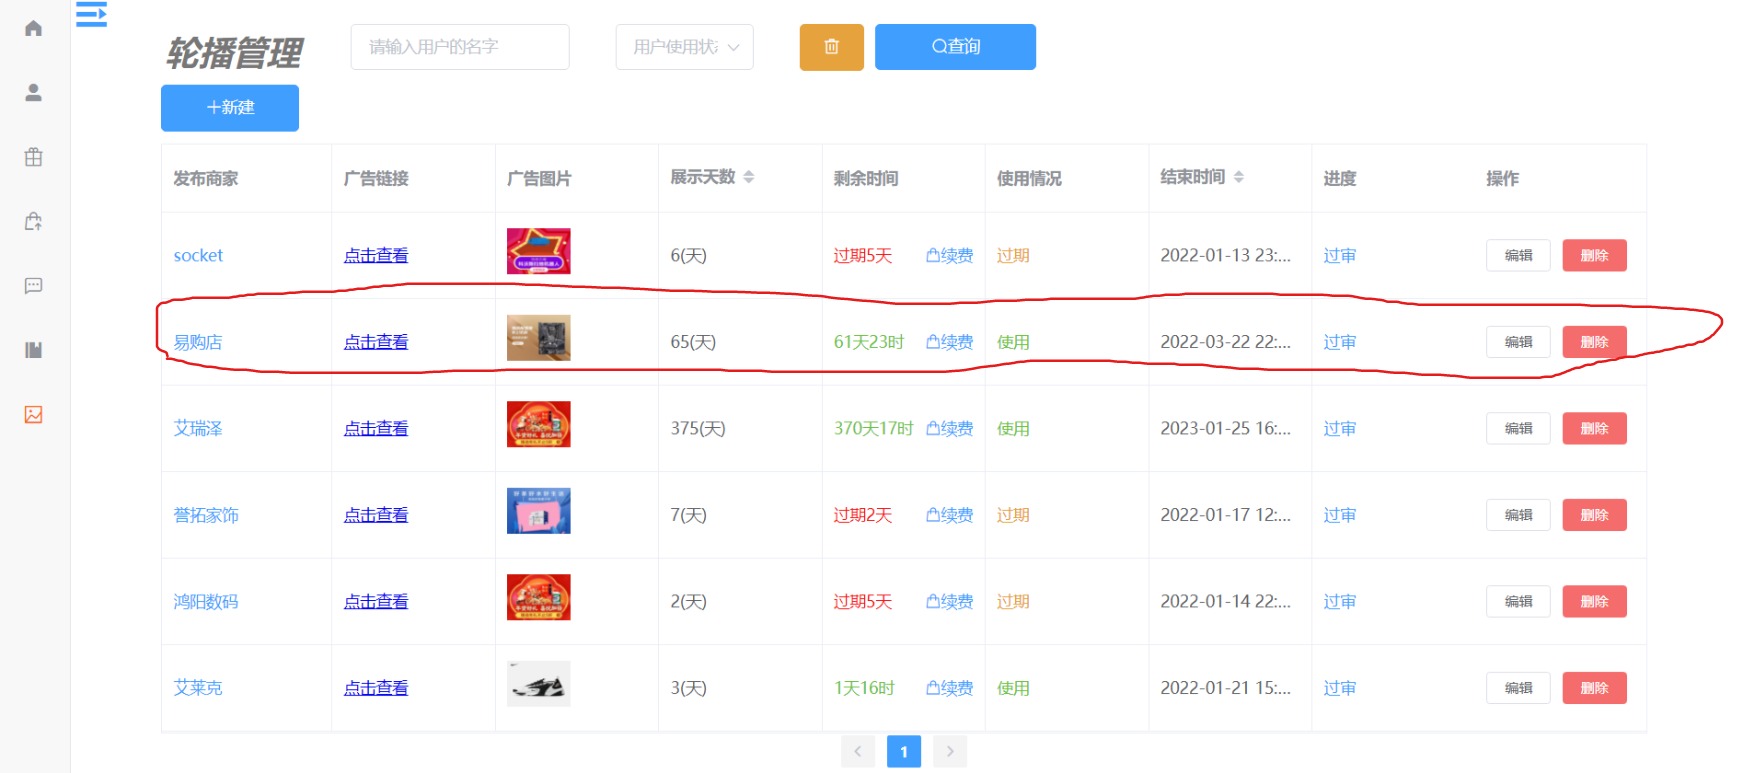
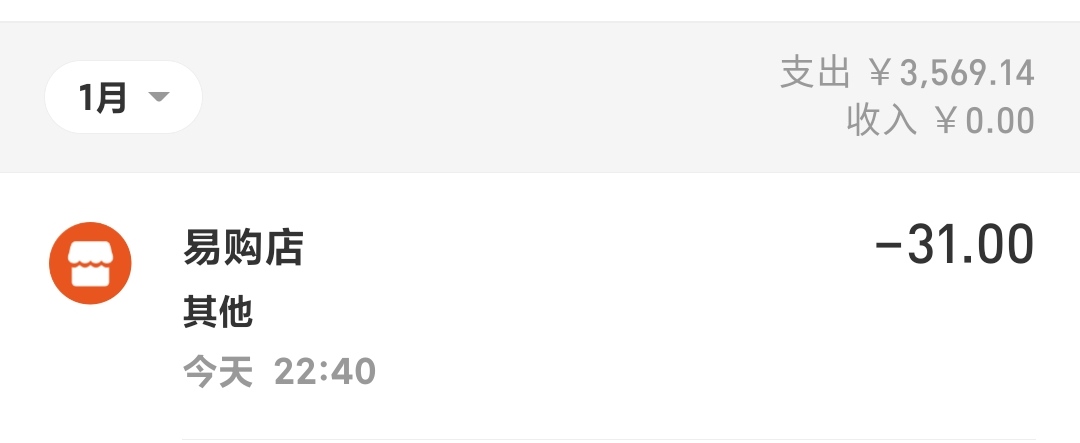
OK, this is the basic introduction. The results are as follows:
!


Let's start implementing this function! The setup of spring boot is omitted here, and the maven dependent import is directly entered
to configure
1.pom.xml dependent import
<!--Alipay sandbox dependence-->
        <dependency>
            <groupId>com.alipay.sdk</groupId>
            <artifactId>alipay-easysdk</artifactId>
            <version>2.2.0</version>
        </dependency>

        <!-- QR code zxing -->
        <dependency>
            <groupId>com.google.zxing</groupId>
            <artifactId>core</artifactId>
            <version>3.4.0</version>
        </dependency>
        <dependency>
            <groupId>com.google.zxing</groupId>
            <artifactId>javase</artifactId>
            <version>3.4.0</version>
        </dependency>

        <!--  WebSocekt-->
        <dependency>
            <groupId>org.springframework.boot</groupId>
            <artifactId>spring-boot-starter-websocket</artifactId>
        </dependency>
		<dependency>
            <groupId>org.apache.commons</groupId>
            <artifactId>commons-lang3</artifactId>
            <version>3.7</version>
        </dependency>
Some spring boot dependencies are omitted. Here we have posted two dimensional code and Alipay sandbox sdk.. websoket
2.application. Configuration of YML Alipay
alipay:
  #Merchant ID
  appId:
  #Alipay private key
  privateKey:
  #Own public key
  publicKey:
  #Alipay gateway
  gateway: openapi.alipaydev.com
  #url mapping address to be returned after payment
  returnUrl:
  #Asynchronous payment notification
  notifyUrl:
3. Alipay's initial configuration class
His main function is to read application The property value of alipay in the YML file implements the ApplicationRunner interface method
@Component
public class Your class name implements ApplicationRunner {
    //Application id
    @Value("${alipay.appId}")
    private String appId;
    //Private key
    @Value("${alipay.privateKey}")
    private String privateKey;
    //Public key
    @Value("${alipay.publicKey}")
    private String publicKey;
    //Gateway of Alipay
    @Value("${alipay.gateway}")
    private String gateway;
    //Interface callback address after successful payment
    @Value("${alipay.notifyUrl}")
    private String notifyUrl;

    /**
     * Spring boot Initialization of Alipay sandbox configuration at project startup
     *
     * @param args
     * @throws Exception
     */
    @Override
    public void run(ApplicationArguments args) throws Exception {
        Factory.setOptions(getOptions());
        System.out.println("********Alipay SDK Initialization complete!******");
    }

    public Config getOptions() {
        Config config = new Config();
        config.protocol = "https";
        config.gatewayHost = this.gateway;
        config.signType = "RSA2";
        //Alipay
        config.appId = this.appId;
        config.merchantPrivateKey = this.privateKey;
        config.alipayPublicKey = this.publicKey;
        config.notifyUrl = notifyUrl;
        return config;
    }
}
Here, your Alipay is almost configured. When running spring boot, it will appear at the terminal * * * * * Alipay SDK initialization! * * * * * * * * It means there's no problem
Ability to pay
I use Alipay easysdk, and his official document is also very clear: https://github.com/alipay/alipay-easysdk/blob/066388d02c6f55fe0919d75b386456d80801fec2/APIDoc.md Please refer to the Payment section
I mainly introduce the pre creation of transaction, generation and scanning in two dimensions, as shown in the following table
- API declaration
precreate(subject: string, outTradeNo: string, totalAmount: string)
- Input:
| Field name | type | Required | explain |
|---|---|---|---|
| subject | string | yes | Order title |
| outTradeNo | string | yes | Merchant order number passed in when the transaction is created |
| totalAmount | string | yes | Total order amount, in yuan, accurate to two decimal places, value range [0.0110000000] |
-
Out parameter
We only need to get the parameter qrcode, which is the main data for generating QR code
For other details, please refer to: https://opendocs.alipay.com/apis/api_1/alipay.trade.precreate
The introduction of payment ability is finished. Here is the implementation
Create a class for the implementation of Alipay's payment business layer.
@Service
public class PayService {
    @Autowired
    //Tool class generated by order number
    private UtilsCode utilsCode;
    public String payQr(Order1 order, String userId) throws Exception {
            String serialNumaber = utilsCode.orderUUID();
            Integer number = order.getNumber();
            Integer goodsId = order.getGoodsId();
        	//Focus on asynchrony: use the notify interface to get the link on the natapp. After paying, remember to see that the terminal 200 is normal
        	//  userId because websocket needs to get the user's session to send messages,
        	//number is the commodity quantity and goodsId is the commodity id. it is used to modify the data in the database and can be modified according to your own needs
            String notify = "http://qjaxf4.natappfree.cc/back/v1/"+notify?userId="
                    +userId+"&number="+number+"&goodsId="+goodsId;
            AlipayTradePrecreateResponse response = Factory.Payment.FaceToFace()
                	//Asynchronous, used to check whether the payment is successful
                    .asyncNotify(notify)
                			  /*  Title, order number, order amount, string type        */
                    .preCreate("title, You can write whatever you like", serialNumaber, String.valueOf(order.getMoney()));
       		//This is the data we need to get
            return response.getQrCode();
    }
    /*
    test
    	 public String payQr() throws Exception {
            String serialNumaber = utilsCode.orderUUID();
        	//Focus on asynchrony: get the link on the natapp, go to it, and remember to see that the terminal 200 is normal after payment
        	//  userId Because websocket needs to get the user's session to send messages,
            String notify = "http://qjaxf4.natappfree.cc/back/v1/notify?userId="
                    +userId+"&number="+number+"&goodsId="+goodsId;
            AlipayTradePrecreateResponse response = Factory.Payment.FaceToFace()
                	//Asynchronous, used to check whether the payment is successful
                    .asyncNotify(notify)
                    .preCreate("Title, you can write "serialnumaber," 123 ");
       		//This is the data we need to get
            return response.getQrCode();
    }
    */

}


@Component
public class UtilsCode {
    //Generate unique order number
    public String orderUUID() {
        //Generate 8-digit random number import org apache. commons. lang3. RandomStringUtils;
        String randomString = RandomStringUtils.randomNumeric(8);
        String orderIdStr = "wch-" + datestr() + "-" + randomString;
        //Returns the complete string
        return orderIdStr;
    }
}
Write front-end controller
  /**
     * The call of Alipay sandbox interface generates two-dimensional code.
     */
    @Autowired
    private PayService payService;
	//produces = MediaType.IMAGE_JPEG_VALUE must be added
    @PostMapping(value="pay",  produces = MediaType.IMAGE_JPEG_VALUE)
	/*If you want to test, you can remove the parameters in the method and the corresponding method you call, such as
		public BufferedImage  pay() throws Exception {
        String result = this.payService.payQr();
        BufferedImage bufferedImage = QrCodeUtils.createQr(result);
        return bufferedImage;
    }
	*/
    public BufferedImage  pay(@RequestBody Order1 order, String userId) throws Exception {
        String result = this.payService.payQr(order, userId);
        BufferedImage bufferedImage = QrCodeUtils.createQr(result);
        return bufferedImage;
    }

    /**
     * Generate BuffereImage and load configuration class
     * @return
     */
    @Bean
    public BufferedImageHttpMessageConverter addConverter(){
        return new BufferedImageHttpMessageConverter();
    }


	//Asynchronous, whether the payment is successful
	@Autowired
    private WebScoketAlipay webScoketAlipay;
    /**
     * Asynchronous notification processing
     */
    @PostMapping("/notify")
    public void asyncNotify(@RequestBody String notifyData, String userId, /*It can be deleted according to your own needs*/String goodsId
            ,String number) throws IOException {
        if (notifyData != null) {
            webScoketAlipay.sendMessageToFinduserId("Payment successful", userId);
            //If you don't need it under the test, you can according to your own needs
            Slideshow slideshow = new Slideshow();
            slideshow.setShowDay(Integer.parseInt(number));
            slideshow.setImgId(Integer.parseInt(goodsId));
            this.slideshowService.topUpSildeShow(slideshow);
        }
    }
Generation of QR code
You need to use the sdk zxing to directly access the key code. If you need pictures, please Baidu yourself
public class QrCodeUtils {
    private static final String CHARSET = "utf-8";
    public static final String FORMAT = "JPG";
    // QR code size
    private static final int QRCODE_SIZE = 350;
    // LOGO width
    private static final int LOGO_WIDTH = 60;
    // LOGO height
    private static final int LOGO_HEIGHT = 60;

    public static BufferedImage createQr(String contenxt) {
        BufferedImage img = null;
        try {
            BitMatrix bitMatrix = new MultiFormatWriter().encode(contenxt, BarcodeFormat.QR_CODE, QRCODE_SIZE, QRCODE_SIZE);
           img=   MatrixToImageWriter.toBufferedImage(bitMatrix);

        } catch (WriterException e) {
            e.printStackTrace();
        }
        return img;
    }
}
Well, this is half done. You can test it with postman, and you will find the generated QR code image. Here is our front end
Configuration and use of Web socket
to configure
@Configuration
public class WebSocketConfig {
    @Bean
    public ServerEndpointExporter serverEndpointExporter() {
        return new ServerEndpointExporter();
    }
}
use
@Component
@ServerEndpoint("/notfiyPay/{id}")
public class WebScoketAlipay {
    private static int onlineCount = 0;
    /**
     * concurrent The thread safe Set of the package is used to store the MyWebSocket object corresponding to each client.
     */
    private static ConcurrentHashMap<String, WebScoketAlipay> webSocketMap = new ConcurrentHashMap<>();
    /**
     * The connection session with a client needs to send data to the client through it
     */
    private Session session;
    /**
     * Receive userId
     */
    private String id = "";
    /**
     * Method successfully called for connection establishment
     */
    @OnOpen
    public void onOpen(Session session, @PathParam("id") String id) {
        this.session = session;
        this.id = id;
        //Take out the key from the map data and judge whether it exists
        if (webSocketMap.containsKey(id)) {
            //Cannot log in again
            webSocketMap.remove(id);
            webSocketMap.put(id, this);
        } else {
            webSocketMap.put(id, this);
            //Add to set
            addOnlineCount();
            //Online number plus 1
        }
        System.out.println("User connection:" + id + ",The number of people currently online is:" + getOnlineCount());
        //sendMessage("connection succeeded");
    }

    /**
     * Method called for connection closure
     */
    @OnClose
    public void onClose() {
        if (webSocketMap.containsKey(id)) {
            webSocketMap.remove(id);
            //Delete from set
            subOnlineCount();
        }
        System.out.println("User exit:" + id + ",The number of people currently online is:" + getOnlineCount());
    }

    /**
     * Method of calling after receiving client message
     *
     * @param message Messages sent by the client
     */
    @OnMessage
    public void onMessage(String message, Session session) {
        System.out.println("User message:" + this.id + ",message:" + message);
        //You can send messages in groups
        //Save messages to database and redis
        if (StringUtils.isNotBlank(message)) {
            try {
                //Analyze the sent message
                JSONObject jsonObject = JSON.parseObject(message);
                //Add sender (prevent serial modification)
                jsonObject.put("fromUserId", this.id);
                String toUserId = jsonObject.getString("toUserId");
                String text = jsonObject.getString("contentText");
                //Judge whether the sender is online
                if (StringUtils.isNotBlank(toUserId) && webSocketMap.containsKey(toUserId)) {
                    //send message
                    webSocketMap.get(toUserId).sendMessage(text);
                } else {
                    System.out.println("Requested userId:" + toUserId + "Not on this server");
                    //Otherwise, it will not be sent to mysql or redis on this server
                }
            } catch (Exception e) {
                e.printStackTrace();
            }
        }
    }

    /**
     * @param session
     * @param error
     */
    @OnError
    public void onError(Session session, Throwable error) {
        System.out.println("user error:" + this.id + ",reason:" + error.getMessage());
        error.printStackTrace();
    }

    /**
     * Realize server active push
     */
    public void sendMessageToFinduserId(String message, String userId) {
        try {
            //Method of sending text message to websocket session: getAsyncRemote()
//            for(WebScoketAlipay map: webSocketMap.values()){
//                map.session.getAsyncRemote().sendText(message);
//            }
            webSocketMap.get(userId).session.getAsyncRemote().sendText(message);
        } catch (Exception e) {
            e.printStackTrace();
        }
    }

    public void sendMessage(String message){
        try {
            this.session.getBasicRemote().sendText(message);
        } catch (IOException e) {
            e.printStackTrace();
        }
    }

    public static synchronized int getOnlineCount() {
        return onlineCount;
    }

    public static synchronized void addOnlineCount() {
        ++WebScoketAlipay.onlineCount;
    }

    public static synchronized void subOnlineCount() {
        WebScoketAlipay.onlineCount--;
    }
}
Well, the back-end is basically completed
Front end vue interface
<template>
    <el-dialog title="renew " :visible.sync="open" width="500px" @close="closeDialog()"  :close-on-click-modal="false">
        <el-form ref="form" :model="order" label-width="80px">


            <div  style="display: flex">
                <div style="border-right: 1px dashed #D5D7D9">
                    <el-form-item label="Merchant name:" style="width: 220px; font-size: 16px;">
                        <span>{{edit.shopName}}</span>
                    </el-form-item>
                    <el-form-item label="Remaining time:">
                        <span>{{edit.remain}}</span>
                    </el-form-item>

                    <el-form-item label="Usage">
                        <span>{{edit.imgCase}}</span>
                    </el-form-item>
                </div>
                <div>
                    <el-form-item label="Approval progress:">
                        <span>{{edit.useImg}}</span>
                    </el-form-item>

                    <el-form-item label="End time">
                        <span style="">{{edit.imgData}}</span>
                    </el-form-item>

                    <el-form-item label="Advertising pictures:">
                        <img v-if="edit.homeImg" :src="edit.homeImg" style="width:130px; height: 70px;">
                    </el-form-item>

                </div>
            </div>


            <!-- Focus on these    -->
            <el-form-item label="Days recharge">
                <el-input-number v-model="order.number"
                 controls-position="right"
                 :min="0" :max="1860" style="width: 370px"></el-input-number>
                <el-radio-group v-model="order.number">
                    <el-radio-button :label="31">1 Months</el-radio-button>
                    <el-radio-button :label="62">2 Months</el-radio-button>
                    <el-radio-button :label="93">3 Months</el-radio-button>
                    <el-radio-button :label="124">4 Months</el-radio-button>
                    <el-radio-button :label="372">1 year</el-radio-button>
                </el-radio-group>
            </el-form-item>

            <el-form-item label="Payment method">
                <el-radio-group v-model="radio">
                    <el-radio :label="1" @change="wallet('form')">balance</el-radio>
                    <el-radio :label="2" @change="alipay()">Alipay payment</el-radio>
                    <el-radio :label="3" @change="wechat()">Wechat payment(Functions to be developed)</el-radio>
                </el-radio-group>
            </el-form-item>

            <el-form-item v-if="payUrl != ''" label="Code scanning payment">
                 <img  :src="payUrl" style="width:120px; height: 120px;">
                 <span style="color: red">Total to be paid{{order.money}}(element)</span>
            </el-form-item>
        </el-form>
    </el-dialog>
</template>

<script>
export default {
    name: "topUp",
    data(){
        return{
            edit: {
                imgId: "",
                homeImg: "",
                imgUrl: "",
                shopId: "",
                useImg: "",
                ImgCase: "",
                showDay: "",
                remain: ""
            },

            // The form parameter edit can be deleted
            order:{
                title: "",
                goodsId:"",
                number: 1,   //quantity
                money: "",   //How much is the total
                price: 0.5
            },
            payUrl: "",
            radio: 0,
            // Show pop-up layer
            open: false,
        }
    },
    methods:{
        // The window initialization method and nextTick method can add logic, such as querying data filling when opening a window
        init(id){
             this.$nextTick(() => {
                    let vm = this
                    this.$post(vm.API.API_URL_FINDBYIDSLIDESHOW+id).then(res =>{
                        if(res.errorCode == 0){
                            vm.edit = res.data
                            vm.edit.showDay = 0
                            vm.edit.homeImg =  vm.API.BASE_SERVER_URL + res.data.homeImg
                        }
                    })
                 this.open = true
             })
        },


        //System balance wallet payment
        wallet(form){
            this.payUrl = ''
        },
        //Alipay payment focus
        alipay(){
            let vm = this
            this.order.goodsId = this.edit.imgId
            this.order.title = this.edit.shopName
            this.order.money = this.order.number * this.order.price
            //id according to your own system!!!! Remember to write a value casually when testing
            let id =  JSON.parse(window.sessionStorage.getItem('accese-usename')).userId
            console.log(id)

            //The {responseType: 'arraybuffer'} parameter returned by the request backend must be
            axios.post("http://localhost:4099/back/v1/pay?userId="+id, vm.order,{
                responseType: 'arraybuffer'
            }).then(res =>{
                	//Display pictures as base64
                    let bytes = new Uint8Array(res.data);
                    let data = "";
                    let len = bytes.byteLength;
                    for (let i = 0; i < len; i++) {
                      data += String.fromCharCode(bytes[i]);
                    }
                   vm.payUrl = "data:image/jpg;base64," + window.btoa(data);

            })
            this.initWebSocket(id)
        },
        //Number of closed dialog box purges
        closeDialog(){
            this.edit = this.$options.data().edit
            this.order = this.$options.data().order
            this.payUrl = ''
            this.radio = 0
        },
        //websocket and axiose polling to check whether the payment information is successful
        initWebSocket(id){
          if(typeof WebSocket == "undefined"){
            alert("Browser does not support WebSocket")
            //If the browser does not support
          }else{
              //Fill in your websocket address
            let socketUrl = "http://localhost:4099/notfiyPay/"+id;
            socketUrl = socketUrl.replace("https", "ws").replace("http", "ws");
            this.websocket = new WebSocket(socketUrl);
            this.websocket.onopen = this.websocketonopen;
            this.websocket.onerror = this.websocketonerror;
            this.websocket.onmessage = this.websocketonmessage;
            this.websocket.onclose = this.websocketclose();
            }
        },
        websocketonopen(){
            console.log("Connection succeeded")
        },

        websocketonerror(e){
            console.log("Connection error")
        },

        websocketonmessage(e){
            this.$notify({
                title: "news",
                message: e.data
            })
            if(e.data == "Payment successful"){
                this.open = false
                this.payUrl = ''
                //Payment successfully closes websocket,
                this.websocket.close()
            }
        },

        websocketclose(){
            console.log("Connection closed")
        }

    }

}
</script>
<style  scoped>
.el-form-item {
    margin: 1px;
}
</style>