Pre-installation preparation: First you need to install the Xshell, in order to facilitate operation, and then install Xftp.
Xshell 5 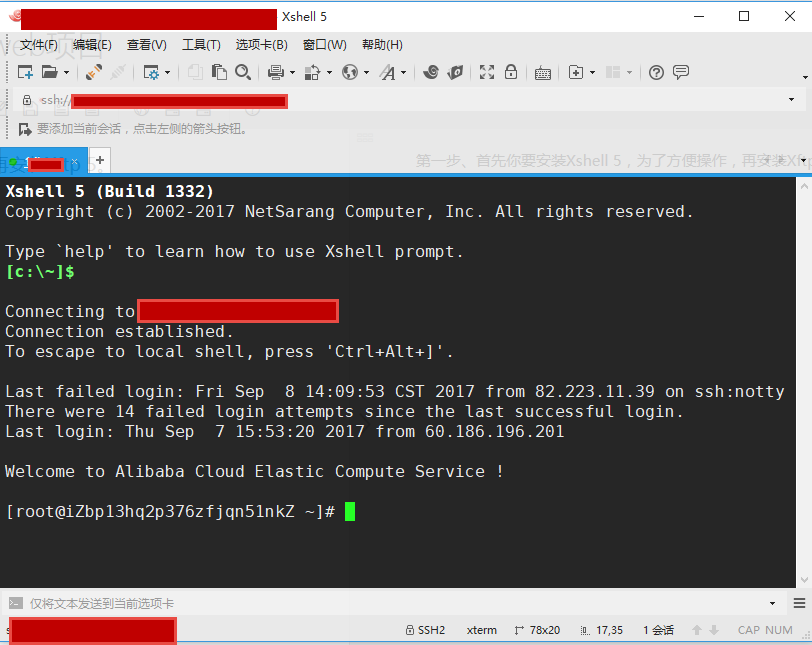
Xftp 5: 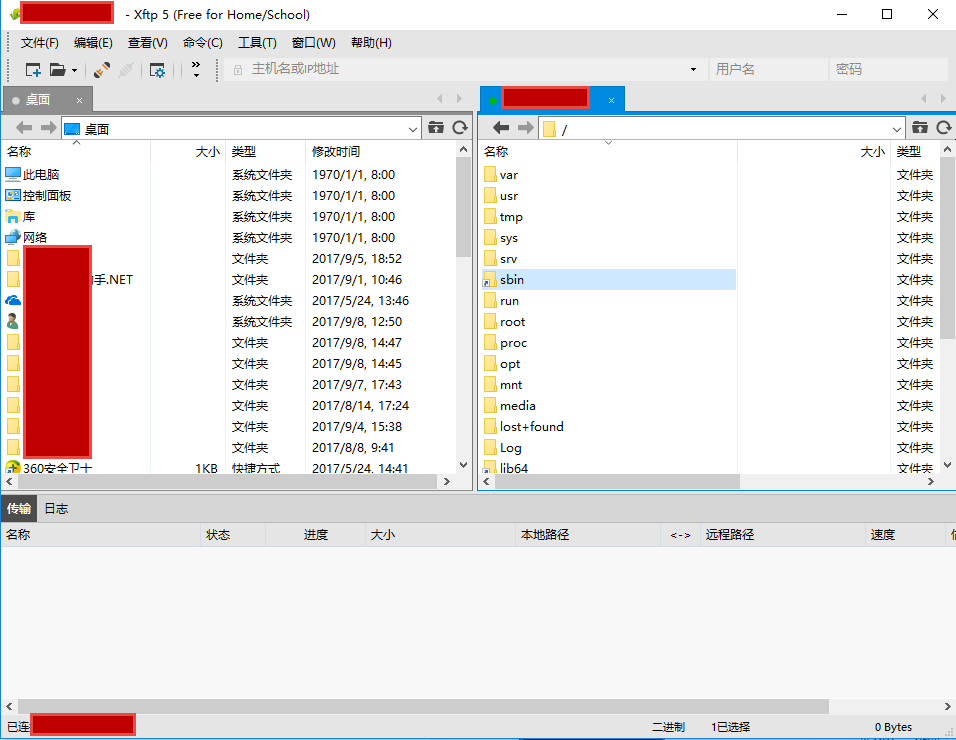
Some systems of servers open the firewall by default, and need to be shut down before accessing the 80, 443, 8080 ports of the local machine. If you're not sure if your server has a firewall on, follow these steps.
Close the firewall:
systemctl stop firewalld.serviceTurn off the firewall and boot up.
systemctl disable firewalld.serviceSource code download: (also can choose to download to the official website)
wget https://mirrors.aliyun.com/apache/tomcat/tomcat-8/v8.5.13/bin/apache-tomcat-8.5.13.tar.gz
wget http://mirrors.linuxeye.com/jdk/jdk-8u144-linux-x64.tar.gz
Installation of JDK
1. Create a new directory:
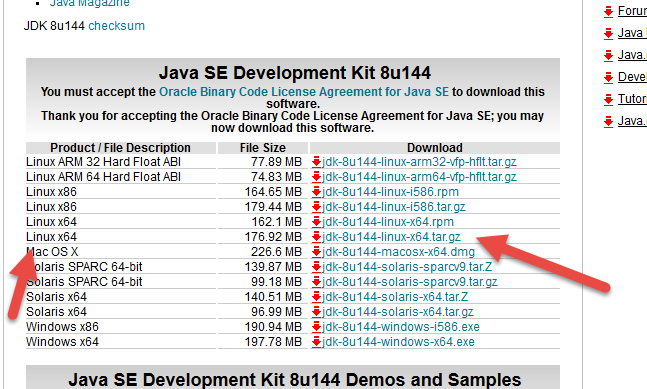
mkdir /usr/java2. Download the required jdk from the official website, and pay attention to selecting the version suitable for the server.
See how many bits the system has:
getconf LONG_BIT
Put the compressed package into the / usr/java directory through Xftp, and then decompress:
cd /usr/javatar xzf jdk-8u144-linux-x64.tar.gz -C /usr/java 3. Setting environment variables:
vi /etc/profile
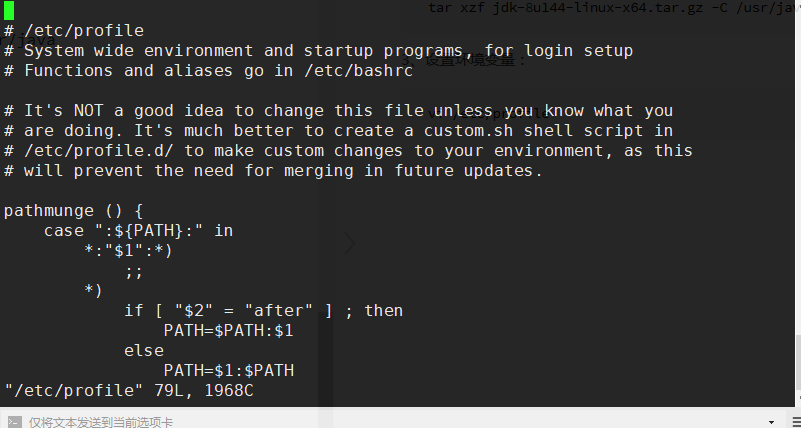
Press "i" on the keyboard to enter editing mode and insert the following lines:
#set java environment
export JAVA_HOME=/usr/java/jdk1.8.0_121
export CLASSPATH=$JAVA_HOME/lib/tools.jar:$JAVA_HOME/lib/dt.jar:$JAVA_HOME/lib
export PATH=$JAVA_HOME/bin:$PATH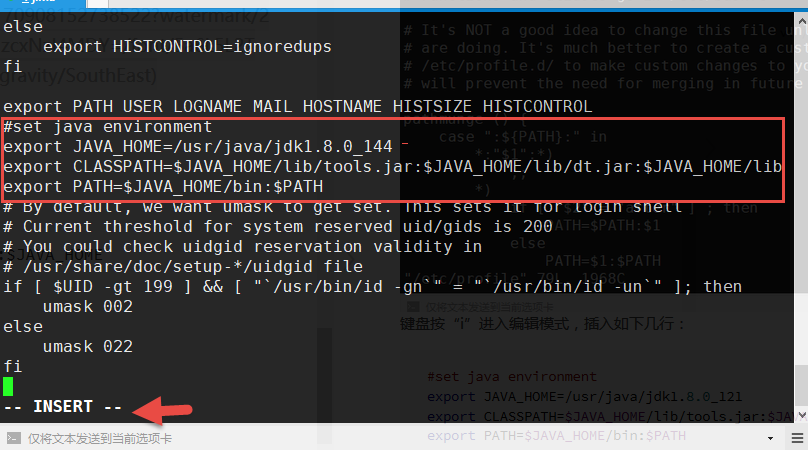
After editing, press ESC to save, and then output': wq'to exit text mode.
Load environment variables:
source /etc/profileView the jdk version:
java -version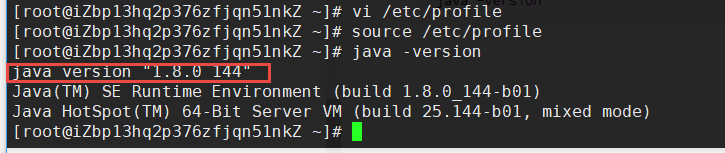
II. Installation of tomcat
1. Create a new directory:
mkdir /usr/local/tomcat2. Download tomcat from the official website: 
Put the compressed package into the / usr/local/tomcat directory through Xftp, and then decompress:
cd /usr/local/tomcattar xzf apache-tomcat-7.0.13.tar.gz -C /usr/local/tomcat3. Configure server.xml:
cd /usr/local/tomcat/conf/
mv server.xml server.xml_bk
vi server.xml
Add the following:
<?xml version="1.0" encoding="UTF-8"?>
<Server port="8006" shutdown="SHUTDOWN">
<Listener className="org.apache.catalina.core.JreMemoryLeakPreventionListener"/>
<Listener className="org.apache.catalina.mbeans.GlobalResourcesLifecycleListener"/>
<Listener className="org.apache.catalina.core.ThreadLocalLeakPreventionListener"/>
<Listener className="org.apache.catalina.core.AprLifecycleListener"/>
<GlobalNamingResources>
<Resource name="UserDatabase" auth="Container"
type="org.apache.catalina.UserDatabase"
description="User database that can be updated and saved"
factory="org.apache.catalina.users.MemoryUserDatabaseFactory"
pathname="conf/tomcat-users.xml" />
</GlobalNamingResources>
<Service name="Catalina">
<Connector port="8080"
protocol="HTTP/1.1"
connectionTimeout="20000"
redirectPort="8443"
maxThreads="1000"
minSpareThreads="20"
acceptCount="1000"
maxHttpHeaderSize="65536"
debug="0"
disableUploadTimeout="true"
useBodyEncodingForURI="true"
enableLookups="false"
URIEncoding="UTF-8" />
<Engine name="Catalina" defaultHost="localhost">
<Realm className="org.apache.catalina.realm.LockOutRealm">
<Realm className="org.apache.catalina.realm.UserDatabaseRealm"
resourceName="UserDatabase"/>
</Realm>
<Host name="localhost" appBase="/usr/local/tomcat/webapps" unpackWARs="true" autoDeploy="true">
<Context path="" docBase="/usr/local/tomcat/webapps" debug="0" reloadable="false" crossContext="true"/>
<Valve className="org.apache.catalina.valves.AccessLogValve" directory="logs"
prefix="localhost_access_log." suffix=".txt" pattern="%h %l %u %t "%r" %s %b" />
</Host>
</Engine>
</Service>
</Server>After editing, press ESC to save, and then output': wq'to exit text mode.
(Note here that appBase and docBase, which write the root directory, can then put a web project or related static pages there.)
4. Setting jvm parameters:
vi /usr/local/tomcat/bin/setenv.sh
JAVA_OPTS='-Djava.security.egd=file:/dev/./urandom -server -Xms256m -Xmx496m -Dfile.encoding=UTF-8'
5. Set up tomcat self-startup script:
Download the script:
wget https://github.com/lj2007331/oneinstack/raw/master/init.d/Tomcat-init
mv Tomcat-init /etc/init.d/tomcat
6. Adding Execution Permissions:
chmod +x /etc/init.d/tomcat7. Set the startup script JAVA_HOME:
sed -i 's@^export JAVA_HOME=.*@export JAVA_HOME=/usr/java/jdk1.8.0_144@' /etc/init.d/tomcat8. Set up automatic startup:
chkconfig --add tomcat
chkconfig tomcat on
9. Start tomcat
service tomcat start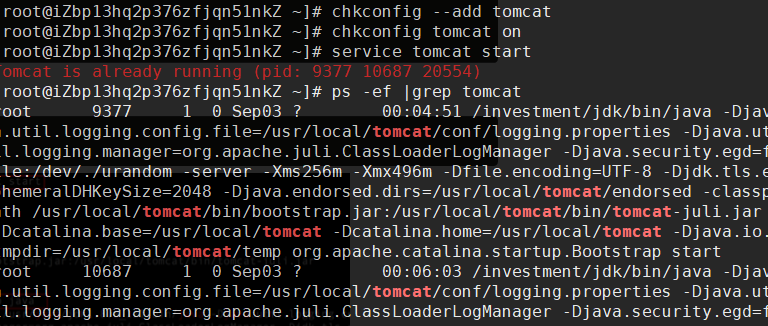
Then you can place an index page in the / usr/local/tomcat/webapps directory and type in the external page: http://ip+:8080 It's accessible.