Statement: This article is only for study and research. It is prohibited to use it for illegal purposes. Otherwise, you will bear the consequences. If there is infringement, please inform us to delete it. Thank you!
preface:
Why is token used? Because cookie s and session s have their own shortcomings, which limit the implementation of some functions, such as:
cookie: the advantage is to save server space, but the disadvantage is unsafe. Do not save sensitive information.
session: the advantage is security. The disadvantage is that it requires server space (if the server is restarted, data will be lost). It is the most common solution. At this time, we can use token better
Introduction:
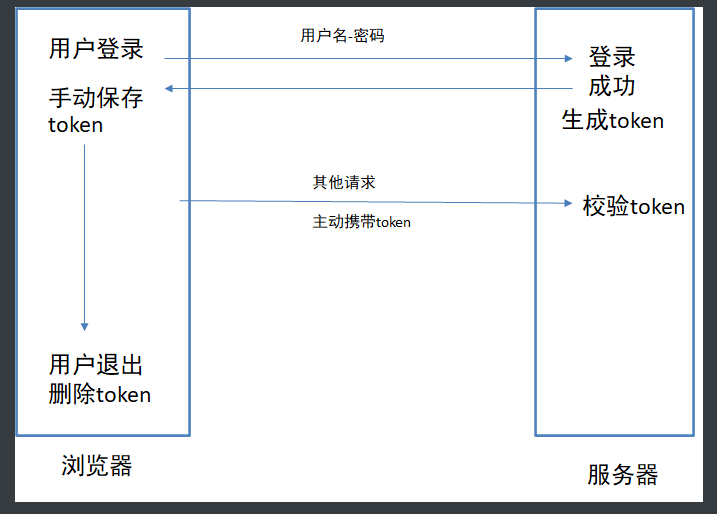
Token means "token". It is a string generated by the server as an identification of the client's request.
The principle of JWT (json web token) is that after the server authenticates, a JSON object is generated and sent back to the user, as shown below.
{
"full name": "Zhang San",
"role": "administrators",
"Expiration time": "2022 At 0:00 on July 11"
}
In the future, the JSON object will be sent back when the user communicates with the server. The server relies entirely on this object to identify the user.
Of course, in order to prevent users from tampering with data, the server will encrypt this object when generating it, which is a long string we see
As shown in the figure:
1. Prepare working documents and install express and cors packages
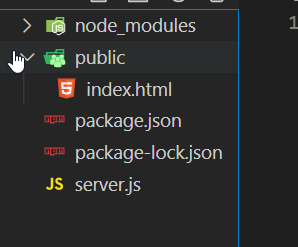
2. Initial code:
front end:
<!DOCTYPE html>
<html lang="en">

<head>
  <meta charset="UTF-8">
  <meta name="viewport" content="width=device-width, initial-scale=1.0">
  <meta http-equiv="X-UA-Compatible" content="ie=edge">
  <title>Document</title>
</head>

<body>
  <h1>token</h1>
  <input type="text" id="username" name="name" value="admin" />
  <input type="text" id="password" name="password" value="123456" />
  <button id="btn_login">Sign in,obtain token</button>

  <button id="btn_testToken">No, token,Cannot access</button>
  <button id="btn_delToken">delete token</button>

  <script src="https://cdn.bootcdn.net/ajax/libs/jquery/3.6.0/jquery.min.js"></script>
  <script>

    $('#btn_delToken').click(function () {
    })

    $('#btn_testToken').click(function () {
      $.ajax({
        type: 'get',
        url: 'http://localhost:3000/test',
        success(res) {
          console.log(res);
        }
      })
    })

    $('#btn_login').click(function () {
      $.ajax({
        type: 'post',
        url: 'http://localhost:3000/login',
        data: { name: $('#username').val(), password: $('#password').val() },
        success(res) {
          console.log(res);
        }
      })
    })

  </script>
</body>

</html>
Back end:
const express = require('express')
const cors = require('cors')
const app = express()
app.use(express.static('public'))
app.use(cors({ origin: true, credentials: true }))

app.use(express.urlencoded())

app.post('/login', (req, res) => {
  console.log('The data received is', req.body)
  const { name, password } = req.body
  if (password === '123456') {
    res.json({ msg: 'Login succeeded' })
  } else {
    res.json({ msg: 'Login failed' })
  }
})

app.get('/test', (req, res) => {
  res.json({ msg: 'test tokenOk' })
})

app.listen(3000, () => {
  console.log(3000);
})
Terminal operation:
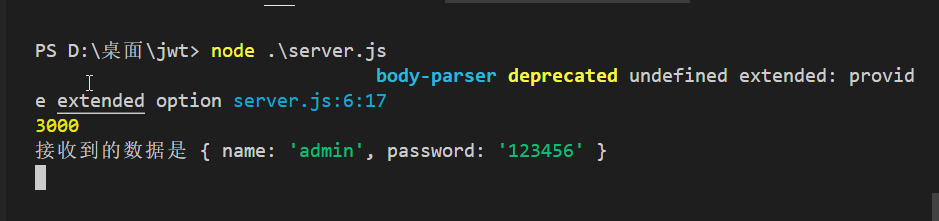
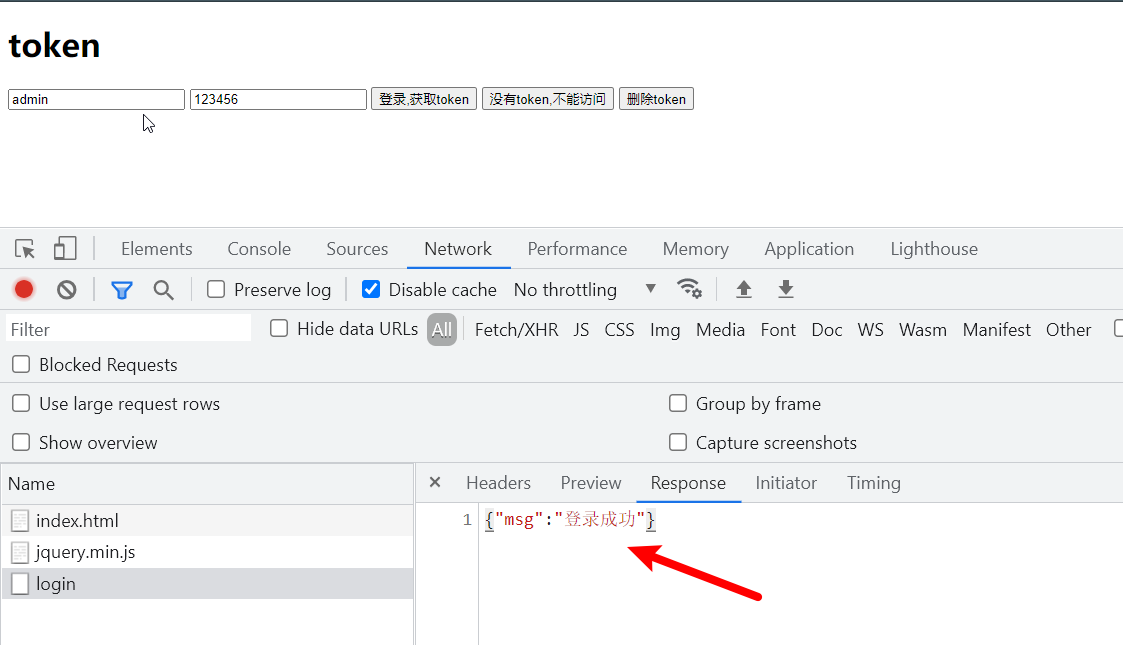
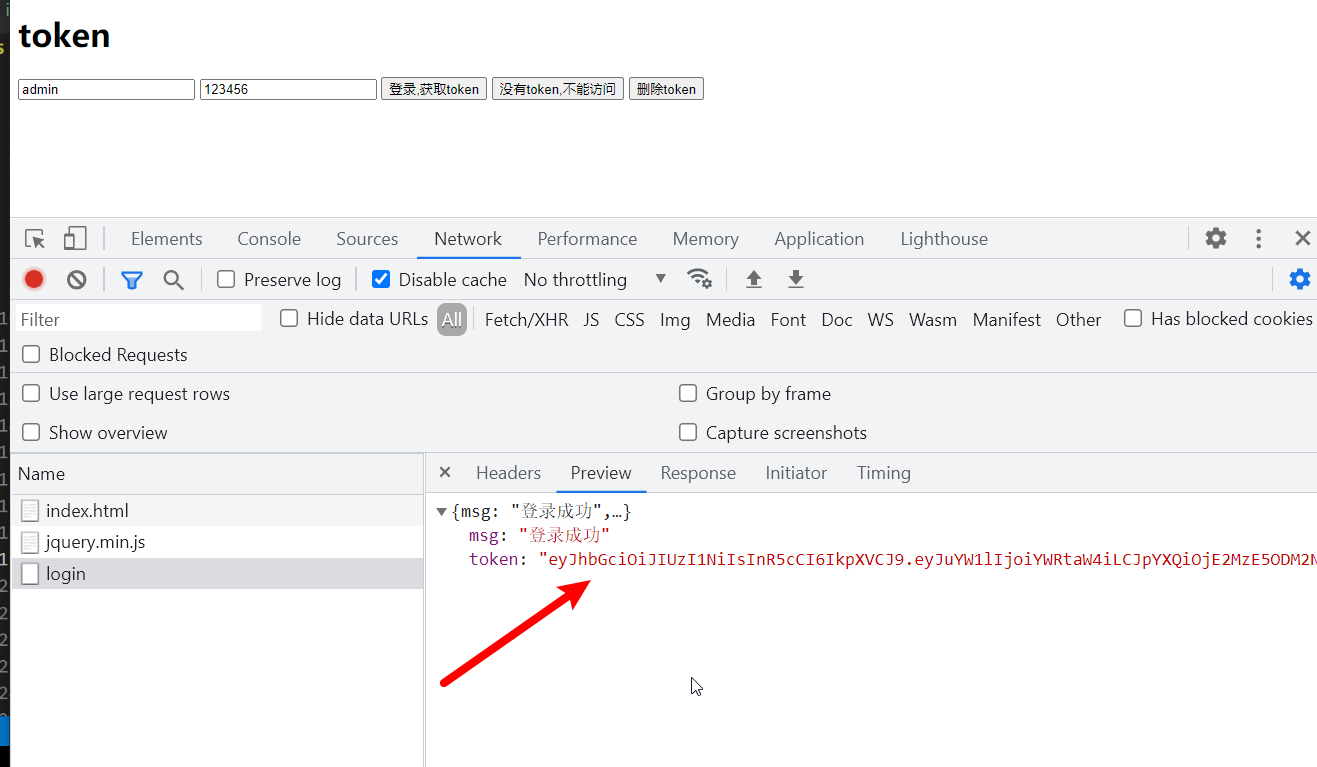
3. Test
Input data at the front end and click login to test whether there is returned data
4. Basic steps:
-
Download and install in the project
npm i jsonwebtoken
-
Load module const jwt = require('jsonwebtoken ');
-
After the user login is successful, the jwt.sign() method is called to create token, which has the following 4 parameters:
-
Parameter 1: required, object form; The data you want to save in the token
-
Parameter 2: required, in string form; Encrypted key; For subsequent verification of token s, you also need to use
-
Parameter 3: optional, object type; Configuration items. For example, you can configure the validity period of a token
-
Parameter 4: optional, function form; Callback after generating token
-
Before the generated token, the Bearer string must be spliced.
Introduce a token and create a token string
const express = require('express')
const cors = require('cors')
const app = express()
app.use(express.static('public'))
app.use(cors({ origin: true, credentials: true }))
app.use(express.urlencoded())
// Introduce token
const jwt = require('jsonwebtoken');
app.post('/login', (req, res) => {
  console.log('The data received is', req.body)
  const { name, password } = req.body
  if (password === '123456') {
    // Create token
    const tokenStr = jwt.sign({ name: name }, 'heima61', { expiresIn: 5 });
    // Print test view token
    res.json({ msg: 'Login succeeded', token: tokenStr })
  } else {
    res.json({ msg: 'Login failed' })
  }
})

app.get('/test', (req, res) => {
  res.json({ msg: 'test tokenOk' })
})

app.listen(3000, () => {
  console.log(3000);
})
The terminal runs the browser to view the obtained token value
Browser side: save the token returned from the back end in localStorage
$('#btn_login').click(function(){
  $.ajax({
    type:'post',
    url:'http://localhost:3000/login',
    data:{name:$('#username').val(),password:$('#password').val()},
    success(res){
      console.log(res);
+      localStorage.setItem('token', res.token)
    }
  })
})
Browser side: carry the token manually when sending a request, which must be placed in Authorization
$('#btn_testToken').click(function(){
  $.ajax({
    type:'get',
    url:'http://localhost:3000/test',
    headers: {
+      Authorization: localStorage.getItem('token'),
    },
    success(res){
      console.log(res);
    }
  })
})
Server side: implement token authentication
Select use express-jwt Third party module for identity authentication. As can be seen from the module name, this module is specially used with express.
Installation package:
npm i express-jwt
5. Middleware technology - authentication token
const expressJwt = require('express-jwt');
// app.use(jwt().unless());
// jwt() is used to parse the token and assign the data saved in the token to req.user
// unless() specifies that an interface does not require authentication
app.use(expressJwt({
  secret: 'Create keys with the same name', // The keys when generating token s must be unified
  algorithms: ['HS256'] // Required, encryption algorithm, no need to know
}).unless({
  path: ['/login'] // Authentication is required for all but one interface
}));
After the above code is completed, when an interface request arrives at the server, it will automatically verify the Authorization field in the request header and complete it automatically:
If there are no problems:
1. Assign the data saved in the token to req.user
2,next()
If there is a problem, an error next is thrown
6. Supplement: middleware technology - unified error handling
At the end of all routes, an error handling middleware is added to prompt the error of token.
app.use((err, req, res, next) => {
  if (err.name === 'UnauthorizedError') {
    // res.status(401).send('invalid token...');
    res.status(401).send({ status: 1, message: 'Identity authentication failed!' });
  }
});