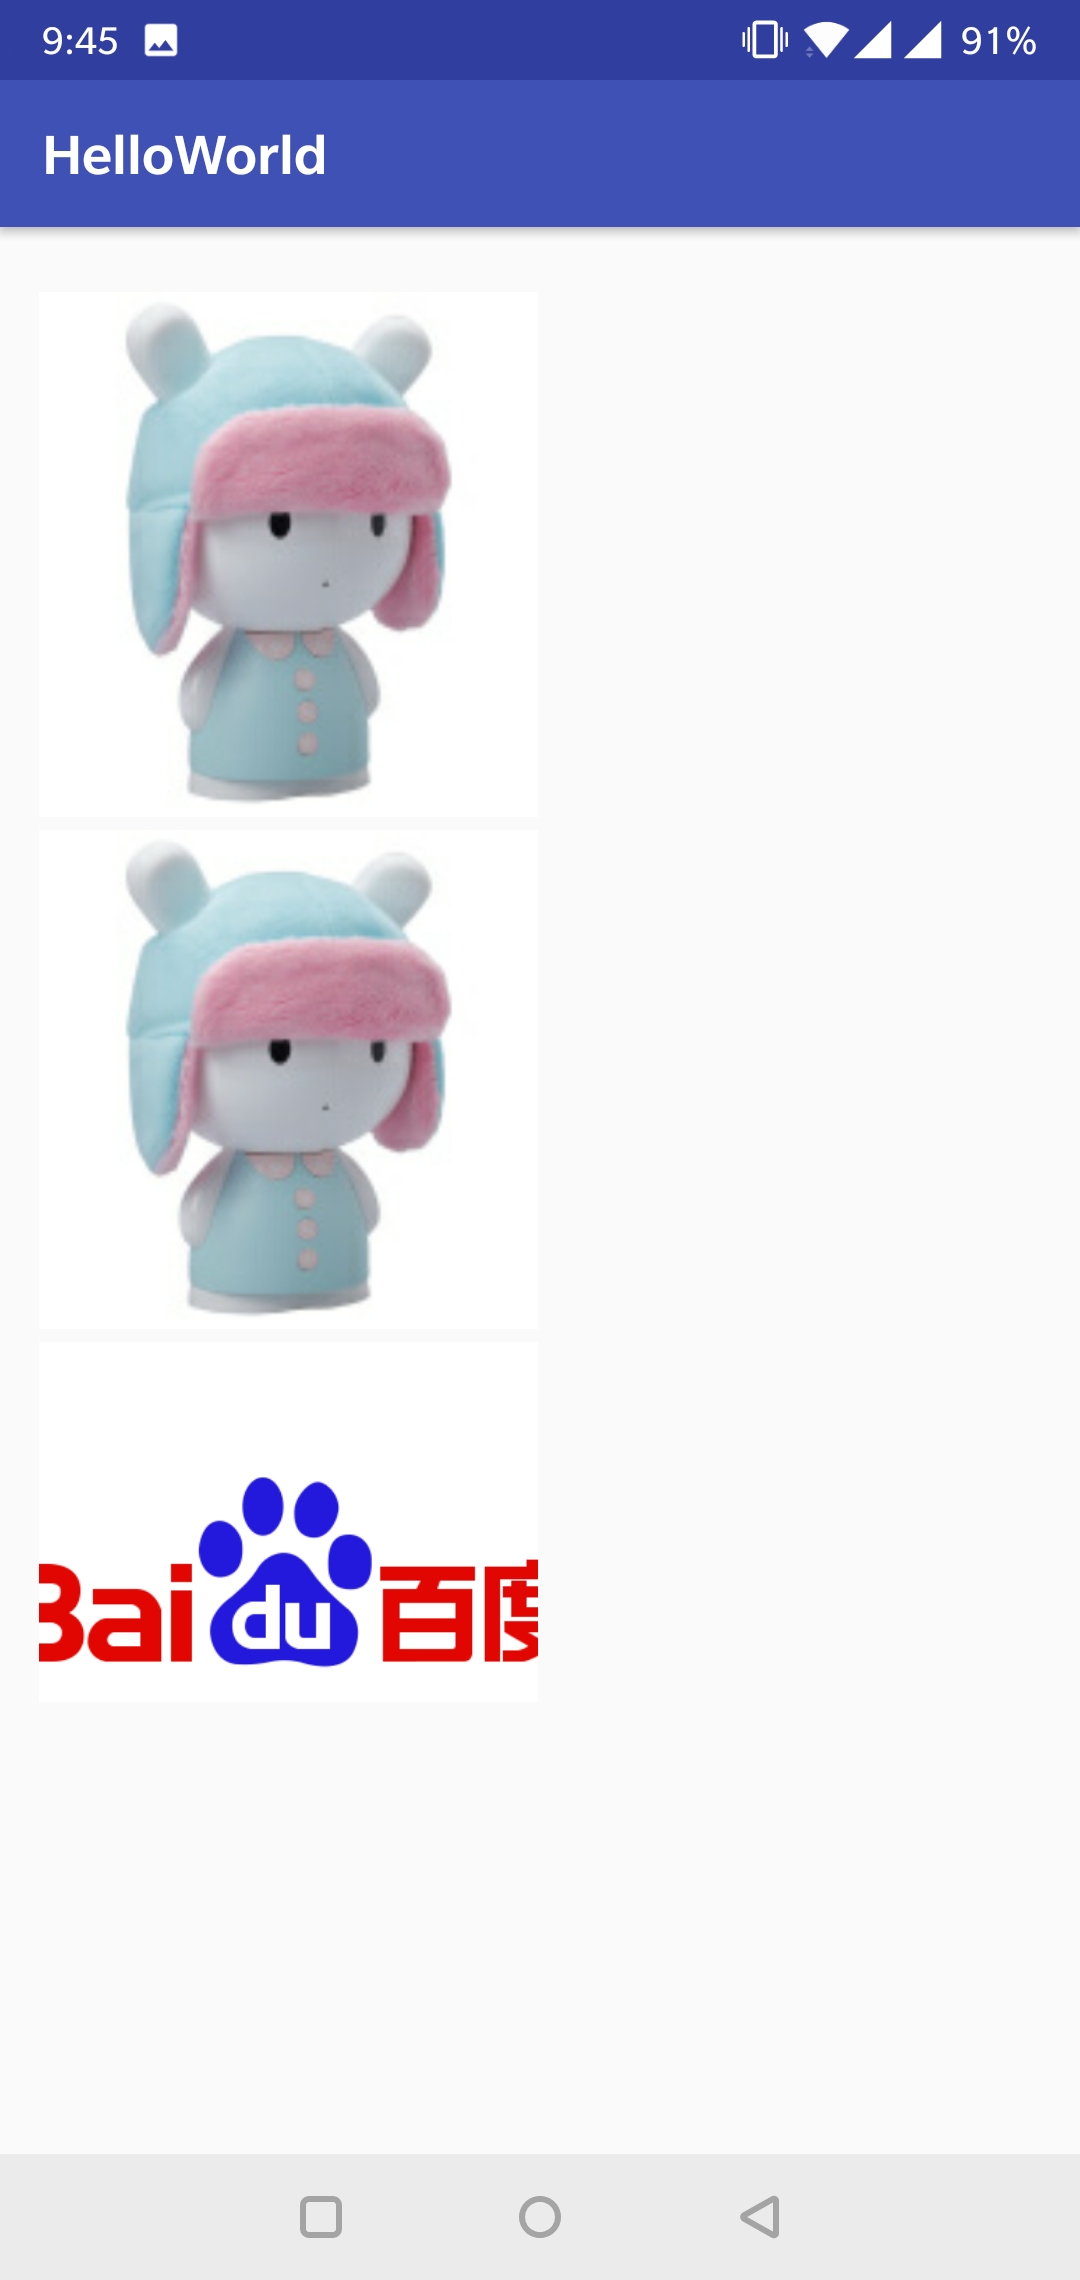
Android Development - Android Studio - front end introduction picture
1. Create a new Activity named ImageViewActivity
2. Set the button in activity main.xml to
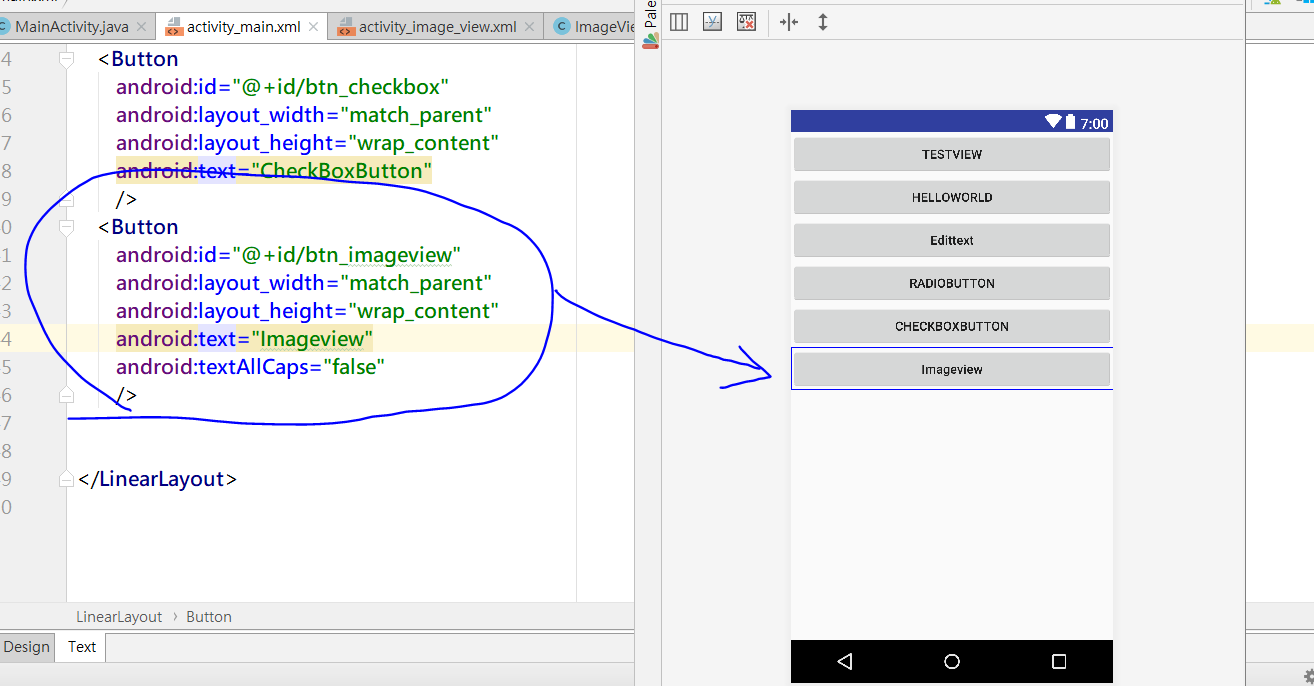
3. Declare ImageViewActivity in MainActivity and set click event.
package com.example.ayb.helloworld;

import android.content.Intent;
import android.support.v7.app.AppCompatActivity;
import android.os.Bundle;
import android.view.View;
import android.widget.Button;
import android.widget.EditText;

public class MainActivity extends AppCompatActivity {

    private Button mBtnTextView;
    private Button mBtnButton;
    private Button mBtnEditText;
    private Button mBtnRadioButton;
    private Button mBtnCheckBox;
    private Button mBtnImageView;//Declaration here

    @Override
    protected void onCreate(Bundle savedInstanceState) {
        super.onCreate(savedInstanceState);
        setContentView(R.layout.activity_main);
        mBtnTextView = findViewById(R.id.btn_textview);
        mBtnButton = findViewById(R.id.btn_button);
        mBtnEditText = findViewById(R.id.btn_edittext);
        mBtnRadioButton = findViewById(R.id.btn_radiobutton);
        mBtnCheckBox = findViewById(R.id.btn_checkbox);
        mBtnImageView = findViewById(R.id.btn_imageview);//Find ImageView by Id
        setOnClickListener();
    }
    private void setOnClickListener(){
        OnClick onClick = new OnClick();
        mBtnTextView.setOnClickListener(onClick);
        mBtnRadioButton.setOnClickListener(onClick);
        mBtnEditText.setOnClickListener(onClick);
        mBtnButton.setOnClickListener(onClick);
        mBtnCheckBox.setOnClickListener(onClick);
        mBtnImageView.setOnClickListener(onClick);//Set click event
    }

    private class  OnClick  implements View.OnClickListener{

        @Override
        public void onClick(View v){
            Intent intent = null;
            switch (v.getId()){
                case R.id.btn_textview:
                    intent = new Intent(MainActivity.this,TextViewActivity.class);
                    break;
                case R.id.btn_button:
                    intent = new Intent(MainActivity.this,ButtonActivity.class);
                    break;
                case R.id.btn_edittext:
                    intent = new Intent(MainActivity.this, EditTextActivity.class);
                    break;
                case R.id.btn_radiobutton:
                    intent = new Intent(MainActivity.this, RadioButtonActivity.class);
                    break;
                case R.id.btn_checkbox:
                    intent = new Intent(MainActivity.this, CheckBoxAcitivity.class);
                    break;
                case R.id.btn_imageview:
                    intent = new Intent(MainActivity.this, ImageViewActivity.class);
                    break;
            }
            startActivity(intent);
        }
    }
}
4. Introduce local pictures into ImageViewActivity
id is to set the picture box id for adding events
Layout? Width / height is to set the height and width of picture box
Background set picture box background color
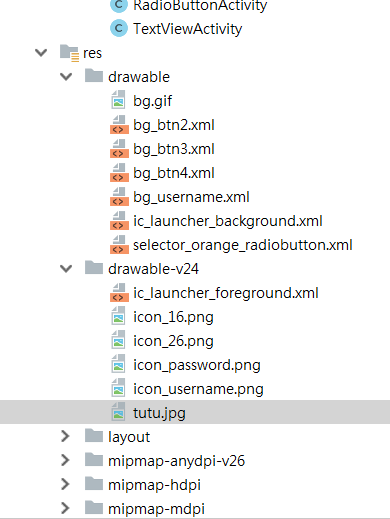
src introduces local pictures to store in drawable-v24
<?xml version="1.0" encoding="utf-8"?>
<RelativeLayout xmlns:android="http://schemas.android.com/apk/res/android"
    android:layout_width="match_parent"
    android:layout_height="match_parent"
    android:padding="15dp">

    <ImageView
        android:id="@+id/iv_1"
        android:layout_width="330dp"
        android:layout_height="200dp"
        android:background="#f99999"
        android:src="@drawable/tutu"
        android:scaleType="fitXY"
        android:layout_marginTop="10dp"
        />

    <ImageView
        android:id="@+id/iv_2"
        android:layout_width="300dp"
        android:layout_height="200dp"
        android:src="@drawable/tutu"
        android:layout_below="@id/iv_1"
        android:scaleType="fitCenter"
        />

    <ImageView
        android:id="@+id/iv_3"
        android:layout_width="210dp"
        android:layout_height="200dp"
        android:layout_below="@id/iv_2"
        android:scaleType="centerCrop"
        android:src="@drawable/tutu" />

</RelativeLayout>
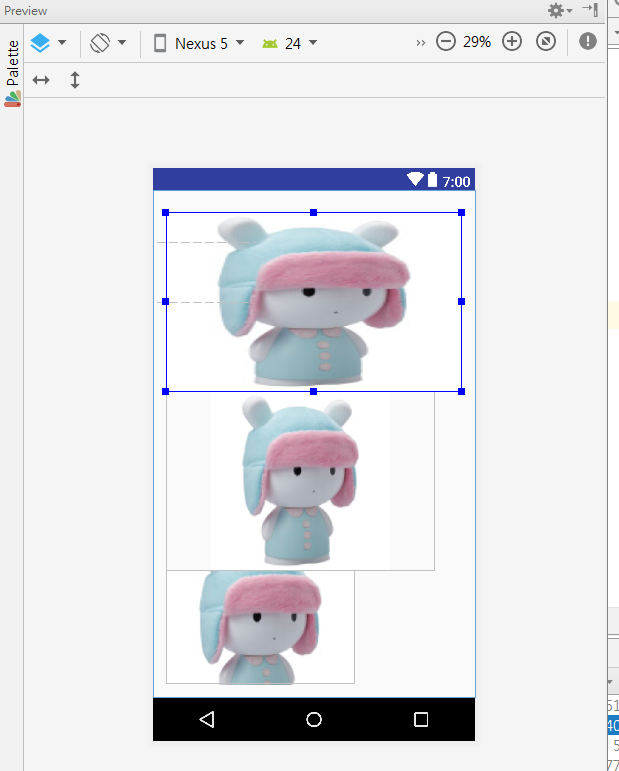
scaleType is to fill the picture box. There are three ways to fill the picture box. fitXY stretch means to fill the fitCenter completely and fill it in the middle. CenterCrop means to crop it
for example
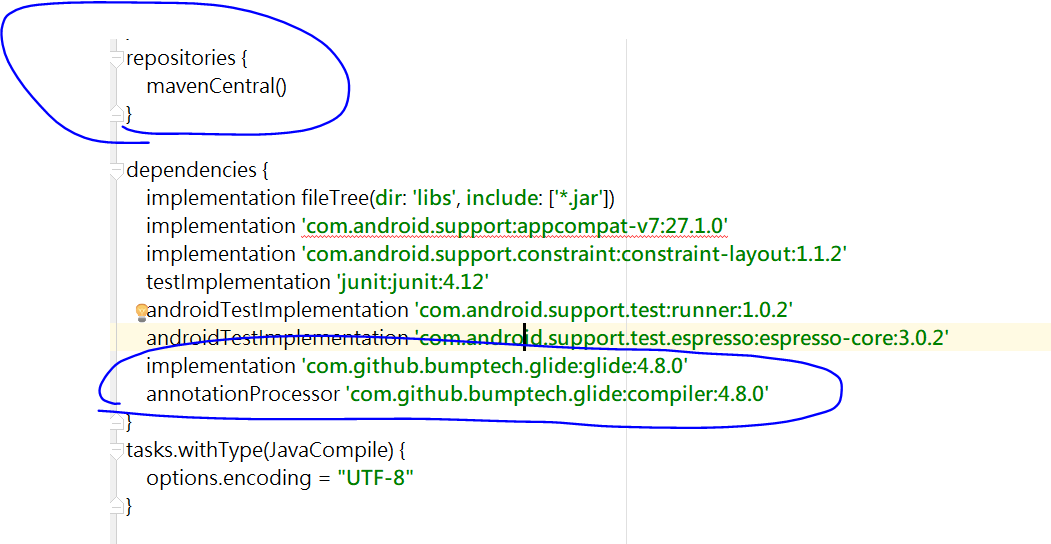
In addition to local pictures, you can also call network pictures
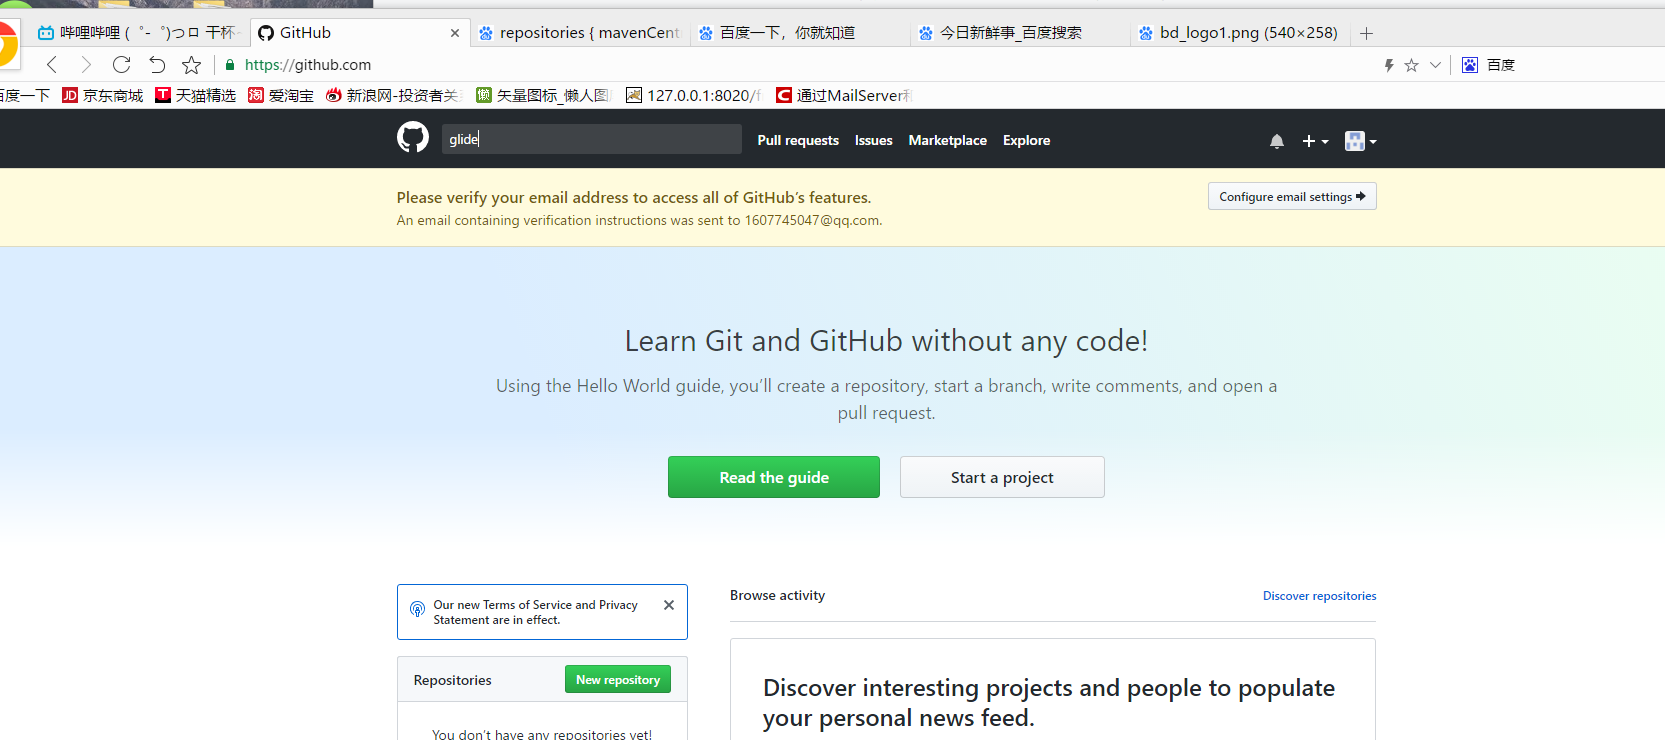
First in GitHub search glide
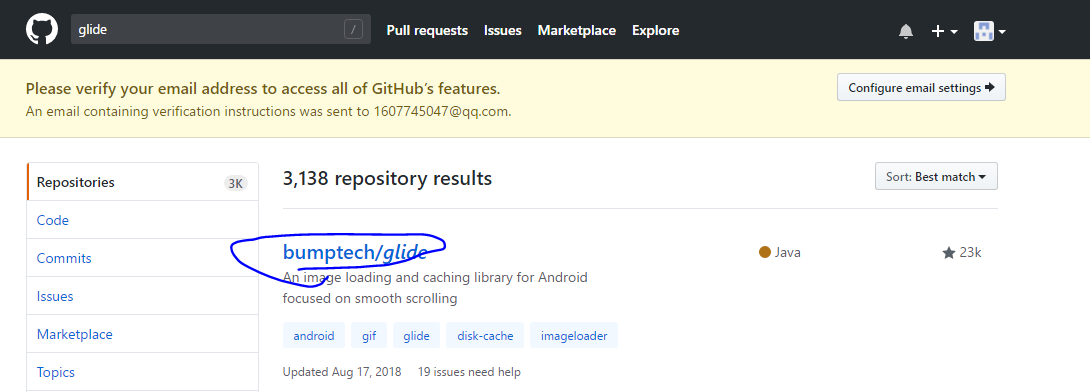
Choose bumptech/glide
After entering, you can download the rack package or use the code to realize it
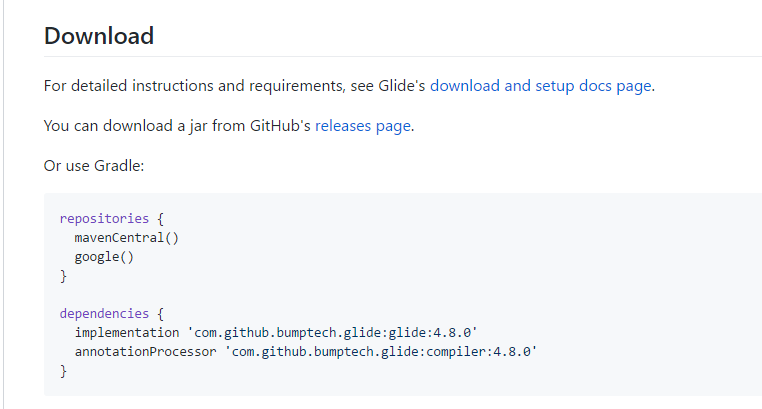
Modify the code in build. Grade below
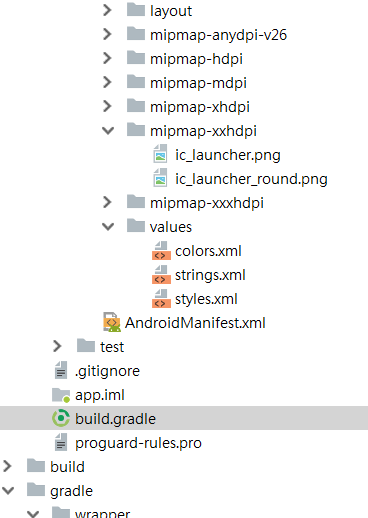
After modification
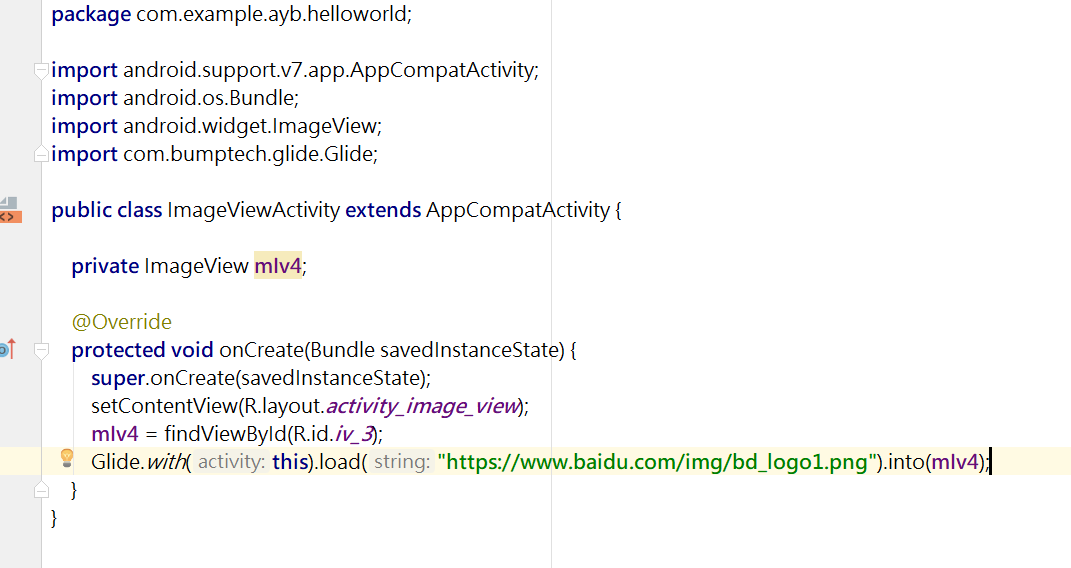
Next, modify the code in ImageViewActivity to introduce Baidu's picture into the code
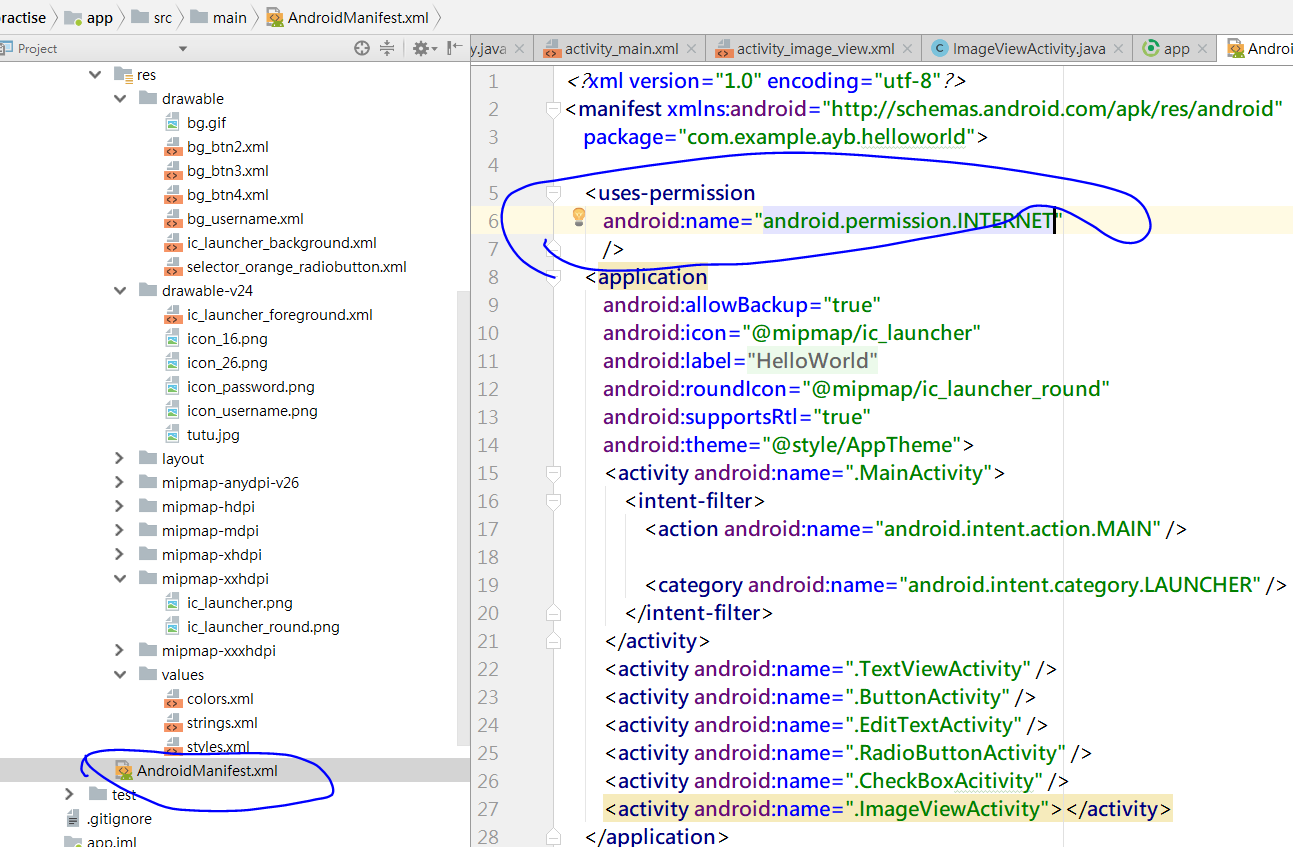
After clicking run, there will be an error because without INTERNET permission, add permission in Android manifest
Run again
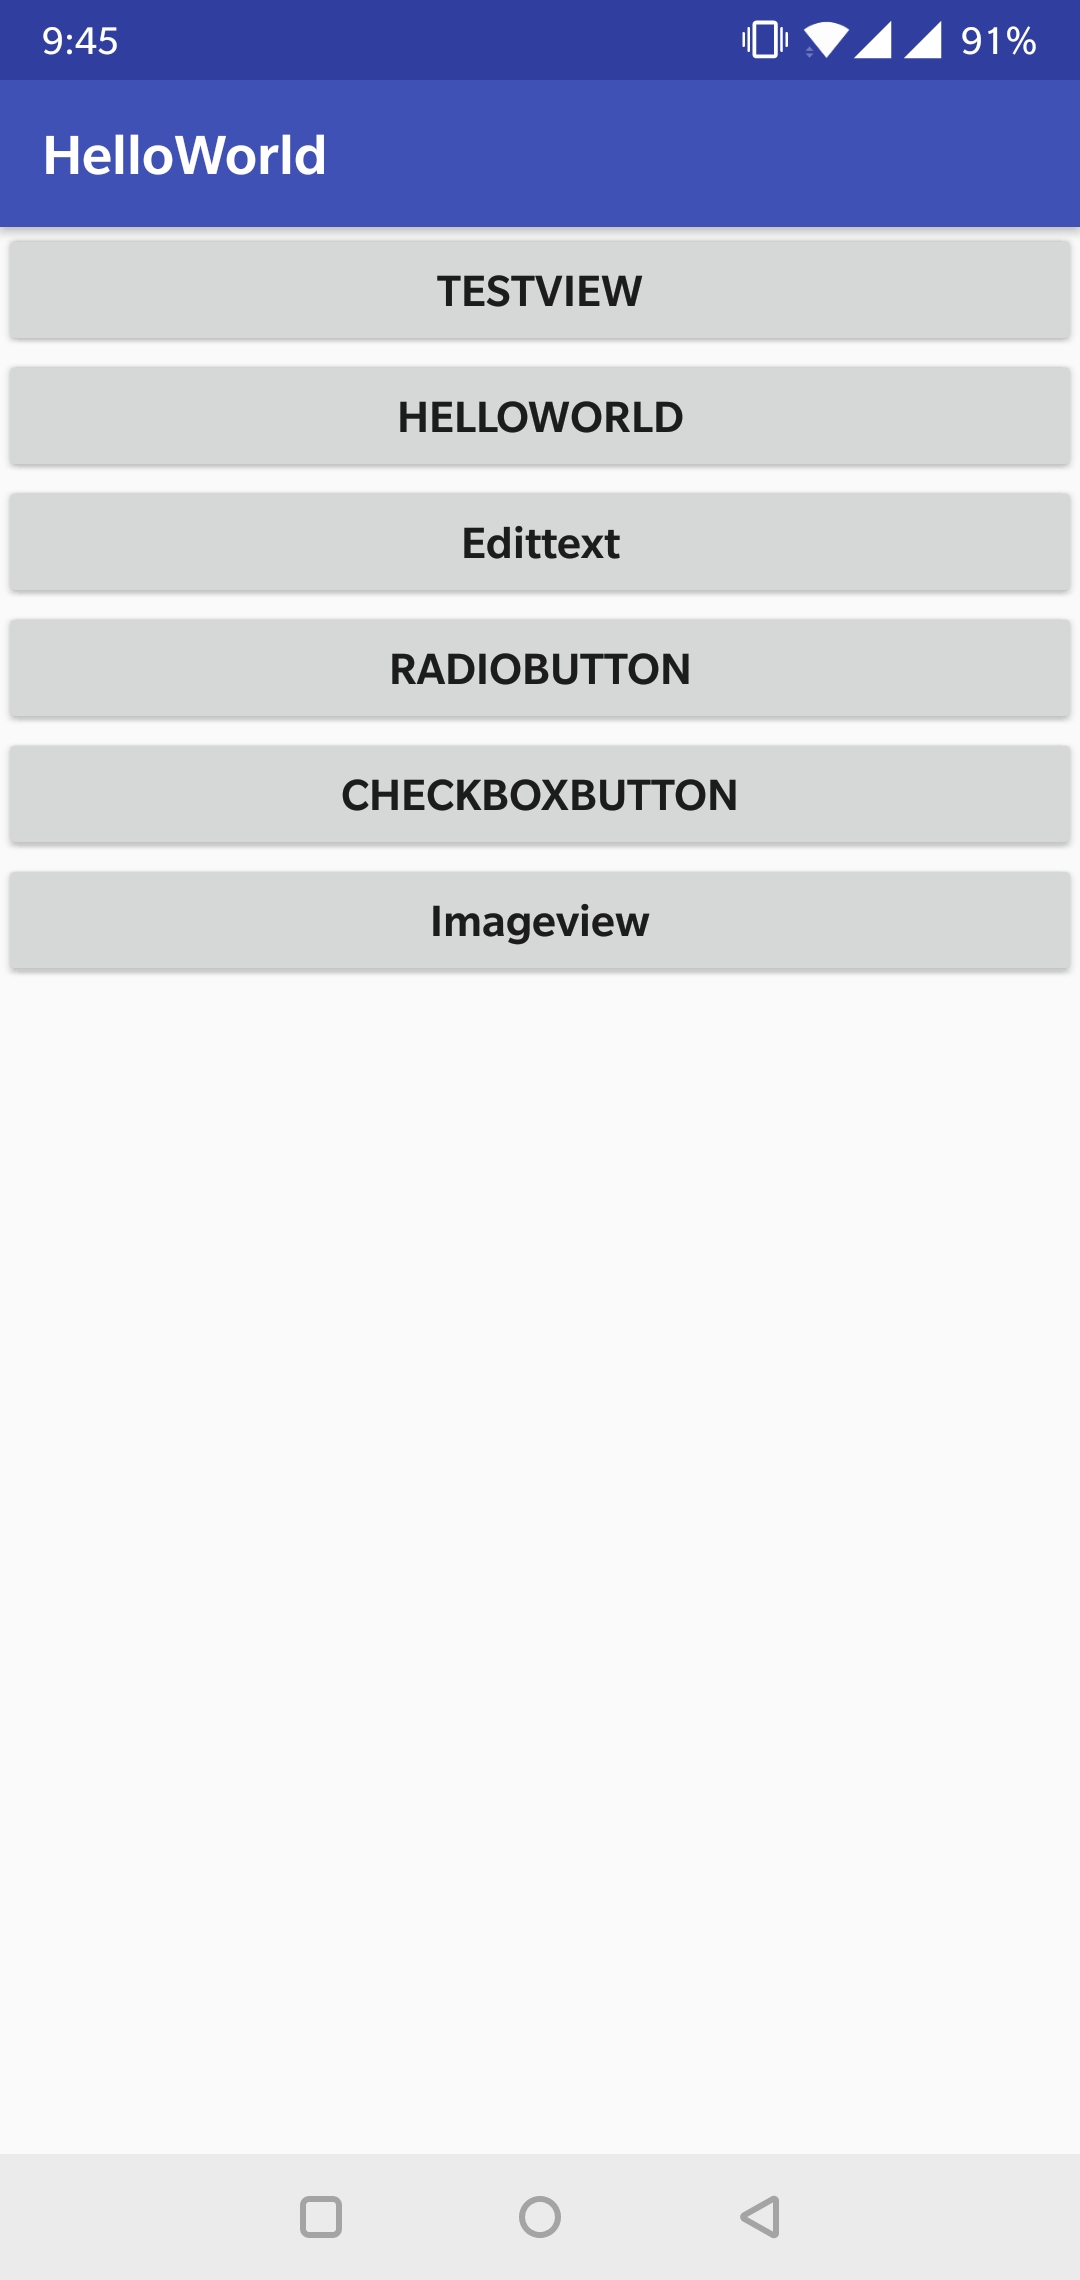
Click ImageView
