
preface
In this article, we implement a simple animation effect to familiarize ourselves with and deepen the use of Android attribute animation. In addition, this time we use kotlin for development. Students who are not familiar with kotlin can simply understand kotlin grammar by themselves. They should be able to understand it basically
We know that android's View Animation animation can move and zoom in, but it can't change the actual properties of the layout. For example, use scaleAnimation to scale the layout, but the actual size of the layout has not changed, so it will cover the layout next to it instead of spreading the layout and squeezing other layouts.
Effect display
Now we want to achieve an effect as follows:
At this time, using ViewAnimation will be more troublesome, so we use ObjectAnimator to implement it.
Animation analysis
This effect has three states:

(status 1)

(status 2)

(status 3)
The whole effect consists of two stages:
Inundation - from state 1 to state 2. The entire pink area submerges the entire page upward
Expand - from state 2 to state 3. When the entire page is flooded, expand from the middle to the entire page
Overall layout
These two stages are actually realized through the sequential execution of two parts of animation. Let's take a look at the layout first:
<?xml version="1.0" encoding="utf-8"?>
<FrameLayout xmlns:android="http://schemas.android.com/apk/res/android"
             android:layout_width= "match_parent"
             android:layout_height= "match_parent" >
    <RelativeLayout
        android:id="@+id/animation_content"
        android:layout_width="match_parent"
        android:layout_height="300dp"
        android:layout_gravity="bottom"
        >
        <ImageView
            android:layout_width="match_parent"
            android:layout_height="match_parent"
            android:src="@drawable/girl1"/>
        <FrameLayout
            android:id="@+id/spread_view"
            android:layout_width="match_parent"
            android:layout_height="0dp"
            android:layout_centerInParent="true" />
        <TextView
            android:layout_width="match_parent"
            android:layout_height="match_parent"
            android:layout_above="@id/spread_view"
            android:drawableBottom="@drawable/camera_top"
            android:background="#e07468" />
        <TextView
            android:layout_width="match_parent"
            android:layout_height="match_parent"
            android:layout_below="@id/spread_view"
            android:drawableTop="@drawable/camera_bottom"
            android:background="#e07468" />
    </RelativeLayout >
</FrameLayout>
The whole layout is mainly composed of four parts:
- animation_content - this is the part of the whole pink area.
- spread_view - this is the part of the black area. At first, the height is 0
- Two textview s -- the circular button in the middle is actually composed of two independent parts, and the spread is sandwiched between the two parts_ View (this layout is for the animation of the second stage, which will be explained in detail below)
It should be noted here that we use textview instead of imageview to realize the layout of the button, because if imageview is used, when the two parts of the button are expanded beyond the top and bottom of the screen in the second stage, the image will be reduced rather than overflow due to the compression of the imageview area. The difference is as follows
Effects of using ImageView
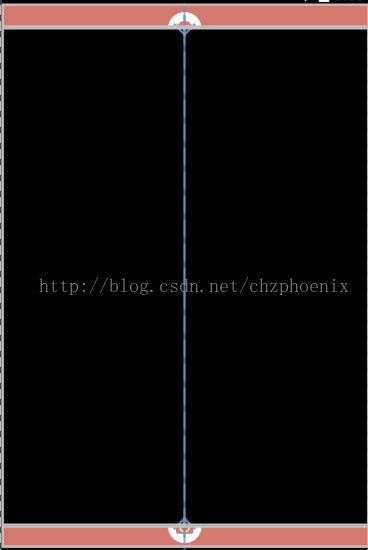
Effects of using TextView
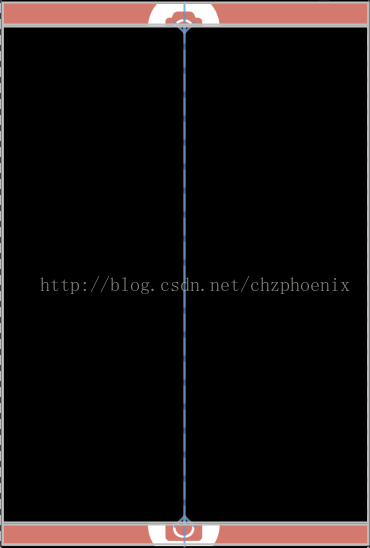
So we use TextView here. And set the picture through drawableBottom and other attributes, so that when the area is reduced, the picture size will not change.
Source code analysis
The following is the implementation code:
class FloodAndSpreadActivity : Activity() {
    override fun onCreate(savedInstanceState: Bundle?) {
        super.onCreate(savedInstanceState)
        setContentView(R.layout.flood_and_spread_activity)
        init()
    }

    fun init(){
        val height: Int = window.windowManager.defaultDisplay.height
        var floodWrapper = ViewWrapper(animation_content)
        var spreadWrapper = ViewWrapper(spread_view)
        var floodAnimation = ObjectAnimator.ofInt(floodWrapper, "height", height)
        floodAnimation.duration = 1000
        floodAnimation.start()
        floodAnimation.addListener(object: Animator.AnimatorListener{
            override fun onAnimationRepeat(p0: Animator?) {
            }

            override fun onAnimationCancel(p0: Animator?) {
            }

            override fun onAnimationStart(p0: Animator?) {
            }

            override fun onAnimationEnd(p0: Animator?) {
                ObjectAnimator.ofInt(spreadWrapper, "height", height).setDuration(1000).start()
            }
        })
    }

    class ViewWrapper (var mTarget: View){
        fun getHeight():Int{
            return mTarget.layoutParams.height
        }

        fun setHeight(height: Int){
            mTarget.layoutParams.height = height
            mTarget.requestLayout()
        }
    }
}
One of the advantages of Kotlin is that it can simplify a lot of code. You can see that it can achieve this effect in only a dozen lines.
Back to the code itself, we know from the above analysis that the whole process consists of two animation parts: inundation and expansion.
You can see the flooding animation in the code, which dynamically changes the animation through the floodWrapper_ The height of content is up to the height of the screen, which realizes the effect of inundation. And because spread_ The view is set to centerInParent, and the two parts of the button are the same as the spread_view, so during the animation process, the button will move with it and always be in the animation state_ Content center.
Summary of knowledge points
ObjectAnimator
Here is a brief description of the method we use: ofint (flood wrapper, "height", height). This method is mainly for parameters of type int. The first parameter is the class to change the attribute, which can be a proxy class, which will be discussed below; The second parameter is the property name to be changed, which is actually the corresponding getter and setter methods of the calling class; The third parameter is the final value of the attribute. During the whole animation process, changing the attribute will gradually change from the current value to the final value.
ObjectAnimator also has many methods. If you are interested, you can learn by yourself.
ViewWrapper
Let's first talk about the floodWrapper, which is a ViewWrapper object. ObjectAnimator will change the value of a property of a class through getter and setter methods, but if there is no corresponding method or more operations are required, we can use the form of proxy. ViewWrapper is a proxy class. Since View has only getHeight function and no setHeight function, we use ViewWrapper to proxy it and implement getHeight and setHeight functions.
summary
Back to the flood animation, we see that there is a listener that starts another animation when the animation is over. Another way can also be used for this association behavior of animation: AnimatorSet. Through AnimatorSet, multiple animations can be executed in different order, which is very useful to deal with complex animation effects. Since this article is only a simple sequential execution, it is not used. The use of AnimatorSet is relatively simple. You can refer to the official documents.
When the flood animation is completed, we execute another animation, which is the second stage: deployment. What we changed this time is spread_ The height of the view, because the two parts of the button are related to the spread_view, so when spread_ When the height of the view changes, the two parts of the button are also separated, which forms an expanded effect until the spread_view expands to the entire screen.
In this way, the effect is completed. The actual application of this effect is a transition or transition animation. The main knowledge point is the use of attribute animation.
If you are interested, you can implement them manually to have a deeper understanding of these two functions.