The project needs to be developed using jni. The computer hasn't been installed before. Now let's start from scratch.
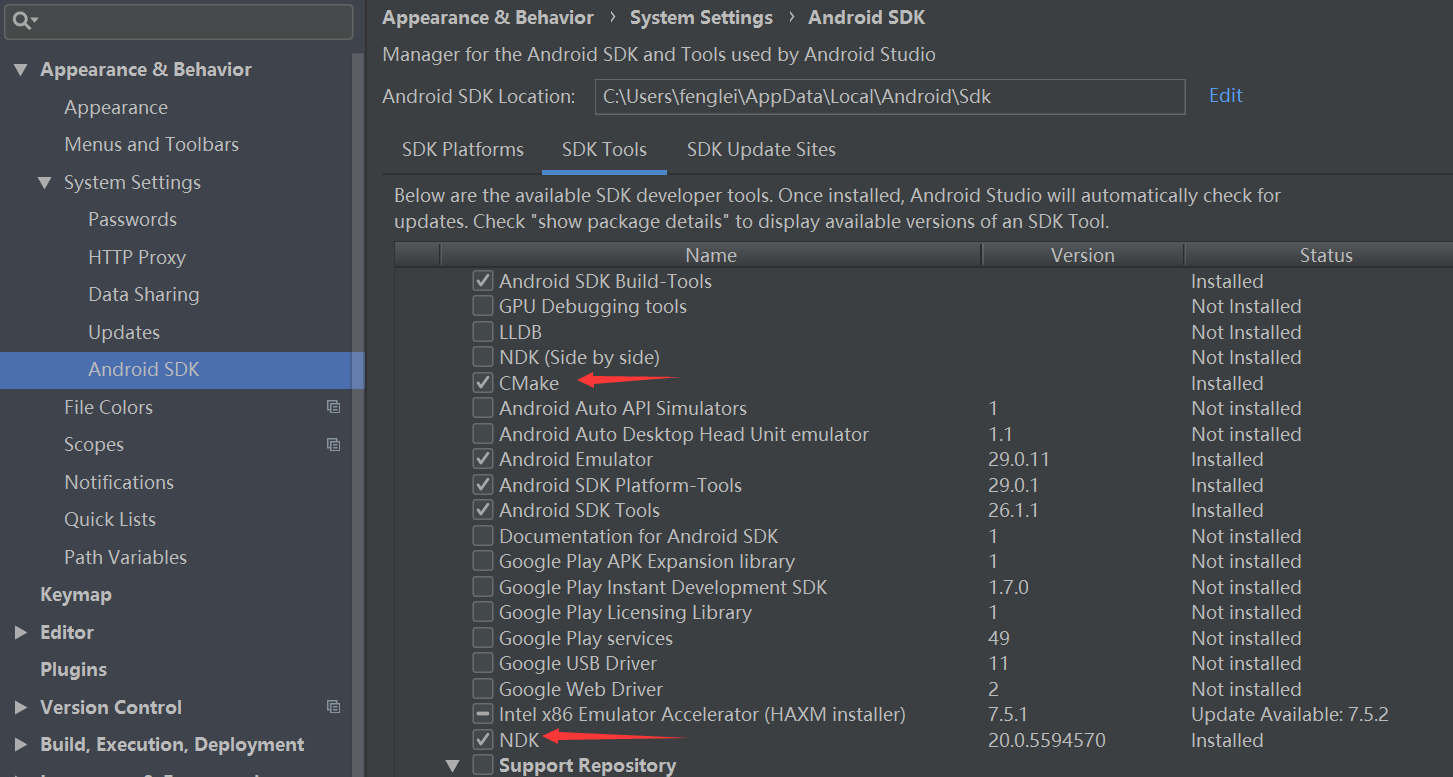
1. Install NDK and Make, Ctrl+Alt+S in Android Studio interface into settings interface, select CMake and NDK, click Apply, and it will be installed automatically.
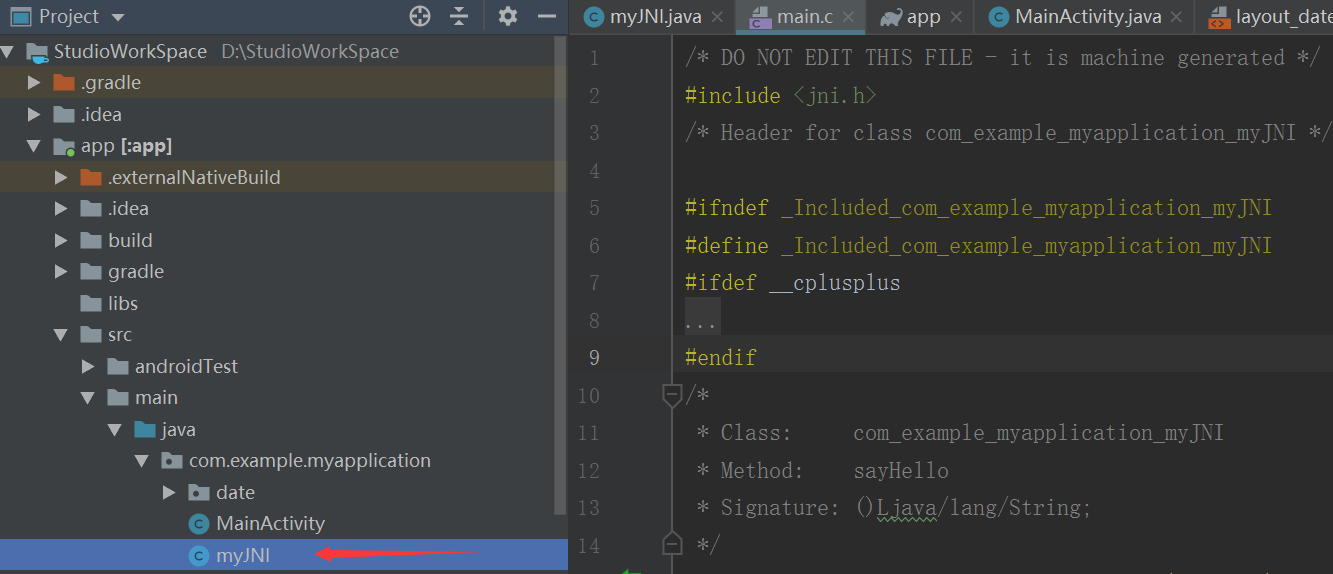
2. Create a new myJNI.java file in the project and the same level directory as MainActivity, as shown in the figure.
3. Edit myJNI.java file, code as follows:
package com.example.myapplication;

public class myJNI {

    static {
        System.loadLibrary("JniTest");
    }

    public static native String sayHello();
}
4. Click on the Terminal of Android Studio, enter the terminal, execute the command javac myJNI.java, and generate a myJNI.class in the directory.
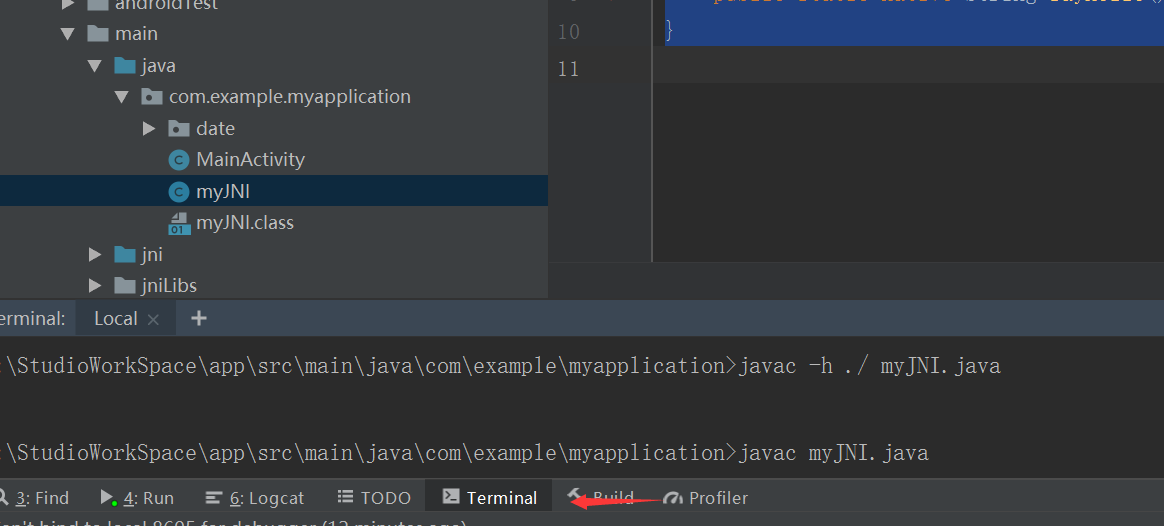
5, and then execute javac-h myJNI. java, which generates a header file
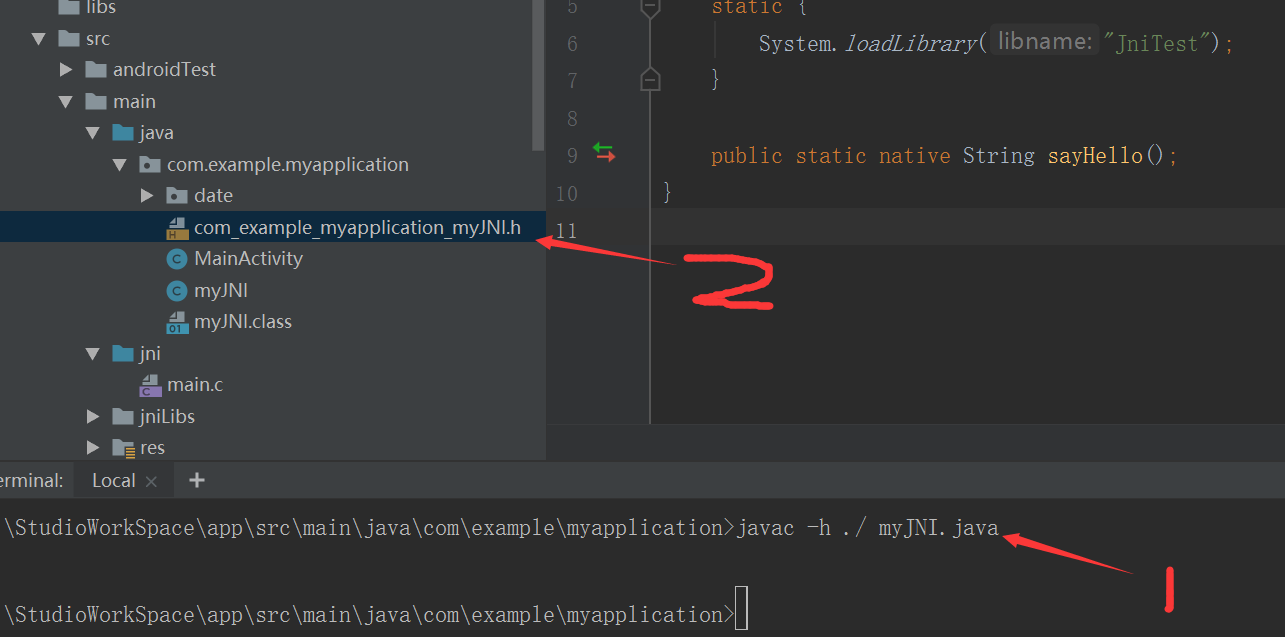
6. Create a new folder jni and a new C file main.c

7. After implementing the method in the newly generated com_example_myapplication_myJNI.h file, copy it to main.c. The code is as follows:
/* DO NOT EDIT THIS FILE - it is machine generated */
#include <jni.h>
/* Header for class com_example_myapplication_myJNI */

#ifndef _Included_com_example_myapplication_myJNI
#define _Included_com_example_myapplication_myJNI
#ifdef __cplusplus
extern "C" {
#endif
/*
 * Class:     com_example_myapplication_myJNI
 * Method:    sayHello
 * Signature: ()Ljava/lang/String;
 */
JNIEXPORT jstring JNICALL Java_com_example_myapplication_myJNI_sayHello
  (JNIEnv *env, jclass jobject){
    return (*env)->NewStringUTF(env,"Hello Maybe");
  }

#ifdef __cplusplus
}
#endif
#endif
8. Create a new file CMakeLists.txt under the app path and configure the file.
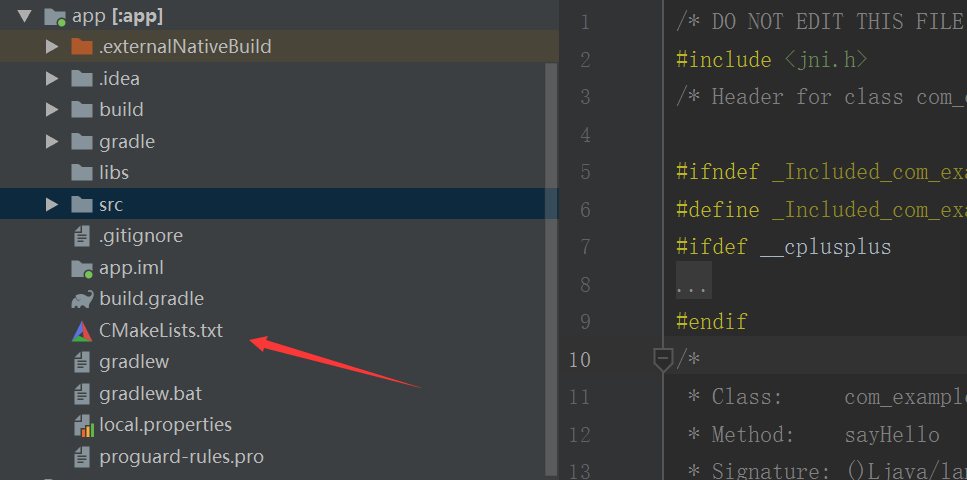
The code of the CMakeLists.txt file is as follows:
# For more information about using CMake with Android Studio, read the
# documentation: https://d.android.com/studio/projects/add-native-code.html

# Sets the minimum version of CMake required to build the native library.

cmake_minimum_required(VERSION 3.4.1)

# Creates and names a library, sets it as either STATIC
# or SHARED, and provides the relative paths to its source code.
# You can define multiple libraries, and CMake builds them for you.
# Gradle automatically packages shared libraries with your APK.

add_library( # Sets the name of the library. Set to generate so file name
            JniTest

            # Sets the library as a shared library.
            SHARED

            # Provides a relative path to your source file(s). C/C++ files to be compiled
            src/main/jni/main.c)

# Searches for a specified prebuilt library and stores the path as a
# variable. Because CMake includes system libraries in the search path by
# default, you only need to specify the name of the public NDK library
# you want to add. CMake verifies that the library exists before
# completing its build.

find_library( # Sets the name of the path variable.
             log-lib

             # Specifies the name of the NDK library that
             # you want CMake to locate.
             log )

# Specifies libraries CMake should link to your target library. You
# can link multiple libraries, such as libraries you define in this
# build script, prebuilt third-party libraries, or system libraries.

target_link_libraries( # Specifies the target library. Specifies the target library for the connection
                      JniTest

                      # Links the target library to the log library
                      # included in the NDK.
                      ${log-lib} )
9. Configure the build.gradle of app and add the following code in defaultConfig:
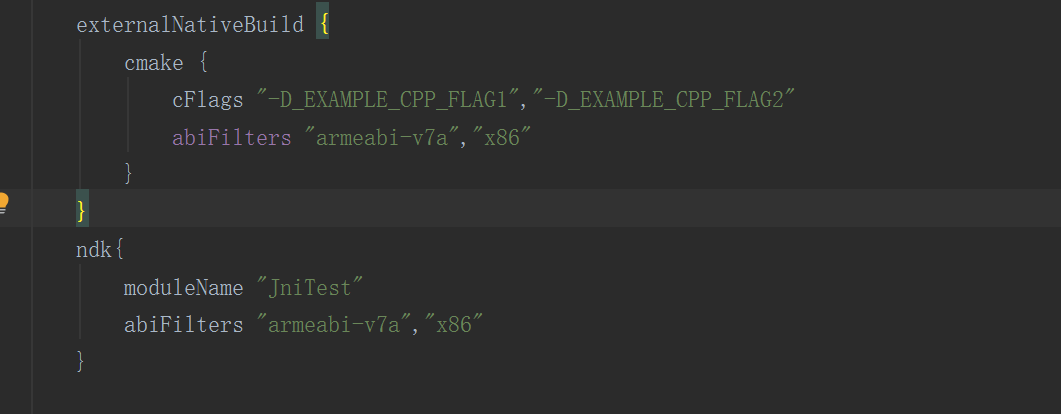
In addition to defaultConfig, add the following code to android:

10, Rebuild Project, rebuild the project
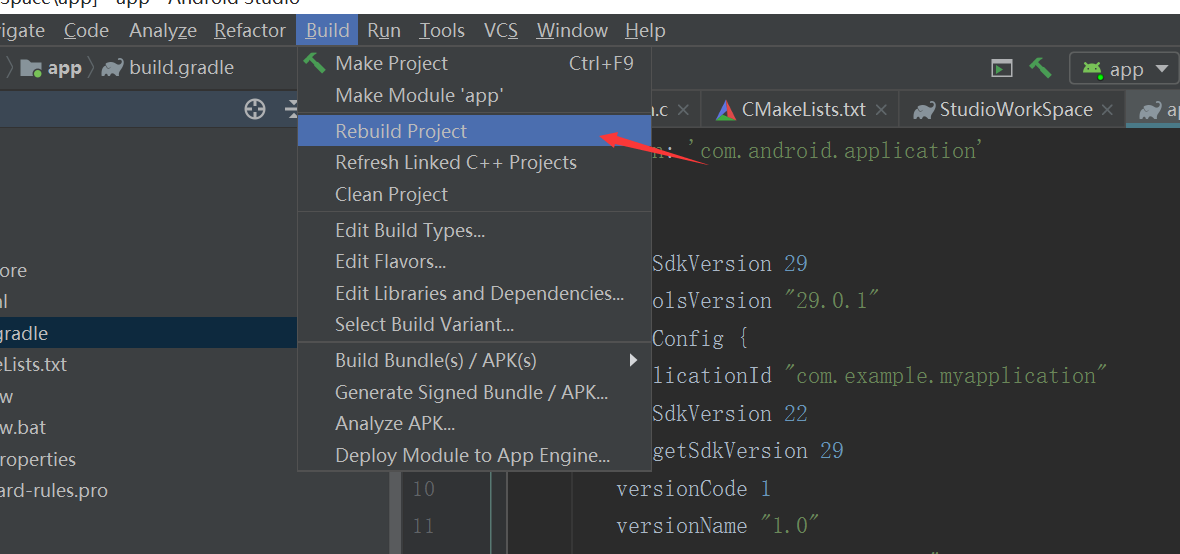
11. Find the so file under the app/build/intermediates/cmake/debug/obj/armeabi-v7a path
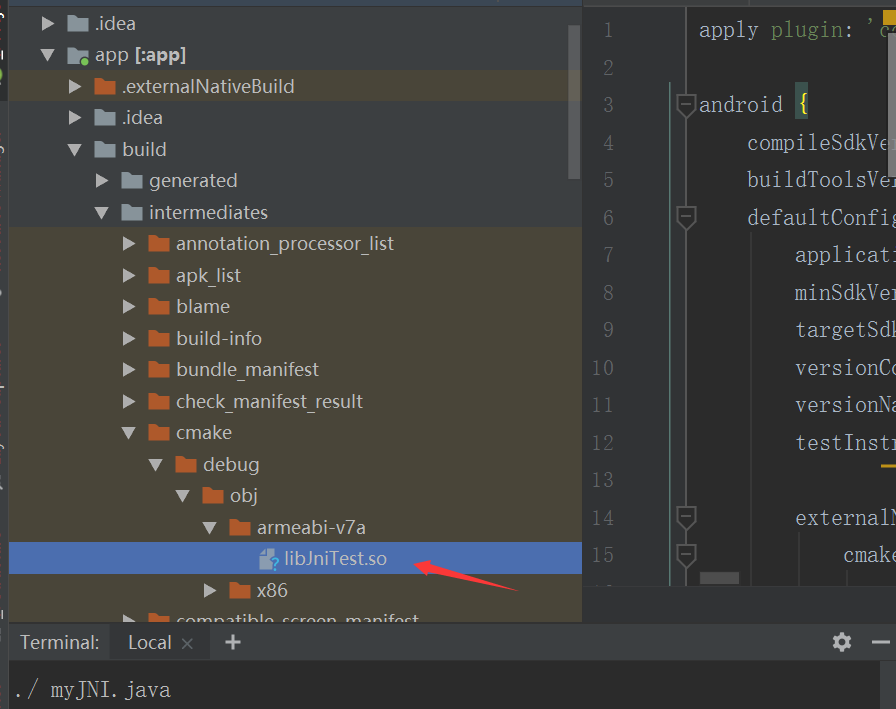
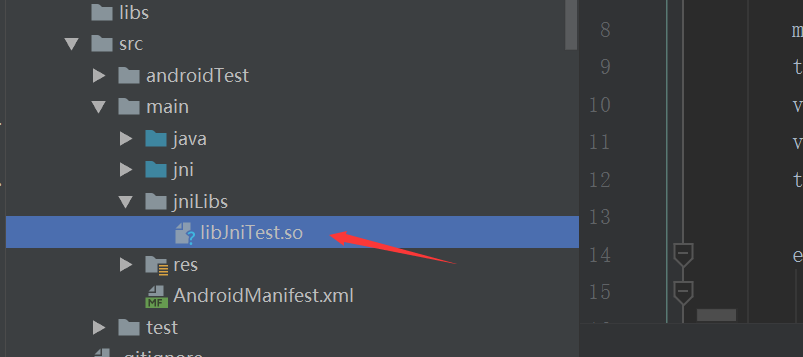
12. Create a new folder jniLibs under the main path and copy a newly generated so file to this path
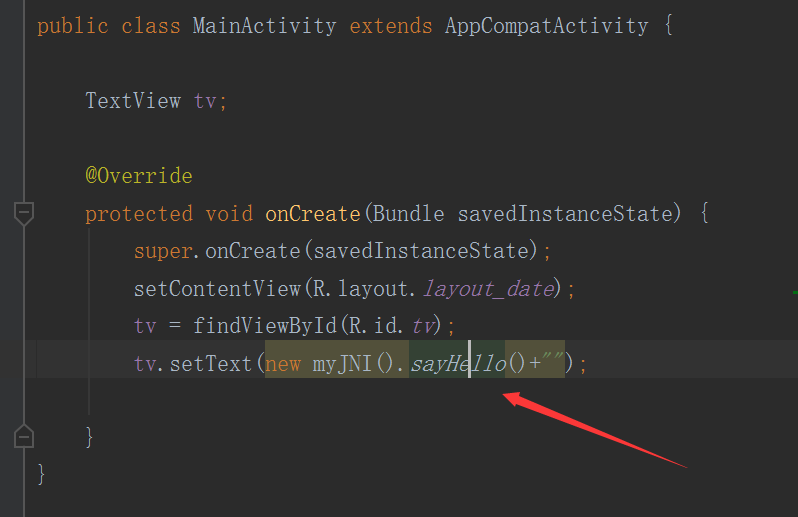
13. You can call methods in your code through jni
Completed ~ ~.