Recently, when contacting Arduino and ESP8266 modules, the basis is to use Arduino IDE software, ESP8266 module and a mobile phone software to control the lights on and off on the 8266 test board.
Project software:
Arduino IDE software
Download address:
Mobile APP (ios system)
It seems inconvenient to download the netorch network debugging assistant in the ios system I use, so I directly downloaded a UDP/TCP/REST in the App Store, and the effect is the same.

Hardware equipment:
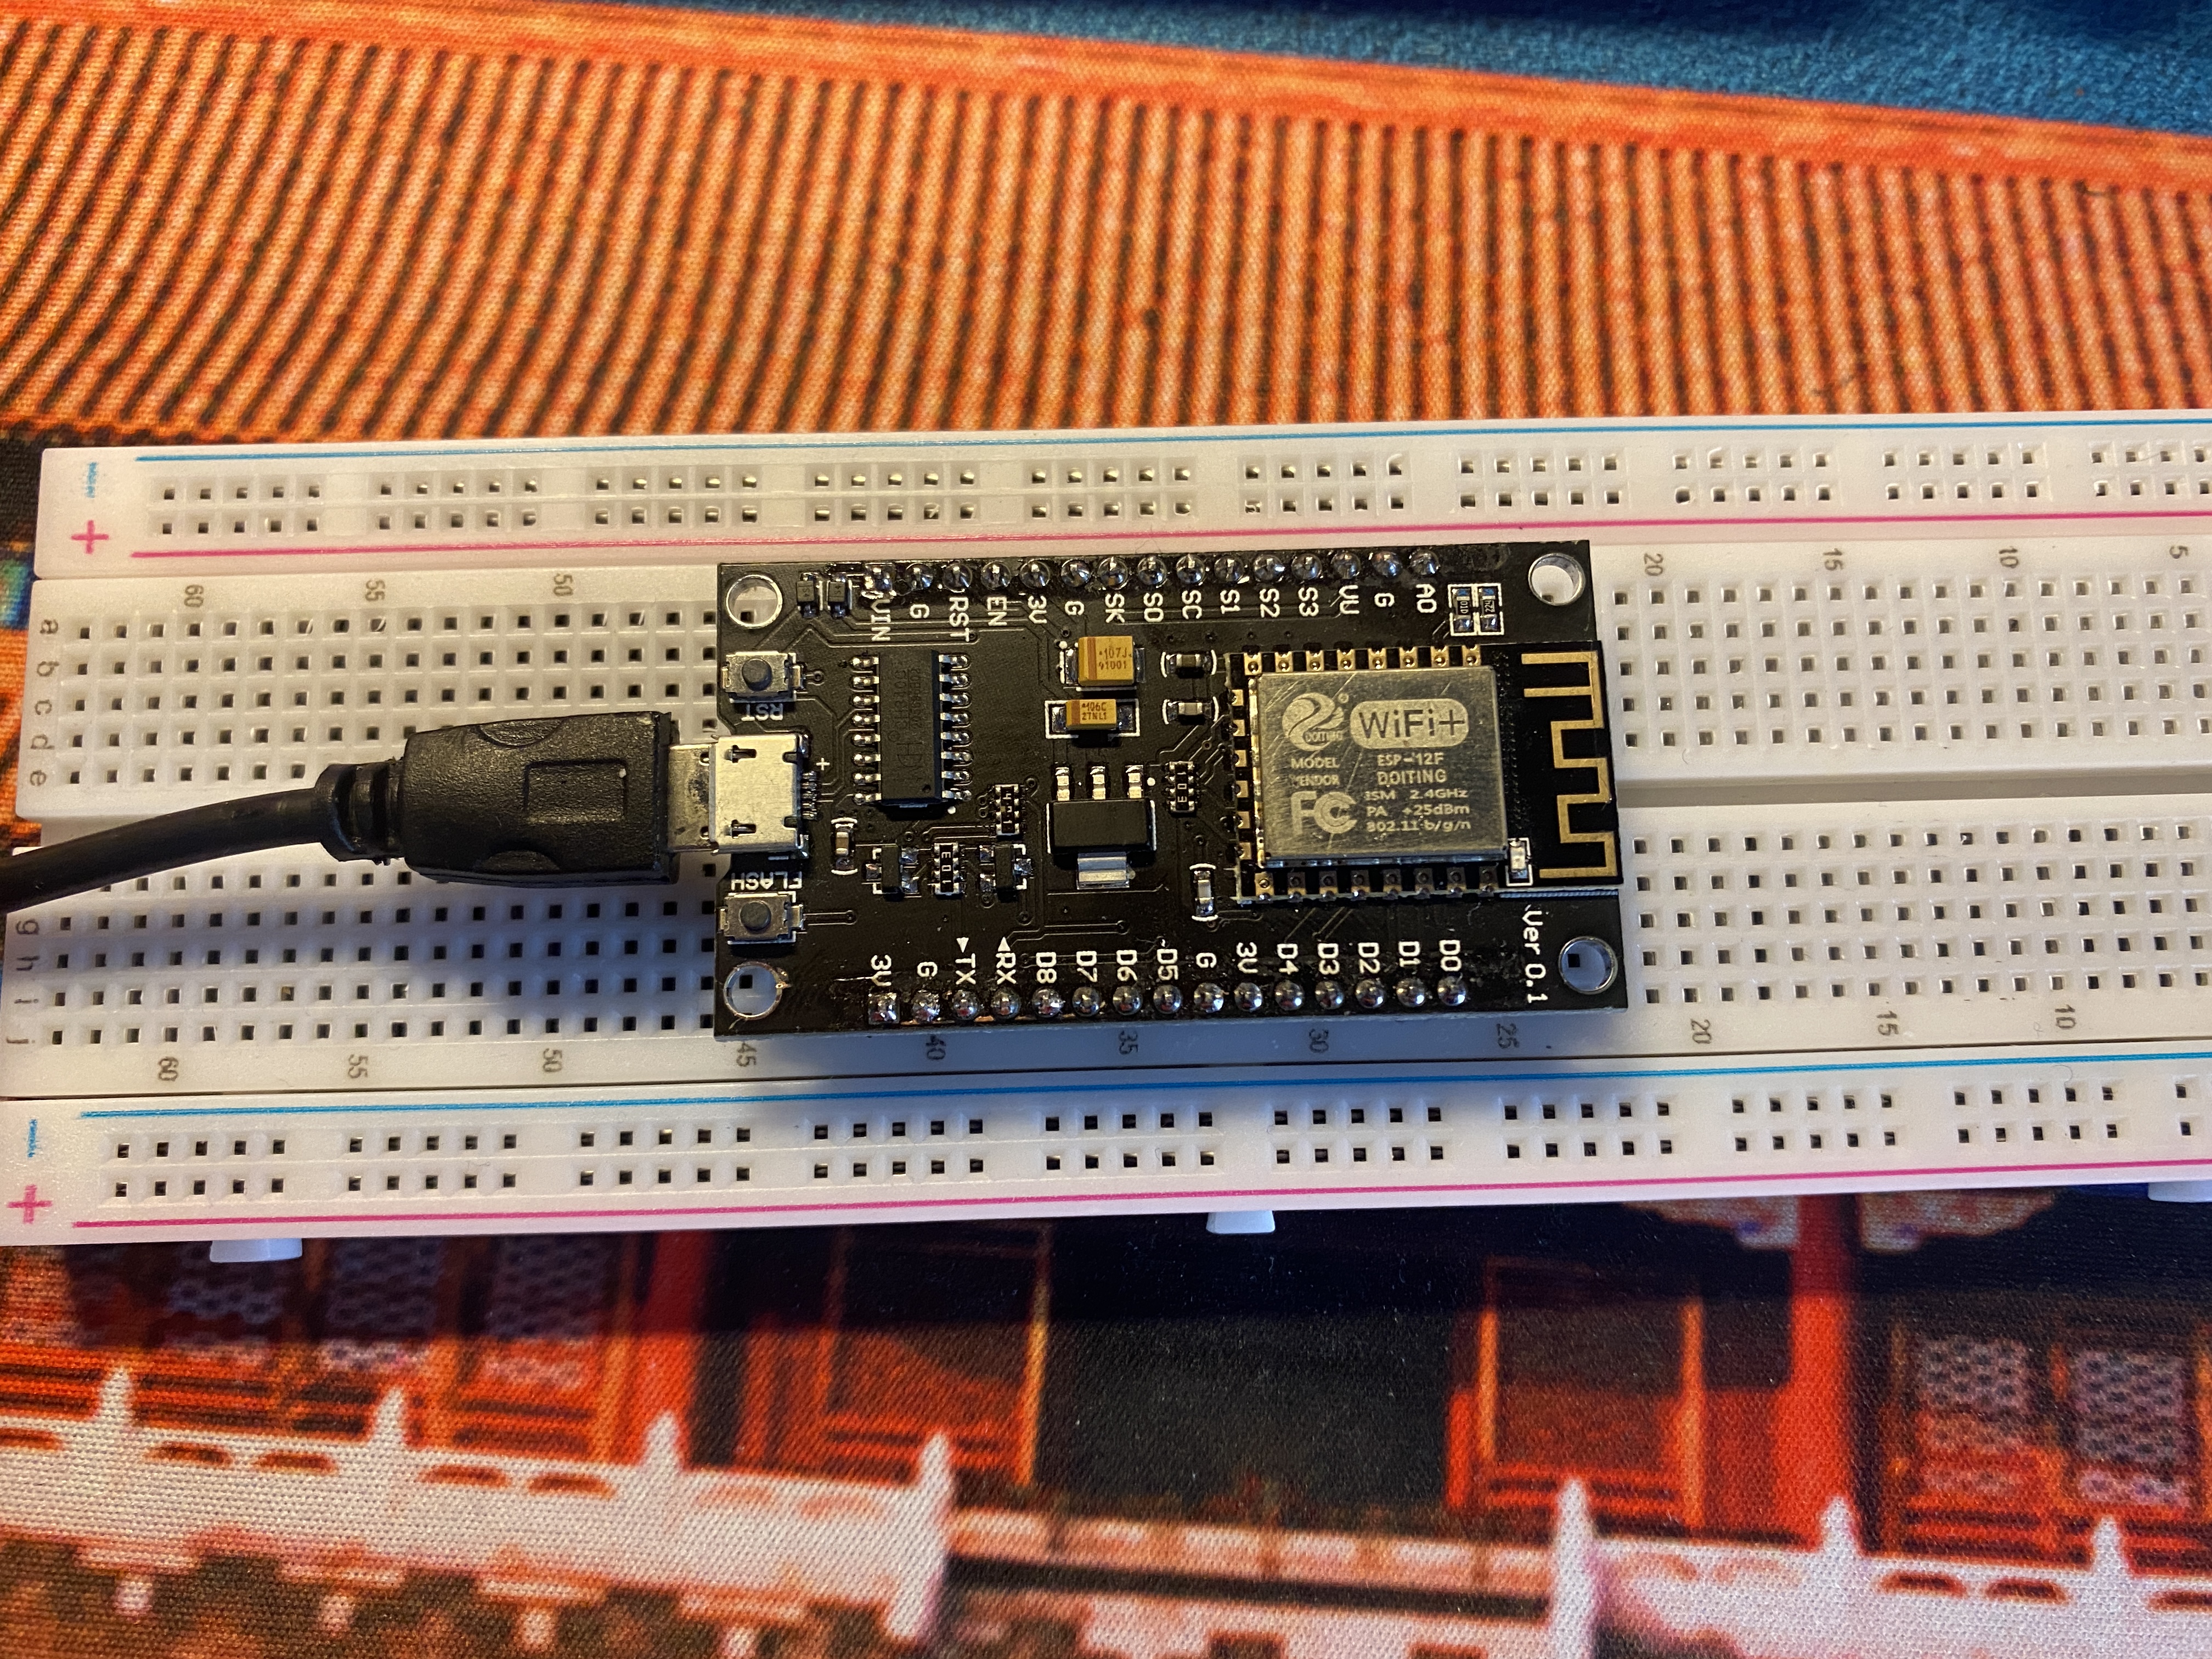
1.ESP8266 module (there are many kinds. I use the Internet of things test board - CH340G)
My test board comes with CH340. If you have used 51 single chip microcomputer before, there should be CH340 driver in the computer, so you don't have to install it again.
2. A usb data cable (must have the function of transmitting data, not only power supply)
3. A laptop (my windows 10 system)

Arduino program
/*In this article, 8266 is added to the tcpServer created by the mobile phone as a TCPcleint to control a relay*/

#include <ESP8266WiFi.h>

const char *ssid     = "WIFI_NAME";//Here is my wifi. When you use it, modify it to the wifi ssid you want to connect
const char *password = "WIFI_PASSWORD";//wifi password you want to connect
const char *host = "192.168.*.*";//Modify to the IP address of the tcpServer server of the mobile phone, that is, the IP address of the mobile phone on the router
WiFiClient client;
const int tcpPort = 8266;//Modify the port number of the Server server created for you

void setup()
{
  pinMode(LED_BUILTIN, OUTPUT);
  Serial.begin(115200);
  delay(10);
  Serial.println();
  Serial.println();
  Serial.print("Connecting to ");//Write a few hints
  Serial.println(ssid);

  WiFi.begin(ssid, password);

  while (WiFi.status() != WL_CONNECTED)//WiFi.status(), this function is the wifi connection status and returns the wifi link status
    //Here we won't repeat the data it returns one by one. If you are interested, check it in ESP8266WiFi.cpp
  {
    delay(500);
    Serial.print(".");
  }//If there is no connection, send to the serial port

  Serial.println("");
  Serial.println("WiFi connected");
  Serial.println("IP address: ");
  Serial.println(WiFi.localIP());//WiFi.localIP() returns the ip address obtained by 8266
}


void loop()
{
  while (!client.connected())//Several non connected exception handling
  {
    if (!client.connect(host, tcpPort))
    {
      Serial.println("connection....");
      //client.stop();
      delay(500);
    }
  }
  while (client.available())//available() is the same as ARDUINO. It is not explained
  {
    char val = client.read();//read() is the same as arduino
    if (val == 'a') { //The pc sends a and b to control
      digitalWrite(LED_BUILTIN, HIGH);
      client.write("Lights off");
    }
    if (val == 'b')
    {
      digitalWrite(LED_BUILTIN, LOW);
      client.write("Lights on");
    }
  }
}
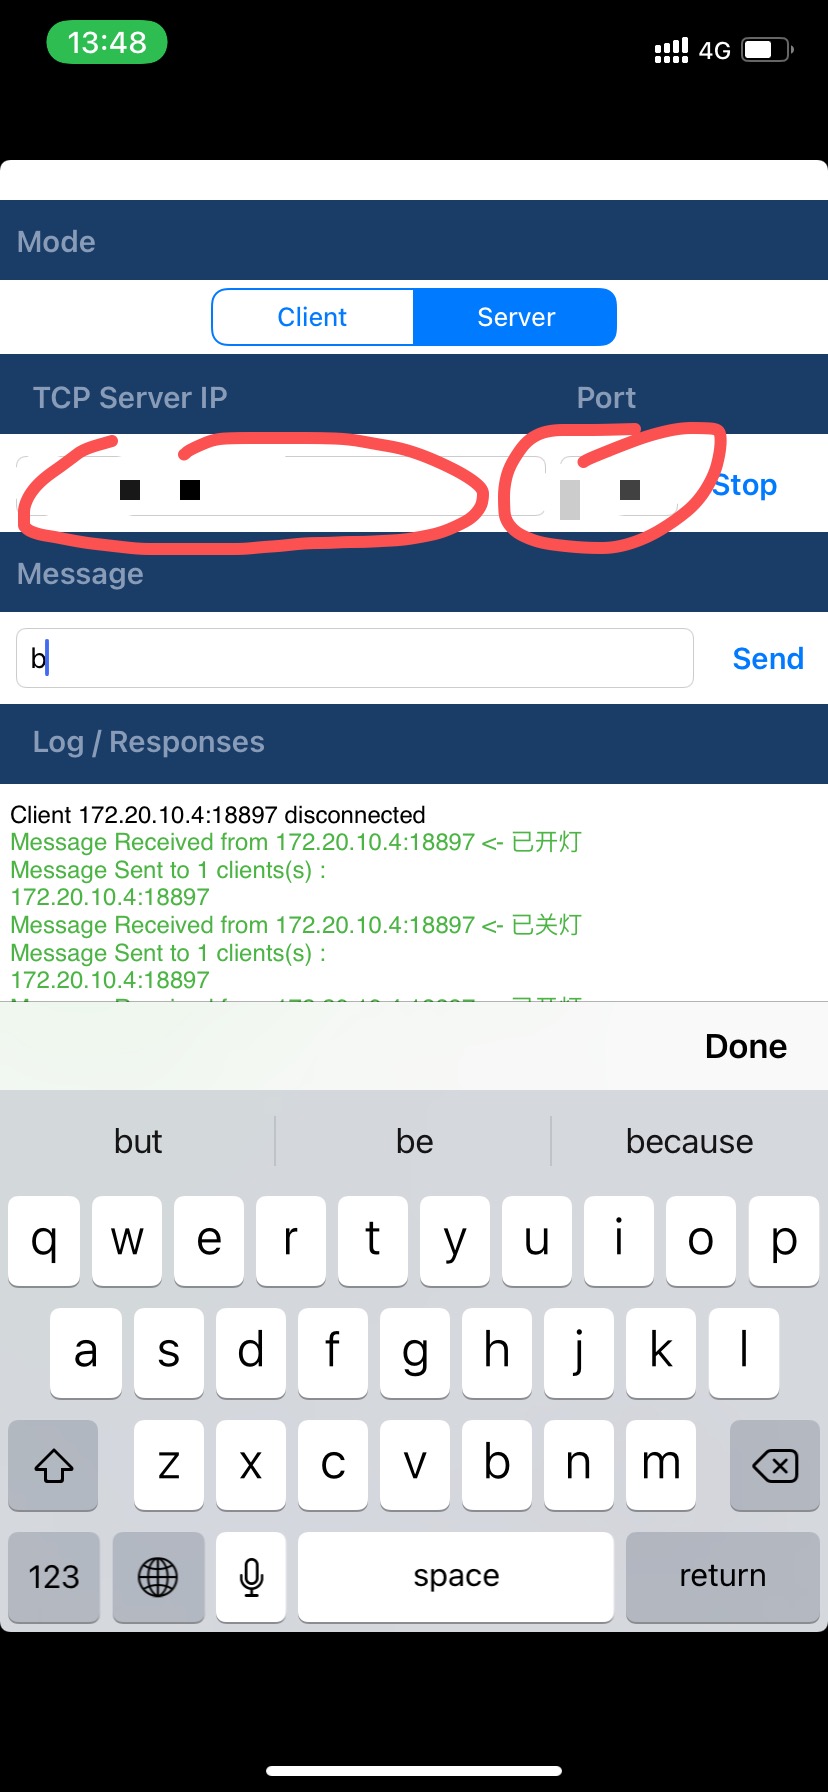
This is the code I refer to another blogger. It is very easy to understand and operable. The part that needs to be modified is ssid: modify it to your own mobile hotspot name, password: modify it to your mobile hotspot password, host to the server ip address displayed in the mobile APP, and tcpport to the server port number in the mobile APP. Here, the program part does not need to be changed.
common problem!!!
No such file or directory during compilation
This was the first time I had a problem when compiling. It was also very troublesome. I referred to four or five articles on csdn and finally solved it.
The solution steps I summarized are:
1.https://arduino.esp8266.com/stable/package_esp8266com_index.json
Copy the above web address to the file - > Preferences - > attached development board management web address in Arduino IDE, and click "OK"
2. Click Tools - > Management Library - > search esp8266 to download the library. The online download will be very slow, and even many errors will occur continuously, resulting in failure to download. Here I repeated it many times and failed to solve it. Then I tried to download the previous version (there is no need to download the latest version), and finally it was very successful.
3. How to check whether the download is successful?
You can click the tool. If the download is successful, you can select Deneric ESP8266 Module in the development board column, which means that the download is successful. Then click compile and upload to the ESP8266 board.
Mobile phone software debugging:
1. Open the personal hotspot and connect the ESP8266 successfully. The premise is that you have to modify the above part of the program
2. Open the TCP debugging app

3. On the server side, check whether the ip and port are consistent with those in the program. After they are consistent, you can enter a (off) and b (on) in the send column to test the small light.
Good luck!, If there is infringement, please contact me to delete. Thank you.