preface
First blog post Introduced how to asp.net Core uses Redis and Protobuf for Session caching. This article is a small function used in the development process, how to do single file and multi file upload. If you think it will help you, you may as well click "recommend".
catalog
- Single file upload
- Multi file upload
- Sample source code
Single file upload
Uploading files is a common feature in Web applications. stay asp.net It's easy to upload files in the core and save them on the server. Now let's demonstrate how to ASP.NET Upload files in the core project.
First, create a asp.net Core project, then add a HomeController in the Controller file, and then add a HomeController in the Home folder of Views folder New.cshtml View file. As shown below: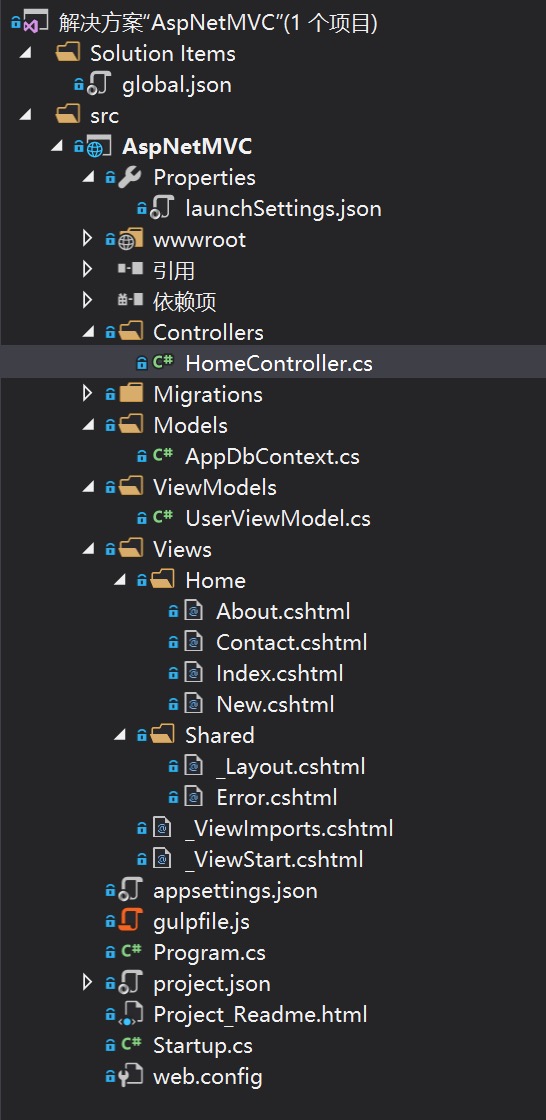
Add a UserViewModel.cs In the Model folder, the code is as follows:
public class UserViewModel
{
    [Required]
    [Display(Name = "full name")]
    public string Name { get; set; }

    [Required]
    [Display(Name = "ID")]
    [RegularExpression(@"^(\d{15}$|^\d{18}$|^\d{17}(\d|X|x))$", ErrorMessage = "Illegal ID number")]
    public string IdNum { get; set; }

    public string IdCardImgName { get; set; }

    [Required]
    [Display(Name = "ID card attachment")]
    [FileExtensions(Extensions = ".jpg,.png", ErrorMessage = "Picture format error")]
    public IFormFile IdCardImg { get; set; }
}
Then add a New.cshtml View files in the Views folder:
@model UserViewModel

<form asp-controller="Home" role="form" asp-action="New" enctype="multipart/form-data" method="post">
    <div class="form-group">
        <label asp-for="Name"></label>
        <input type="text" class="form-control" asp-for="Name" />
    </div>
    <div class="form-group">
        <label asp-for="IdNum"></label>
        <input type="text" class="form-control" asp-for="IdNum" />
    </div>
    <div class="form-group">
        <label asp-for="IdCardImg"></label>
        <input type="file" asp-for="IdCardImg" />
        <p class="help-block">Upload.</p>
    </div>
    <button type="submit" class="btn btn-default">Submit</button>
</form>
In HomeController, add the Action method corresponding to the page:
[HttpPost]
public IActionResult New([FromServices]IHostingEnvironment env, [FromServices]AppDbContext dbContext, UserViewModel user) {
    var fileName = Path.Combine("upload", DateTime.Now.ToString("MMddHHmmss") + ".jpg");
    using (var stream = new FileStream(Path.Combine(env.WebRootPath, fileName), FileMode.CreateNew)) {
        user.IdCardImg.CopyTo(stream);
    }

    var users = dbContext.Set<User>();
    var dbUser = new User() {
        Name = user.Name,
        IdCardNum = user.IdNum,
        IdCardImgName = fileName
    };
    users.Add(dbUser);
    dbContext.SaveChanges();

    return RedirectToAction(nameof(Index));
}
Run the program to view the form: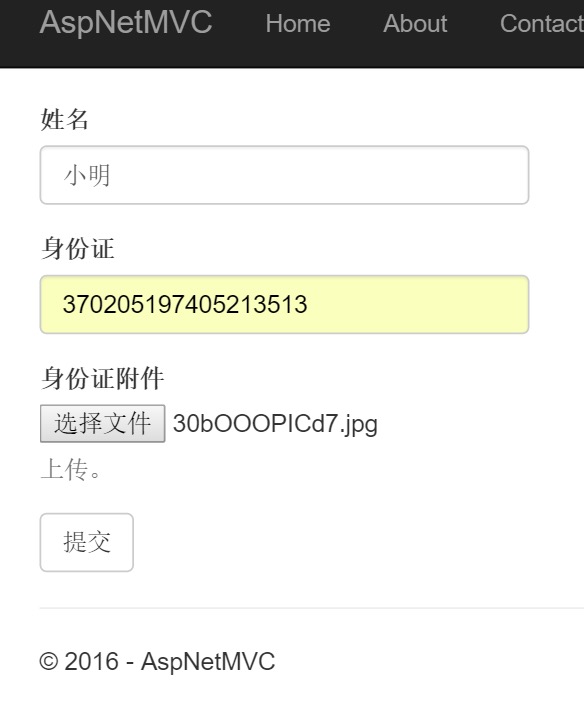

Multi file upload
Multi file upload is similar to single file upload. The ViewModel of the form uses icollection < ifromfile > and then the multitle can be added to the < input type = "file" ASP for = "idcardimg" multitle / > of the form (only H5 is supported).
Sample source code
Note: the Sqlite and Code First methods used by the sample data store are used to generate the database.
The sample code has been uploaded to github:
https://github.com/yuleyule66/AspNetCoreFileUpload
Address: http://www.cnblogs.com/savorboard/p/5599563.html
Author blog: Savorboard
Welcome to reprint, please keep the source