1: rpm installation
1. Install dependency package, download and install gitlab rpm package
Because Gitlab's business requires the function of sending mail, you should install postfix.com before installing Gitlab
yum install curl openssh-server postfix cronie
yum -y install policycoreutils-python   #The dependent package must be installed
Download and install gitlab rpm package
wget --content-disposition https://packages.gitlab.com/gitlab/gitlab-ce/packages/el/7/gitlab-ce-10.8.4-ce.0.el7.x86_64.rpm/download.rpm

rpm -ivh gitlab-ce-10.8.4-ce.0.el7.x86_64.rpm
Note: if the network is unstable, you can also use the Tsinghua open source software mirror website to download the required version
https://mirrors.tuna.tsinghua.edu.cn/gitlab-ce/yum/el6/            #centos6
https://mirrors.tuna.tsinghua.edu.cn/gitlab-ce/yum/el7/            #centos7
After installation, the logo of gitlab will appear
2, Install using yum or up2date
1. Configure yum source
vim /etc/yum.repos.d/gitlab-ce.repo
Copy the following:
[gitlab-ce]
name=Gitlab CE Repository
baseurl=https://mirrors.tuna.tsinghua.edu.cn/gitlab-ce/yum/el$releasever/
gpgcheck=0
enabled=1
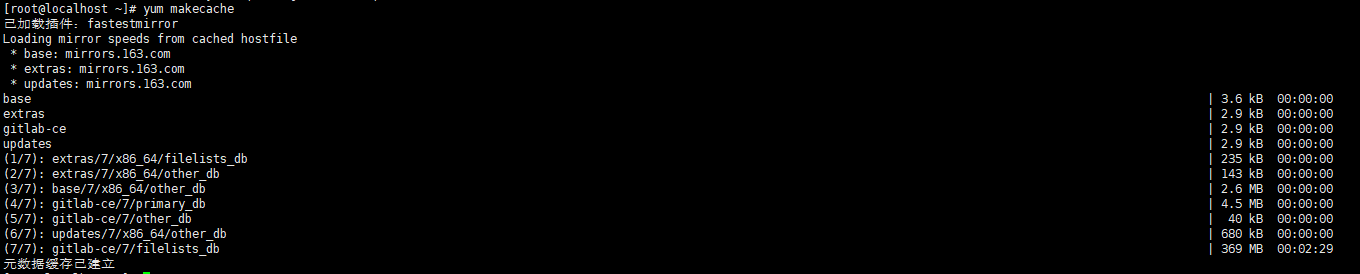
2. Update local yum cache
sudo yum makecache
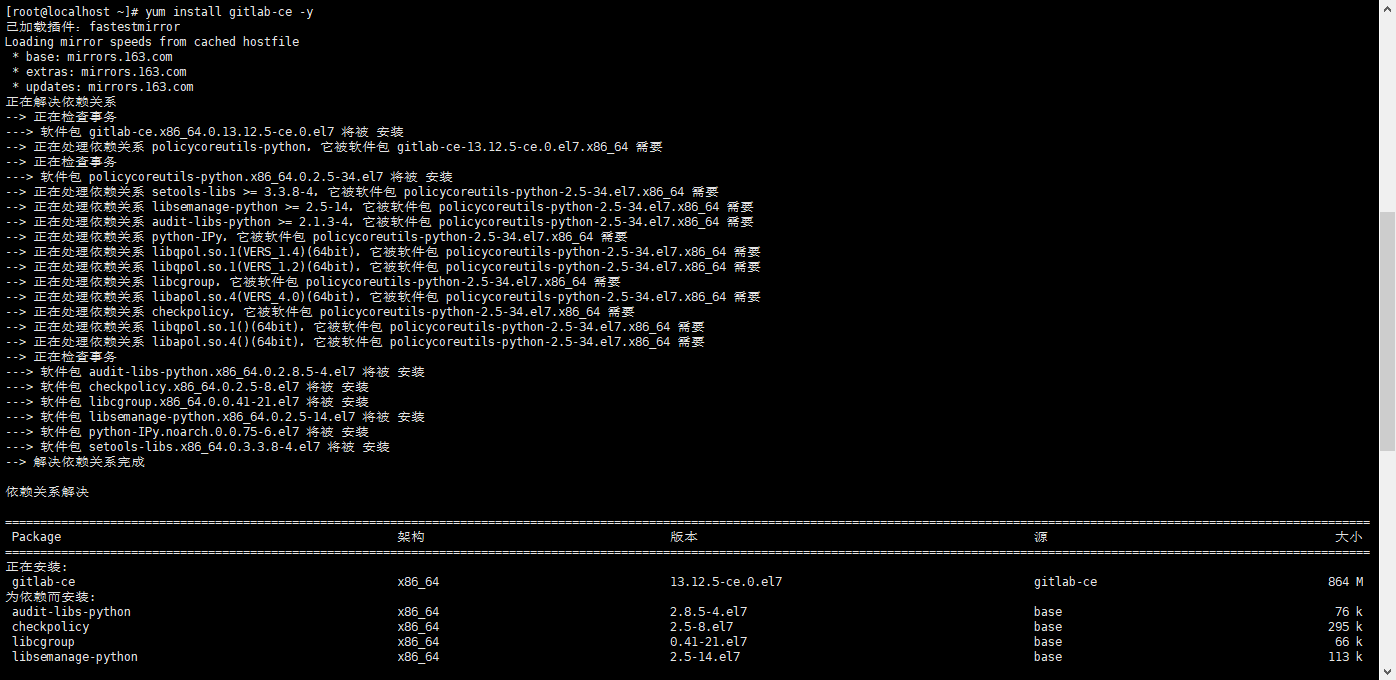
3. Install GitLab Community Edition
sudo yum install gitlab-ce #Automatically install the latest version
sudo yum install gitlab-ce-x.x.x #Install the specified version
sudo gitlab-ctl start # Start all gitlab components;
sudo gitlab-ctl stop # Stop all gitlab components;
sudo gitlab-ctl restart # Restart all gitlab components;
sudo gitlab-ctl status # View the service status;
sudo gitlab-ctl reconfigure # Start the service;
sudo vim /etc/gitlab/gitlab.rb # Modify the default configuration file;
gitlab-rake gitlab:check SANITIZE=true --trace # Check gitlab;
sudo gitlab-ctl tail # View log;
Log in to GitLab
1. Enter the public IP of the ECS server in the address bar of the browser to log in to the GitLab interface. Due to different versions, the version I use here can log in and set the password for the first time (the old version has the default password)
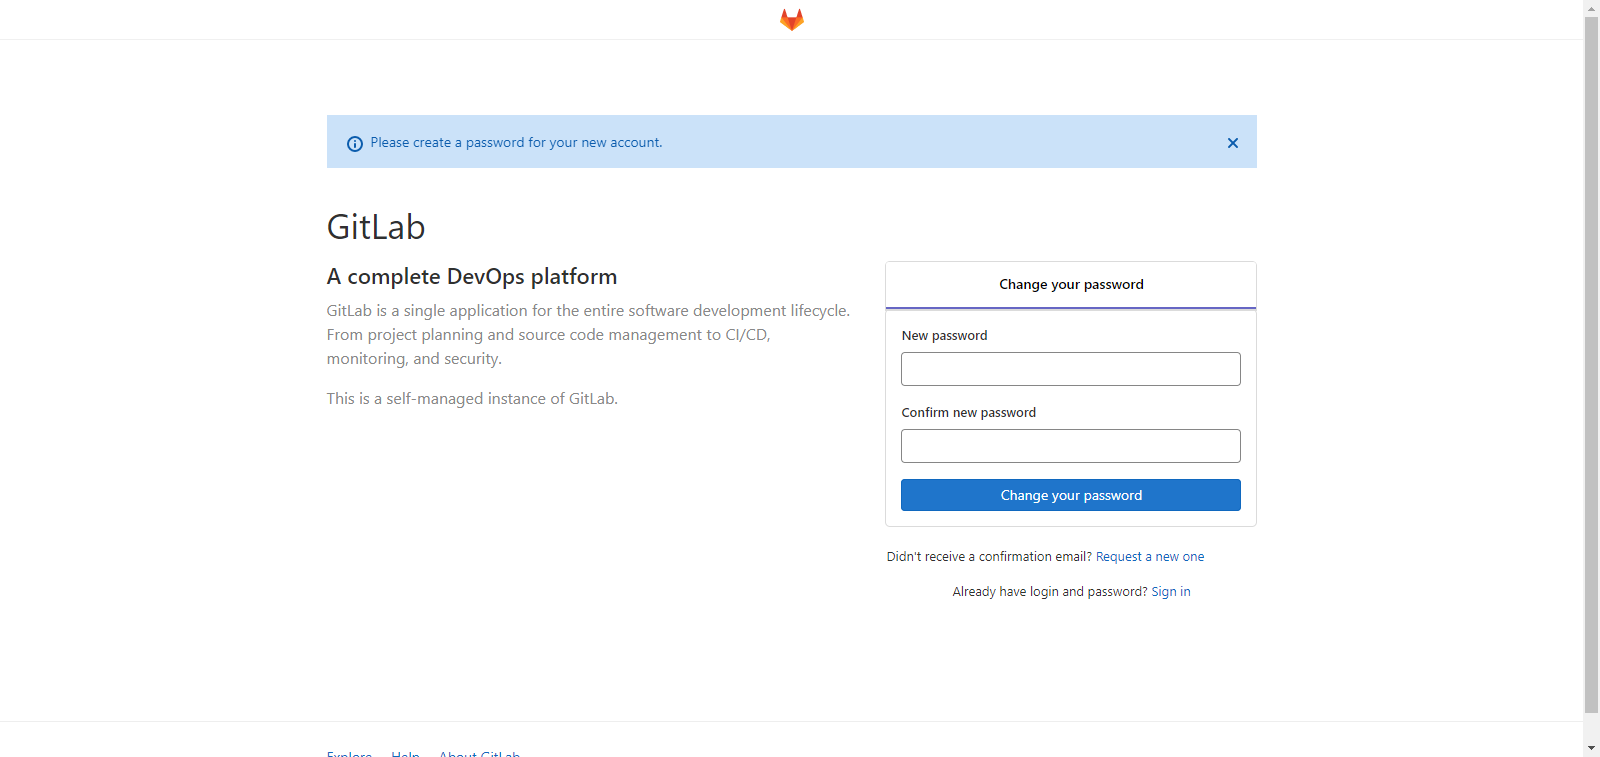
2. The first login forces the user to change the password. After the password is modified successfully, enter the new password to log in.
1. Install Git tool linux: install Git using its own source.
yum install git
2. Generate key file:
ssh-keygen
Generate key file ssh/id_rsa.pub.
3. Add the contents of the key file generated in ssh key import step 2:
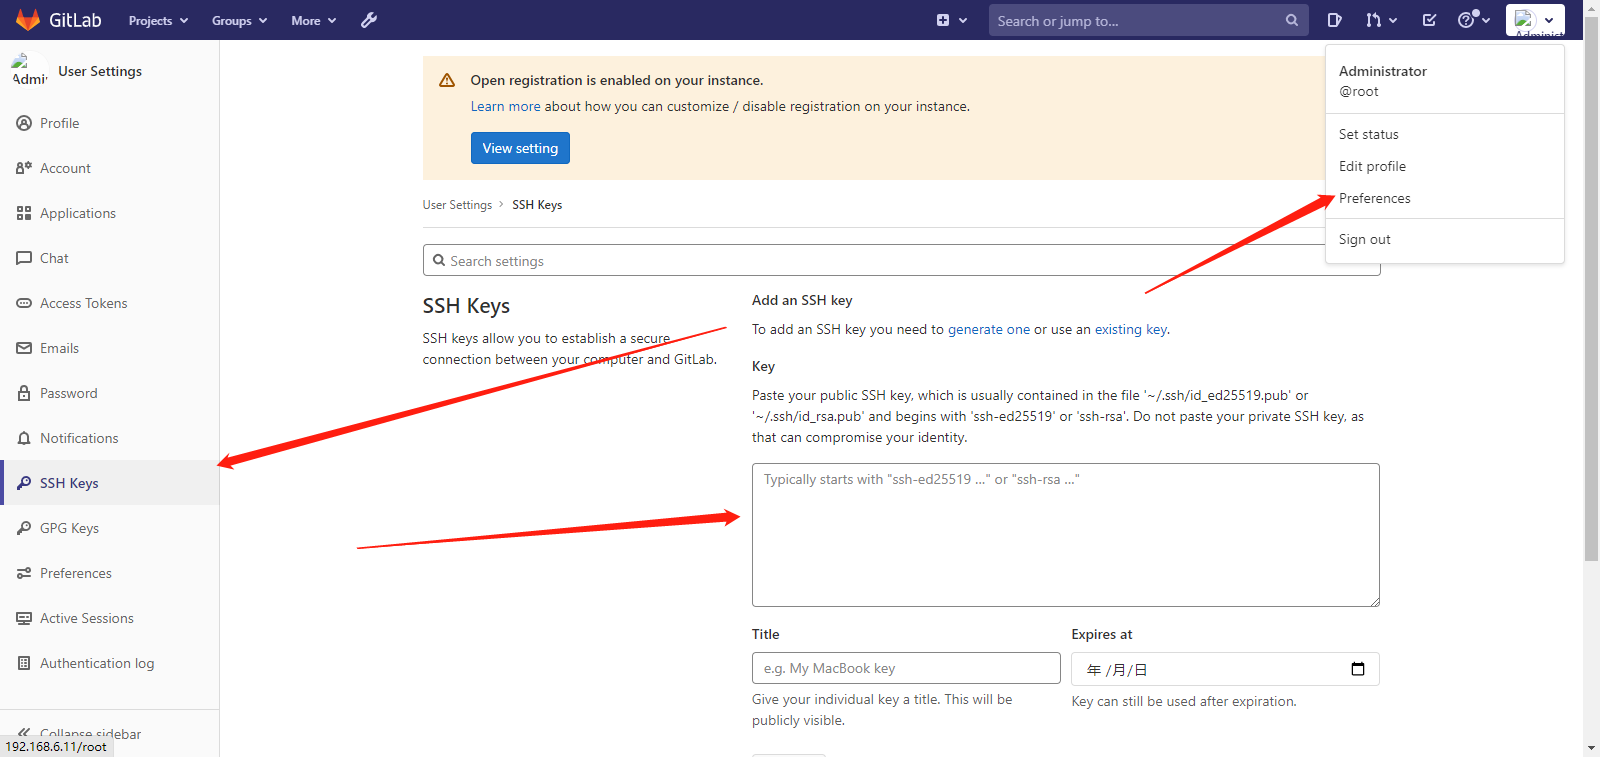
ssh key addition completed:
be careful:
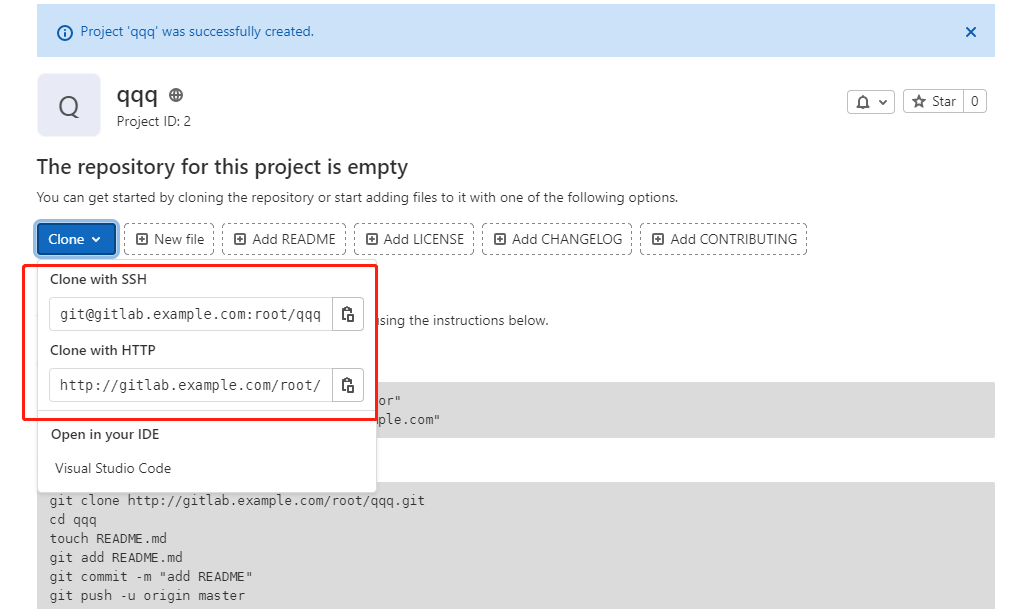
Be sure to modify the configuration file of gitlab, otherwise the clone address of gitlab is as follows:
The configuration file is / etc / gitlab / gitlab External under RB_ URL field section, where ' http://gitlab.example.com 'change to the IP address of this server and reload gitlab.
1. Configure the name of the person using Git warehouse (take test as an example)
git config --global user.name "test"
2. Configure the email of personnel using Git warehouse and fill in their own d email
3. Clone the project, generate a directory with the same name locally, and there will be all the files in the directory
git config --global user.email "10086@qq.com"
Project documents
git clone git@localhost:root/test.git
Upload file
1. Enter the project directory
cd test/
2. Create a target file that needs to be uploaded to GitLab
echo "test" > /root/test.sh
3. Copy the target file or directory to the project directory
cp /root/test.sh ./
4. Test Add sh file to index
git add test.sh
5. Test SH submit to local warehouse
git commit -m "test.sh"
6. Synchronize files to GitLab server
git push -u origin master
7. View the uploaded test in the web page The SH file has been synchronized to GitLab
Extension:
-bash: git: Command not found

wget http://dl.fedoraproject.org/pub/epel/epel-release-latest-7.noarch.rpm

rpm -ivh epel-release-latest-7.noarch.rpm

yum install -y git