preparation
- Blog framework: Hexo
- Blog topic: Fluid, Ayer, butterfly
- Host: alicloud lightweight application server
- Configuration: 2-core 2G 60GB
- Photo bed: Alibaba cloud OSS
- Software: OSS browser (alicloud OSS adapter)
- Writing tool: Typora
- Drawing bed software: PicGo
- Blog backup: Github, Gitee, Onedrive
Blog frame selection
- I use it as my blog framework for the following reasons: fast response, small memory consumption, unified article format (all use markdown format) and strong migration ability
Blog theme selection
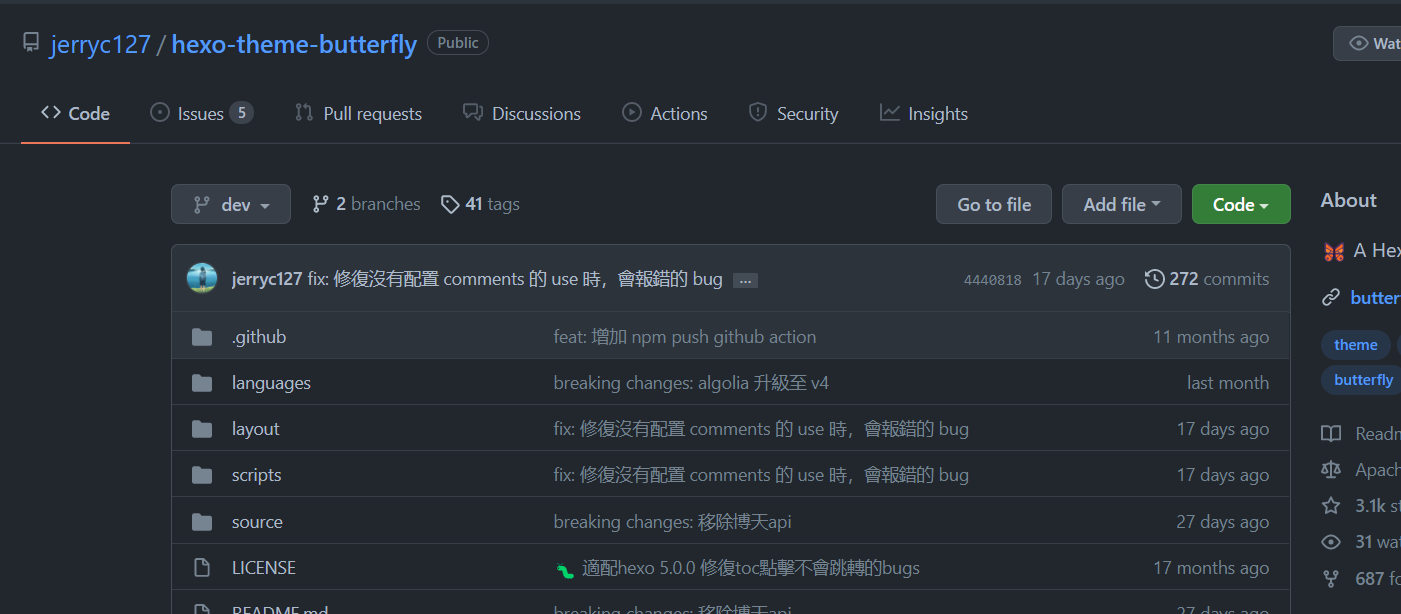
butterfly
- butterfly is a fully functional hexo theme with beautiful interface, more frequent updates than other themes, and more friendly to mobile browsing
- The disadvantage is that generating pages on the server is slower than other topics, and opening pages on the web is slightly slower than other topics, but it is acceptable

Introduction to other topics
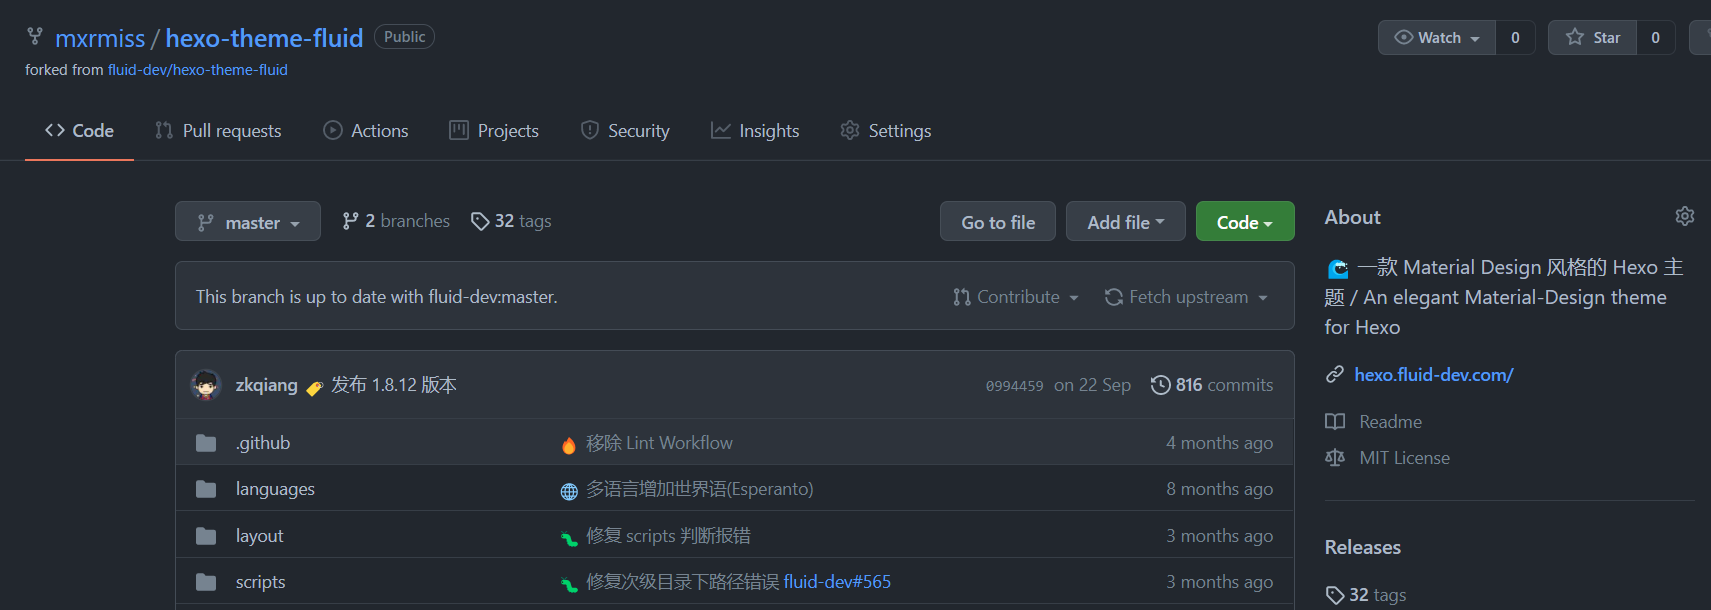
Fluid
- Fluid It is a fast response theme with a simple and beautiful interface. It supports automatic summary of articles (this part is done very well). The basic functions of the blog are available
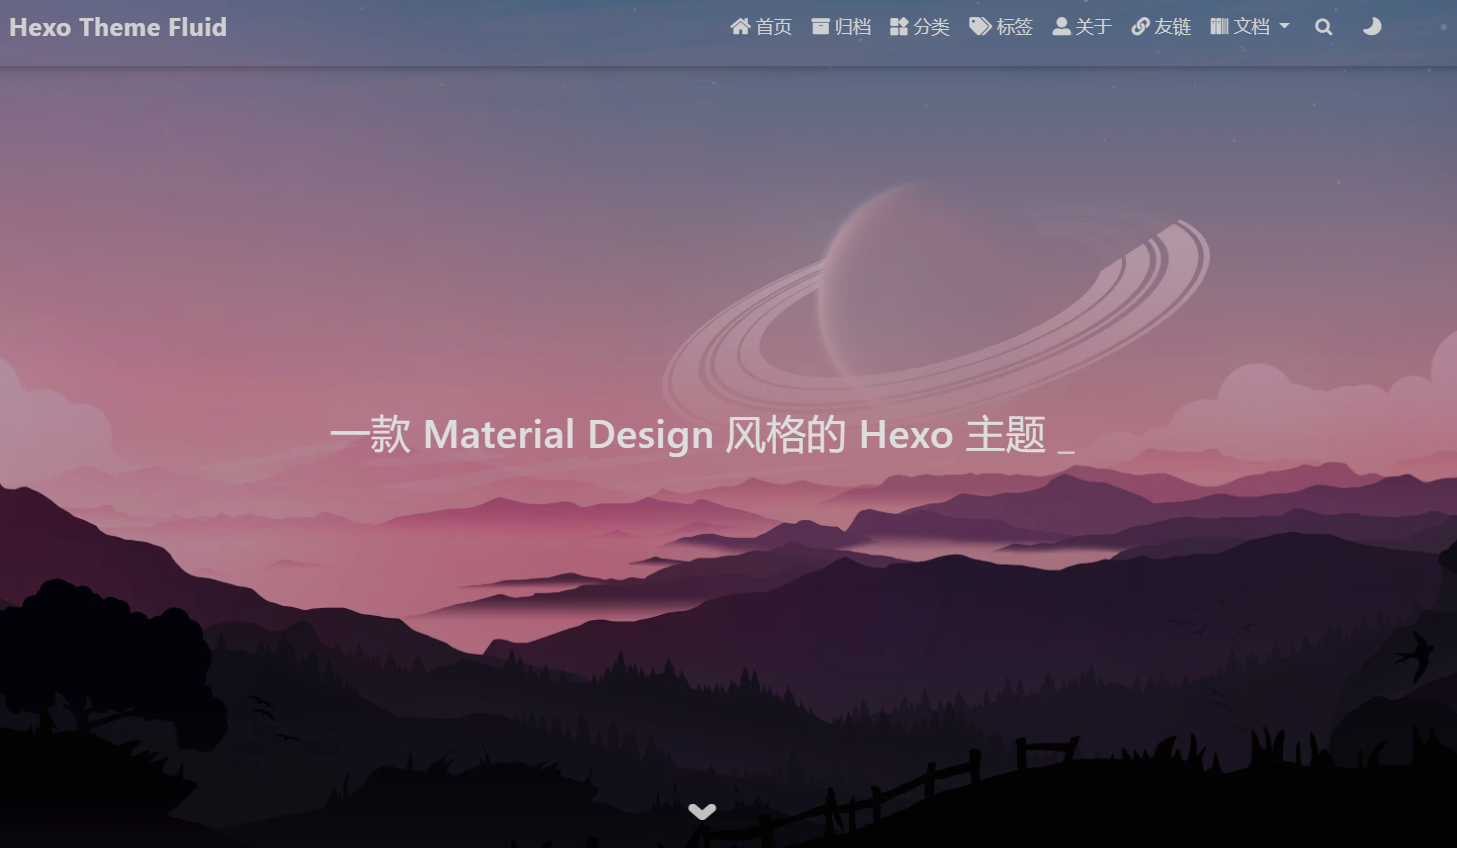
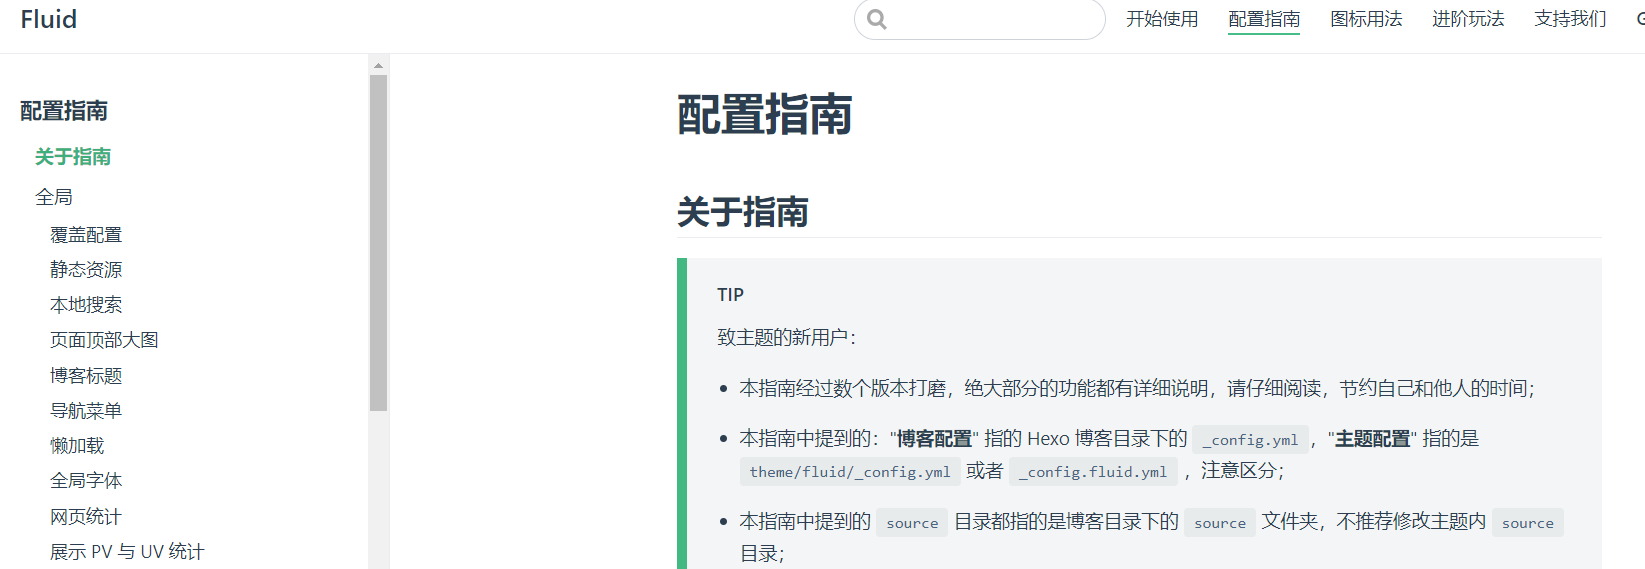
- Fluid It has a very comprehensive use document, just like a product configured with instructions, which can easily use this topic
- Configuration guide | hexo fluid (fluid dev.com)
Ayer
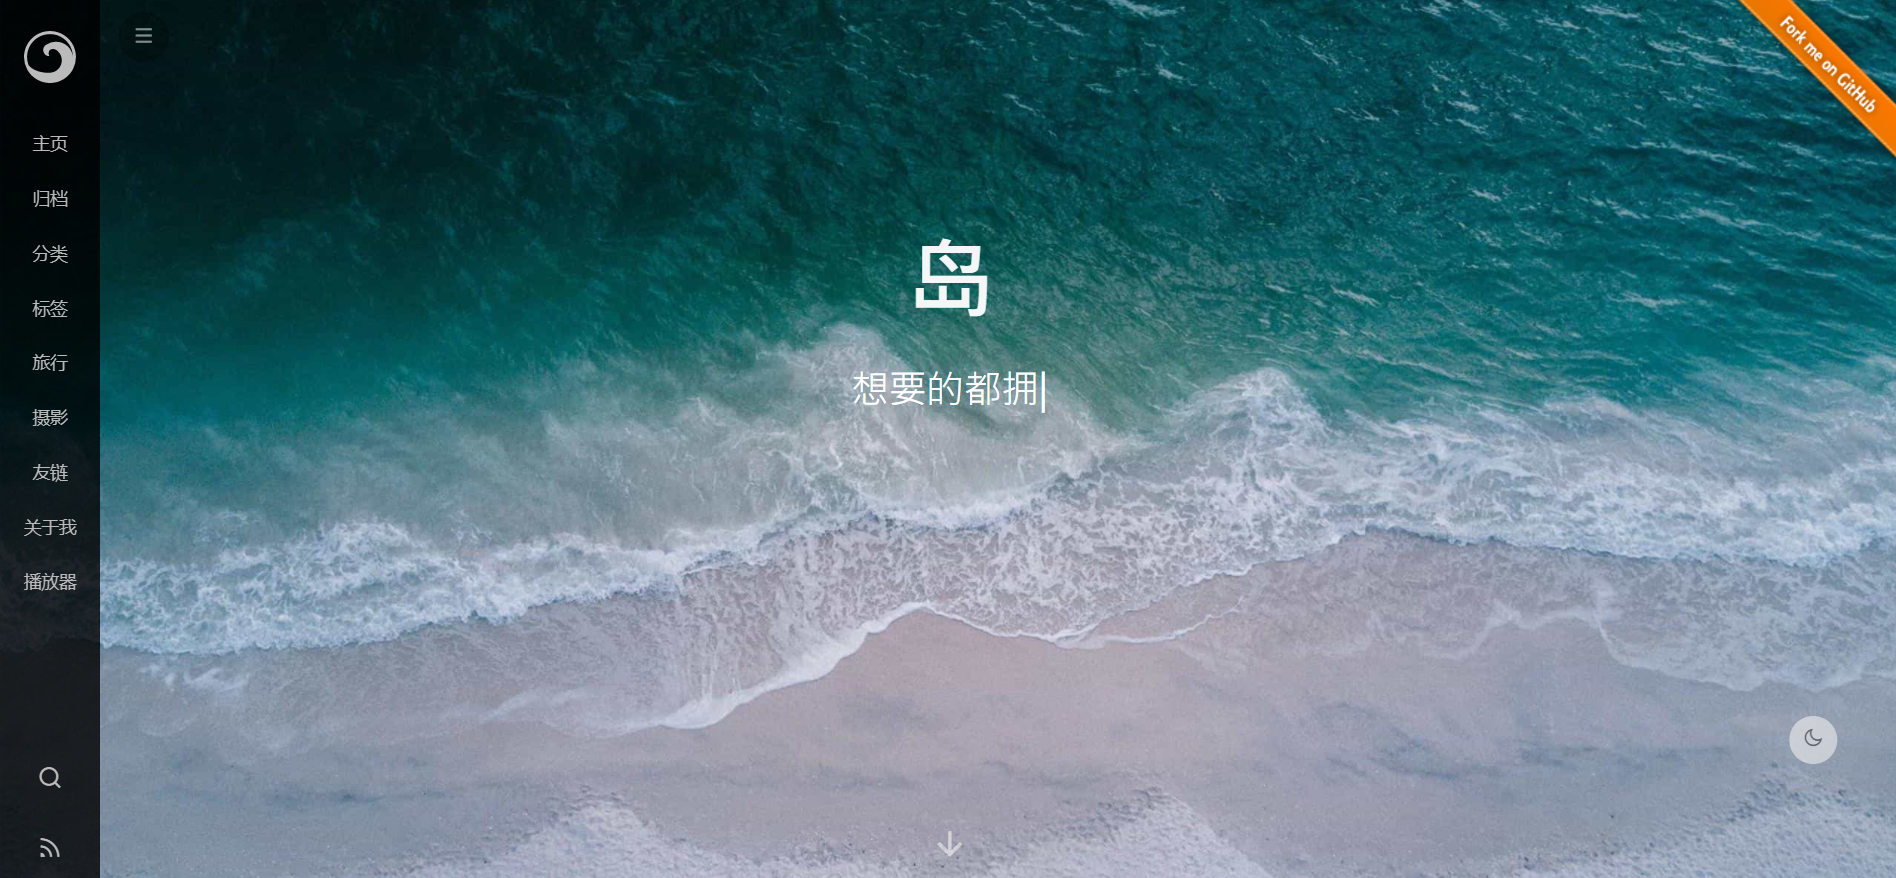
- Ayer It is a simple theme with fast response speed, but it is not as fast as Fluid. The reason for choosing this theme is that the interface is elegant, the menu bar is designed on the side, the theme configuration is very simple, the files can be configured quickly, and the blog basically has all the required information
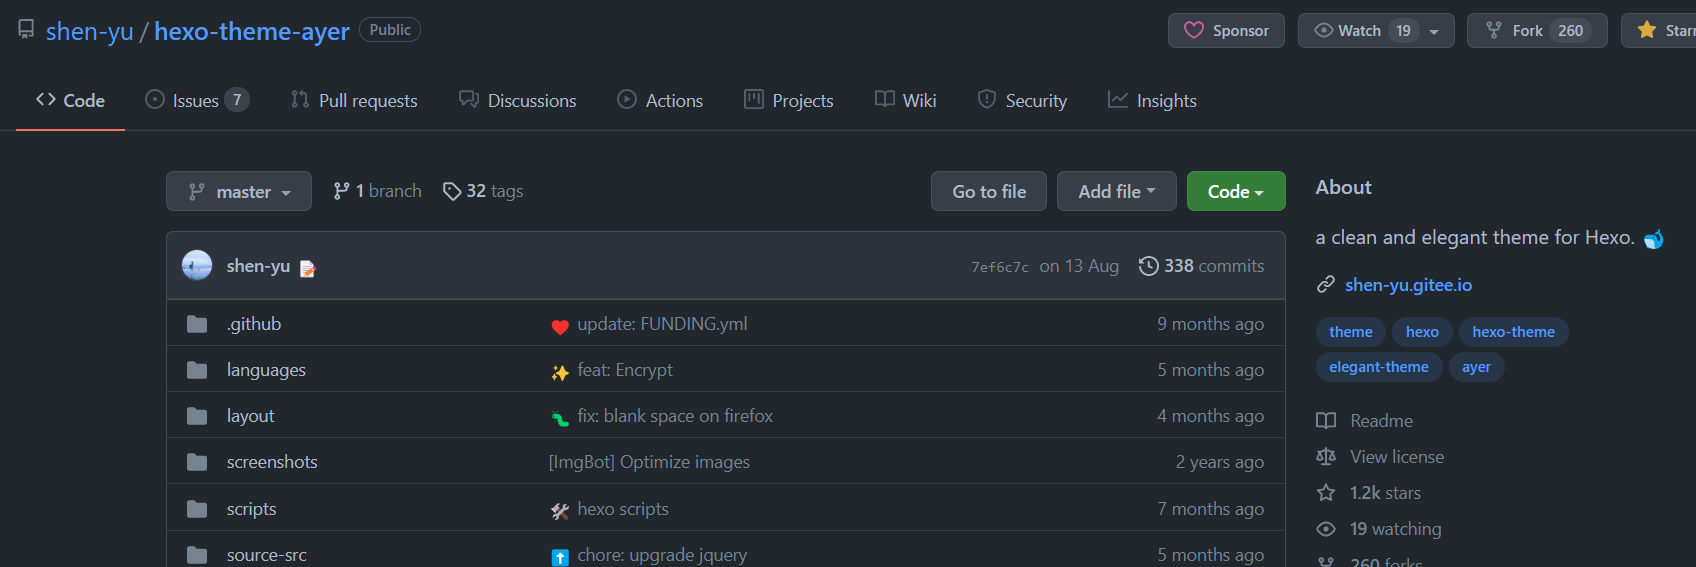
- Compared with some topics, Ayer provides Gitee image download for domestic users
- Hexo theme Ayer: a quiet and elegant hexo theme - Ayer (gitee.com)
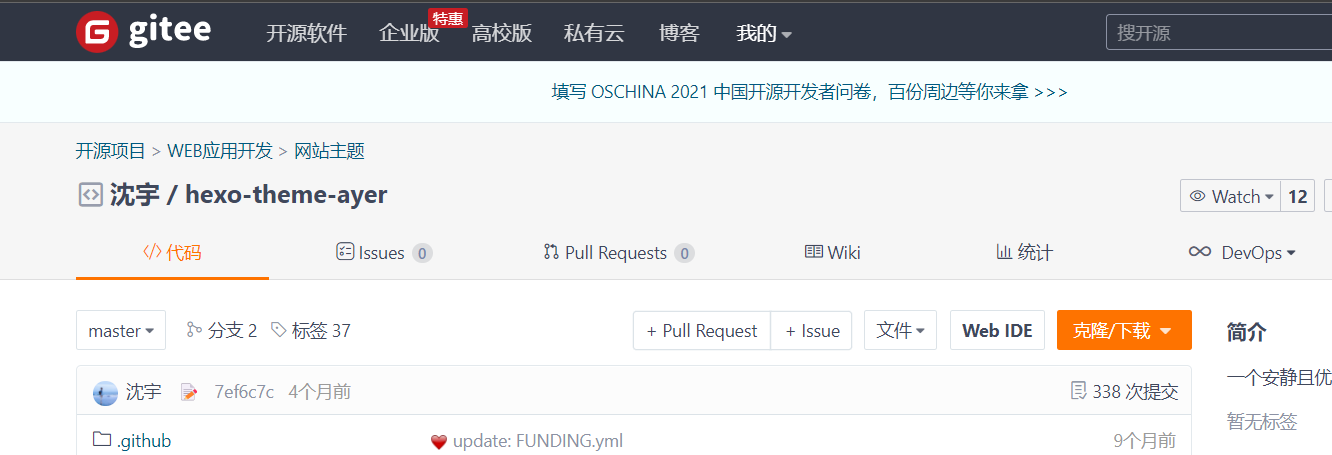
Theme comparison
- Both topics have common advantages, that is, fast response, concise and simple configuration
- Disadvantages of Fluid: when using the mobile terminal for web browsing, the menu bar will occupy half of the screen after clicking and expanding, which makes people very uncomfortable; Without the image of Gitee, it is not very friendly to users in mainland China
- Ayer disadvantages: the topic has not been updated for some time. The summary of the article is too simple. Only the automatic summary can only intercept the title
Bamboo
- If you are not satisfied with the theme I used above and feel that the layout is too simple or customizable, you can use the theme bamboo
- Yuang01 / hexo theme bambooo: hexo blog theme, powerful and concise (github.com)
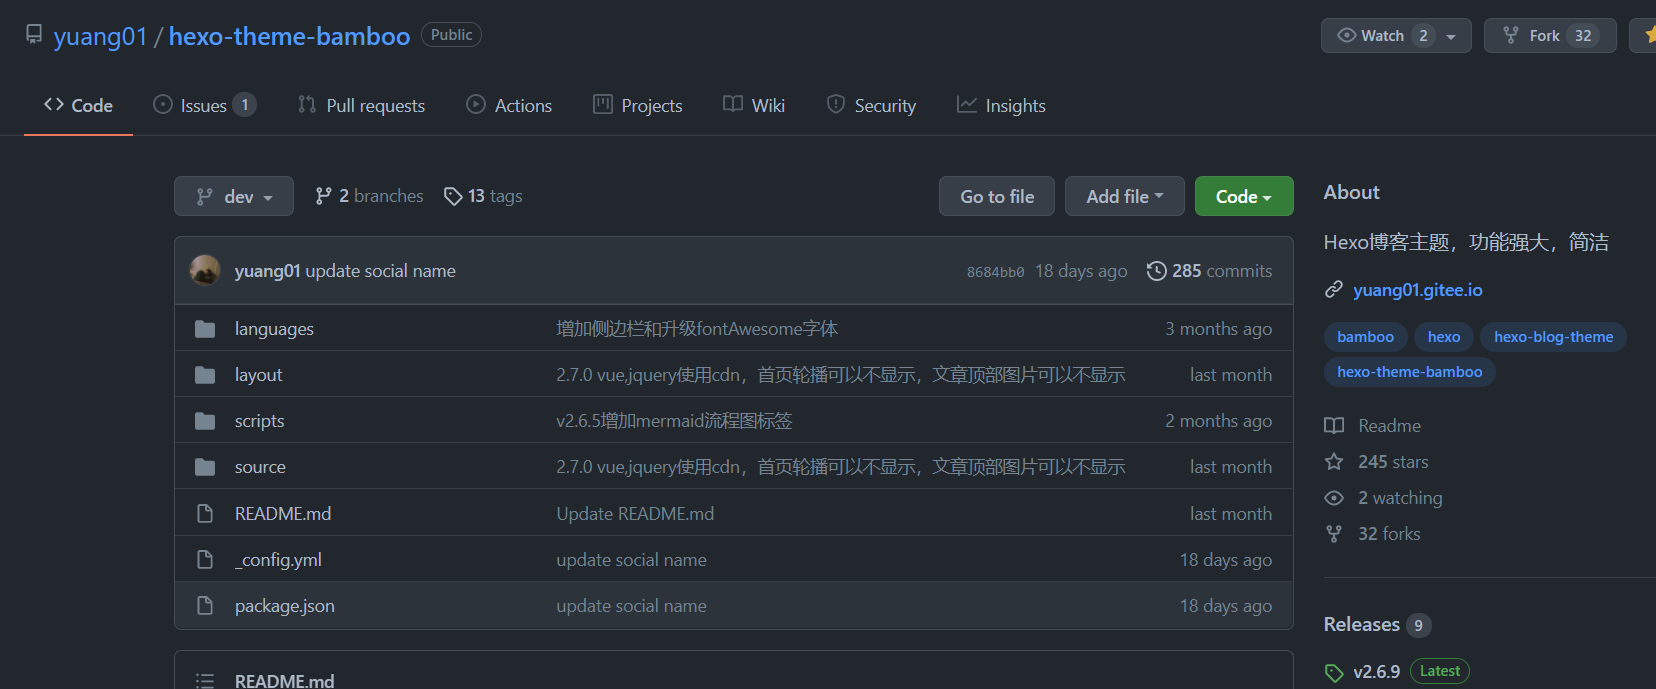
- Advantages: beautiful, fast, with many functions that can be used, high degree of customization, Gitee image, which has been updated recently (now 2021-12-10)
Hexo theme bambooo: theme of hexo blog -- bambooo https://yuang01.gitee.io
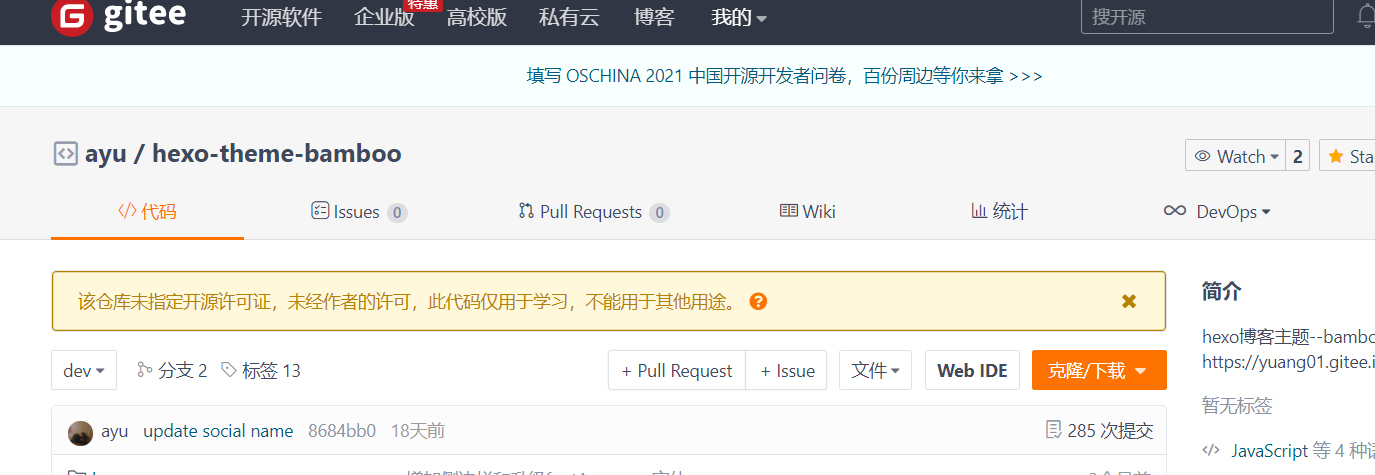
- Disadvantages: compared with other hexo topics, it is very cumbersome. Although the author has a very detailed description and explanation of the topic configuration, the complex topic configuration file takes a long time to customize. Moreover, due to the fast iteration speed of the topic, the topic configuration file needs to be slightly adjusted according to different versions. In addition, When the theme file is used to upload the hexo blog folder to GitHub, the warehouse may prompt that the code is dangerous. It may be that the author code of the theme is not standardized. After all, this is only a theme maintained by one person
- Suggestion: This theme has its own advantages, which mainly depends on whether users like fancy interfaces. Therefore, I do not recommend using this theme. After all, there is no need to waste a lot of time on the configuration of blog themes, unless you want to show off your theme to your friends
The server
There are no relevant links here, because you don't want to be understood as advertising. You can buy or not buy the server. If you don't buy it, you can build your own blog by using Github page or Gitee page, which will not be described here
- I use alicloud's lightweight application server. Within three years after the discount, it will cost 99 yuan. Every year, 2-core 2G memory is more than enough, whether using hexo or wordpress
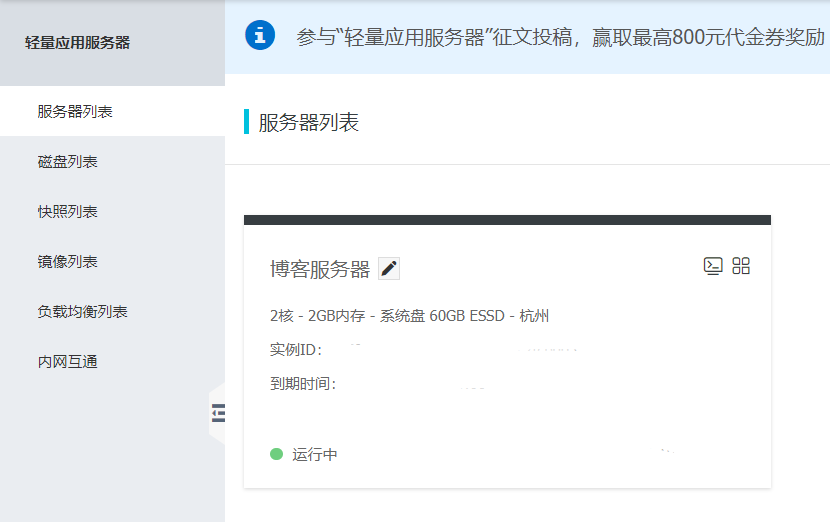
- The feature of lightweight application server is that it can easily build applications, just as I can easily build themes on it, because Alibaba cloud provides the installation of relevant software
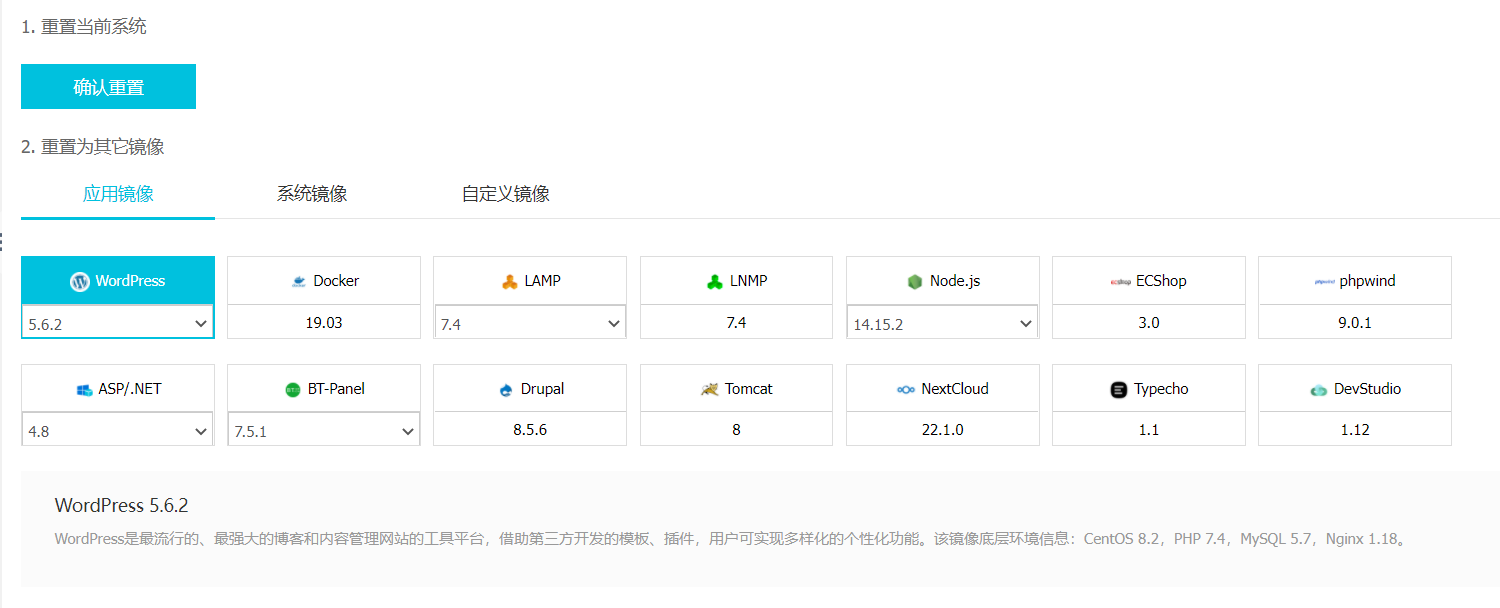
Start building
Mirror selection
- Install node. On the lightweight application server JS, you'd better select this image at the beginning of the purchase of the machine initialization. Otherwise, you may not be able to view the memory usage through the alicloud web server control platform after resetting the system. Downloading the memory monitoring software according to alicloud's documents may not succeed

Installing Hexo
- Connect to the server and install Hexo
- After all the necessary applications are installed, you can use npm to install Hexo.
$ npm install -g hexo-cli
- After installation, you can execute Hexo in the following two ways:
- npx hexo <command>
- The node in the directory where Hexo is located_ Add modules to the environment variable to directly use Hexo < command >:
echo 'PATH="$PATH:./node_modules/.bin"' >> ~/.profile
create folder
Establish warehouse
-
After installing Hexo, we need to create a new folder to hold all the files needed by our blog. Before that, we need to build a GitHub or Gitee warehouse and clone it to our server
-
The purpose of cloning the warehouse to the server is that we can easily move our hexo into the warehouse for better backup and future migration. When we can clone the warehouse containing hexo to our computer, then edit the files inside, and then synchronize the contents on the server
-
Like my warehouse:

create folder
- Switch to the cloned warehouse and create a folder with the following command:
hexo init <folder> //Folder is the name of the folder you created. It is the root folder of the blog. Many operations are carried out in this folder
- The process of creating a folder is actually a process of cloning the warehouse from GitHub and renaming it, so the loading speed will be slow. There are other methods on the Internet to speed up the folder creation process by switching sources, which will not be described here
- After the folder is created, many files are generated in the folder. Here I will introduce some important files
- _ config.yml Is the configuration file of the entire Hexo framework
- config.xxx.yml XXX represents the name of the hexo topic. This is the configuration file of the topic. There is also a name inside the topic_ config.yml file, its functions and_ config. xxx. The YML file is the same, but it is located in the root directory of hexo_ config. xxx. The YML file has a higher priority and is called first when the theme is loaded_ config.xxx.yml file
- source This folder contains pages and folders of articles, categories and labels. Of course, at the beginning, this folder is almost empty and will gradually become full later
- Themes folder, which stores the themes you downloaded
- public this is the generated web page file, which nginx points to
Subject (butterfly)
Install theme
- There are two ways to install themes
- npm i hexo-theme-butterfly
- This method only supports hexo above version 5.0.0. Installing through npm will not generate the theme folder in themes, but in node_ Generate and modify the site configuration file in the hexo root directory (under the folder created by the hexo init command) in modules_ config.yml
- git clone themes into themes folder. This method is recommended and easy to manage
- npm i hexo-theme-butterfly
- The following figure shows the contents of my theme folder:

- In order to centrally manage topics, you can copy and rename the configuration file of the topic to the root directory of the blog and rename it as_ config.xxx.yml (xxx is the topic name), so you only need to configure the configuration file under the blog root directory, not the file under the topic directory
Theme configuration
Add filing information
- First, find the Footer Settings in the configuration file of the topic, and add the following information
# Footer Settings
# --------------------------------------
footer:
  owner:
    enable: true
    since: 2021
  custom_text: you are my friend
  copyright: true # Copyright of theme and framework

ICP:
  enable: false  # Enable ICP
  url: http://www.beian.miit.gov.cn / # click the link address
  text: some ICP prepare xxxx  # Record No
  icon:    # Icon
NSP:
  enable: false   # Enable NSP
  url: http://www.beian.gov.cn / # click the link address
  text: Security of a public network xxxxx number    # Public security record No
  icon: https://blog.imashimaro.com/images/20200805012127.png # Icon
- Then open themes / Butterfly / layout / includes / footer. In the blog root directory Pug file, modify to the following code
#footer-wrap
  if theme.footer.owner.enable
    - var now = new Date()
    - var nowYear = now.getFullYear()
    if theme.footer.owner.since && theme.footer.owner.since != nowYear
      .copyright!= `©${theme.footer.owner.since} - ${nowYear} By ${config.author}`
    else
      .copyright!= `©${nowYear} By ${config.author}`
  if theme.footer.copyright
    .framework-info
      span= _p('footer.framework') + ' '
      a(href='https://hexo.io')= 'Hexo'
      span.footer-separator |
      span= _p('footer.theme') + ' '
      a(href='https://github.com/jerryc127/hexo-theme-butterfly')= 'Butterfly'
  if theme.footer.custom_text
    .footer_custom_text!=`${theme.footer.custom_text}`
  if theme.ICP.enable
    .icp
      a(href=theme.ICP.url)
        if theme.ICP.icon
          img.icp-icon(src=url_for(theme.ICP.icon))
        span=theme.ICP.text
  if theme.NSP.enable
    .icp
      a(href=theme.NSP.url)
        if theme.NSP.icon
          img.icp-icon(src=url_for(theme.NSP.icon))
        span=theme.NSP.text
Article settings
| Writing method | explain |
|---|---|
| title | [required] article title |
| date | [required] article creation date |
| updated | [optional] Article update date |
| tags | [optional] Article label |
| categories | [optional] article classification |
| keywords | [optional] Article keyword |
| description | [optional] article description |
| top_img | [optional] picture at the top of the article |
| cover | [optional] Article thumbnail (if top_img is not set, the thumbnail will be displayed at the top of the article page, which can be set to false / picture address / left blank) |
| comments | [optional] display the article comment module (true by default) |
| toc | [optional] display the article toc (the default is the enable configuration of toc in the setting) |
| toc_number | [optional] display toc_ Number (the default is the number configuration of toc in the settings) |
| copyright | [optional] display the article copyright module (the default is the enable configuration of post_copyright in settings) |
| copyright_author | [optional] author of the article copyright module |
| copyright_author_href | [optional] article author link of article copyright module |
| copyright_url | [optional] article link of article copyright module |
| copyright_info | [optional] copyright notice text of article copyright module |
| mathjax | [optional] display mathjax (configuration is required only when per_page: false of mathjax is set, which is false by default) |
| katex | [optional] display katex (configuration is required only when per_page: false of katex is set, which is false by default) |
| aplayer | [optional] load the js and css of aplayer on the required page. Please refer to the music configuration below |
| highlight_shrink | [optional] configure whether the code box is expanded (true / false) (the default is the configuration of highlight_shrink in settings) |
| aside | [optional] display the sidebar (true by default) |
- Common article settings
---
title:
date:
tags:
categories:
top_img:
cover:
---
- Classification and labeling
Only articles support categories and labels, which you can set in front matter. In other systems, classification and label sound very similar, but in Hexo, there are obvious differences between them: classification has order and hierarchy, that is, Foo and bar are not equal to bar and foo; Labels have no order and hierarchy.
categories:
- Diary
tags:
- PS3
- Games
Differences in classification methods
If you have experience using WordPress, it is easy to misunderstand the classification of Hexo. WordPress supports setting multiple categories for an article, and these categories can be of the same level or parent-child categories. However, Hexo does not support specifying multiple siblings. Specify the following method:
categories:
  - Diary
  - Life
This will make Life a sub category of Diary rather than a side-by-side category. Therefore, it is necessary to choose the most accurate classification for your articles.
If you need to add multiple categories to your articles, you can try the methods in the following list.
categories:
- [Diary, PlayStation]
- [Diary, Games]
- [Life]
At this time, this article includes three categories at the same time: PlayStation and Games are sub categories of the parent category Diary respectively, and Life is a category without sub categories.
Disposition_ config.yml
- Next, configure the configuration file for Hexo_ config.yml, this file is in the root directory of the blog folder
- Modify the language to zh_CN, modify the topic name. Note that the topic name must be the same as the topic name in the themes folder, otherwise an error will be reported in subsequent operations


- Others can be modified according to personal preferences, such as the title and subtitle of the website
- The use of Hexo+github page is not taught here. Those interested can search online
Installing Nginx
- Nginx installation
yum install -y nginx
- Configure Nginx
nginx -t
- Use vim to open nginx Conf file
- Note: sometimes the configuration file is different from that shown below. Please refer to other online tutorials and download it from the official website
vim /etc/nginx/nginx.conf
- Modify user:

- Modify http section (default page loading section)
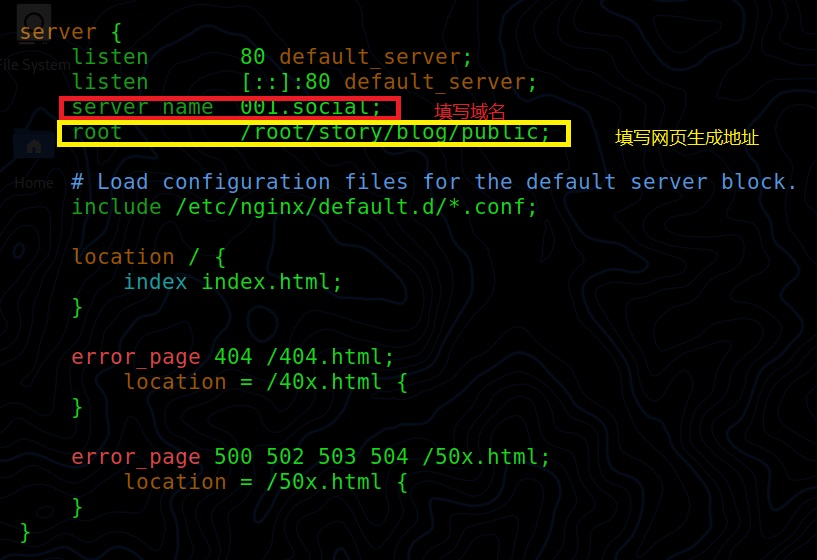
- Modify the https part (you need to download the SSL certificate first)
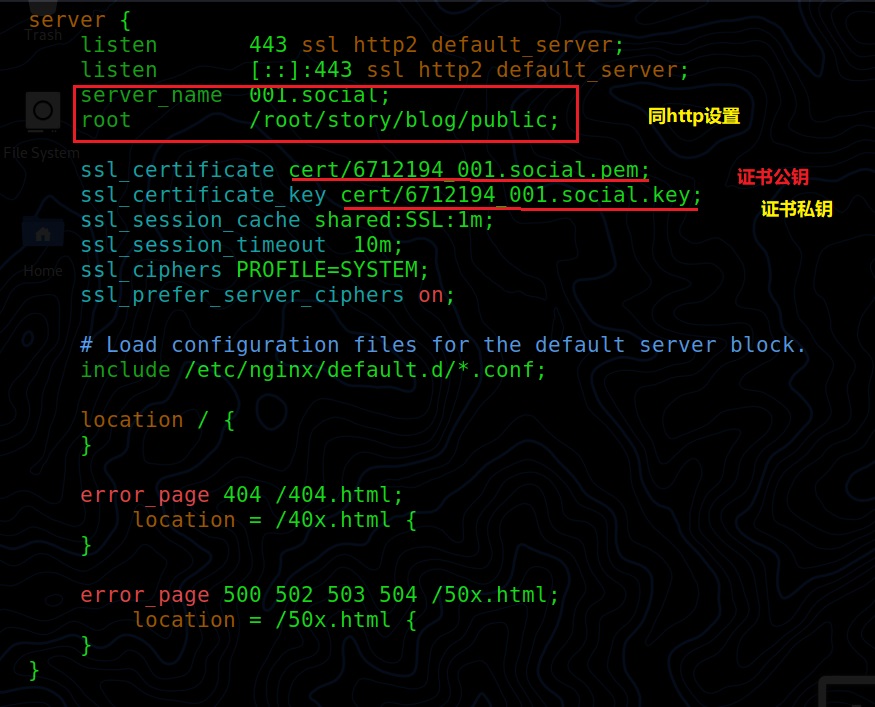
- Here is my nginx configuration file
user root;
worker_processes auto;
error_log /var/log/nginx/error.log;
pid /run/nginx.pid;

# Load dynamic modules. See /usr/share/doc/nginx/README.dynamic.
include /usr/share/nginx/modules/*.conf;

events {
    worker_connections 1024;
}

http {
    log_format  main  '$remote_addr - $remote_user [$time_local] "$request" '
                      '$status $body_bytes_sent "$http_referer" '
                      '"$http_user_agent" "$http_x_forwarded_for"';

    access_log  /var/log/nginx/access.log  main;

    sendfile            on;
    tcp_nopush          on;
    tcp_nodelay         on;
    keepalive_timeout   65;
    types_hash_max_size 2048;

    include             /etc/nginx/mime.types;
    default_type        application/octet-stream;

    # Load modular configuration files from the /etc/nginx/conf.d directory.
    # See http://nginx.org/en/docs/ngx_core_module.html#include
    # for more information.
    include /etc/nginx/conf.d/*.conf;

    server {
        listen       80 default_server;
        listen       [::]:80 default_server;
        server_name  001.social;
        root         /root/story/blog/public;

        # Load configuration files for the default server block.
        include /etc/nginx/default.d/*.conf;

        location / {
            index index.html;
        }

        error_page 404 /404.html;
            location = /40x.html {
        }

        error_page 500 502 503 504 /50x.html;
            location = /50x.html {
        }
    }

    server {
        listen       443 ssl http2 default_server;
        listen       [::]:443 ssl http2 default_server;
        server_name  001.social;
        root         /root/story/blog/public;

        ssl_certificate cert/6712194_001.social.pem;
        ssl_certificate_key cert/6712194_001.social.key;
        ssl_session_cache shared:SSL:1m;
        ssl_session_timeout  10m;
        ssl_ciphers PROFILE=SYSTEM;
        ssl_prefer_server_ciphers on;

        # Load configuration files for the default server block.
        include /etc/nginx/default.d/*.conf;

        location / {
        }

        error_page 404 /404.html;
            location = /40x.html {
        }

        error_page 500 502 503 504 /50x.html;
            location = /50x.html {
        }
    }

}
- Start Nginx
systemctl start nginx.service
- Restart Nginx
systemctl restart nginx.service
- Note that sometimes nginx 404 not found occurs when loading a web page because:
- The content of nginx configuration file has been changed but not refreshed. You need to restart nginx
- The nginx configuration file uses the wrong web page folder address. In hexo, the address is the public folder location under the blog root directory
- Assign chmod 777 folder to blog folder
Generate web page
- Execute the command at the root of the blog
hexo clean	//Clear the public folder after the command is executed

hexo g -d  //This command first generates a static file and then deploys it immediately
-
If you want to preview the web page first, you can use the hexo s command. The default access port is 4000. At this time, we need to open the 4000 port of the server, otherwise we can't access it
-
Open alicloud lightweight application server and configure firewall to open ports
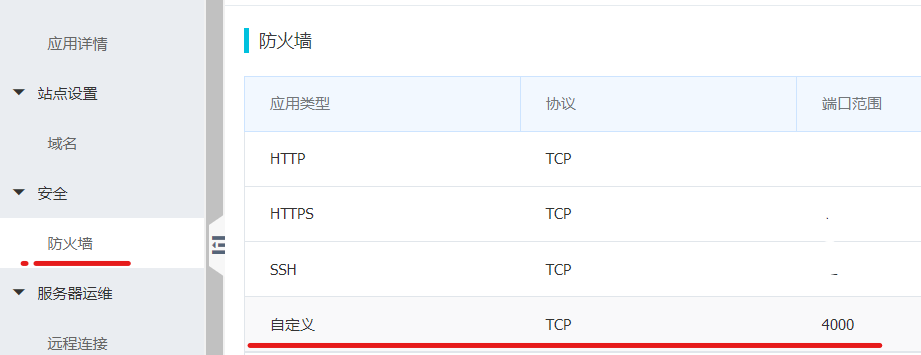
- Note: whether using hexo g -d or hexo s, it is best to execute hexo clean first
Other configuration requirements
About git
- In some servers, there is no git command in advance, or you need to reinstall the GIT command after reinstalling the system
Git installation
- The virtual machine I use is CentOS 8 system. I have used Ubuntu 18 system before, but I don't think it works very well. I may try it less
- Check whether there is git first
git --version
- If not, uninstall and reinstall the old one
#Uninstall old git
yum remove git
# Install dependent Libraries
yum install curl-devel expat-devel gettext-devel openssl-devel zlib-devel
# Download and install git to the / usr/local/src directory
cd /usr/local/src
wget http://ftp.ntu.edu.tw/software/scm/git/git-2.26.0.tar.gz
tar -zvxf git-2.26.0.tar.gz
# Enter directory
cd git-2.26.0
# Compilation execution
make prefix=/usr/local/git all
# Install git in / usr/local/git directory
make prefix=/usr/local/git install
Configure Git environment variables
- Open the environment variable configuration file for configuration
vim /etc/profile

#Add the following
PATH=$PATH:/usr/local/git/bin   # git directory
export PATH

# Make the configured environment variables effective
source /etc/profile
- Verify that git is installed successfully
git --version
Exchange SSH keys between virtual machine and GitHub
- Git initialization
# Set github nickname
git config --global user.name 'mxrmiss'
# Set github mailbox
git config --global user.email 'heroli520@outlook.com'
- git status cannot display Chinese
git config --global core.quotepath false
- Create ssh key
ssh-keygen -t rsa -C "GitHub mailbox"
- Output id_rsa.pub content and copy it to the setting page in GitHub
cat id_rsa.pub
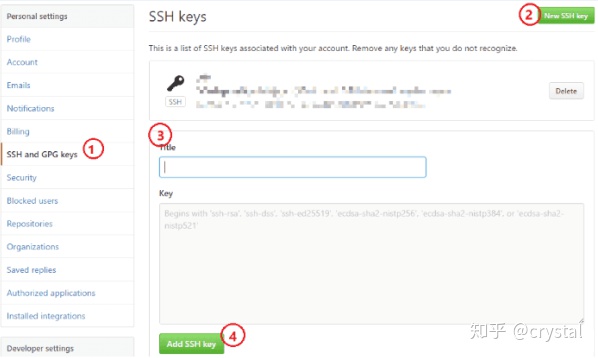
- ssh -T git@github.com Enter this command to display successful, indicating success
Blog linked to github page
-
Create a new repository on GitHub. The repository name is your own GitHub name github.io
-
Site profile in your blog directory_ config. Configure in YML, find and modify at the end of the file:
deploy:
	type: git
	repo: //Fill in the warehouse address
	branch:  master  //Fill in the branch of the upload page
-
Install git deployment plug-in
npm install hexo-deployer-git --save
About node js
- For some non lightweight application servers, the node JS for more detailed settings
- node.js Download
cd /opt
wget https://npm.taobao.org/mirrors/node/latest-v15.x/node-v15.0.1-linux-x64.tar.xz # download binary installation package
- node.js deployment
cd /opt
tar xf node-v10.16.0-linux-x64.tar.xz
ln -s node-v10.16.0-linux-x64 nodejs
nodejs -> node-v10.16.0-linux-x64
- Version information
cd /opt/nodejs/bin
./node -v
 Will see v10.16.0
- Create soft connection
ln -s /opt/nodejs/bin/node /usr/local/bin/node
ln -s /opt/nodejs/bin/npm  /usr/local/bin/npm

# verification
node -v
About hexo
- Some servers require more configuration to install hexo
Installing hexo
npm install hexo-cli -g
- Add hexo to the global variable by soft connection
ln -s /opt/nodejs/lib/node_modules/hexo-cli/bin/hexo /usr/local/bin/hexo
Error when installing hexo
- Resolve errors:
Missing write access to /usr/local/lib/node_modules does not have write permission. The official solution given by npm is to create a new folder with permissions and install npm packages in this new folder This method is not applicable to Microsoft Windows systems
Create a folder in the user's root directory (the name does not have to be. NPM global, you can choose it yourself):
mkdir ~/.npm-global
- Set the installation path of npm global package:
npm config set prefix '~/.npm-global'
- Check the user's root directory to see if there is any If not, create a profile file, open it with a text editor, add the following line, and save it:
export PATH=~/.npm-global/bin:$PATH
- Return to the terminal and run the following command to make the configuration effective:
source /etc/profile
- Then install the npm package globally
-
The node in the directory where hexo is located_ Add modules to the environment variable to directly use hexo:
echo 'PATH="$PATH:./node_modules/.bin"' >> ~/.profile
Some errors are resolved
Error in hexo: how to solve the spawn failed error
- Original link
- Cause of the problem: some changes are made when git push es or hexo d deploy_ Contents under git file
# An error occurred
error:spawn failed...
#resolvent
1. delete blog In folder .deploy_git folder
2. input git config --global core.autocrlf false
3.
	hexo clean
	hexo g
	hexo d
git add blog file indicates that the blog topic is the warehouse
- When we synchronize the blog, we will use the git add command to add the synchronization file, but it will prompt that the hexo theme file is a warehouse. It is not allowed to upload a set of warehouses in the warehouse unless the warehouses in the warehouse are synchronized together
- Solution: follow the prompts to clear the cache, but do not set the subject repository to synchronization
Load web pages to display only text
- When we load the web page, we may find that the web page does not have any background and pictures, but only displays text. At this time, we should turn off the option of forcing HTTPS in the blog configuration file or theme configuration file and use
- So is GitHub page