Blue whale deployment document
I Package download preparation
1. Basic package and log monitoring package
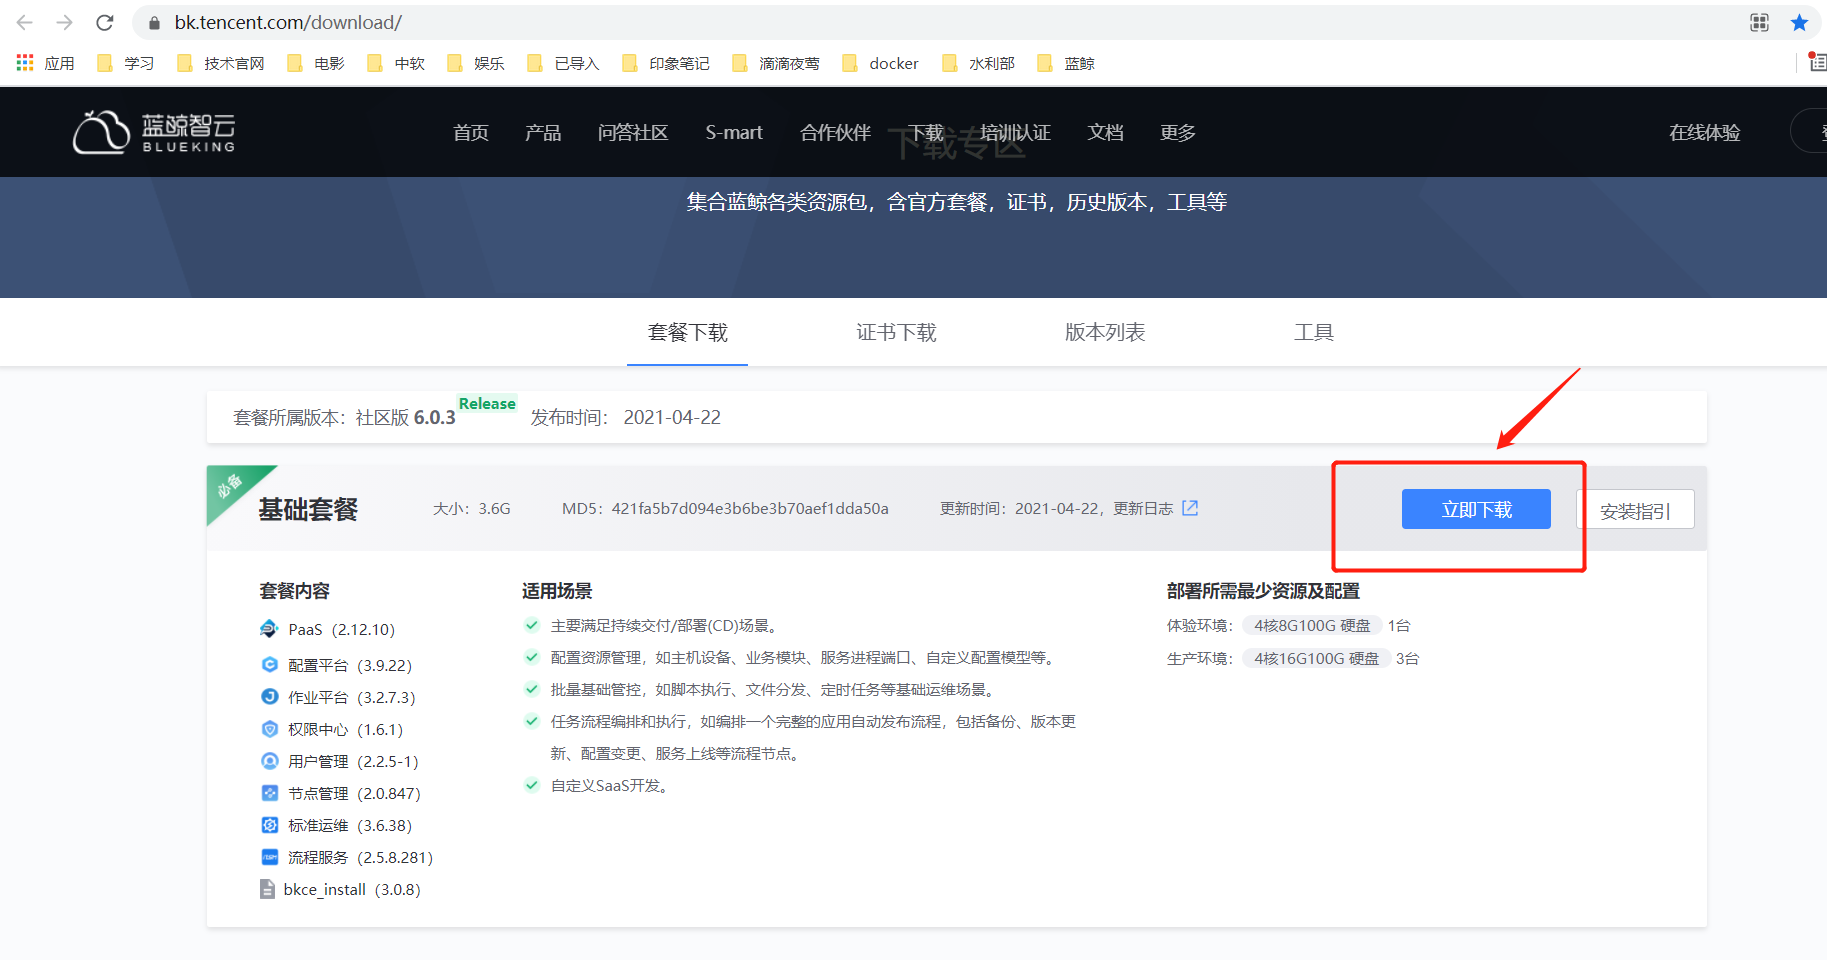
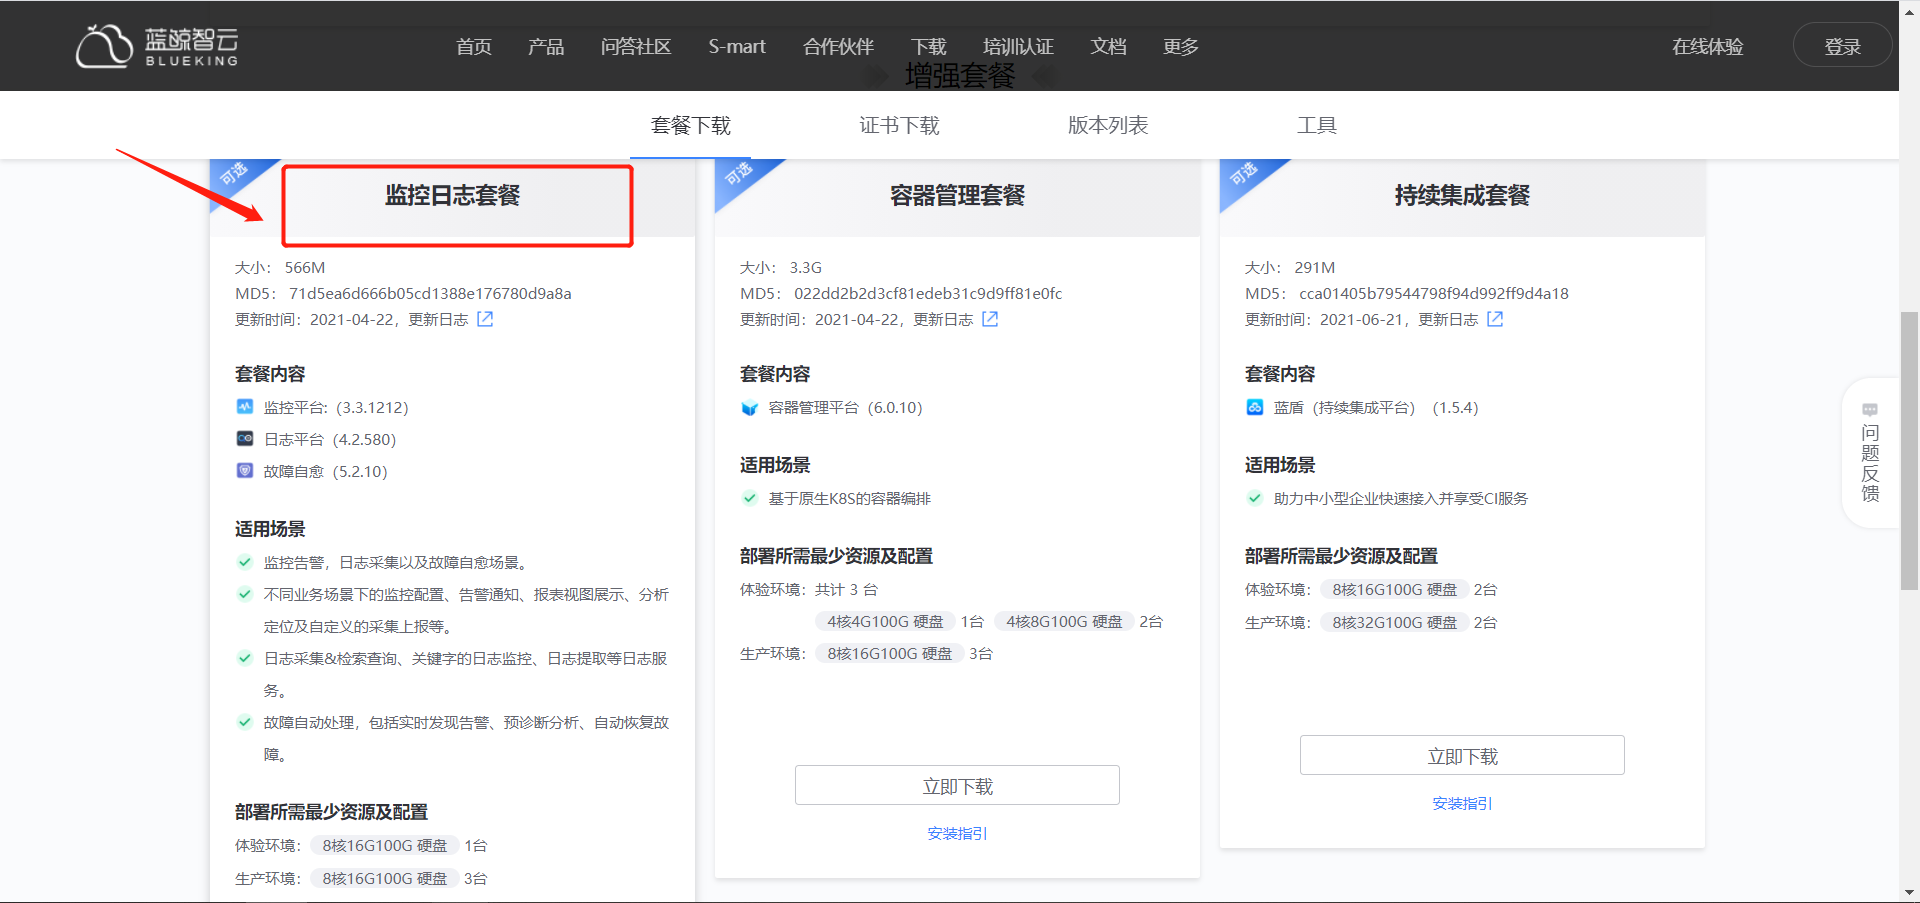
https://bk.tencent.com/download/

Basic package: bkce_basic_suite-6.0.3.tgz
 Monitoring log package: bkce_co_package-6.0.3.tgz

These packages are placed in the central control node/data lower
2. Certificate file extraction
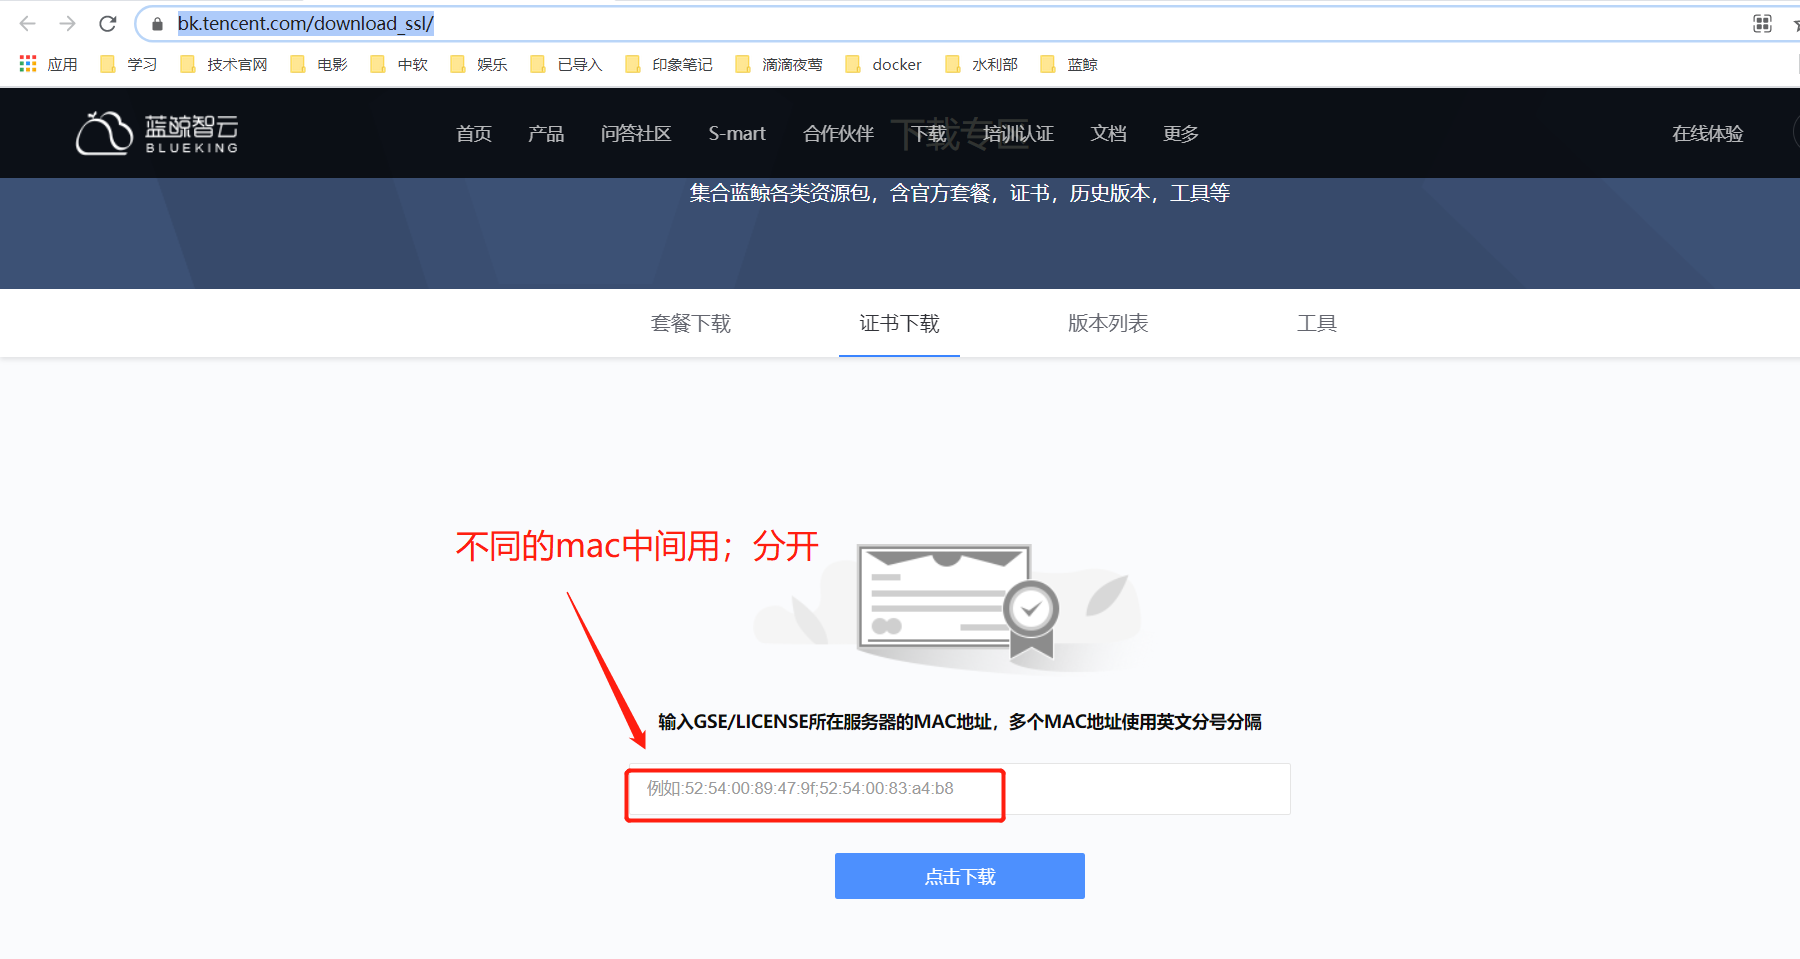
https://bk.tencent.com/download_ssl/
Certificate package: ssl_certificates.tar.gz
 Put in the central control node/data lower
II Environmental preparation
1. Virtual machine preparation
When the virtual machine system uses CentOS 7, other configurations are shown in the following table, and the services deployed by each node are as follows
| node | cpu | Memory | disk |
|---|---|---|---|
| 192.168.2.203 (central control node) | 4 | 16G | 150G |
| 192.168.2.201 | 4 | 16G | 150G |
| 192.168.2.202 | 4 | 16G | 150G |
192.168.2.203 iam,ssm,usermgr,gse,license,redis,consul,mysql
192.168.2.202 nginx,paas,consul,mongodb,rabbitmq,appo
192.168.2.201 cmdb,job,zk(config),appt,consul,nodeman(nodeman)
2. yum source configuration
Blue whale's yum source requires EPEL to be included, because the virtual machine I use can access the Internet and uses Ali's source
All nodes need to set the source, and related dependencies need to be set
#Backup current source
cd /etc/yum.repos.d
mkdir bak
mv ./*.repo ./bak/

#Use Ali's source
wget -O /etc/yum.repos.d/CentOS-Base.repo  https://mirrors.aliyun.com/repo/Centos-7.repo && wget -O /etc/yum.repos.d/epel.repo
3. Firewall settings
#Modify profile
sed -i 's/^SELINUX=enforcing/SELINUX=disabled/g' /etc/selinux/config

reboot

#Disable firewalld
systemctl stop firewalld
systemctl disable firewalld
firewall-cmd --state
4. Install rsync command
Note that this must be installed. Many deployment scripts use this command later
#Check whether there is an rsync command. If there is a return rsync path, you can skip the following commands
which rsync

#Install rsync
yum -y install rsync
5. Adjust the maximum number of file openings
ulimit -n
#Adjust to 102400 or greater

cp /etc/security/limits.conf /tmp//etc/security/limits.conf.bak
#Modify limits Conf configuration
cat >> /etc/security/limits.conf << EOF
root soft nofile 102400
root hard nofile 102400
EOF

#Restart to see if the configuration is effective
6. Server time synchronization
The server background time is not synchronized, which will bring unforeseen consequences to time sensitive services. Be sure to ensure time synchronization when installing and using blue whale
#Check whether the current time and time zone of each machine are consistent. If the difference between them is greater than 3S (considering the time difference during batch execution), it is recommended to calibrate the time.
date -R

#Check the time difference between and ntp server (external network access is required. If there is an ntpd server on the internal network, replace the domain name with the address of the service)
ntpdate -d cn.pool.ntp.org

#Synchronize time with ntp server
ntpdate cn.pool.ntp.org
7. Check whether there is a global HTTP proxy
#Check http_ proxy https_ Whether the proxy variable is set. If it is empty, you can skip the following operations.
echo "$http_proxy" "$https_proxy"

For native configuration http_proxy Variable, please find the file in turn /etc/profile,/etc/bashrc,$HOME/.bashrc And so on. Or consult your network administrator/IT The Department shall assist in handling.
8. Host name of the deployment machine
hostname should be set for all machines
#Modify the host name and nodes
    hostnamectl set-hostname <New host name>
#Confirm that the host name has been modified successfully
hostname
9. Check the DNS configuration file
Check file properties
lsattr /etc/resolv.conf

#If there is a lock, please unlock it temporarily
chattr -i /etc/resolv.conf

DNS configuration file /etc/resolv.conf It will be modified automatically during the installation of blue whale. After restarting the host, some network configurations will cause the file to be restored to its original state.
10. Central control node operation
#Environment variable addition
$BK_DOMAIN: The root domain name that needs to be updated.
$INSTALL_PATH: Customize the installation directory.

BK_DOMAIN=qyos.com
INSTALL_PATH=/data/qyos
#This cannot use the root directory

#Please replace it with the actual top-level domain name (e.g. bktencent.com) and installation directory before execution
cd /data/install
./configure -d $BK_DOMAIN -p $INSTALL_PATH

------------------------------------------------------------------------

#Custom password
cat > /data/install/bin/03-userdef/usermgr.env << EOF
BK_PAAS_ADMIN_PASSWORD=qydcos
EOF
III Start deployment
Pre preparation
#Decompression package (including blue whale related products, such as PaaS, CMDB, JOB, etc.; rpm package, SaaS image, customized Python interpreter and deployment script)
cd /data
tar xf bkce_basic_suite-6.0.3.tgz

#Unzip each product package
cd /data/src/; for f in *gz;do tar xf $f; done

#Unzip the certificate package
install -d -m 755 /data/src/cert
tar xf /data/ssl_certificates.tar.gz -C /data/src/cert/
chmod 644 /data/src/cert/*

#Copy the rpm package folder to the / opt / directory
cp -a /data/src/yum /opt
Generate and configure install config
Note here that you'd better put nginx and paas on the same node. You've deployed them once before. You don't know the separate error domain name
cat << EOF >/data/install/install.config
192.168.2.203 iam,ssm,usermgr,gse,license,redis,consul,mysql
192.168.2.201 nginx,paas,consul,mongodb,rabbitmq,appo
192.168.2.202 cmdb,job,zk(config),appt,consul,nodeman(nodeman)
EOF
Secret free setting
This password free setting must be used. Individuals have tried to use their own password free method, and then a series of problems will occur
There may be errors in the execution here. It doesn't matter. Execute more times and try to ssh other machines. If you can ssh, it's ok
cd /data/install
bash /data/install/configure_ssh_without_pass
jq installation
The first attempt to install jq is not small, and other problems will occur in subsequent deployment. Install jq in advance for the second installation
#Installation of EPEL
wget http://dl.fedoraproject.org/pub/epel/epel-release-latest-7.noarch.rpm

rpm -ivh epel-release-latest-7.noarch.rpm

#Check whether it has been added to the source list
OK,After checking that it has been added to the source, you can proceed yum Installed

yum install jq
1. Initialize the environment
#Initialize environment
./bk_install common

#Verify the configuration of the environment and deployment
./health_check/check_bk_controller.sh
2. Deploy paas
#Install PaaS platform and its dependent services
./bk_install paas

3. Deploy app_mgr
#Deploy SaaS operation environment, formal environment and test environment
./bk_install app_mgr

After the deployment of this module, you will be prompted to deploy nodeman. At this time, the deployment will report a timeout error. After several attempts, it will be deployed later according to the steps of the official document, and the deployment will continue normally
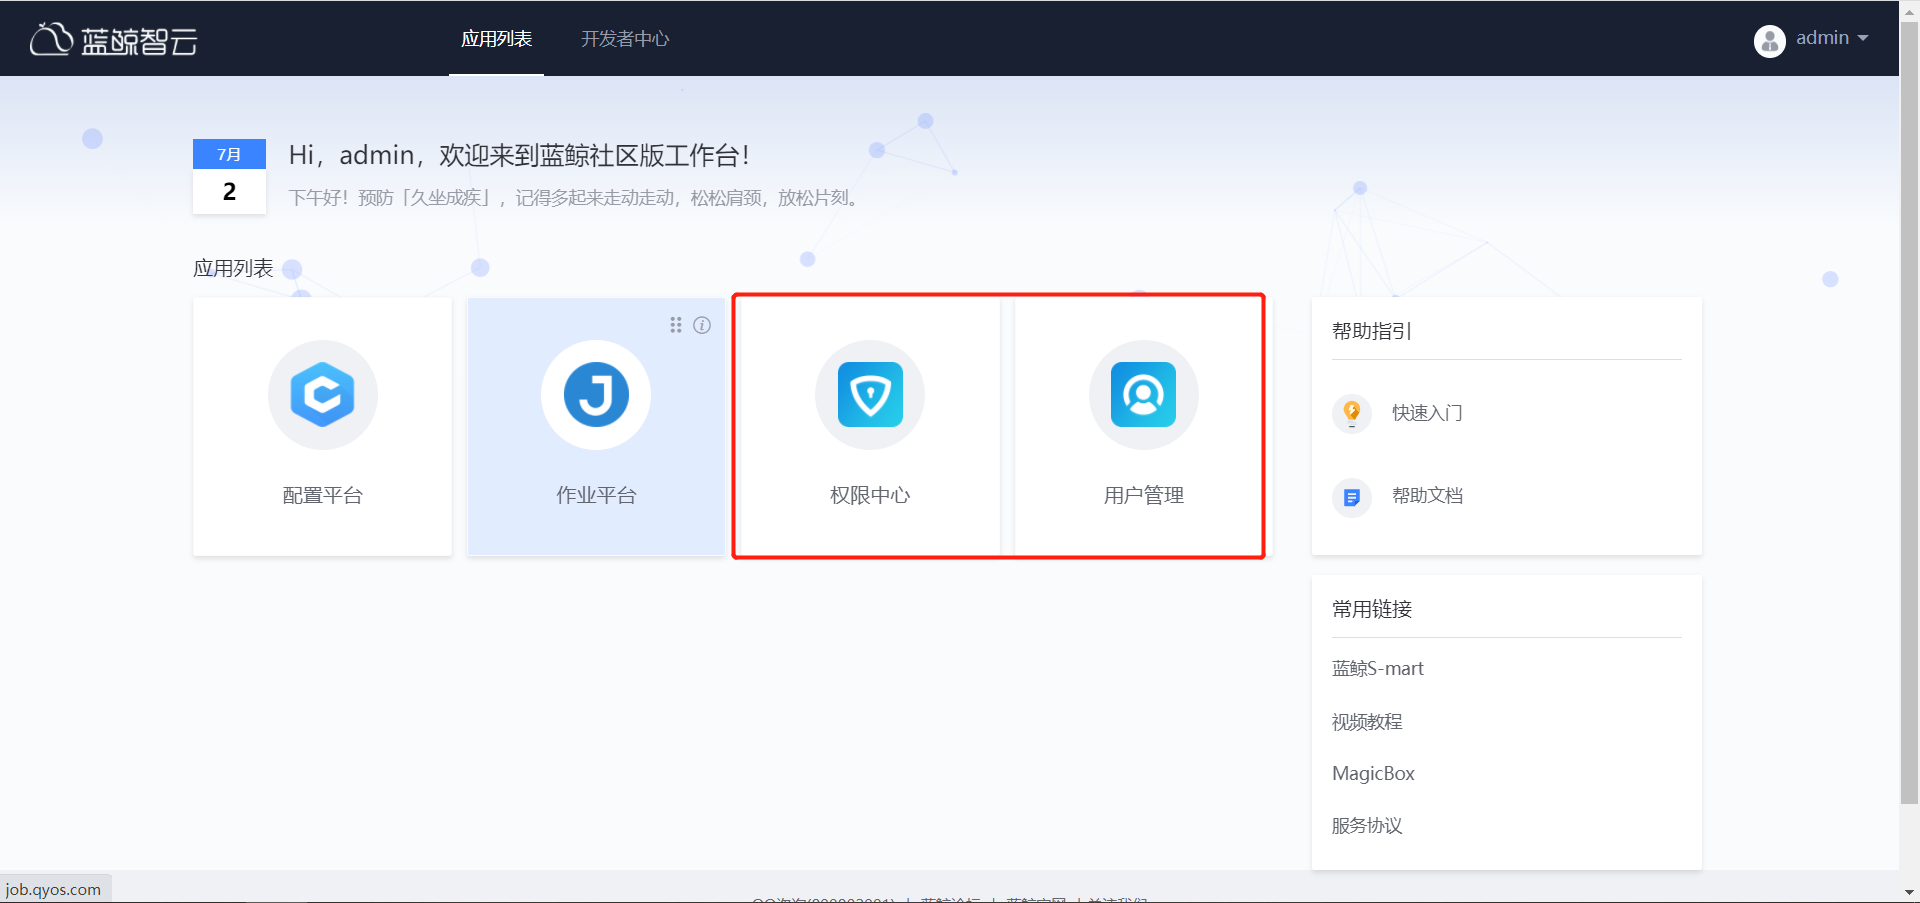
4. Deploy authority center and user management
#Authority Center
./bk_install saas-o bk_iam
#user management
./bk_install saas-o bk_user_manage


5. Deploy cmdb
#Install and configure the platform and its dependent services
./bk_install cmdb

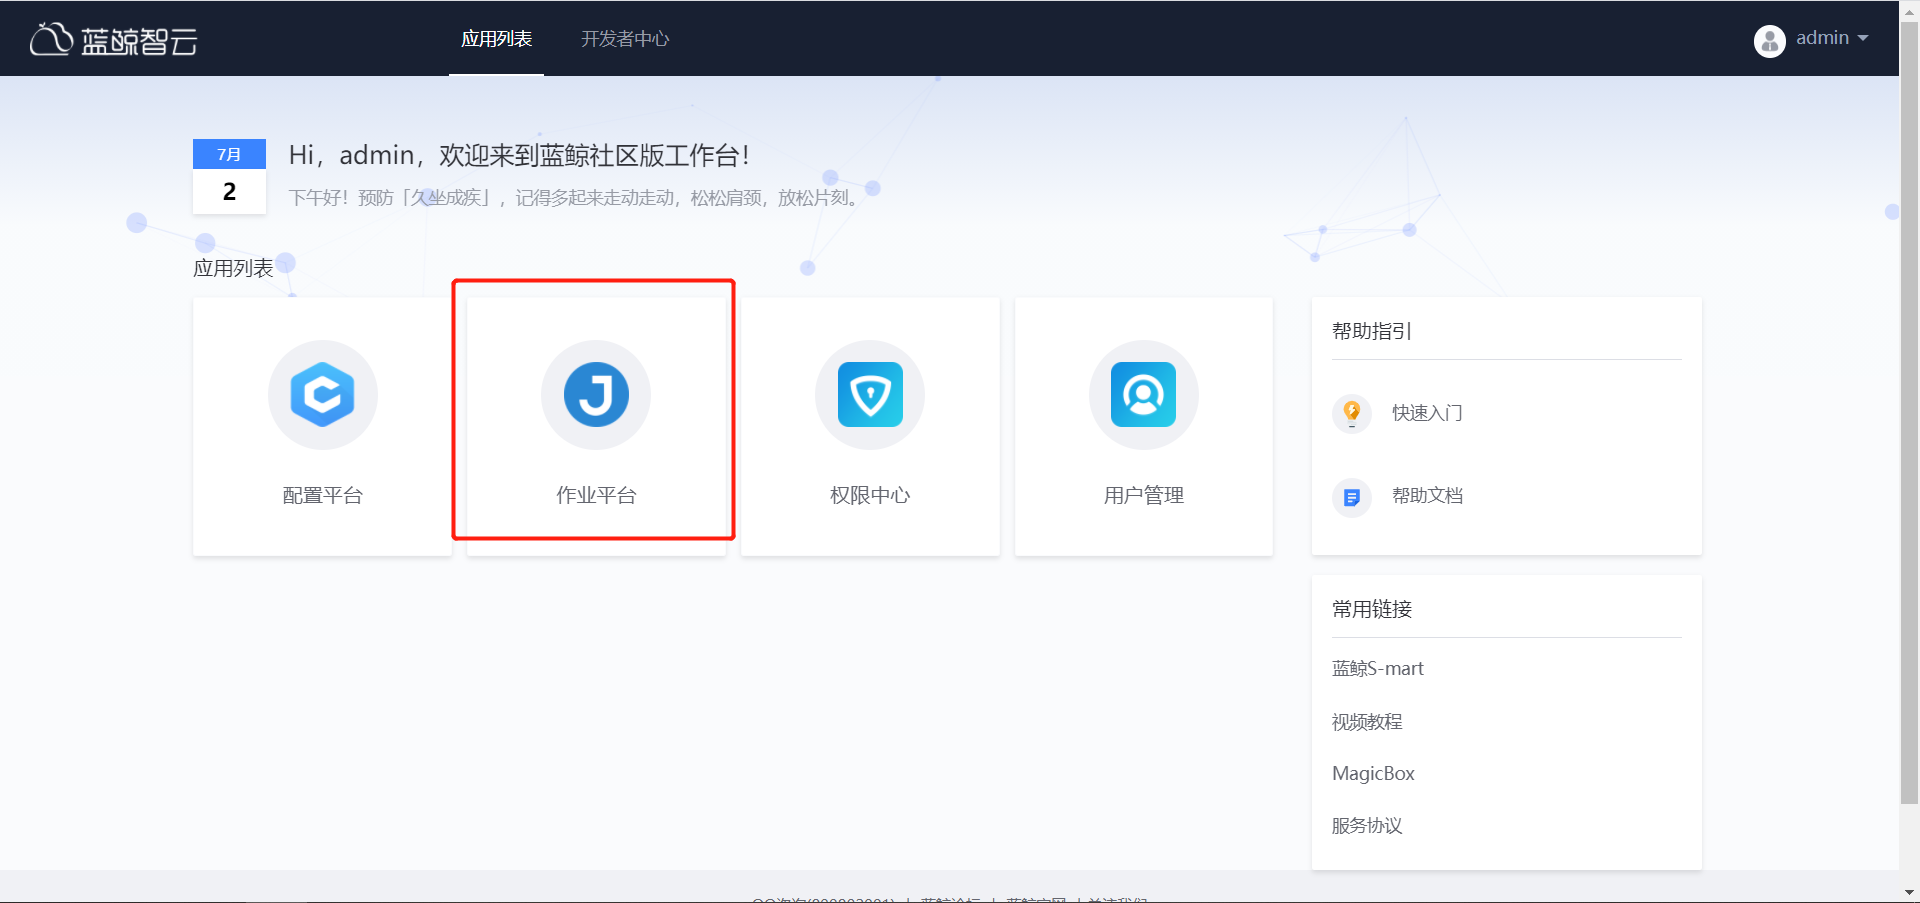
6. Deploy job
#Install the job platform background module and its dependent components
./bk_install job

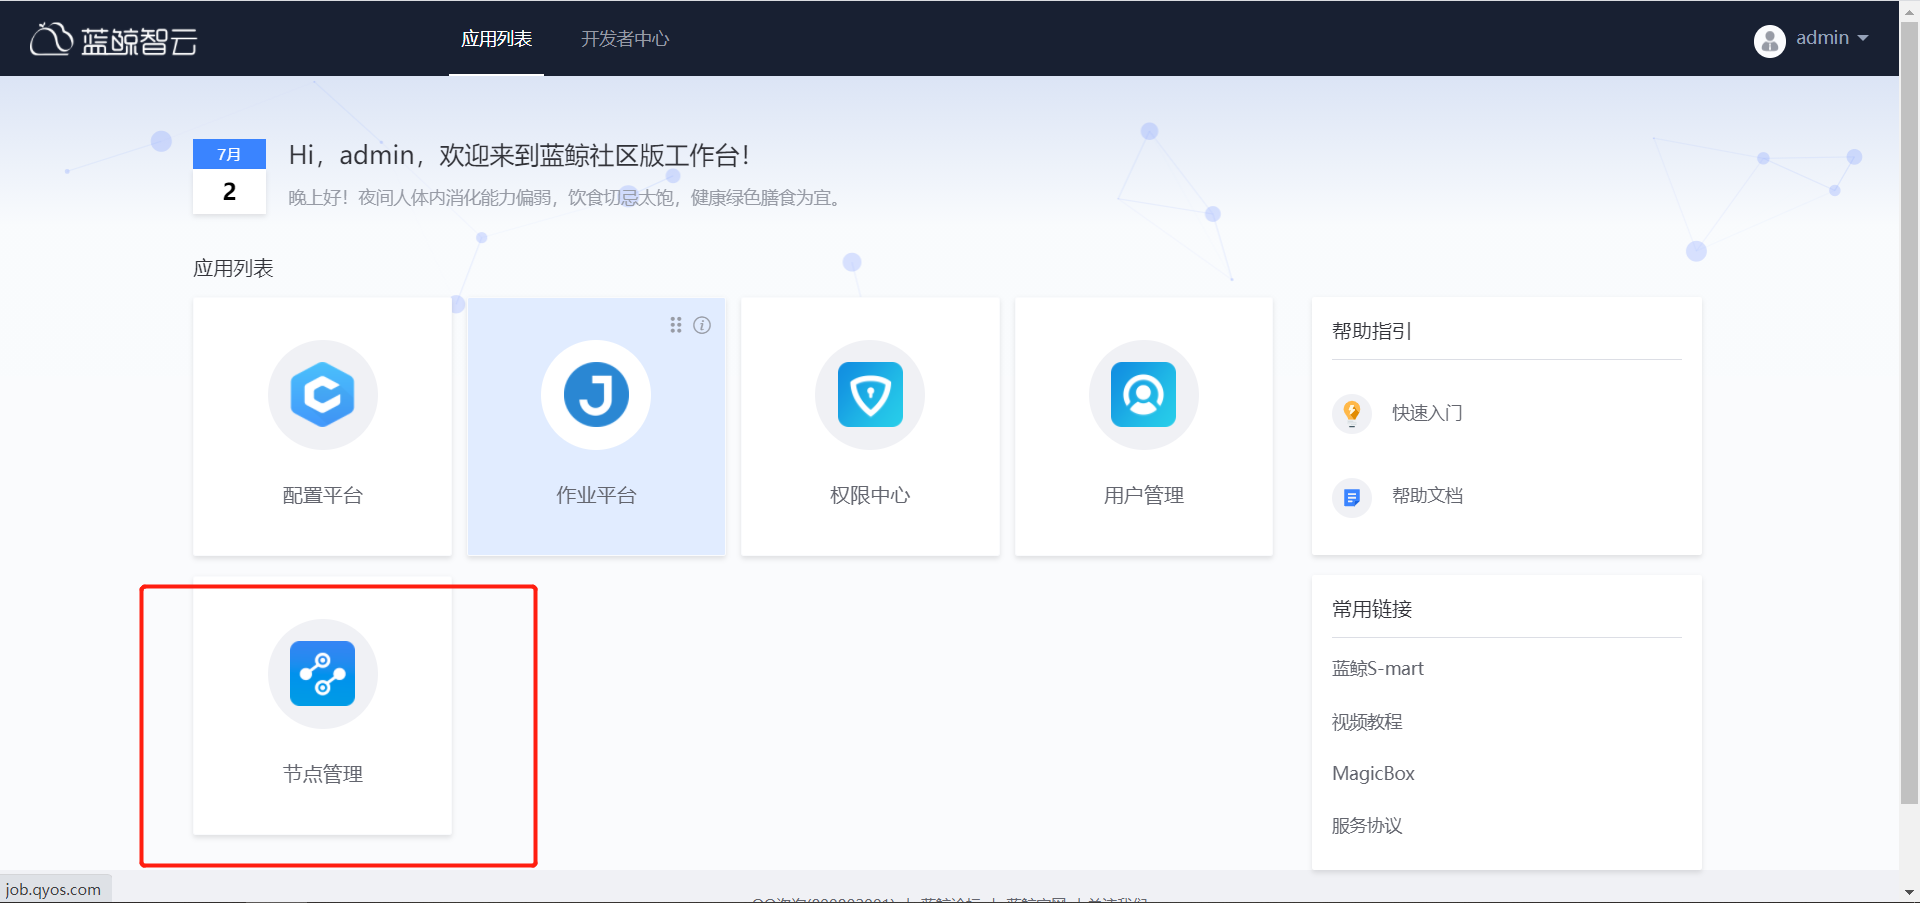
7. Deploy bknodeman
#Install the node management background module, node management SaaS and its dependent components
./bk_install bknodeman

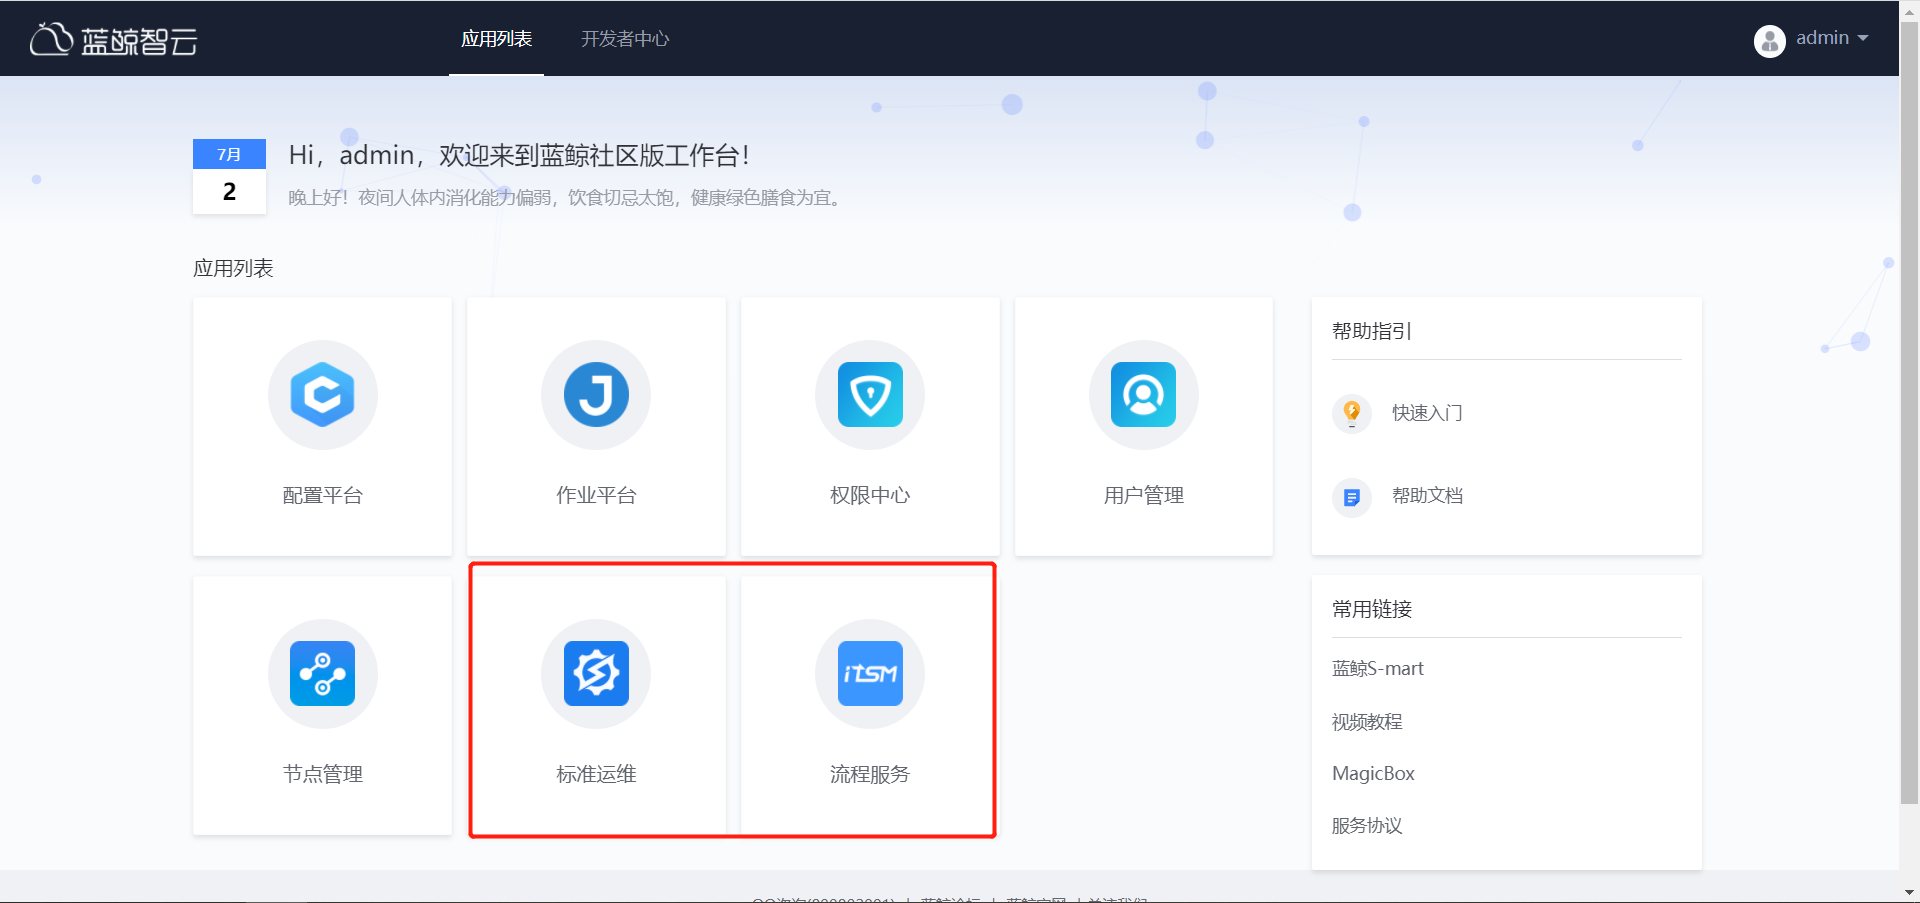
8. Deploy standard operation and maintenance and process management
Execute the following commands in turn to deploy the related SaaS.

#Standard operation and maintenance
./bk_install saas-o bk_sops

#Process management
./bk_install saas-o bk_itsm


9. Load blue whale related maintenance commands
source ~/.bashrc
10. Initialize blue whale service topology
./bkcli initdata topo
11. Detect relevant service status
cd /data/install/
echo bkiam bkssm paas usermgr cmdb gse job consul | xargs -n 1 ./bkcli check
IV Access configuration
1. Local host configuration
192.168.2.202 paas.qyos.com cmdb.qyos.com job.qyos.com jobapi.qyos.com
192.168.2.203 nodeman.qyos.com
2. Query the machine where the module is located
grep -E "nginx|nodeman" /data/install/install.config

192.168.2.201 nginx,paas,consul,mongodb,rabbitmq,appo
192.168.2.202 cmdb,job,zk(config),appt,consul,nodeman(nodeman)
3. Obtain administrator account and password
On any machine, execute the following commands to obtain the administrator account and password
This password is the initial password. After modification, it is still the initial password
grep -E "BK_PAAS_ADMIN_USERNAME|BK_PAAS_ADMIN_PASSWORD" /data/install/bin/04-final/usermgr.env

qydcos
V Uninstall environment
cd /data/instll
cp ./uninstall/uninstall.sh ./
./uninstall.sh