Foreword: yesterday I shared with you the login, registration and permission tree display of easyUI project, and today's content is the content of yesterday to add, delete, modify and check the books. Today, we will also talk about a new control about easyUI, combobox (drop-down box), which has not been shared before
1, Clear objectives:
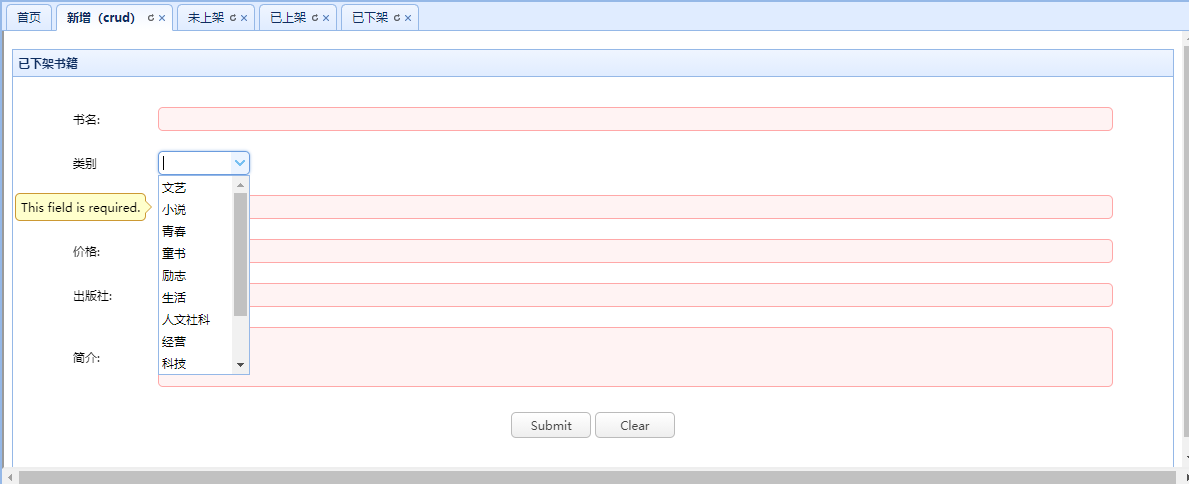
1. Click add book to open the add book interface, and the type will be displayed in the drop-down box.
2. After adding a book, the book will be displayed in the interface that is not on the shelf.
3. In the interface not on the shelf, click on the shelf and it will be displayed in the on the shelf
4. Click Modify in the interface not on the shelf to modify it
5. Click "off shelf" in the "off shelf" interface to display it in the "off shelf" interface
2, Clear function:
1. Display and add types with combobox control
2. Modification
3. Editing status (on shelf and off shelf - because the functions of on shelf and off shelf are distinguished according to the status of the book, 1 means not on shelf, 2 means on shelf and 3 means off shelf)
3, Code effect display:
1, Type display with combobox control:
1. Idea:
1. First build the entity class of the category table
2. Then create the category Dao layer (write all the query methods)
3. Write the category action package (this is the code connecting the front end)
4. Configure the mvc.xml file
5. Then write the js code where the drop-down box should appear
2. Code display:
2.1 entity class:
package com.zking.entity;

public class Category {
	private long id;
	private String name;

	public long getId() {
		return id;
	}

	public void setId(long id) {
		this.id = id;
	}

	public String getName() {
		return name;
	}

	public void setName(String name) {
		this.name = name;
	}

	public Category(long id, String name) {
		super();
		this.id = id;
		this.name = name;
	}

	@Override
	public String toString() {
		return "Category [id=" + id + ", name=" + name + "]";
	}

	public Category() {
		// TODO Auto-generated constructor stub
	}

}
2.2. categorydao (list method):
package com.zking.dao;

import java.util.List;

import com.zking.entity.Category;
import com.zking.util.BaseDao;
import com.zking.util.PageBean;

public class CategoryDao extends BaseDao<Category> {
	public List<Category> list(Category category, PageBean pageBean) throws Exception {
		String sql="select * from t_easyui_category ";
		return super.executeQuery(sql, Category.class, pageBean);
	}

}
2.3,categoryaction:
public class CategoryAction  extends ActionSupport implements ModelDriver<Category>{
	private Category category=new Category();
	private CategoryDao cd=new CategoryDao();

	public Category getModel() {
		return category;
	}

	public String combobox(HttpServletRequest req, HttpServletResponse resp)  {
		try {
			List<Category> list = cd.list(category, null);
			ResponseUtil.writeJson(resp, list);
		} catch (Exception e) {
			e.printStackTrace();
		}
		return null;
	}
2.4. Configure mvc.xml file:
<action path="/category" type="com.zking.web.CategoryAction">
	</action>
2.5. Write js code:
Drop down box html code:
<div style="margin-bottom:20px">
            <input id="cid" name="cid" value="" label="category" >
            <%--<select class="easyui-combobox" name="cid" label="category"
                 style="width:100%">--%>
                <%--<option value="1">literature</option>--%>
                <%--<option value="2">novel</option>--%>
                <%--<option value="3">youth</option>--%>
            <%--</select>--%>
        </div>

js method:
$(function () {
    	$('#cid').combobox({
    	    url:'${pageContext.request.contextPath}/category.action?methodName=combobox',
    	    valueField:'id',
    	    textField:'name'
    	});


    });
3. Effect display:
2, Add:
1. Code display:
	public void add(Book t) throws Exception {
		t.setPinyin(PinYinUtil.getAllPingYin(t.getName()));
		t.setDeployTime(new Date());
		String sql="insert into t_easyui_book(name,pinyin,cid,author,price,image,publishing,description,state,deployTime,sales) values(?,?,?,?,?,?,?,?,?,?,?)";
		super.executeUpdate(sql, t, new String[] {"name","pinyin","cid","author","price","image","publishing","description","state","deployTime","sales"});
	}
2. Effect display:
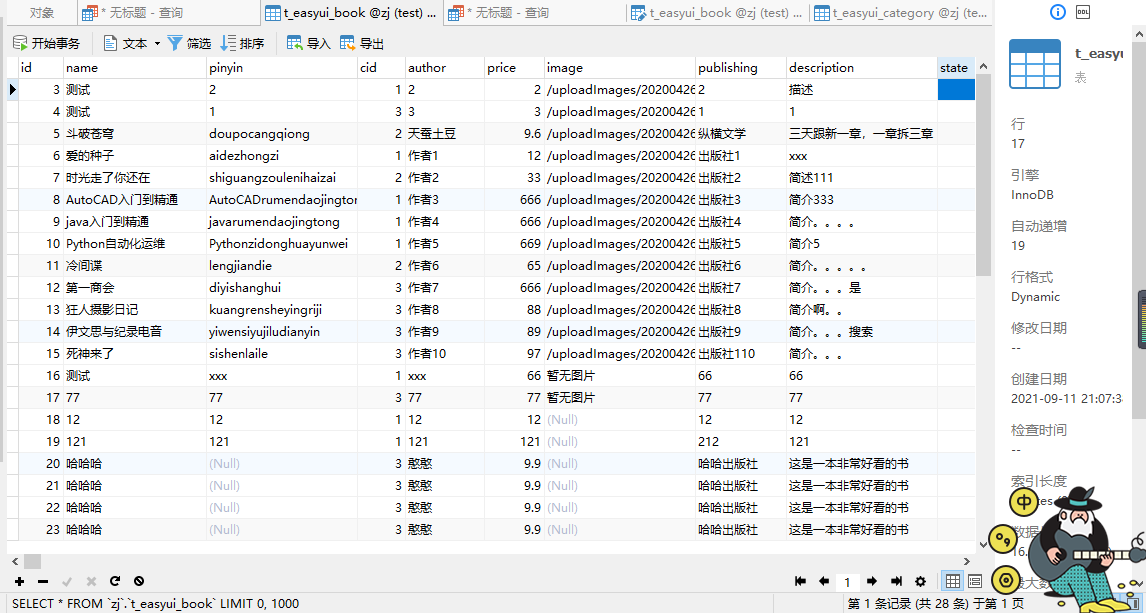
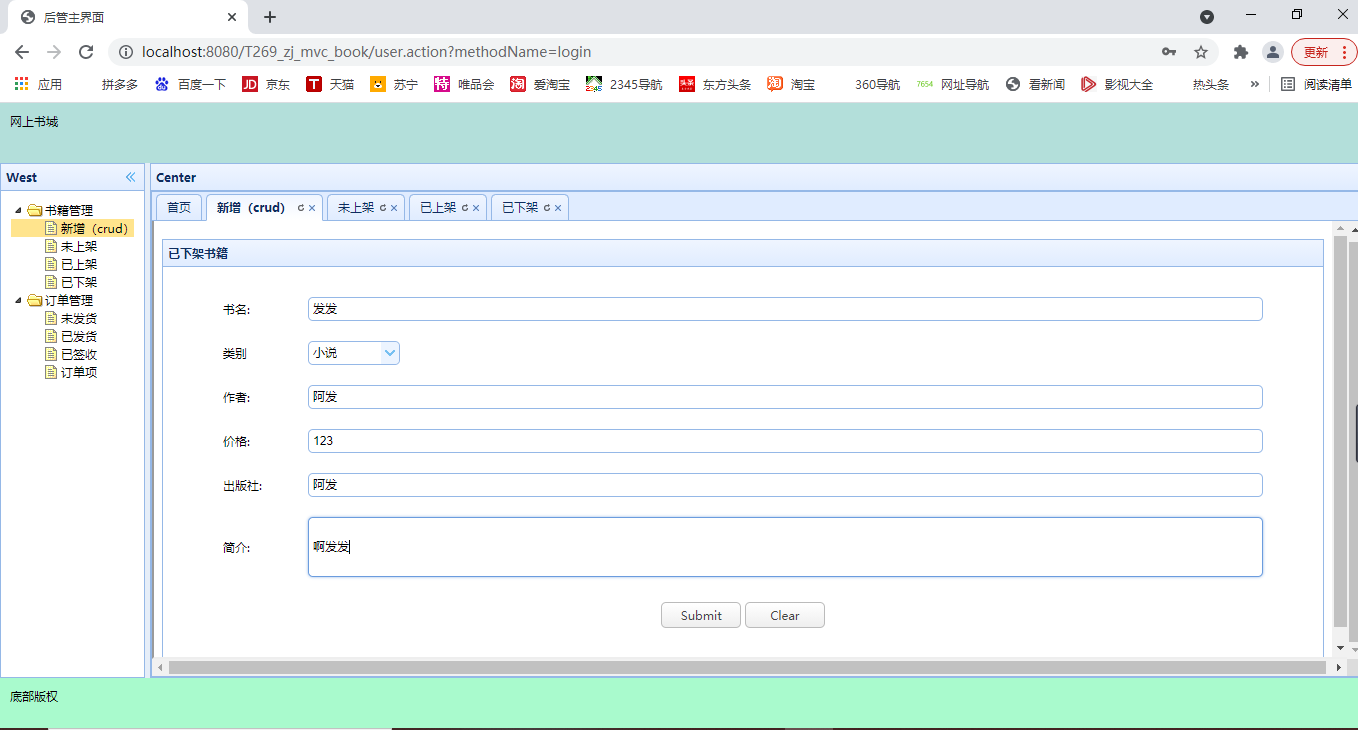
You can get the data in the lower right corner. There are 28 pieces of data. Now add them
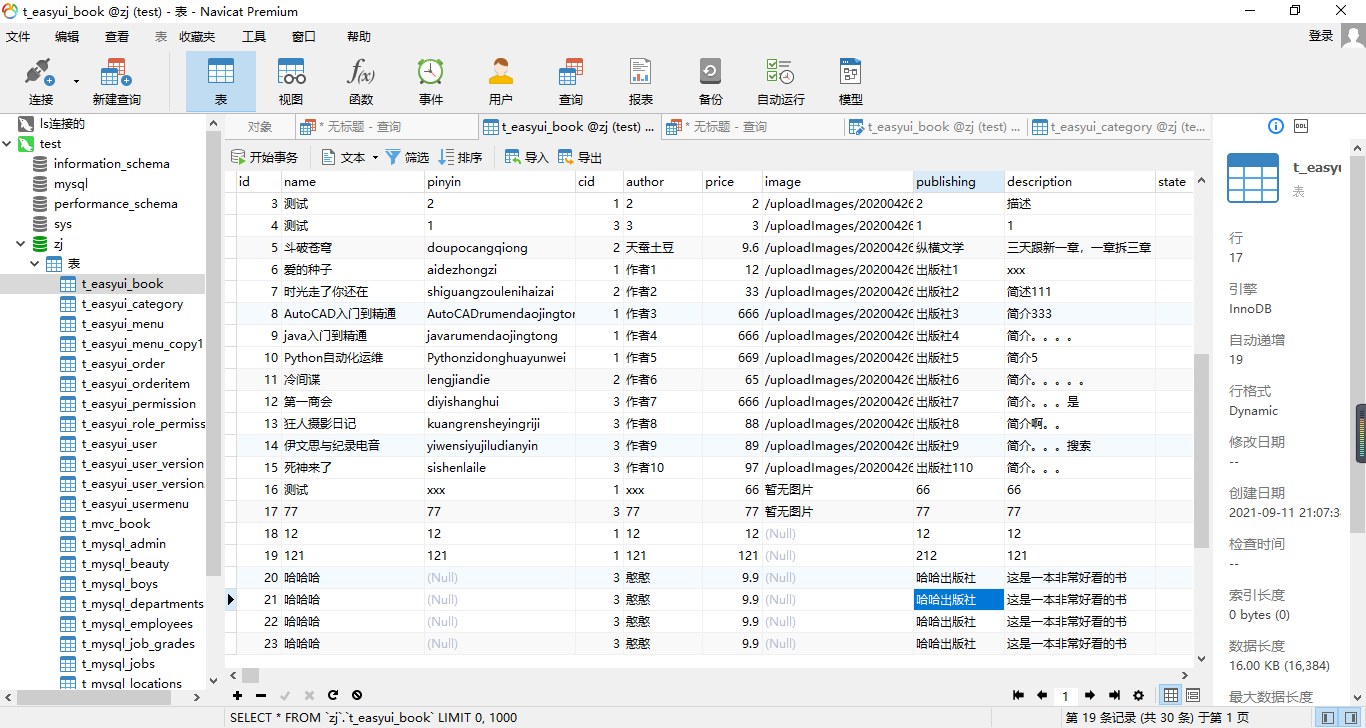
Now you can see that there are already 30 pieces of data. The addition is successful
Successfully added. The book has been added to the interface not on the shelf:

3, Modification:
1. Code display:
public void edit(Book t) throws Exception {
		super.executeUpdate("update t_easyui_book set name=?,pinyin=?,cid=?,"
				+ "author=?,price=?,image=?,publishing=?,description=?,state=?,deployTime=?,sales=? where id=?", t,
				new String[] {"name","pinyin","cid","author","price","image","publishing","description","state","deployTime","sales","id"});
	}
1. Effect display:
Before modification:

Under modification:
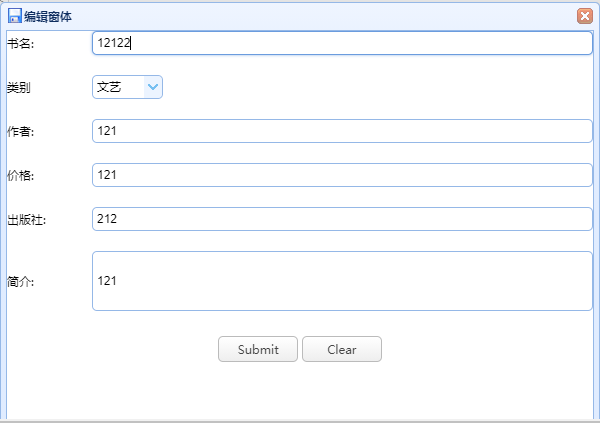
After modification:

4, Edit status:
1, In the interface not on the shelf, click on the shelf to display on the shelf:
1. Idea:
1. The method to write the edit status in bookdao is called editstatus (modify the state status according to the id)
2. Then find the interface not on the shelf and find the hyperlinks on the shelf
3. Then write js code (fix the state to be changed in the jump path)
4. Finally, write the refresh code
2. Code display:
bookdao:
	public void editStatus(Book t) throws Exception {
		super.executeUpdate("update t_easyui_book set state=? where id=?", t,
				new String[] {"state","id"});
	}
listbook1.jsp:
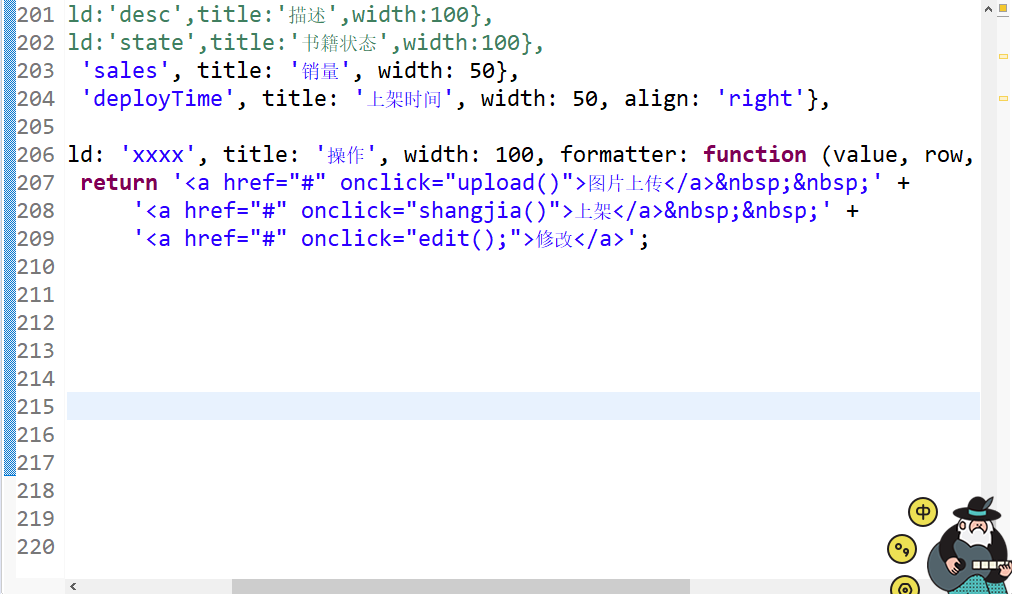
js method:
 function shangjia() {
        $.messager.confirm('confirm','Are you sure you want to put this book on the shelf?',function(r){
            if (r){
                var row = $('#dg').datagrid('getSelected');
                if (row){
                    $.ajax({
                        url:'${pageContext.request.contextPath}/book.action?methodName=editStatus&state=2&id=' + row.id,
                        success:function (data) {
                        	if(data=1){
                        		$('#dg').datagrid('reload');
                                  //Refreshed code
                        	}
                        }
                    })
                }
            }
        });

    }
Define the status to be changed in the url. The purpose of listing is to change the status from not on the shelf to on the shelf (change state=1 to state=2). The same refresh code is also included.
3. Effect display:

Change books to shelves:
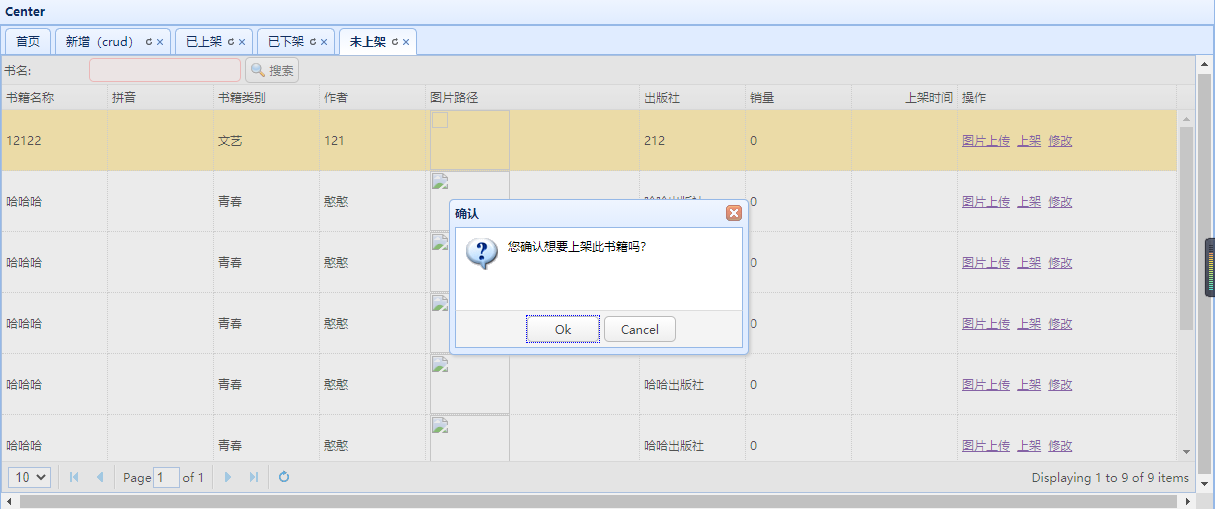
Successful launch:

At the same time, the books to be put on the shelf in the not put on shelf interface have disappeared:
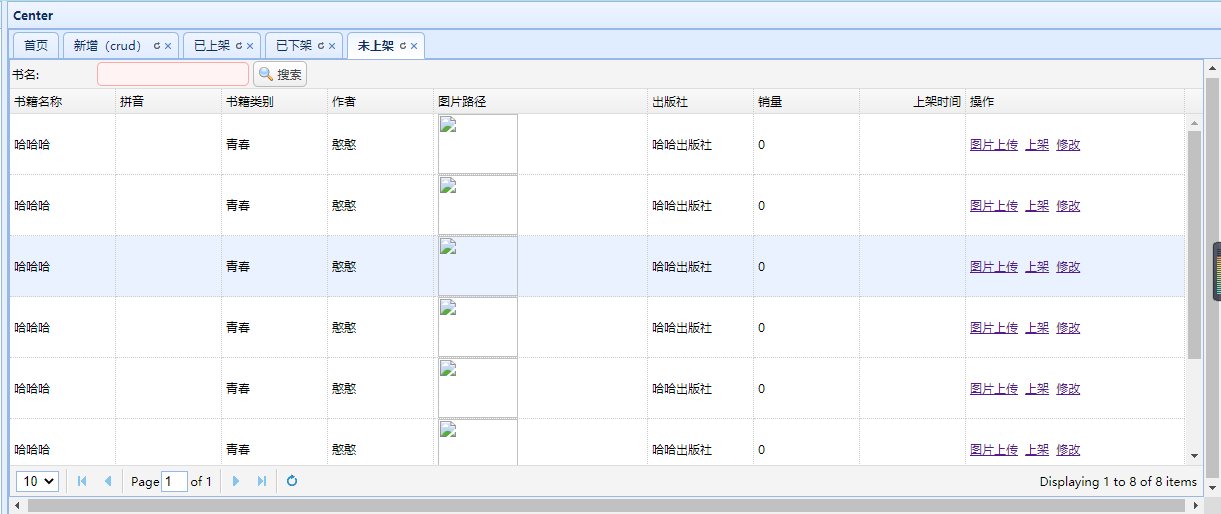
2, Click "off shelf" in the "off shelf" interface to display it in the "off shelf" interface
1. Idea:
1. It is the same as point 1, using the same method:
2. Then find the on shelf interface and the off shelf hyperlink
3. Then write js code (fix the state to be changed in the jump path)
4. Finally, write the refresh code
2. Code display: use the same method as bookdao
listbook2.jsp:

js method:
   function xiajia() {
        $.messager.confirm('confirm','Are you sure you want to take this book off the shelf?',function(r){
            if (r){
                var row = $('#dg').datagrid('getSelected');
                if (row){
                    $.ajax({
                        url:'${pageContext.request.contextPath}/book.action?methodName=editStatus&state=3&id=' + row.id,
                        success:function (data) {
                        	$('#dg').datagrid('reload');                         }
                    })
                }
            }
        });

    }
3. Effect display: take the book named AFA off the shelf
 In the lower shelf:
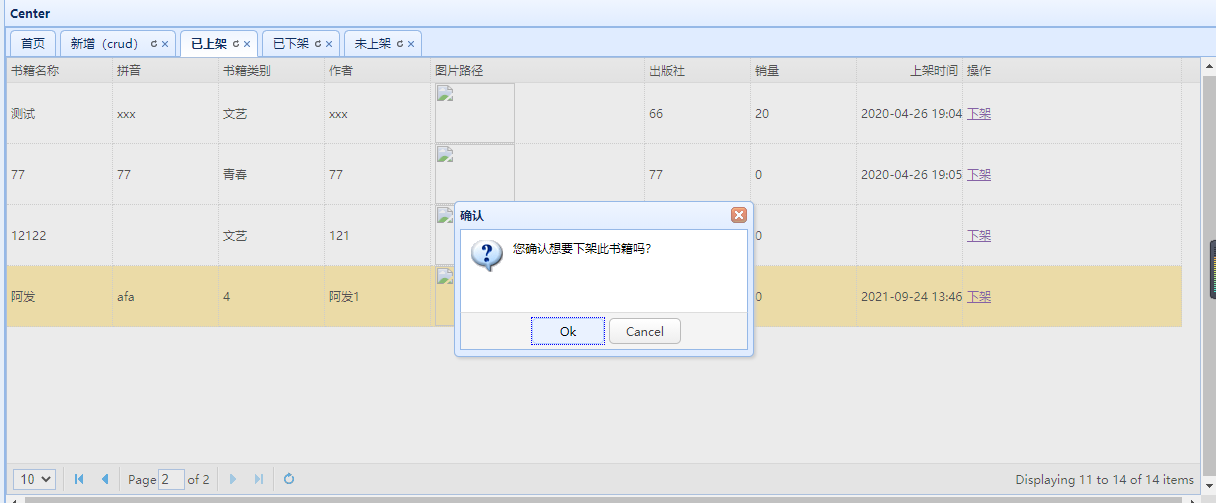
The book is called AFA. This book has disappeared:
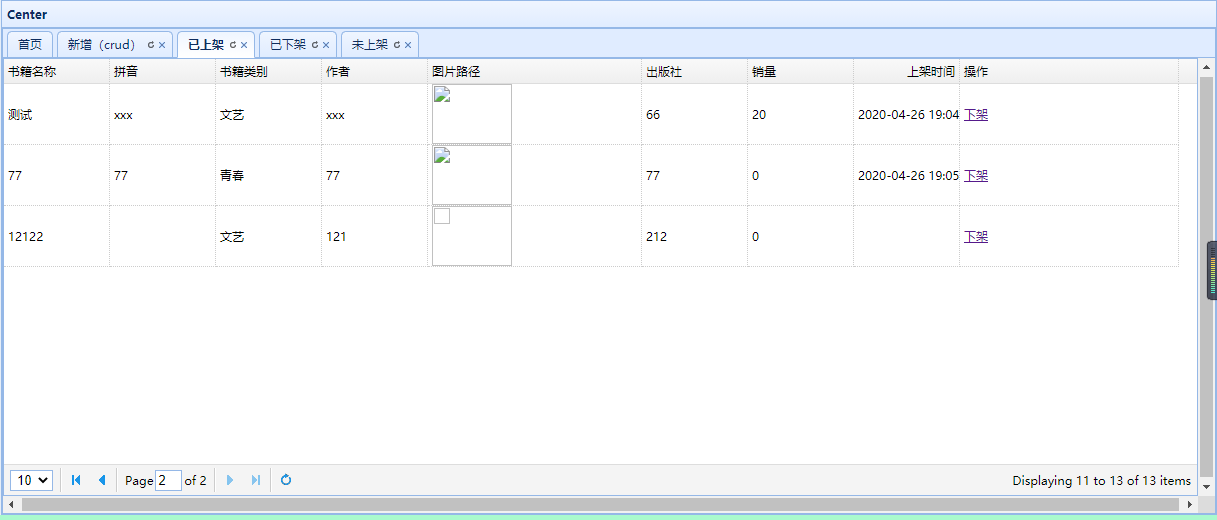
AFA's book can be seen in the off shelf:

The above effects have been achieved
Summary: that's all the knowledge shared today. It's not difficult to realize the function. As long as you are careful and serious. That's all for sharing knowledge. I wish everyone a happy life!