Vue2 (long long ago), which has been used before, is now built through our previous development experience.
• framework: Vue3
• route management: Vue router
• status management: Vuex
• UI component library: UI element
• visual data display: echarts
• Internationalization: vue-i18n
• data request: Axios
• Css Library: Tailwind css
Next, we will build the project architecture in turn.
Roll out a basic project
Initialize the project and install Vue3
yarn create vite
Installation dependency
yarn

// run
yarn dev

Route management: Vue router
yarn add vue-router
Create 3 pages
// home page
<template>
  <div>home page</div>
  <button @click="toAbout">toAbout</button>
</template>

<script setup>
import router from '../routes';

const toAbout = () => {
  router.push('./about');
};
</script>


// about page
<template>
  <div>about page</div>
  <button @click="toHome">toHome</button>
</template>

<script setup>
import router from '../routes';

const toHome = () => {
  router.push('/');
};
</script>


// 404 page
<template>
  <div>404</div>
</template>
Initialize route
import { createRouter, createWebHistory } from 'vue-router';
import Home from '../pages/home.vue';
import About from '../pages/about.vue';
import NotFound from '../pages/not-found.vue';

const routes = [
  {
    path: '/',
    component: Home,
    meta: { title: 'Home' },
  },
  {
    path: '/About',
    component: About,
    meta: { title: 'About' },
    // example of route level code-splitting
    // this generates a separate chunk (About.[hash].js) for this route
    // which is lazy-loaded when the route is visited.
    // component: () => import('./views/About.vue')
  },
  { path: '/:path(.*)', component: NotFound },
];

const router = createRouter({
  history: createWebHistory(),
  routes,
});

//Routing global front guard
router.beforeEach((to, from, next) => {
  // console.log("routing global pre guard", to, from);
  next();
});

//Routing global post guard
router.afterEach((to, from, next) => {
  console.log('Routing global post guard', to, from);
  next();
});

export default router;
Register routing
/main.js
import { createApp } from 'vue';
// import './tailwind.css';
import App from './App.vue';
import router from './routes';

createApp(App).use(router).mount('#app');
src/App.vue
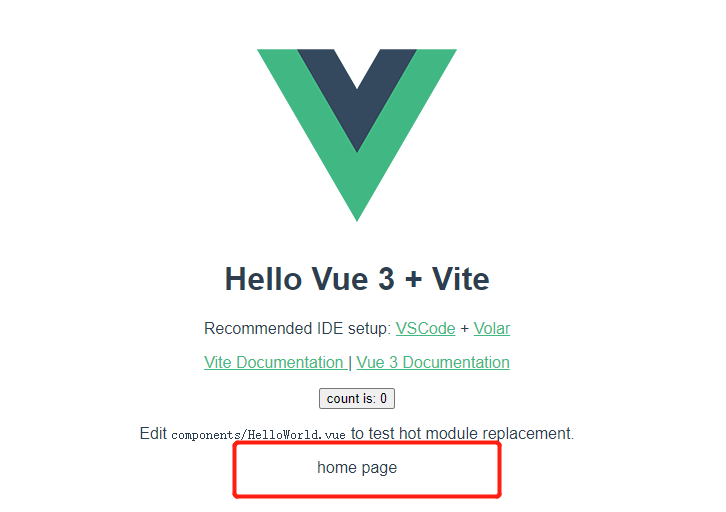
<template>
  <router-view />
</template>
Effect display:
Status management: Vuex
npm install vuex@next --save
Initialize vuex, Src / store / index js
import { createStore } from 'vuex';

const store = createStore({
  state() {
    return {
      count: 0,
    };
  },
  mutations: {
    increment(state) {
      state.count++;
    },
  },
});

export default store;
Mount:
import { createApp } from 'vue';
import App from './App.vue';
import router from './routes';
import store from './store';

createApp(App).use(router).use(store).mount('#app');
use:
<template>
  <div>home page</div>
  <p>{{ store.state.count }}</p>
  <button @click="toAbout">toAbout</button>
  <button @click="increment">+</button>
</template>

<script setup>
import router from '../routes';
import store from '../store';

const toAbout = () => {
  router.push('./about');
};

const increment = () => {
  store.commit('increment');
  console.log(store.state.count);
};
</script>
effect:
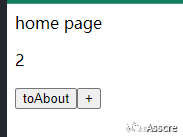
image.png
Css Library: Tailwind css
Tailwind CSS works by scanning all your HTML files, JavaScript components, and any other templates for class names, generating the appropriate styles, and then writing them to a static CSS file.
The generated style is atomic Css.
• install Tailwind css because we use vite to create engineering projects. Since we want to facilitate developers to respond to development quickly, we need to use PostCSS to help us quickly monitor and generate css styles.
Installation via npm tailwindcss and its peer dependencies, and create your files. tailwind.config.jsnpm install -D tailwindcss postcss autoprefixer
npx tailwindcss init
module.exports = {
plugins: {
tailwindcss: {},
autoprefixer: {},
}
}
``` module.exports = { content: ['./src/**/*.{html,js,vue}'], theme: { extend: {}, }, plugins: [], };
> `@tailwind`take Tailwind Add the instructions of each layer to your master CSS File.
/index.css
``` css
@tailwind base;
@tailwind components;
@tailwind utilities;
npm run dev runs the build process package using the commands configured in the file or any command json.
npm run dev
/main. Introducing tailwindcss into JS
import './tailwindcss.css';
Modify the home page code, and the effect is as follows:
image.png
UI component library: import Element UI on demand
npm install -D unplugin-vue-components unplugin-auto-import
In vite config. JS
import { defineConfig } from 'vite';
import vue from '@vitejs/plugin-vue';
import AutoImport from 'unplugin-auto-import/vite';
import Components from 'unplugin-vue-components/vite';
import { ElementPlusResolver } from 'unplugin-vue-components/resolvers';

// https://vitejs.dev/config/
export default defineConfig({
  plugins: [
    vue(),
    AutoImport({
      resolvers: [ElementPlusResolver()],
    }),
    Components({
      resolvers: [ElementPlusResolver()],
    }),
  ],
});
Code formatting: Prettier
npm install --save-dev --save-exact prettier
Next, we will create a configuration file for prettier.
Because prettier's goal is to configure out of the box, the content of the configuration file can be just an empty object. We just added it because some ides use its presence to detect more beautiful. If you want to configure one of the few options that prettier does offer, refer to the prettier documentation for configuring options.
echo {}> .prettierrc.json