Purchase Ali server
Hello! This is the welcome page displayed by the Markdown editor for the first time. If you want to learn how to use the Markdown editor, you can read this article carefully to understand the basic grammar of Markdown.
1. Install database
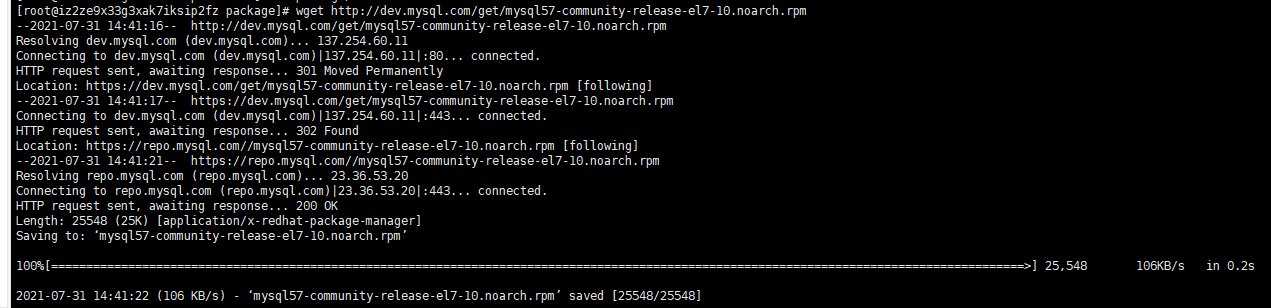
Download and install the official Yum Repository for MySQL
wget http://dev.mysql.com/get/mysql57-community-release-el7-10.noarch.rpm
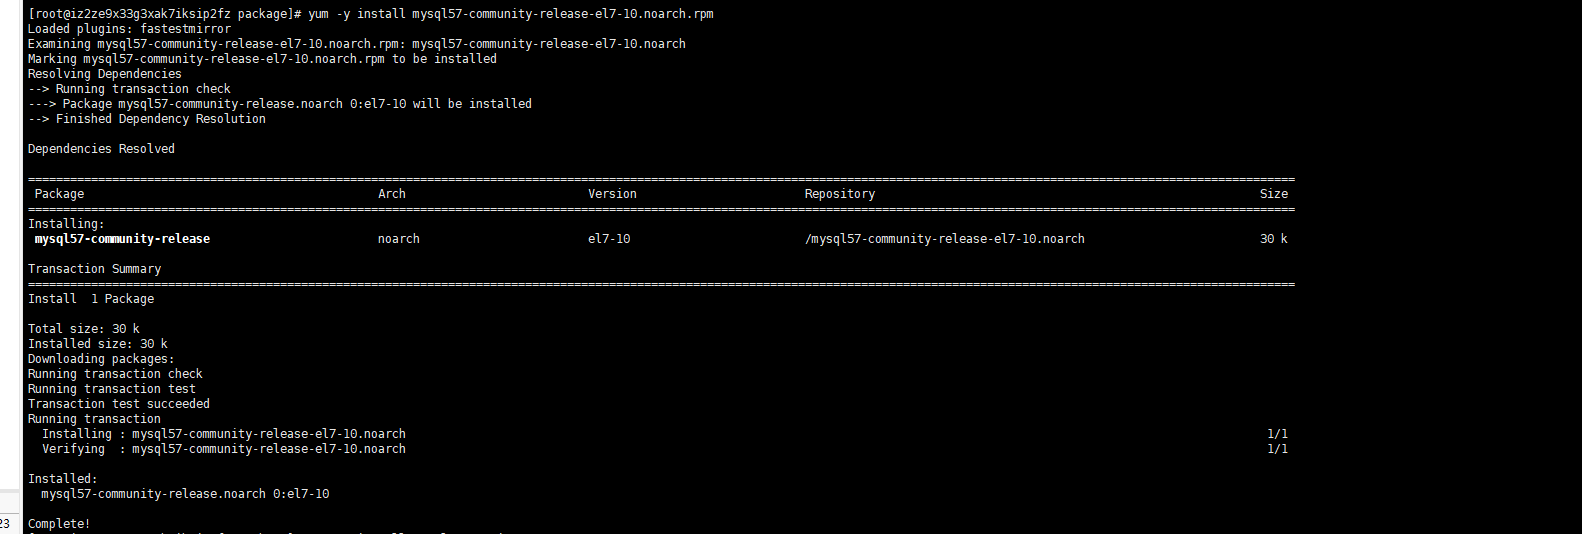
yum -y install mysql57-community-release-el7-10.noarch.rpm
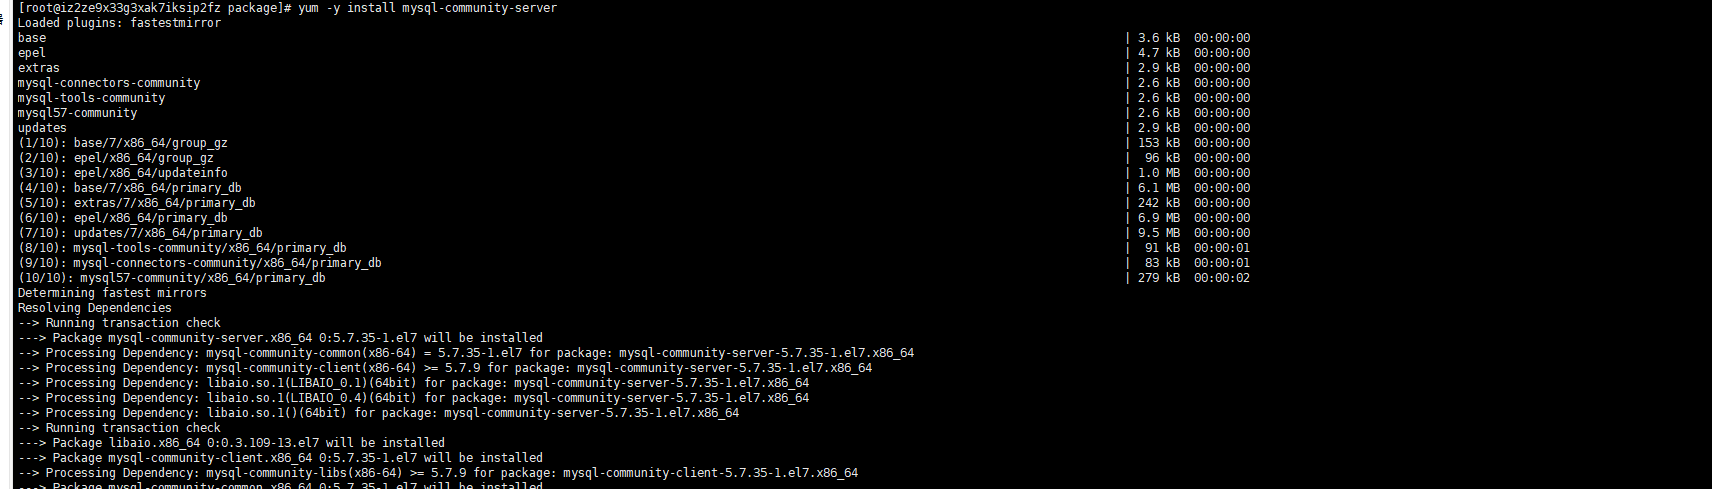
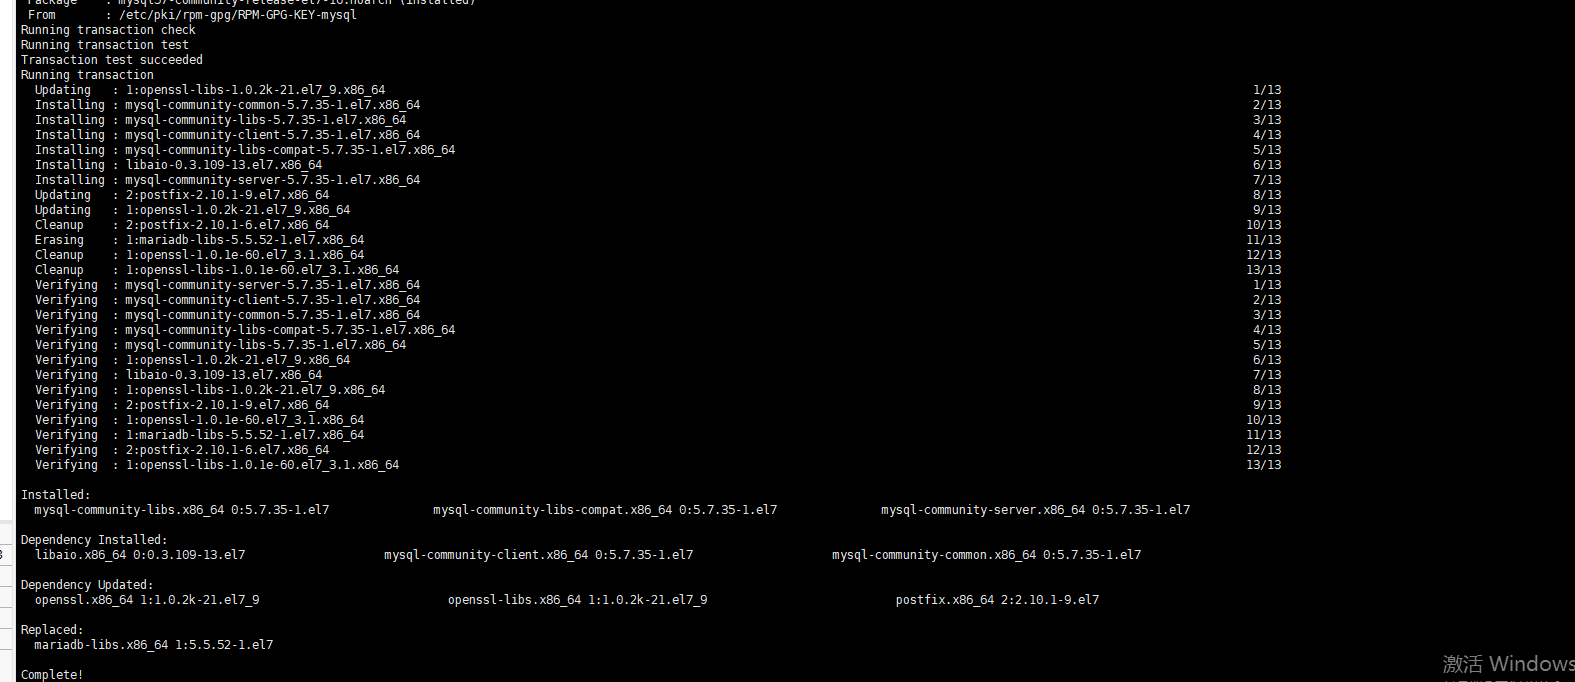
yum -y install mysql-community-server
Start MySQL database\
systemctl start mysqld.service
Query MySQL running status
systemctl status mysqld.service

View the initialization password of mysql
grep "password" /var/log/mysqld.log

Log in to the database and enter the password
mysql -uroot -p
Before using the command, you need to use the ALTER USER command to change the password, otherwise an error will be reported
ALTER USER 'root'@'localhost' IDENTIFIED BY 'NewPassWord1.';
Create database
create database workpress;
Open remote connection to mysql database
use mysql Library: use mysql;
Query information: select user,host from user;
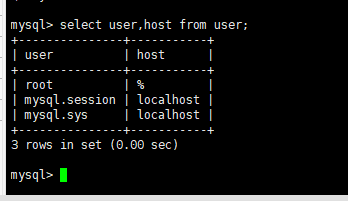
In the host field, localhost means that only local access is allowed. To realize remote connection, you can change the host of root user to%,% means that any host access is allowed. If you need to set that only specific ip access is allowed, you should change it to the corresponding ip
Modify the host field of the root user
update user set host="%" where user="root";
Make this amendment effective immediately
flush privileges;
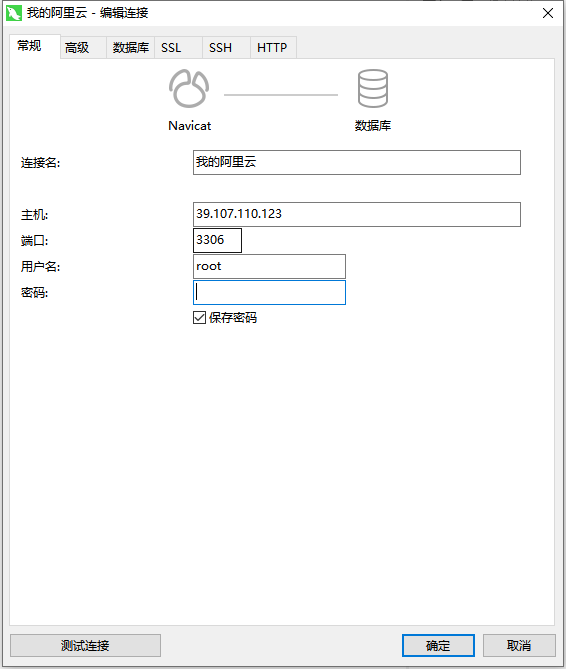
Using Navicat client, you can connect to mysql and operate the database
Check whether your alicloud server has an open mysql port
2. Install JDK
Check whether the server has JDK installed
// View JDK version information
java -version
If it is not installed, the server prompts: - bash: java: command not found
View installable versions
yum -y list java*
After the command runs, the server displays the following results:
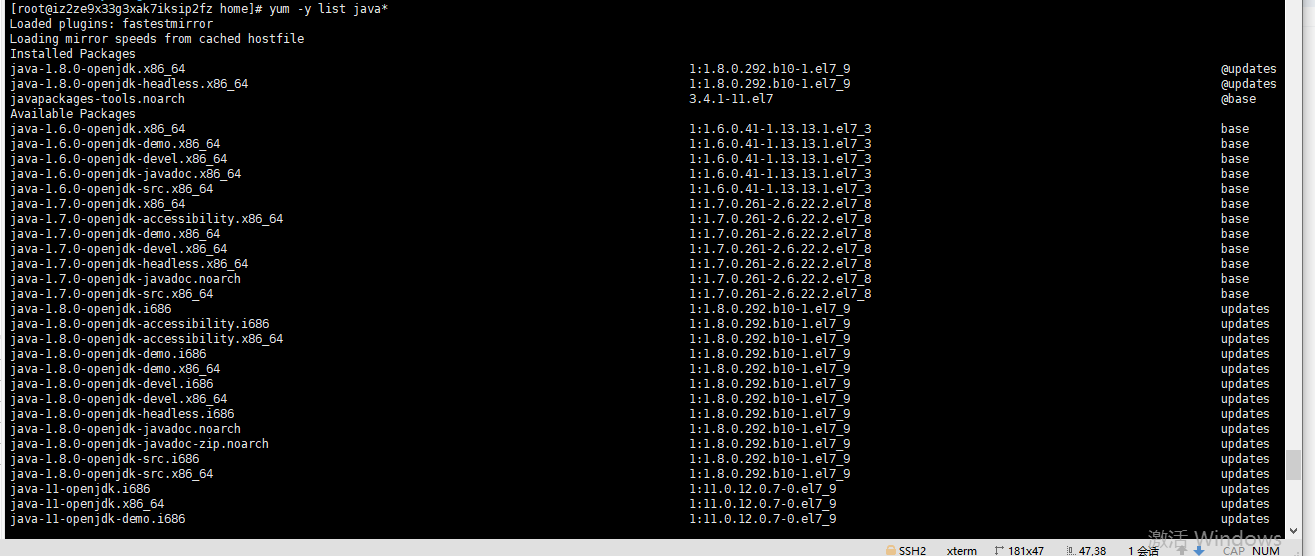
Select the first installation.
Install jdk1 eight
yum -y install java-1.8.0-openjdk.x86_64
After the above command is executed, the server displays the whole installation process.
Configure environment variables
//Enter the jvm folder under the / usr/lib path
cd /usr/lib/jvm

//Check the contents under the folder and find the JDK we installed
ls -a
ls -l (Personally, I think it's better)
After executing the above instructions, the results are as follows. The folder in the red box is the java installation path, and the configuration variables will be used later

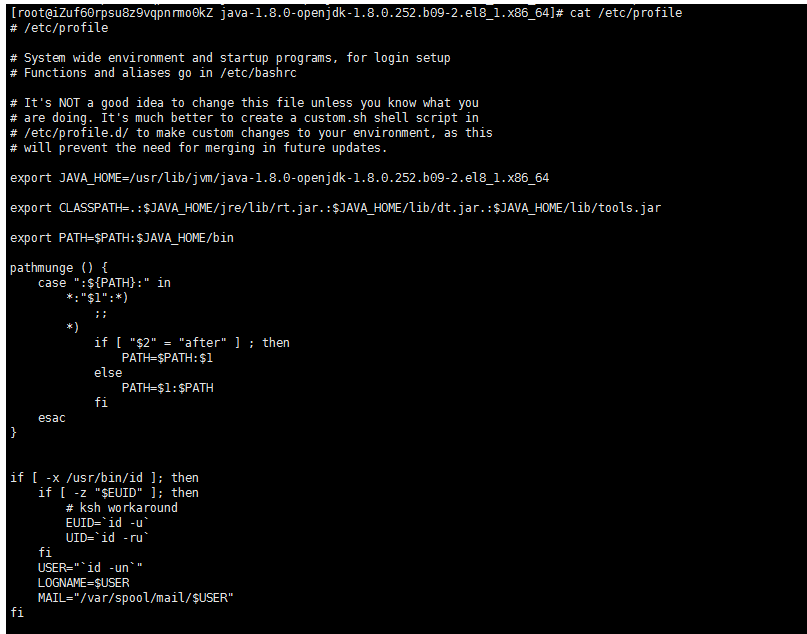
Continue to execute the following instructions to configure environment variables:
// Edit profile file
vim /etc/profile
//Add the following contents to the profile file (the JAVA_HOME path here is the previous Java installation path)
export JAVA_HOME=/usr/lib/jvm/java-1.8.0-openjdk-1.8.0.252.b09-2.el8_1.x86_64
export CLASSPATH=.:$JAVA_HOME/jre/lib/rt.jar.:$JAVA_HOME/lib/dt.jar.:$JAVA_HOME/lib/tools.jar

export PATH=$PATH:$JAVA_HOME/bin
Execute the following command to make the environment variable effective
source /etc/profile
3. Install redis
https://zhuanlan.zhihu.com/p/316572499
The installation indicates the original web page
Create redis file
cd usr
mkdir redis
Download redis installation package
Switch to redis directory
cd /usr/redis
Download installation package
wget https://download.redis.io/releases/redis-5.0.8.tar.gz
Unzip the redis installation package
tar xzf redis-5.0.8.tar.gz
Install the basic gcc environment
yum install gcc-c++
View your installed gcc version
gcc -v
Switch to redis file
cd redis-5.0.8
compile
make
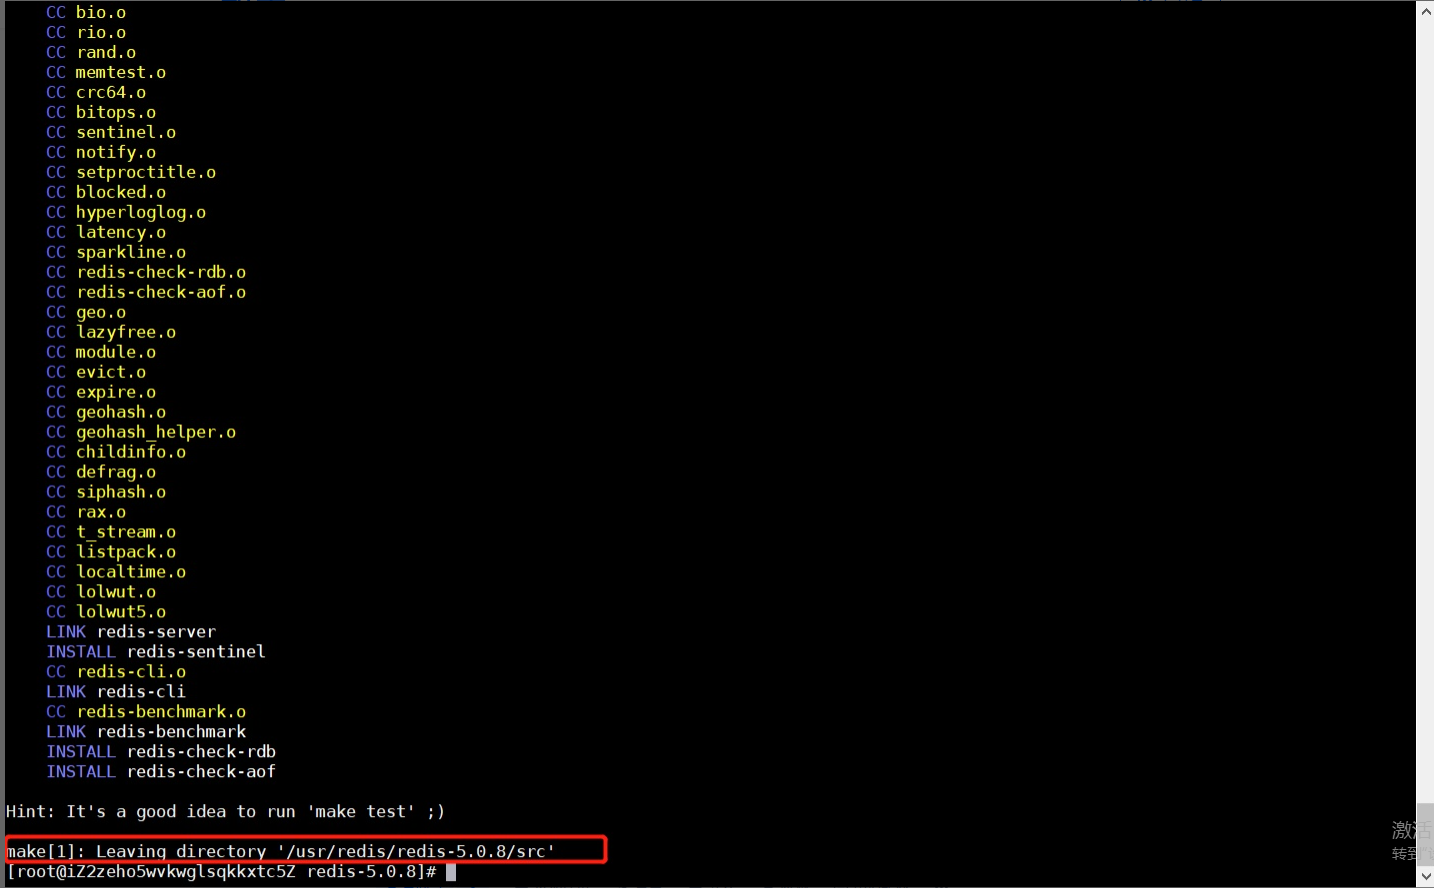
Is the compilation successful
make install

Switch to bin directory
cd /usr/local/bin
Create profile directory
mkdir rconfig
Migration profile
cp /usr/redis/redis-5.0.8/redis.conf rconfig
Modify profile
vim redis.conf
(1 (revised to) bind 0.0.0.0
(2 (revised to) daemonize yes ((indicates running as a daemon)
Start redis service
redis-server rconfig/redis.conf

4. Install RabbitMQ
Download erlang installation package and rabbitMq installation package
Unzip the erlang package in the installation package directory
tar -zxvf otp_src_22.0.tar.gz
cd otp_src_22.0
Configure erlang to installation path
./configure --prefix=/data/erlang
Errors may be reported here:
There is a big difference between erl 23 and erl 24, including the modules used for high-performance improvement.
handle
yum -y install ncurses-devel
Continue to execute the previous command: no more errors
Compiling and installing erlang
make
make install (either-or)
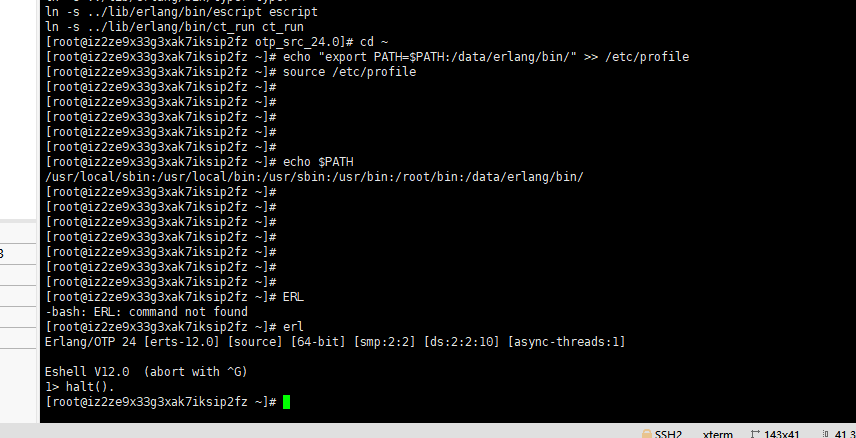
Add erlang environment variable
Pay attention to your installation path (avoid reporting errors later and get different results)
# Operation under root user
[root@mr13 ~]# echo "export PATH=$PATH:/data/erlang/bin/" >> /etc/profile
[root@mr13 ~]# source /etc/profile
After the environment variable is added, print the environment variable to see if it is added successfully
echo $PATH
After the environment variables are successfully added, enter the erl command to test whether erlang is successfully installed