demand
The performance of the server is relatively good. I want to run programs conveniently on the server, so I establish jupyter on the server, and then access the jupyter web page locally through connection for operation;
In addition, I want to be familiar with nginx and facilitate the construction of websites later.
nginx
A more popular back-end service agent. I won't elaborate on it.
Download and install:
- Official website( http://nginx.org/en/download.html )Download the tar package, unzip it, run configure, compile and install it through make, and you can install it to the file address you want
- It's easy to install through yum. The address is the system address, below / usr
For configuration, you can select a folder locally to put the configuration file, and then formulate the configuration file through - c
server {
    listen       8993;
    server_name  localhost;

    location / {
        root   /home/xxx/work/nginx/html;
        index  index.html index.htm;
    }

    ## Configuration part
    client_max_body_size 1G;
    location /jupyter {
        proxy_pass   http://127.0.0.1:11993;
        proxy_connect_timeout 3s;
        proxy_read_timeout 5s;
        proxy_send_timeout 3s;
        proxy_set_header X-Real-IP $remote_addr;
        proxy_set_header Host $host;
        proxy_set_header X-Forwarded-For $proxy_add_x_forwarded_for;
        proxy_http_version 1.1;
        proxy_set_header Upgrade $http_upgrade;
        proxy_set_header Connection "upgrade";
        proxy_redirect off;
    }

    error_page   500 502 503 504  /50x.html;
    location = /50x.html {
        root   html;
    }
}
Parameter analysis
- listen: this parameter should be familiar to everyone. It is the port number of listening.
- server_name: the domain name entered on the browser.
- location: indicates url matching, / indicates all matching, and different routes can be configured.
- root: indicates the directory entered after successful matching. You can specify the path to put your own html.
- index: indicates the default page.
- proxy_connect_timeout: the timeout for nginx to initiate a connection to the proxy service and wait for a response after the first handshake.
- proxy_send_timeout: the timeout for nginx to send the request to the proxy service. It should be to send the real business request to the proxy service after confirming that it can connect normally.
- proxy_read_timeout: the timeout of nginx waiting for the agent service to respond to the specific request after the agent service receives the real business request.
- client_max_body_size: the maximum upload file size. If jupyterab wants to upload files, it can be configured to avoid upload restrictions.
Start service
nginx -c nginx.conf -e nginx.log
Local configuration files and error log files can be specified through - c and - e respectively.
jupyer-lab
Installation: directly through pip installation
to configure
jupyter notebook --generate-config    # Production configuration file, usually under home In the jupyter folder
jupyter-lab password          # Enter the password twice to save the hash password in the configuration file, and then enter the password in the login interface to unlock

modify/home/xxx/.jupyter/jupyter_xx_x.conf file
c.NotebookApp.base_url = '/jupyter'    # It depends on how you choose. Because I have configured / jupyter as local in nginx, I need to configure baseurl here
c.NotebookApp.allow_remote_access = True  # Allow remote access
c.NotebookApp.base_url = '/jupyter'  # Set the resource home page path of jupyter, i.e. [jupyter home page]
c.NotebookApp.ip = '127.0.0.1'  # The source machine set to access this jupyter application can only be this machine
c.NotebookApp.notebook_dir = '/home/xxx/jupyter' # Jupyter working directory, where all files created in jupyter will be saved
c.NotebookApp.open_browser = False  # Disable automatic browser opening at startup
Run jupyter and start a back-end process. Note that the configuration ip is localhost (127.0.0.1) or 0.0.0.0, and the configuration port is consistent with that in nginx
python -m jupyterlab --ip 127.0.0.1 --port 11993 >/dev/null 2>&1 &
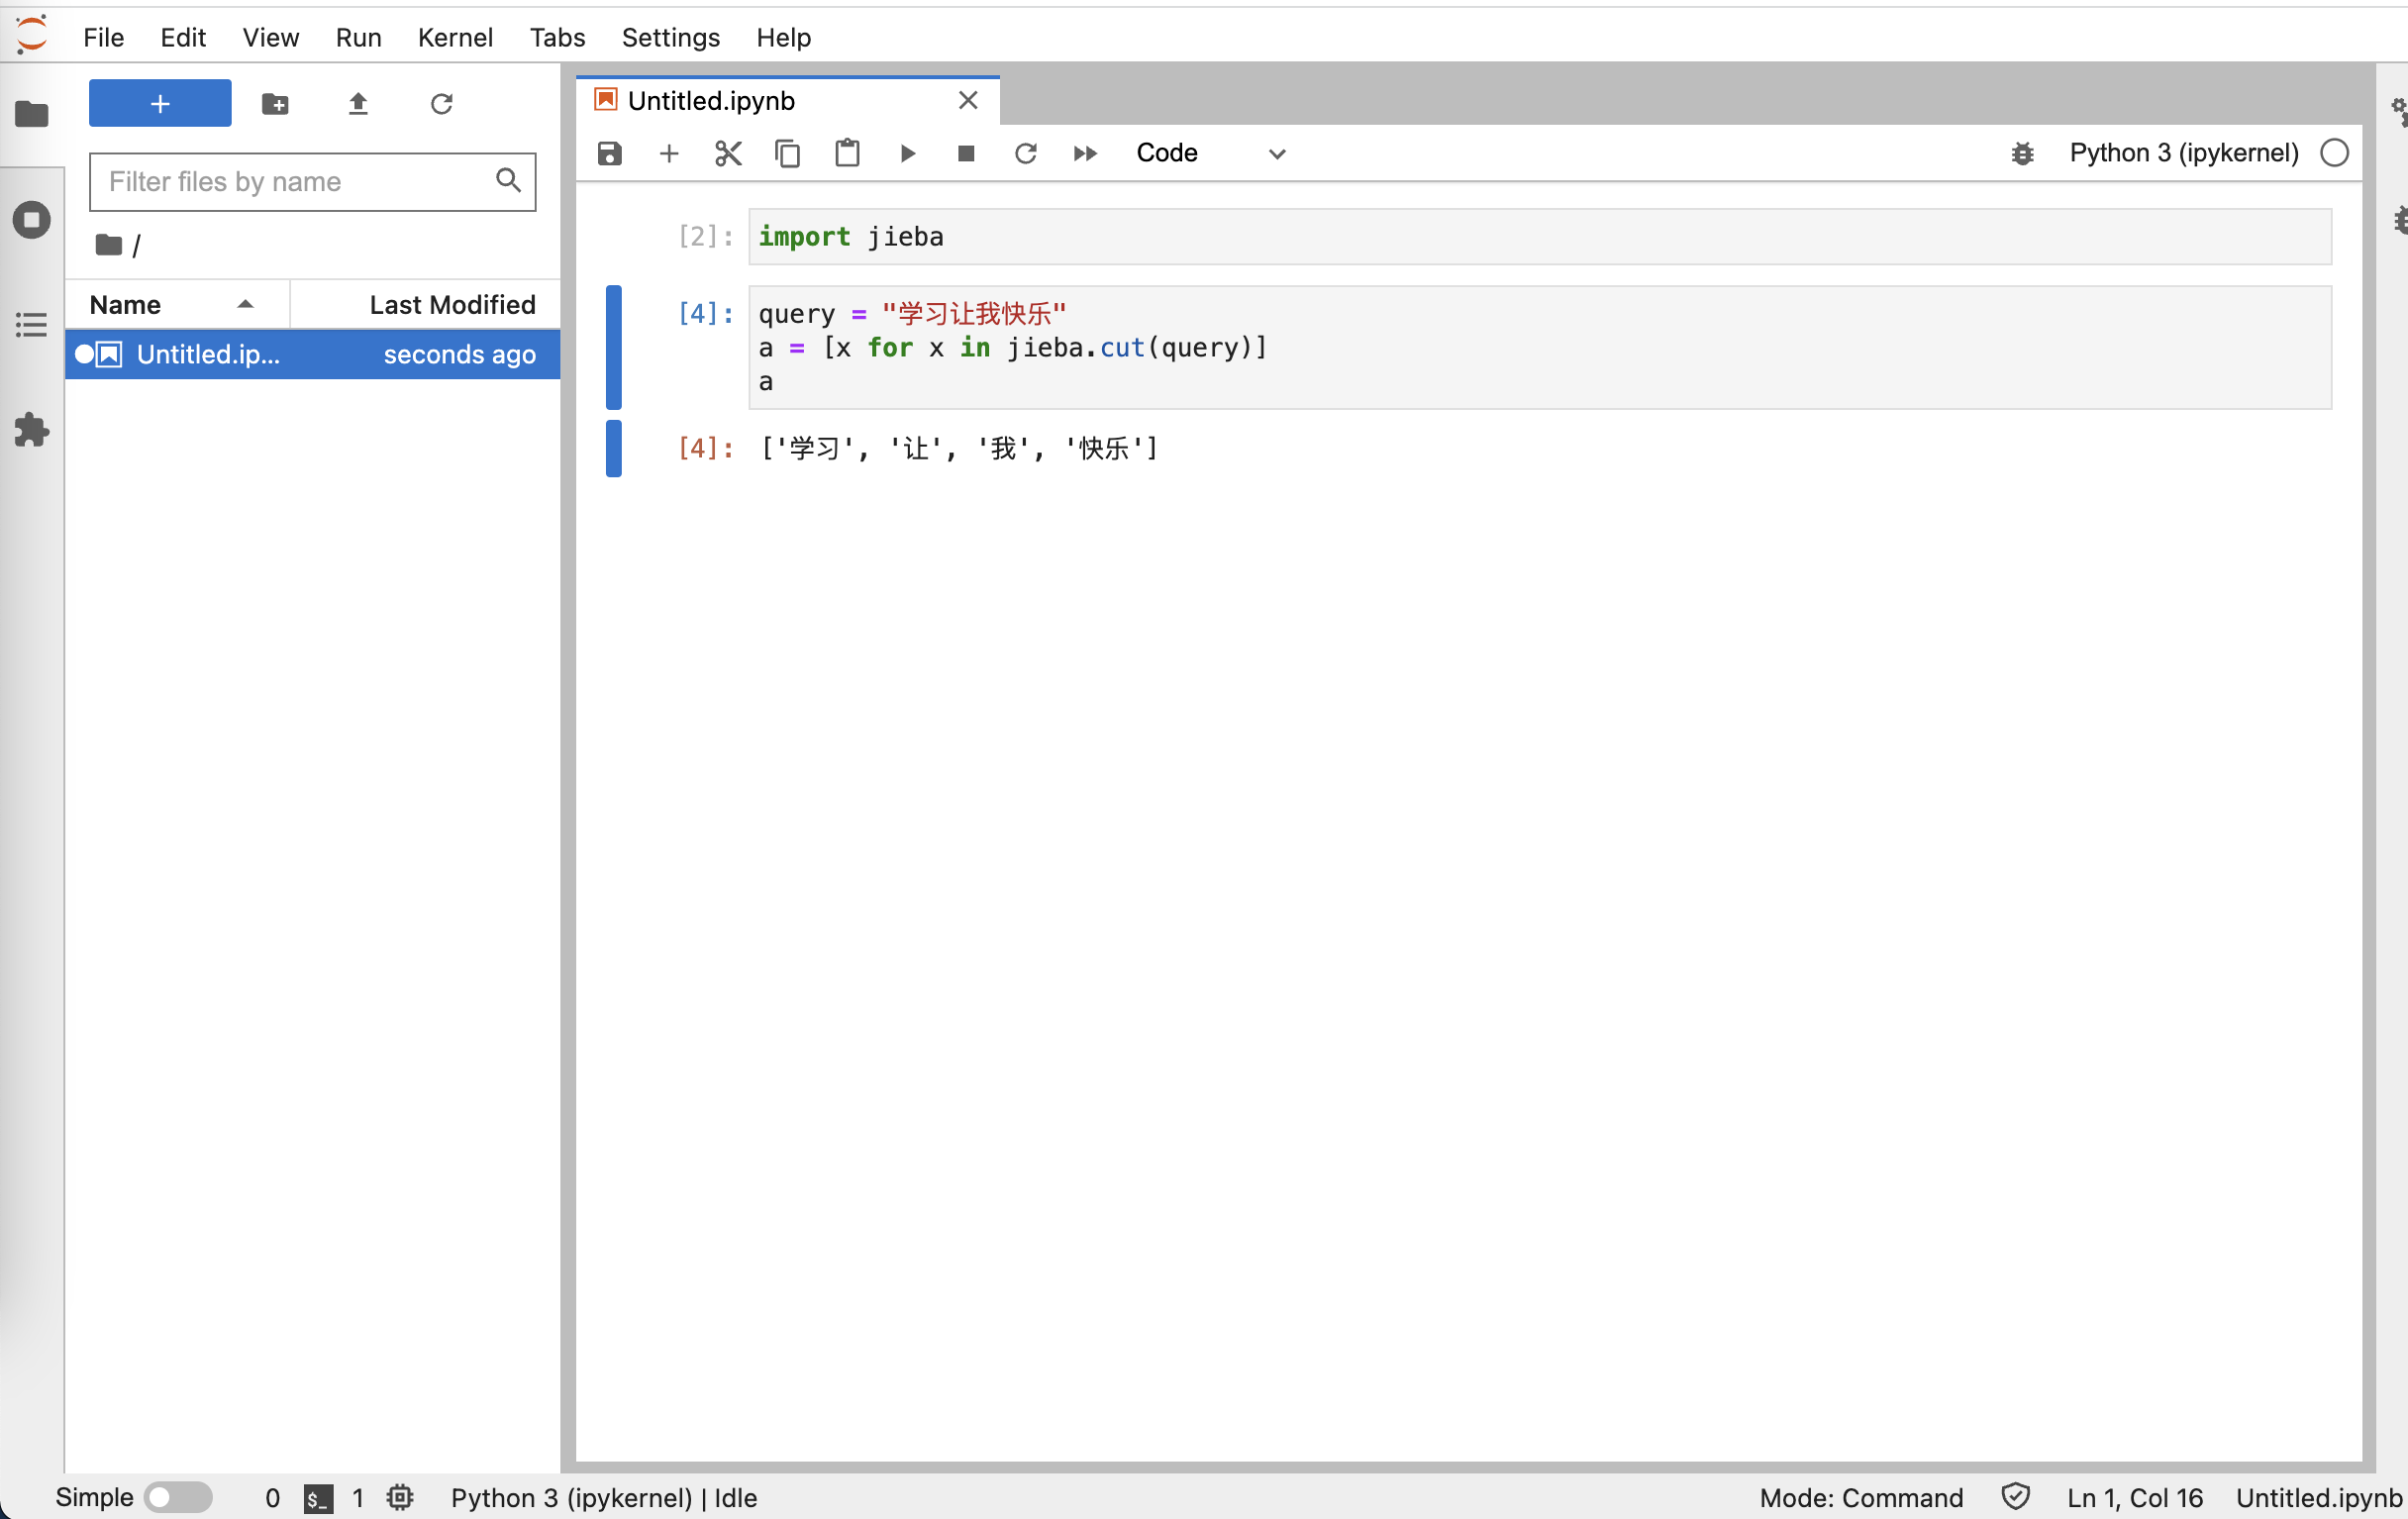
Effect display
